To add or edit an add-on:
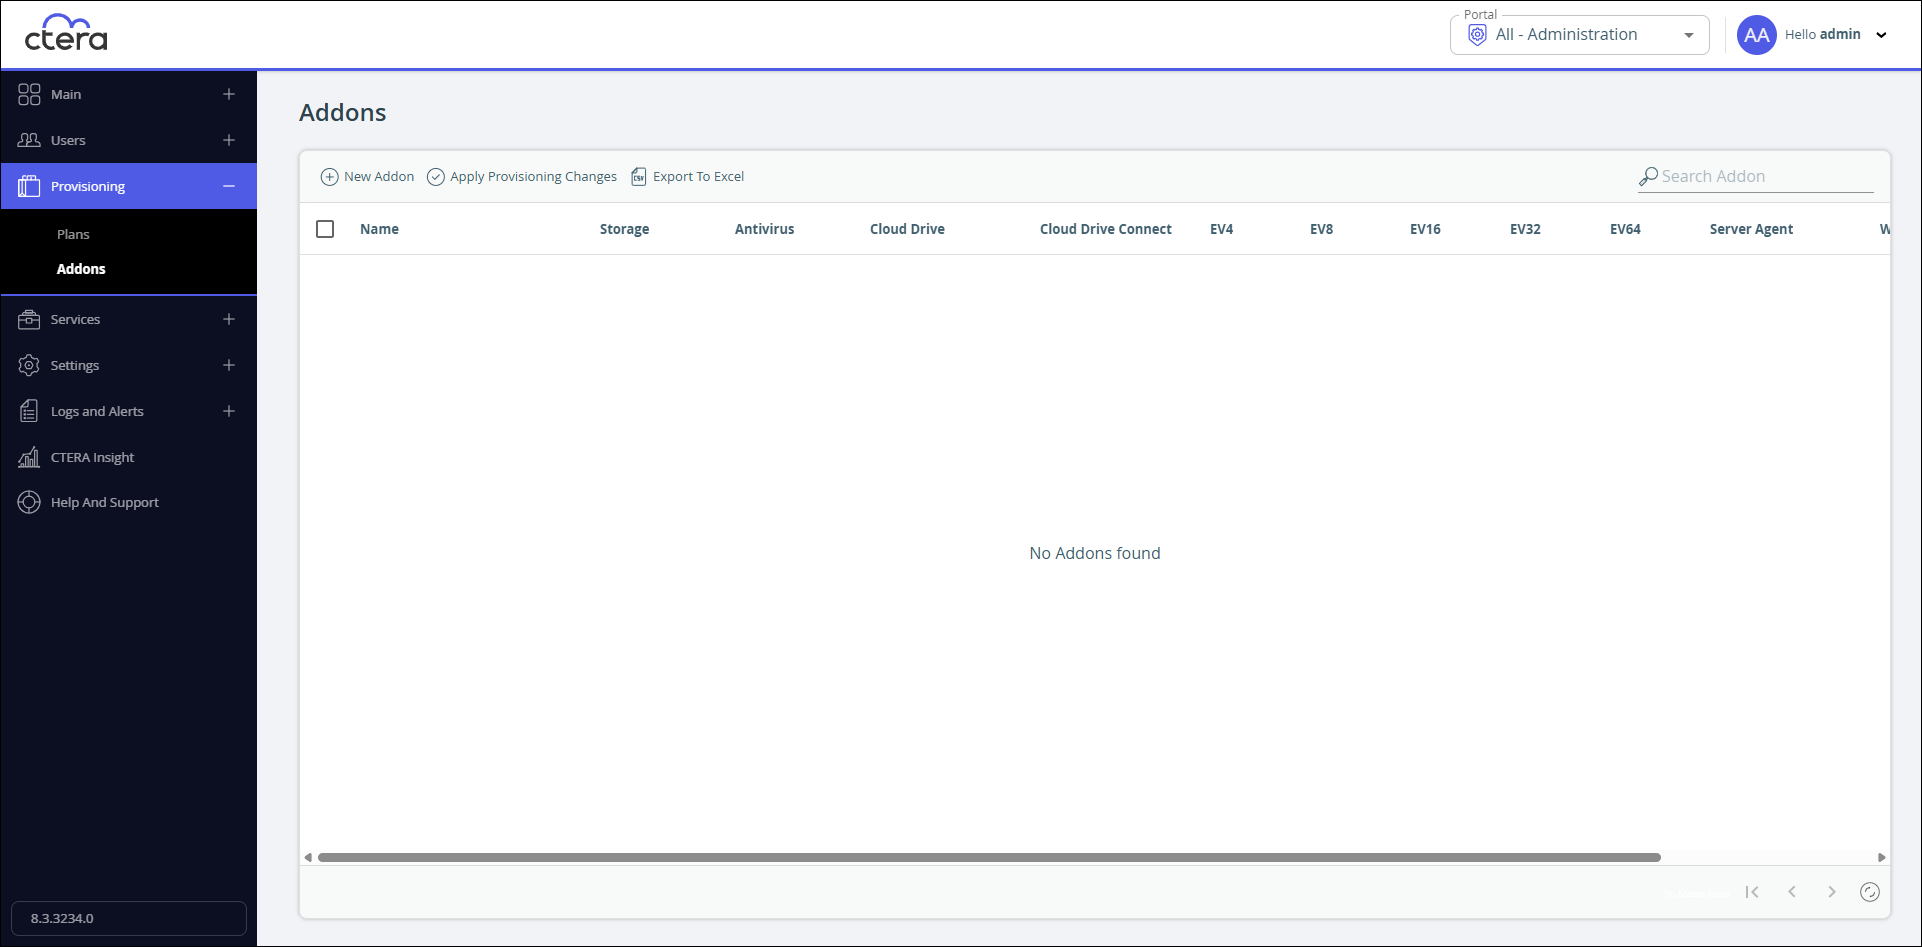
- In the global administration view, select Provisioning > Addons in the navigation pane.
The Addons page is displayed.
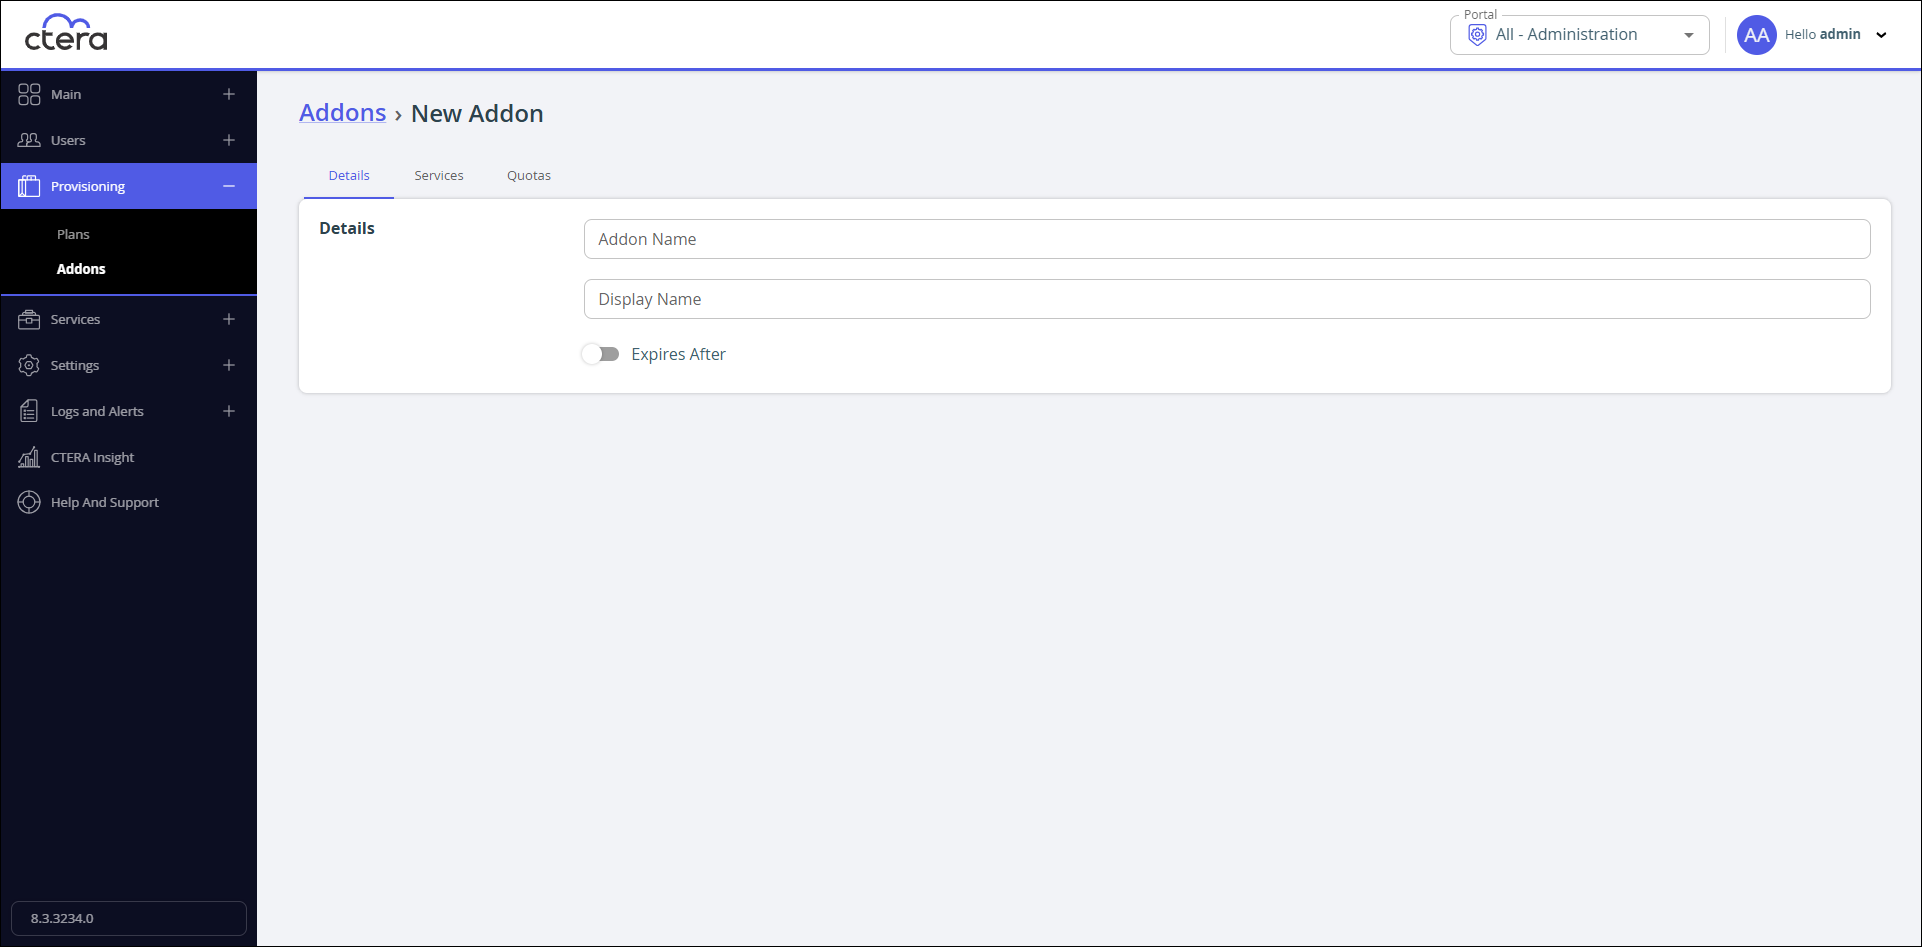
- To add a new addon, click New Addon.
The addon page is displayed.
Or,
To edit an existing addon, click the addon name. - Set the addon details.
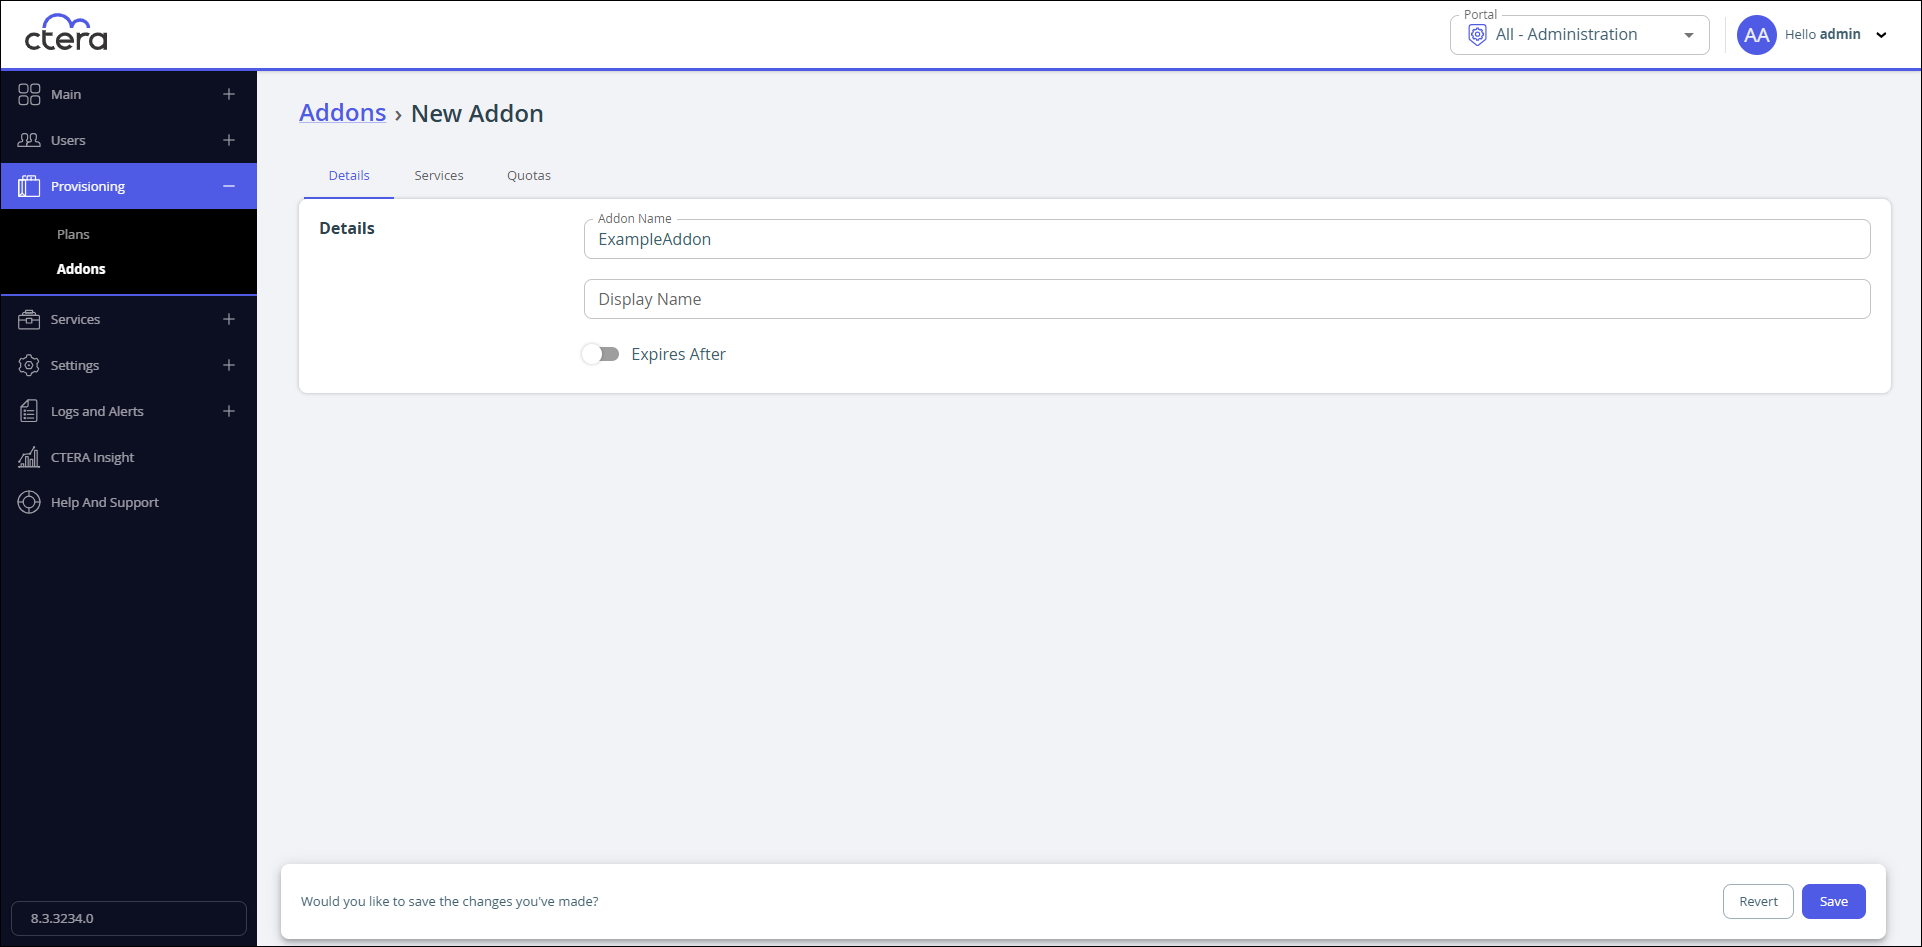
Name – A name for the addon. Only letters and numbers can be used for the name.
Display Name – The name to use when displaying this addon in the end user portal and notifications.
Expires after – The number of days after adding this addon, that the addon will expire.
- Choose which services to include in the addon:
Cloud Backup Service – The Cloud Backup Service is included in the subscription plan.
Remote Access – Include remote access in the subscription plan. Remote access includes both access to the device's management interface via the CTERA Portal and a dedicated URL, access to the user's files via the CTERA Portal and a dedicated URL.Device owners can disable remote access via the device's management interface.
- Complete the Quotas information.
For each item, click in the quota field and enter the number to include in the plan.
For example, to include 250GB of storage space, click in the Storage (GB) item's quota field and enter 250.NoteOnly items included in the license are displayed.
The quotas must not exceed the number specified in the license. - Click Save.
The Addons page is displayed with the addon.

- Assign the addon to the team portal, as described in Assigning Add-ons to Team Portals.
New addons are applied every day at midnight. Existing addons that are edited are immediately applied. You can apply new addons immediately by clicking Apply Provisioning Changes.
Deleting an Addon
Before you can delete an addon, you must delete the addon from the portal:
- In the global administration view, select Main > Portals in the navigation pane.
The Portals page opens, displaying all the team portals. - Click the portal name that includes the addon.
- Click the Addons tab.
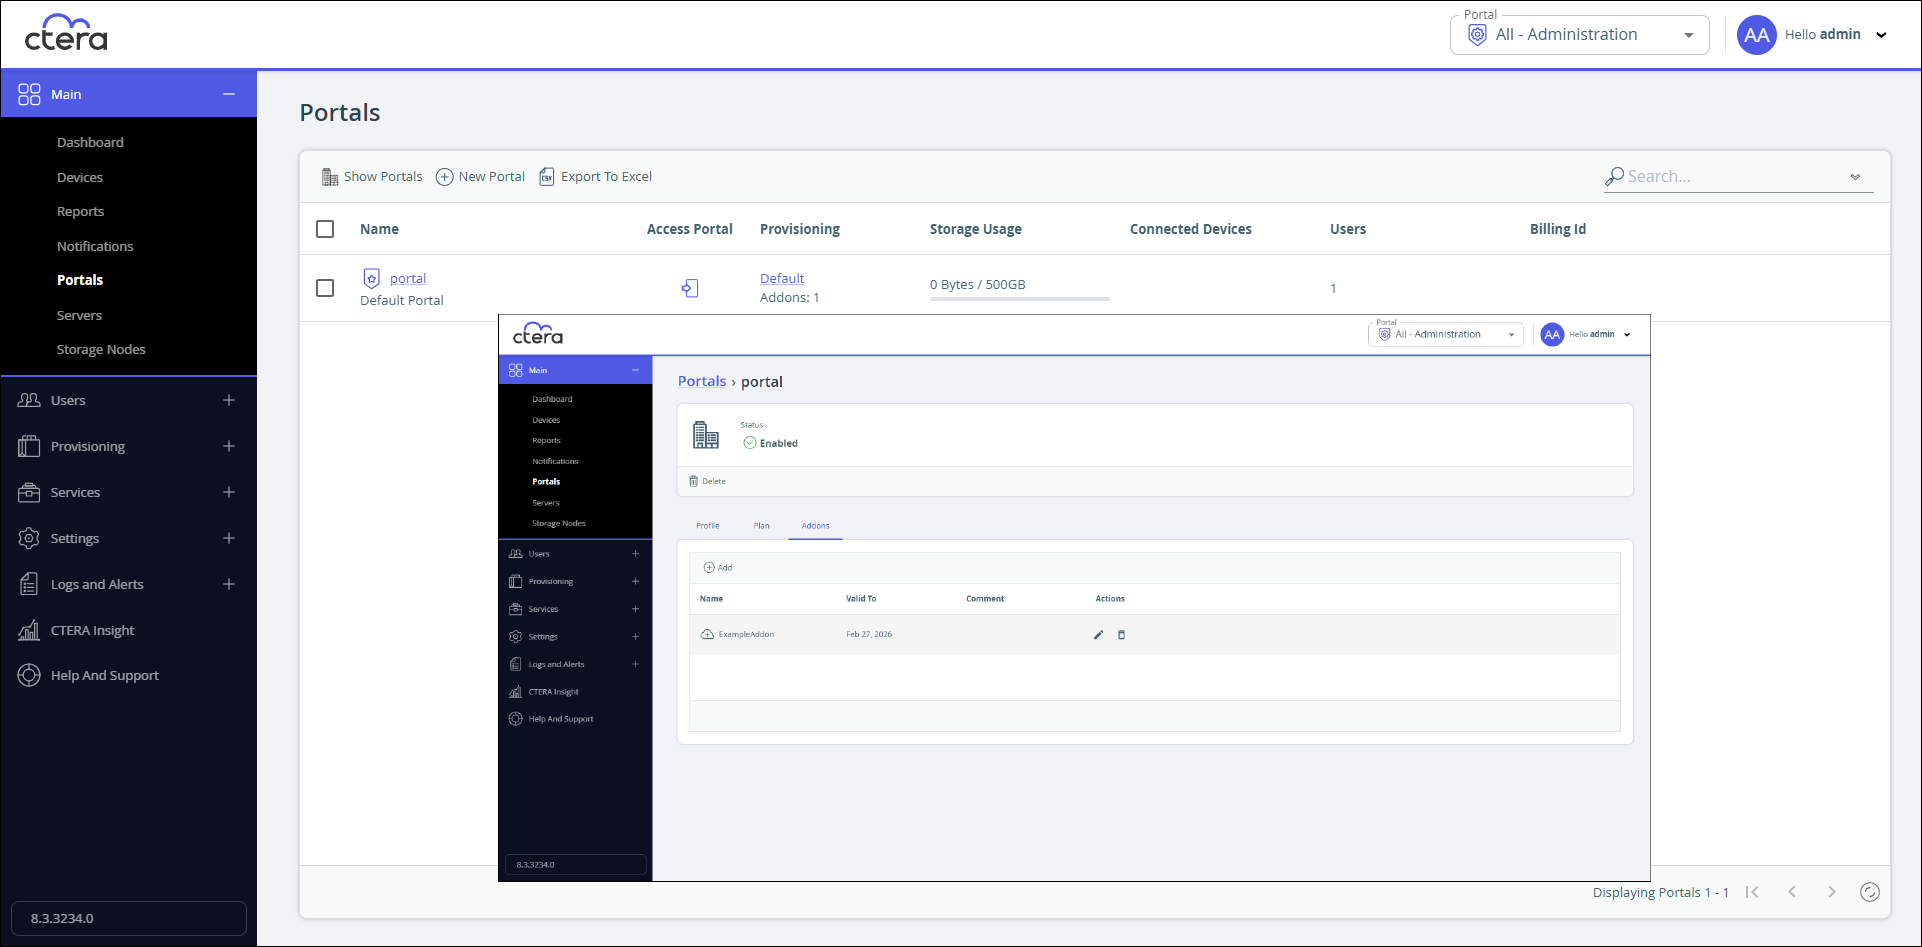
- In the addon row, click
 .
. - Click Save.
To delete the addon:
- In the global administration view, select Provisioning > Addons in the navigation pane.
The Addons page is displayed. - Select the addon row.
- Click Delete Addon.
A confirmation window is displayed. - Click Delete to confirm.
The addon is deleted.