Adding User Accounts
- 4 Minutes to read
- Print
- DarkLight
- PDF
Adding User Accounts
- 4 Minutes to read
- Print
- DarkLight
- PDF
Article Summary
Share feedback
Thanks for sharing your feedback!
You can add users to the portal in the following ways:
- Using directory services, such as Active Directory. For information about using a directory service, see Using Directory Services For the Users.
- Adding the user directly in the portal.
- Inviting a user to register.
- Importing user details to the portal.
Adding Users In the Portal Interface
To add a user or edit an existing user in the portal:
Select Users > Users in the navigation pane.
The USERS page opens, displaying the users for the portal.
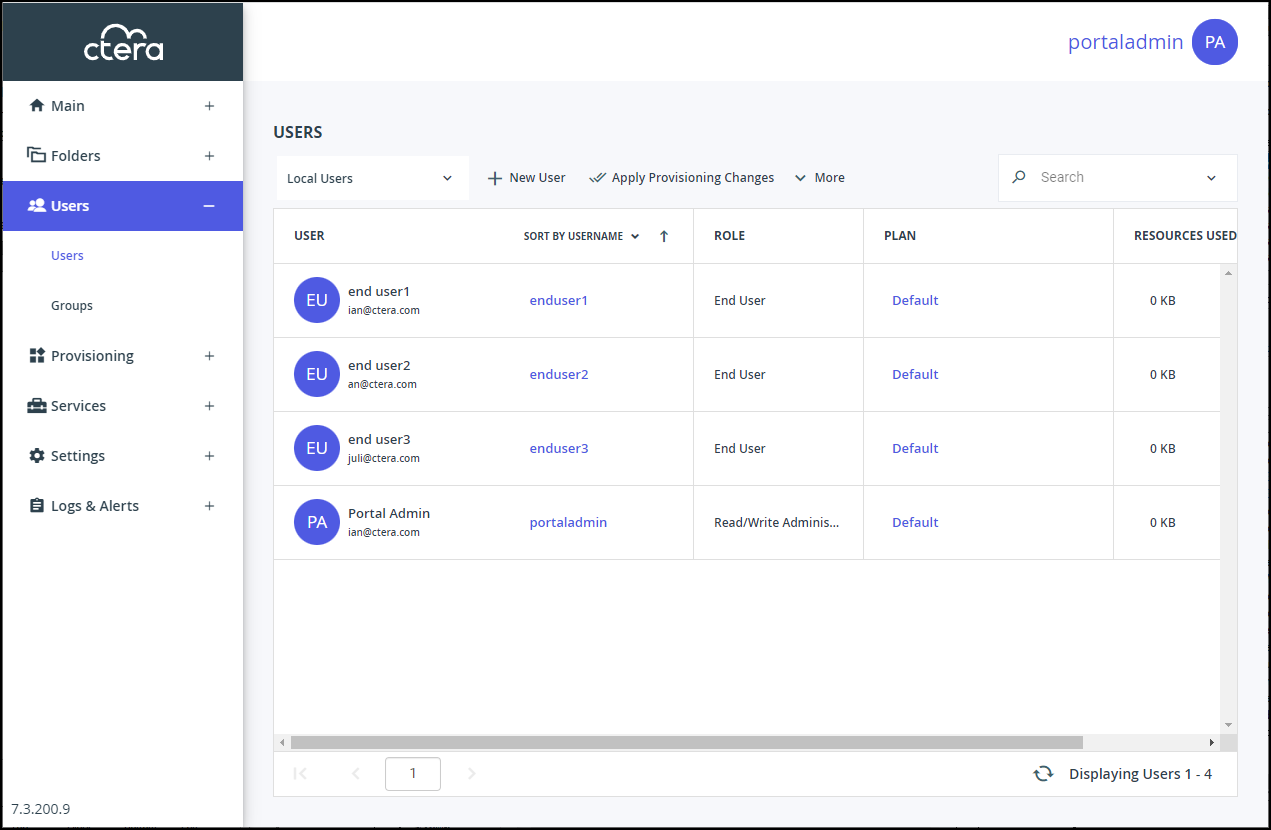
Click New User.
The New User window is displayed.
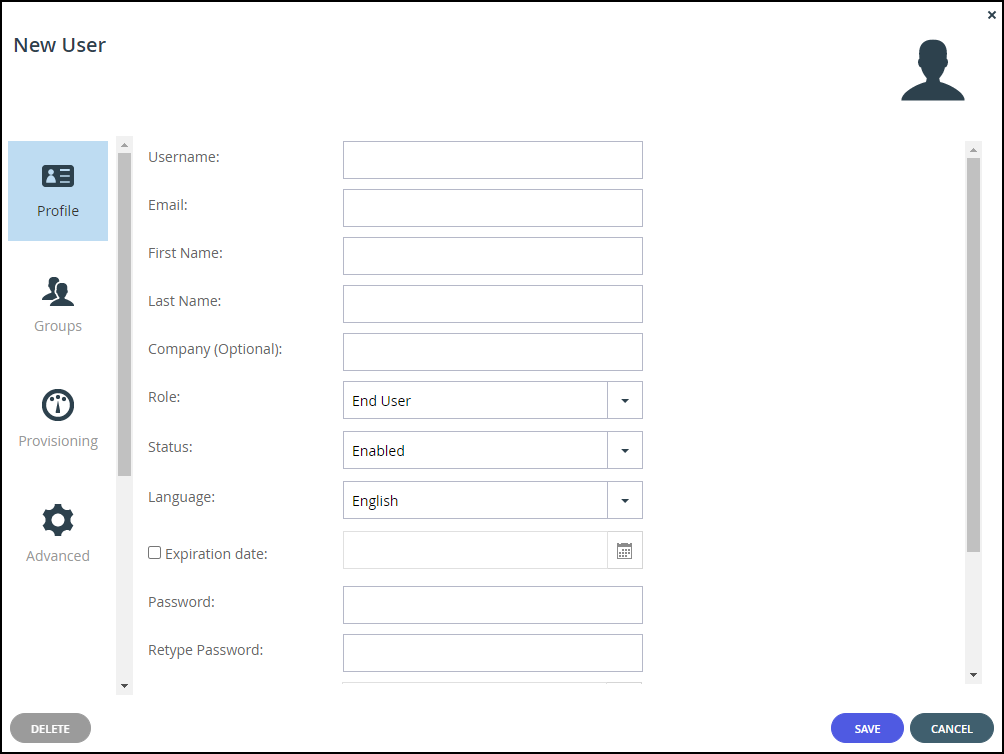
Complete the fields in the Profile option.
Username – A name for the user's CTERA Portal account.
Email – The user's email address.
First Name – The user's first name.
Last Name – The user's last name.
Company (Optional) – The name of the user's company.
Role – The user's role:- Disabled – The user account is disabled. The user cannot access the end user portal view.
- End User – The user can access the End User Portal.
- Read/Write Administrator – The user can access the end user portal view as an administrator with read-write permissions.
- Read Only Administrator – The user can access the end user portal view as an administrator with read-only permissions.
- Support – The user can access the end user portal view as an administrator and has read/write access to devices, user accounts, folders, and folder groups, and read-only access to all other settings in the portal.
Status – Select the account status:
- Enabled – The account is enabled, and the user can access the portal.
- Disabled – The account is disabled, and the user cannot access the portal.
- The default value for new users is Enabled.
- The default value for invited users is Disabled. The status changes to Enabled when the invited user activates the account.
NoteIn order to access the end user portal view, the user must have a role other than Disabled, and the status must be enabled.
Language – The language used for the user interface.
Expiration date – The expiration date of the user account.
Password / Retype Password – A password for the user's account. Password requirements depend on the password policy, which can be set in the Virtual Portal Settings window, described in Password Policy.
Force Password Change – An expiration date for the user account password. When the password has expired, the user must configure a new password on the next login.
Numeric UID (Optional) – A numeric user ID to assign the user's account.
Comment – A description of the user account.Click SAVE.


After a user is added, the options available to the administrator, such as the user devices and cloud drive folders. Some of these options, such as devices and folder groups are shortcuts to the relevant setting.
The user receives an email and can access the portal using the username and password from the administrator. By default, the email does not include the user password, for added security, and the user must contact the portal administrator for the password. Inviting users from the USERS page, with the More > Invite option, enables the user to choose a password on initial logon without needing to contact the administrator. For details, see Inviting Users to Register.
Inviting Users to Register
- Select Users > Users in the navigation pane.
The USERS page opens, displaying the users for the portal.
- Click Invite.
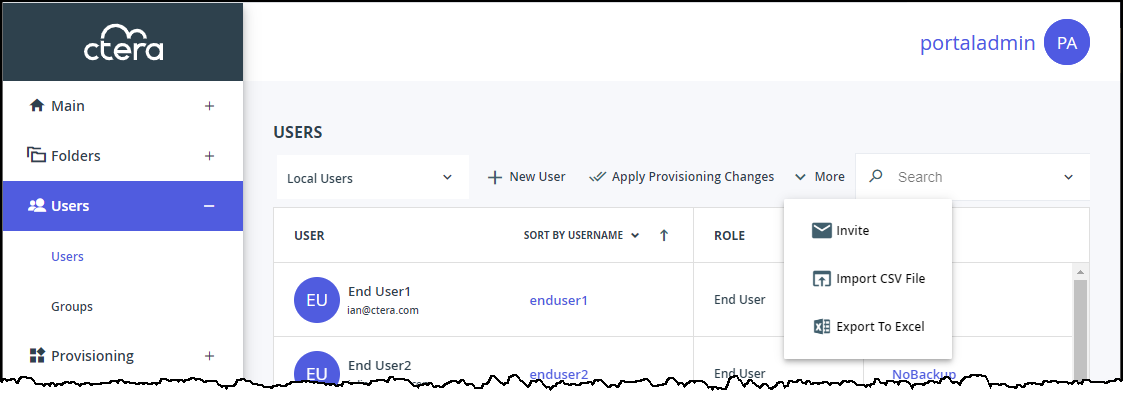
The Invite a user to register window is displayed.
- Enter the following:
Email – The email address of the user you want to invite to register.
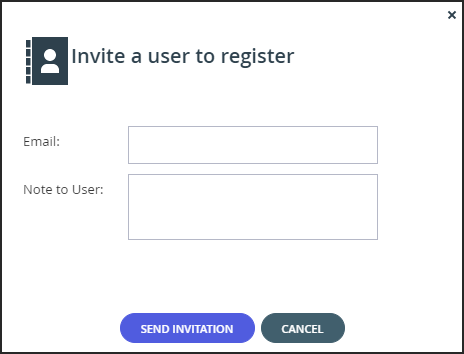
Note to User – A message you want to send to the user. - Click SEND INVITATION.


The user you invited receives an invitation by email with a link to complete the registration. The user chooses a password on initial logon without needing to contact the administrator. Administrators receive email notifications that the user has registered.
To control the expiration period of registration invitations:
- Select Settings in the navigation pane.
The Control Panel page is displayed.
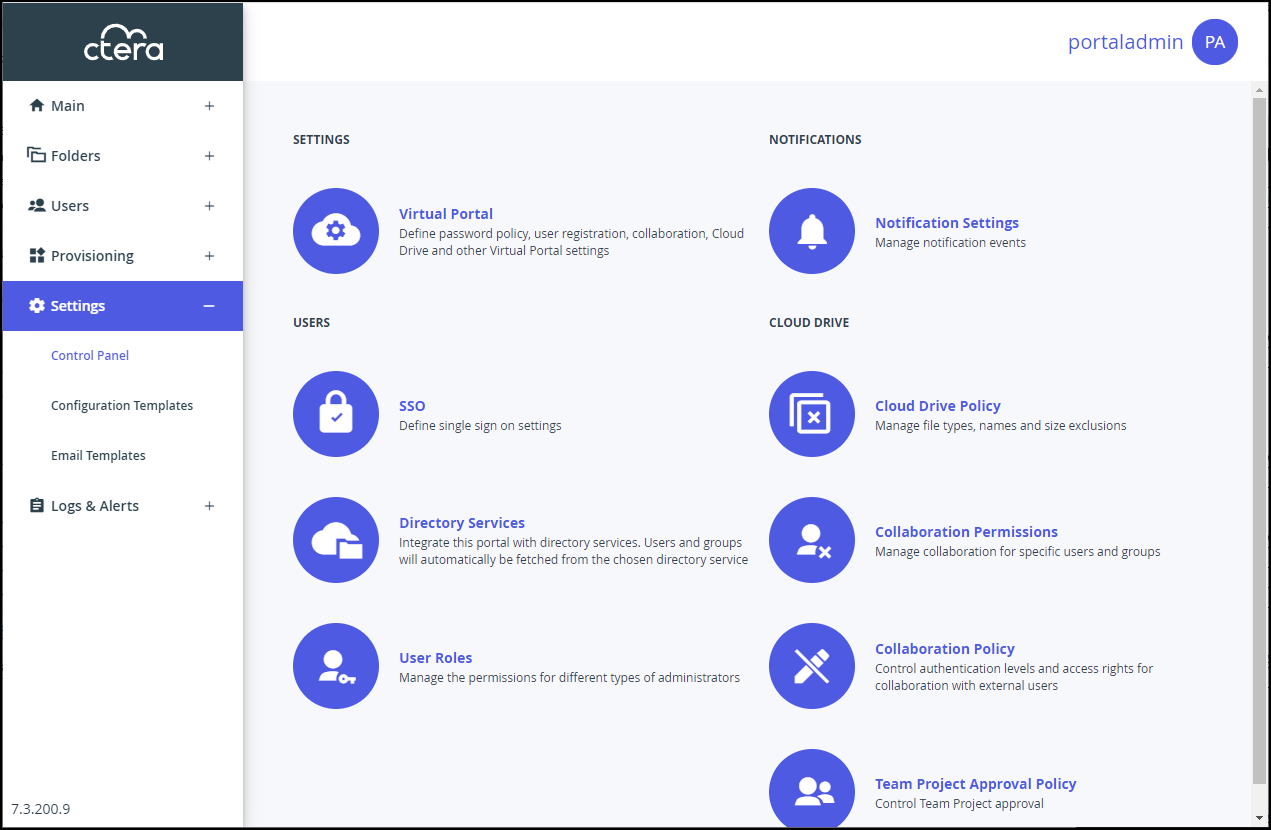
- Select Virtual Portal, under SETTINGS in the Control Panel page.
- Override global settings if necessary.
- Scroll down to User Registration and set the number of days the invitation is open.
- Click SAVE.

Importing Users from a File
You can import users and their details from a comma separated values (*.csv) file.
The *.csv file's columns must be in the following order:
- Username
- First name
- Last name
- Email address
- Company (Optional)
- Password
- Role – Valid values: ReadWriteAdmin, ReadOnlyAdmin, Support, EndUser
- Plan (Optional)
- Numeric UID (Optional)
- External Account ID (Optional)
- Comment (Optional)
- Status (Optional) – Valid values: active, inactive
Optional fields can be left blank.
The following example csv file includes users rw-admin, support, and user1:
rw-admin,John,Doe,flast@example.com,,Chang3Me!,ReadWriteAdmin,,,,
Read/Write Admin Account,active
support,Jane,Doe,support@example.com,,Chang3Me!,Support,,,,Support Account,inactive
user1,Fred,Blogs,fblogs@example.com,,Chang3Me!,EndUser,Default,1,,,active
where:
| Field | First User | Second User | Third User |
|---|---|---|---|
| Username | rw-admin | support | user1 |
| First name | John | Jane | Fred |
| Last name | Doe | Doe | Blogs |
| Email address | flast@example.com | support@example.com | fblogs@example.com |
| Company | — | — | — |
| Password | Chang3Me! | Chang3Me! | Chang3Me! |
| Role | ReadWriteAdmin | Support | Enduser |
| Plan | — | — | Default |
| Numeric UID | — | — | 1 |
| External Account ID | — | — | — |
| Comment | Read/Write Admin Account | Support Account | — |
| Statails | active | inactive | active |
*To import users from a .csv file:
- Select Users > Users in the navigation pane.
The USERS page opens, displaying the users for the portal.
- Click More > Import CSV File.
The Import Users window is displayed.
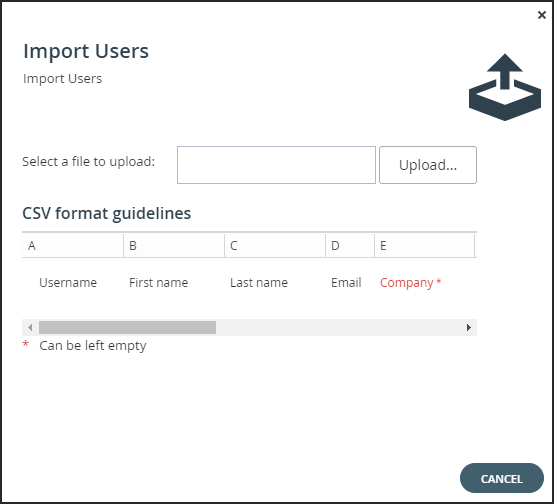
- Click Upload and select the file with the users to upload.
- Click Open.
The file is uploaded and the Import Completed window is displayed. - Click FINISH.

Was this article helpful?