Installing the CTERA Edge Filer in an Azure Environment
The CTERA Edge Filer instance is created using the Microsoft Azure Marketplace.
Note
To install a CTERA Edge Filer in Azure not using the Azure Marketplace version, see Install an Edge Filer in Azure Not Using the Azure Marketplace Version.
After installing the CTERA Edge Filer, you perform an initial configuration, described in First Time Setup.
To create the CTERA Edge Filer in Azure:
- Log in to your Azure portal and access Marketplace.
- Search for
ctera
The CTERA product offerings are displayed.
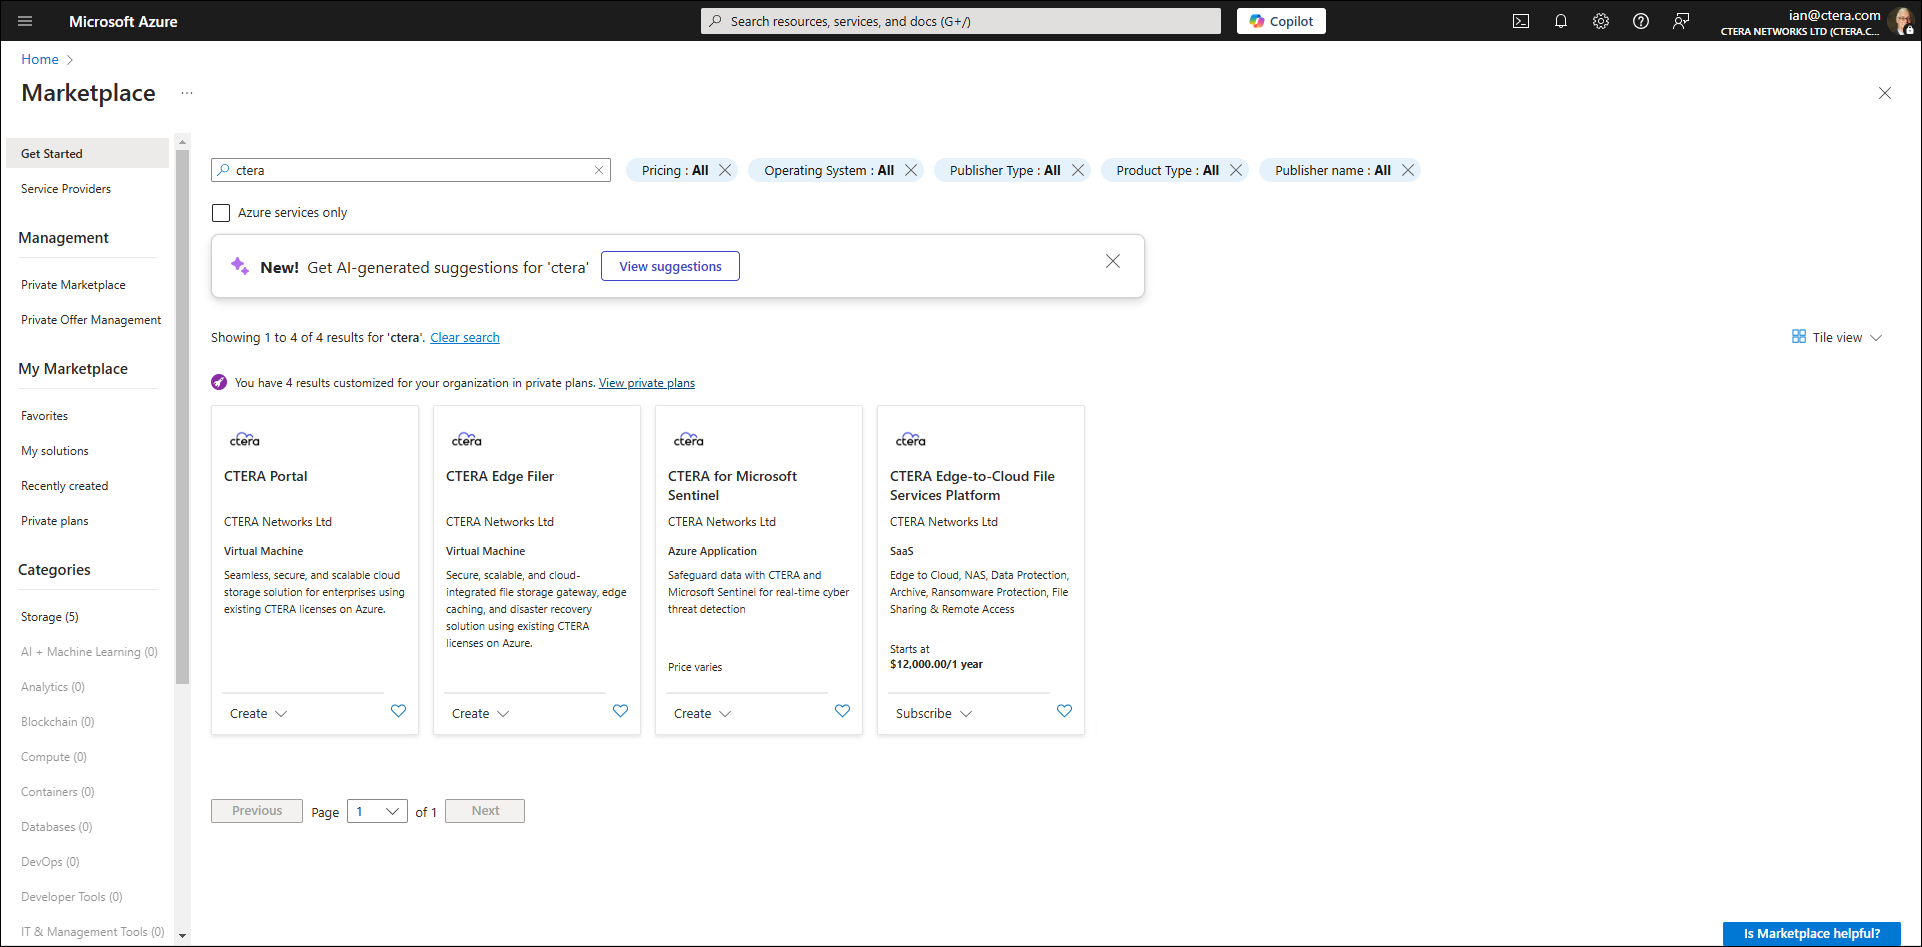
- Click Create for the CTERA Edge Filer product and then click CTERA Edge Filer in the popup.
The Create a virtual machine window is displayed.
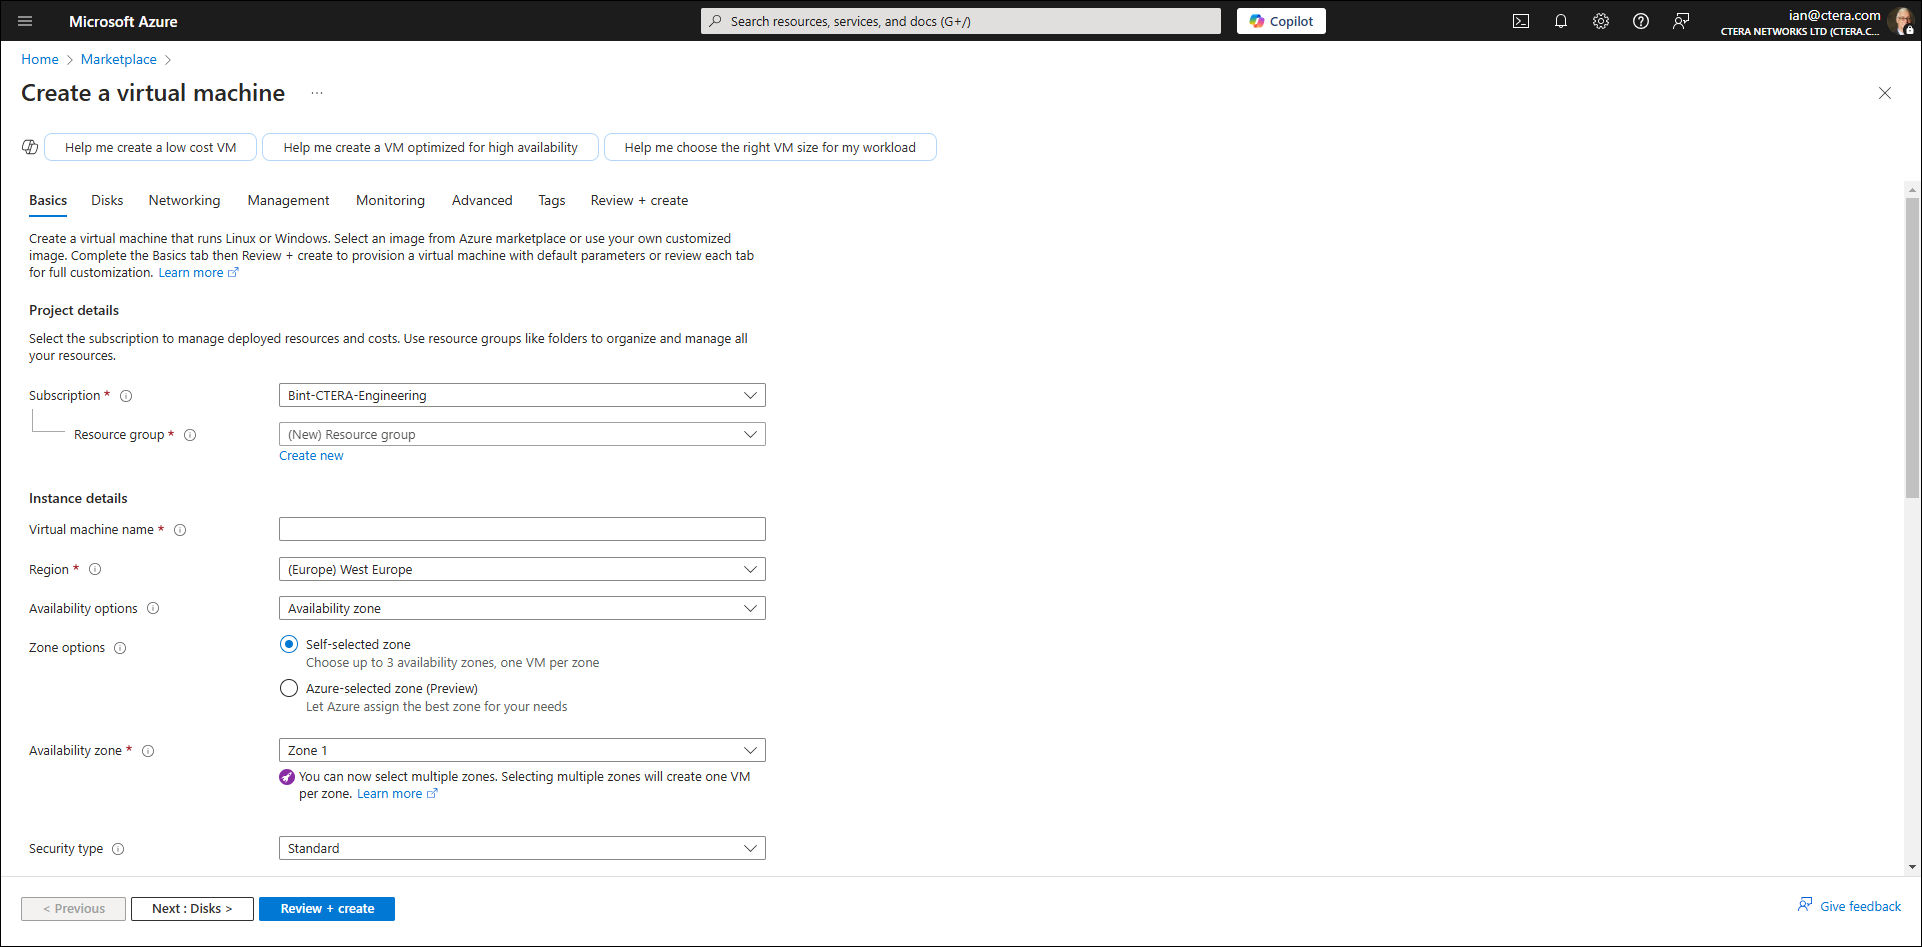
- Enter the following in the Basics tab for the virtual machine.
Virtual machine name – A name to uniquely identify the virtual machine. - Optionally, enter the following:
Resource group – The resource group to be used. The resource group must use premium storage. If you do not enter a resource group, one is automatically created.
Region – The region to host the virtual machine.
CTERA recommends leaving the other values with their defaults. - Click the Disks tab, or click Next: Disks.
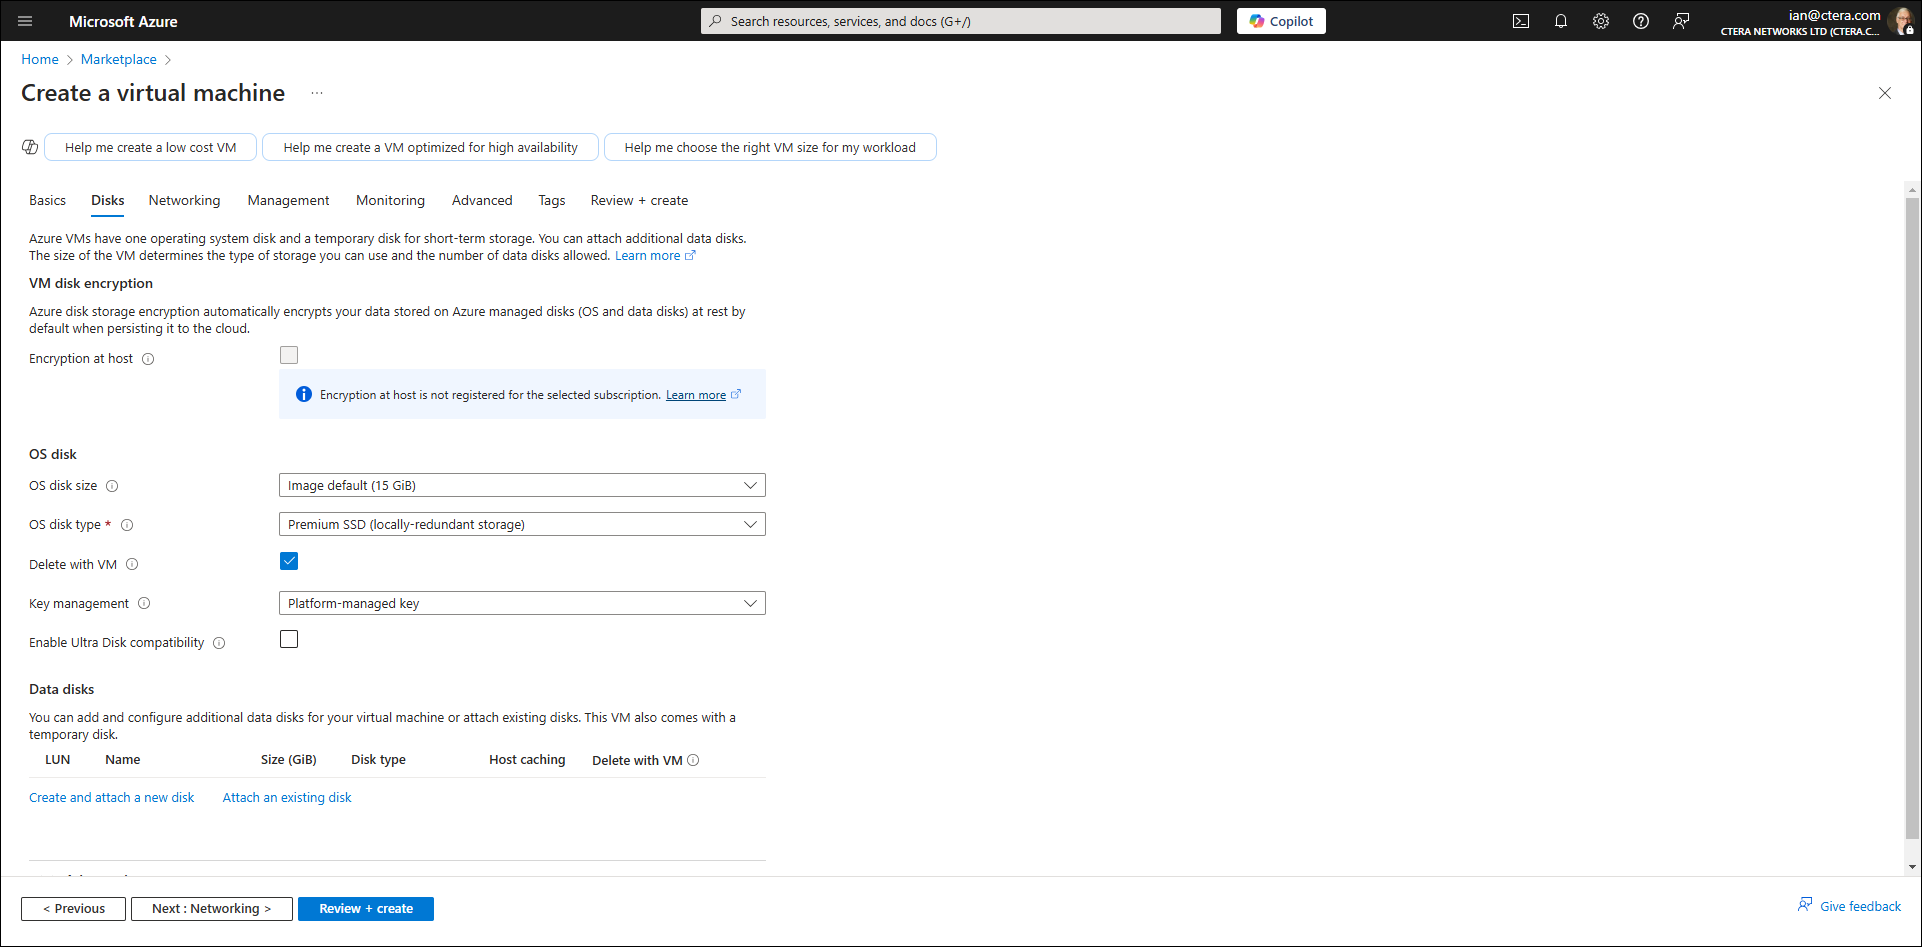
- Under Data disks, click Create and attach a new disk.
The Create a new disk window is displayed.
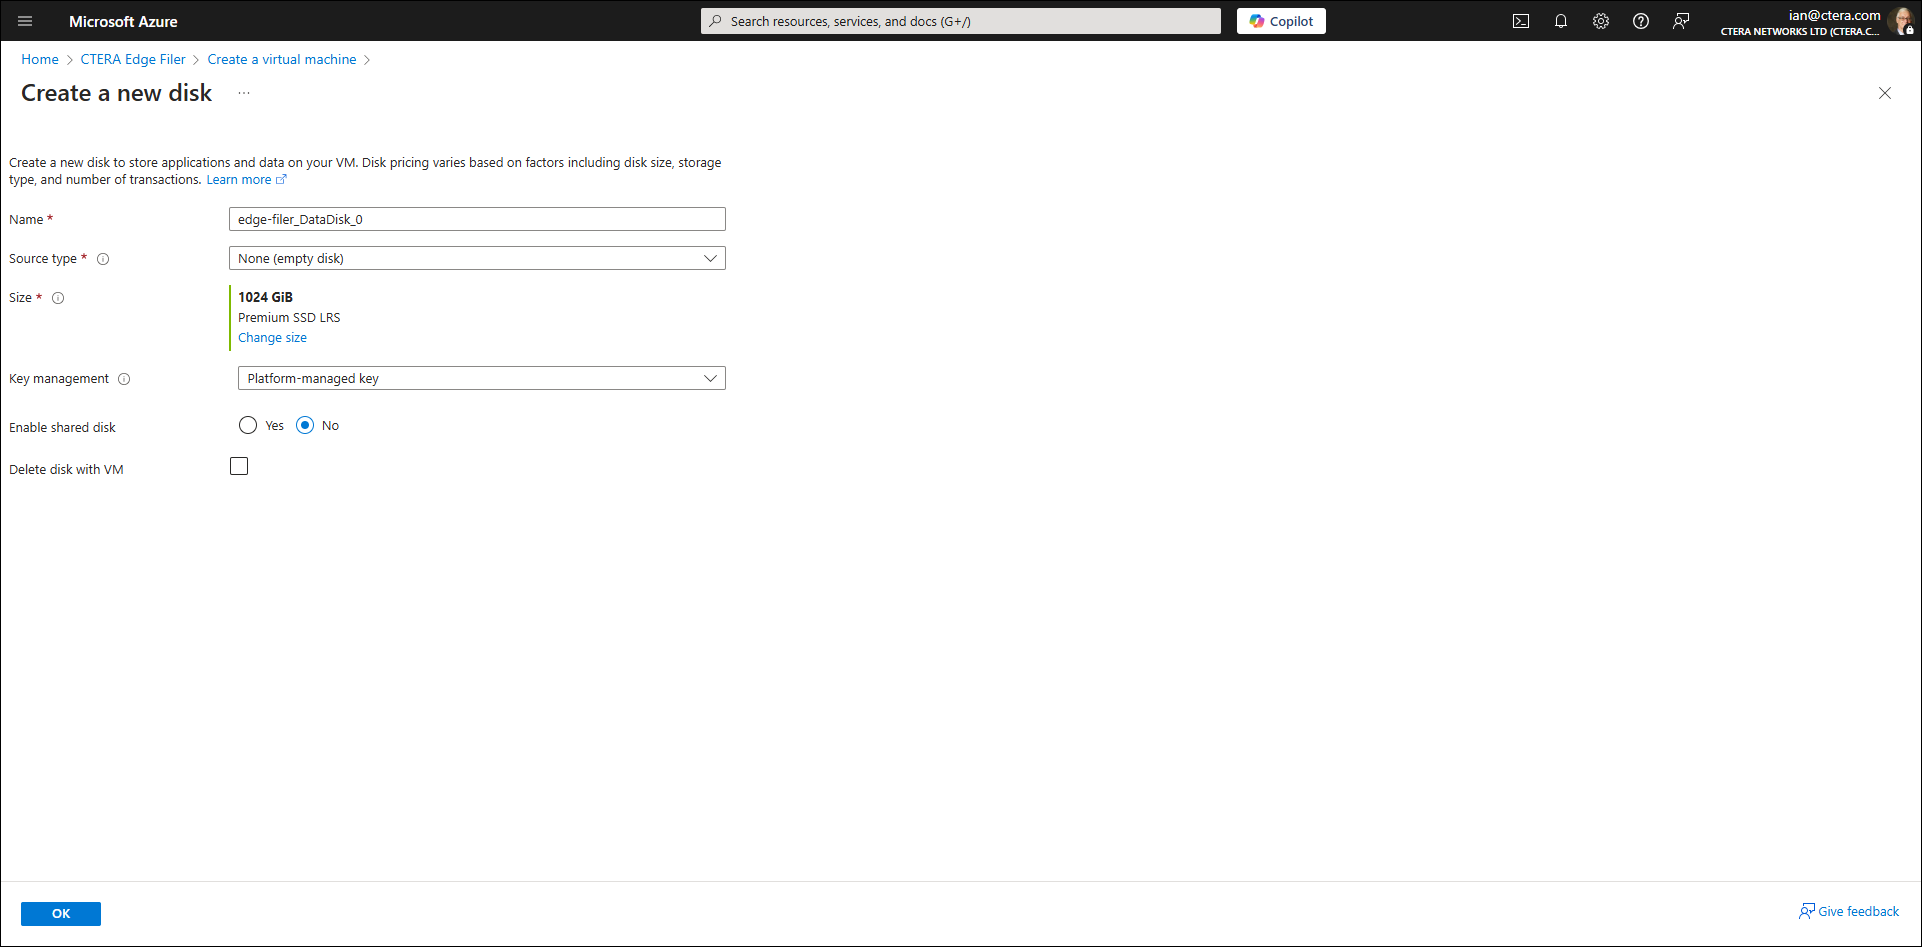
- If you need to change the amount of storage from the default, 1024 GiB, click Change size and enter the size of the disk in the Custom disk size (GiB) field. CTERA recommends storage of at least 20% of the Portal Global Name Space. The maximum storage is dependent on the license.
- For an EV16 license, the maximum is 16TB.
- For an EV32 license, the maximum is 32TB.
- For an EV64 license, the maximum is 64TB
- For an EV128 license, the maximum is 128TB.
- For an EV256 license, the maximum is 256TB.
- Click OK.
- Click OK.Note
You can add more than one disk, up to the maximum storage for the license.
- Click the Review + Create tab, or click Review + Create.Note
This procedure uses the defaults set by CTERA. Configuration details, such as network requirements, can be changed as required.
- Review the virtual machine details and after the virtual machine details have been validated, click Create.
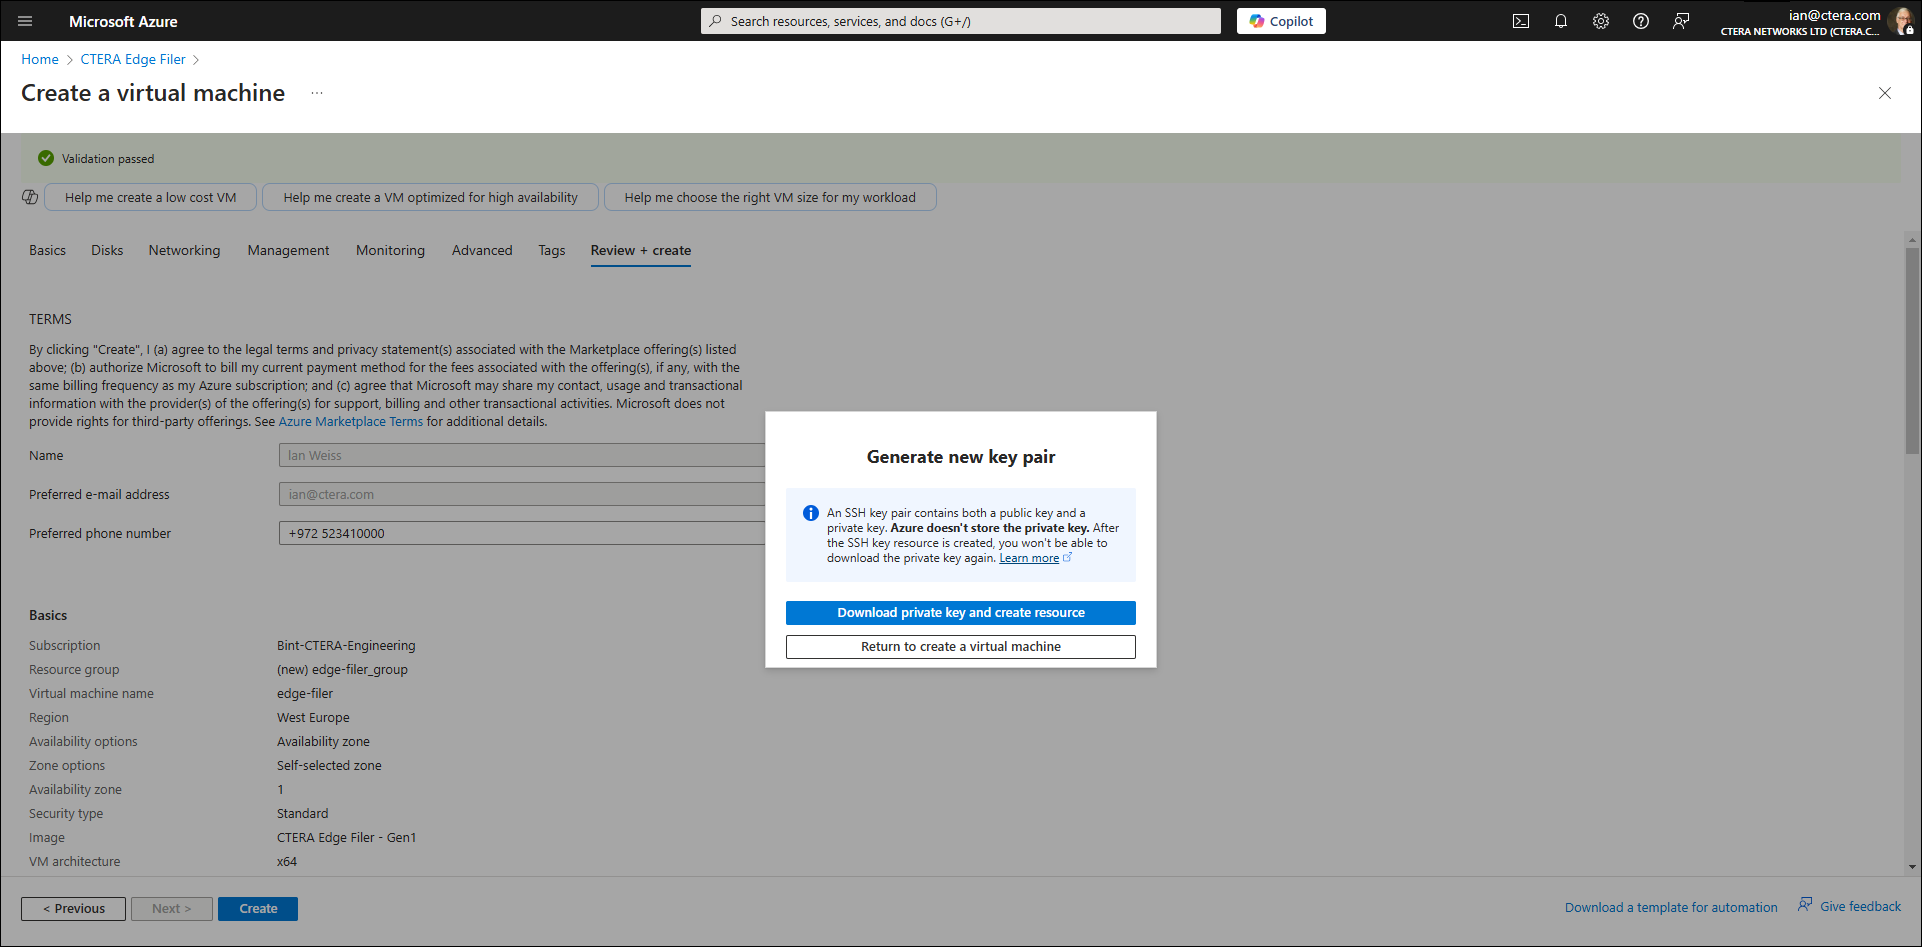
- Download the private key and create the resource and then click Return to create a virtual machine.
The machine starts to be deployed.
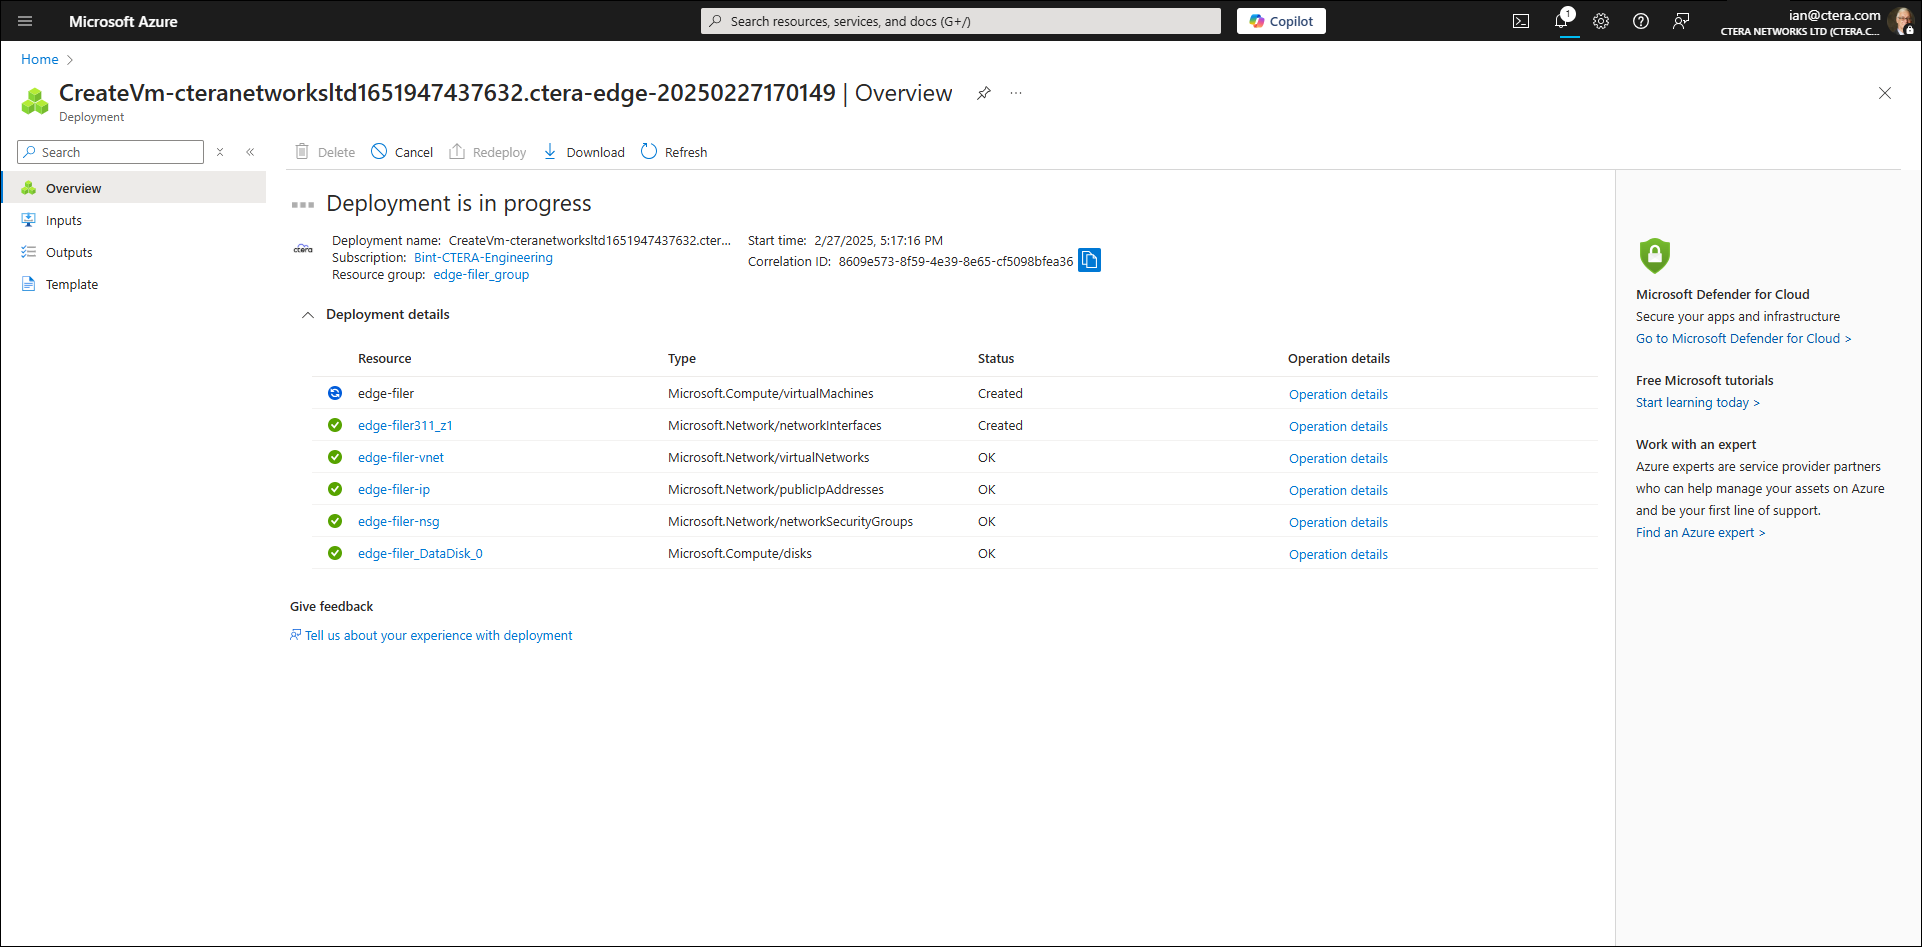
Deploying the machine can take a few minutes.
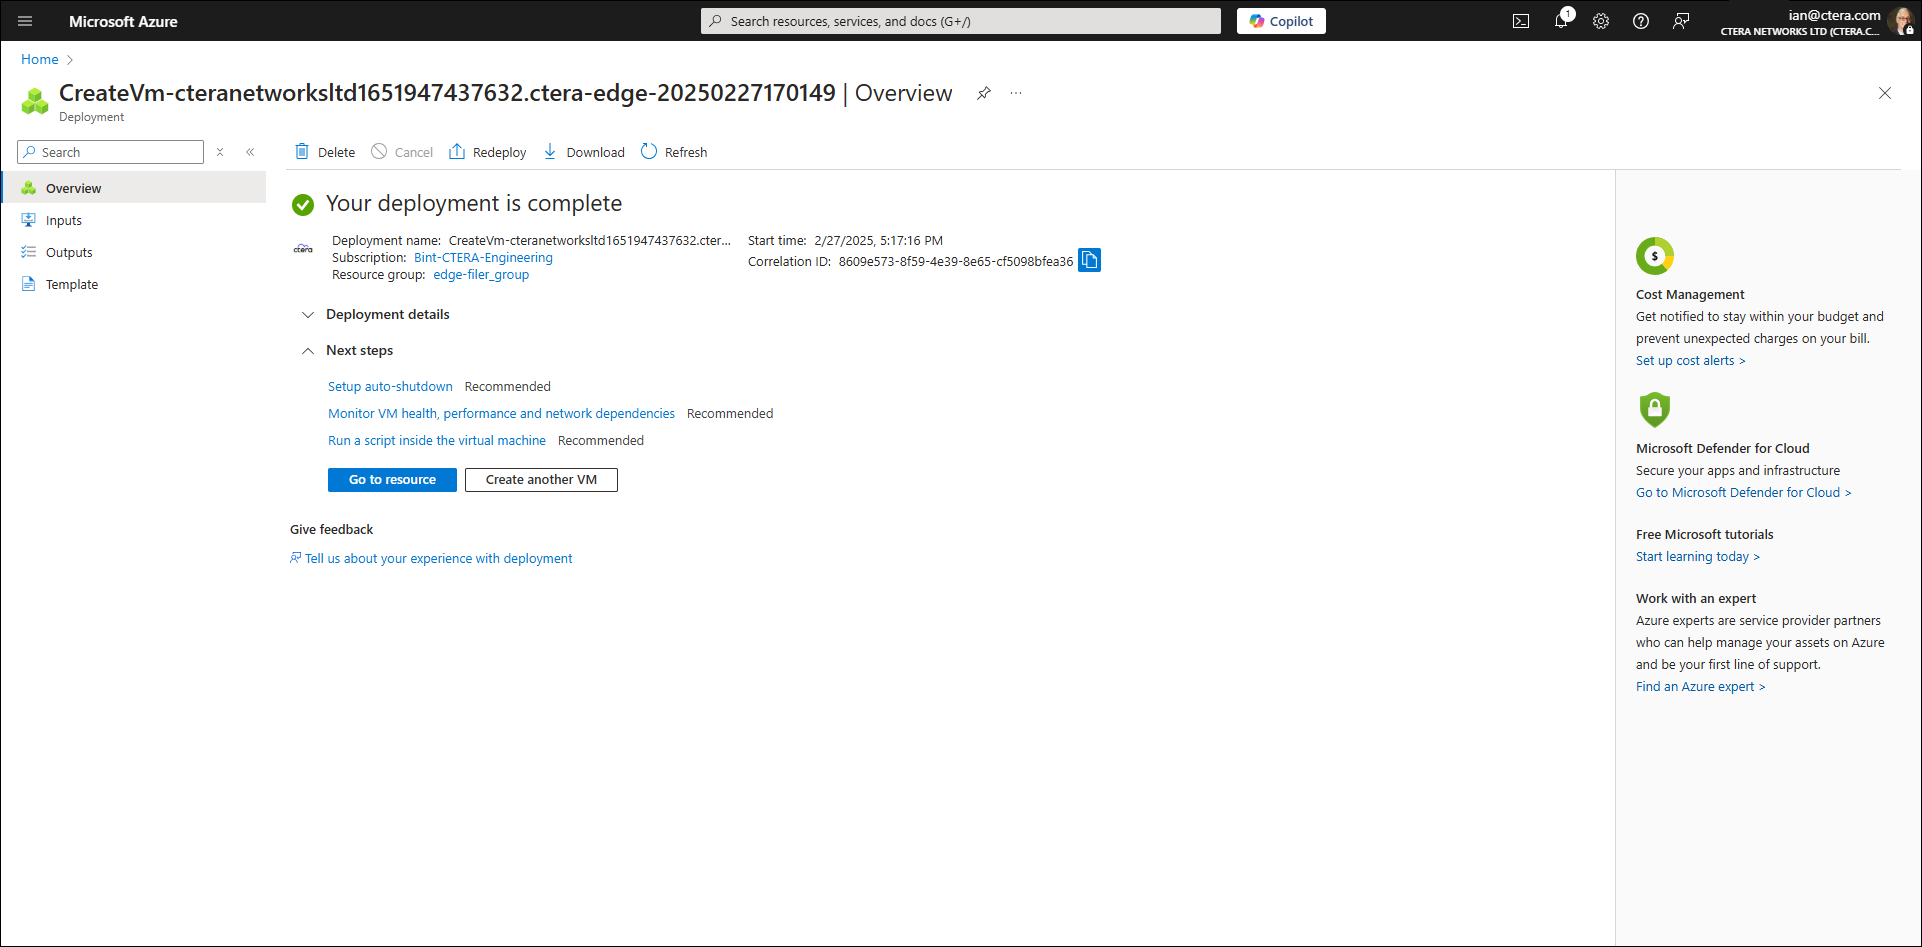
The machine is started automatically. - Click Go to resource to display the edge filer details.
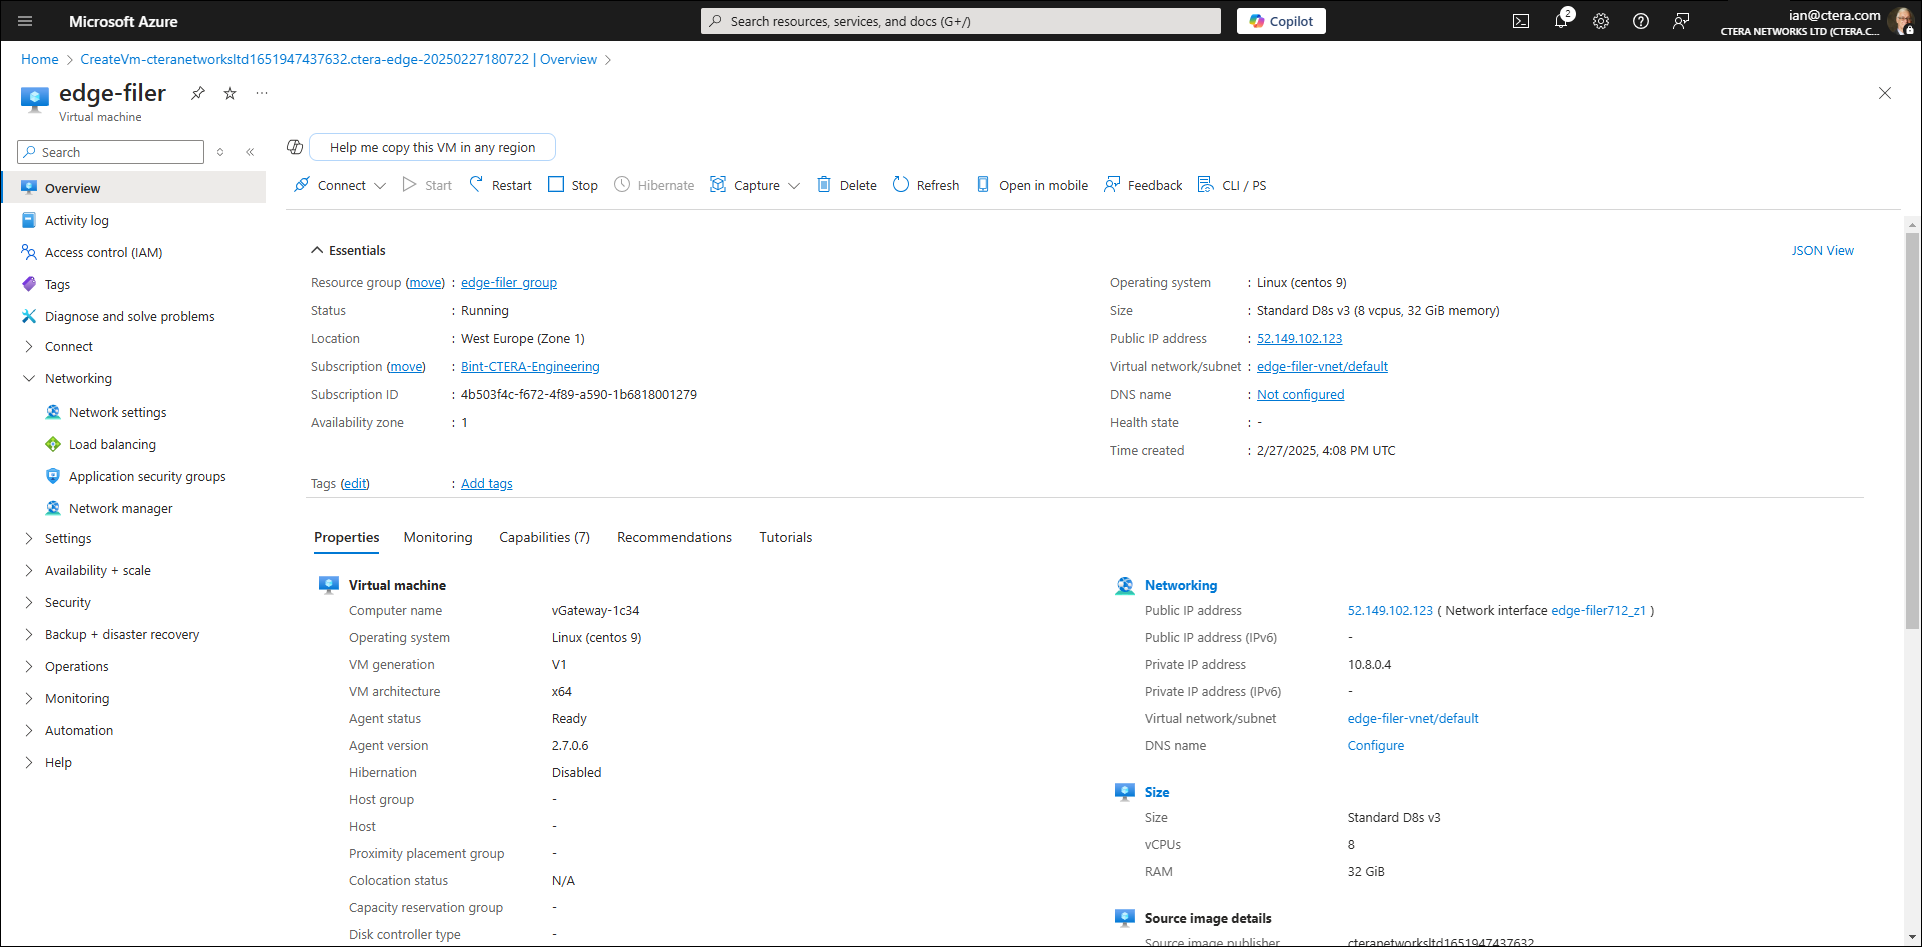
The virtual machine includes the OS disk and the added data disks, which are used for the edge filer data. - Note the Public IP address.
This is the IP address that you'll use to access and set up the edge filer. - Continue with First Time Setup.
- Upgrade the edge filer to include the latest patch releases, as described in Upgrading the Edge Filer.