Creating a Portal Image
- 2 Minutes to read
- Print
- DarkLight
- PDF
Creating a Portal Image
- 2 Minutes to read
- Print
- DarkLight
- PDF
Article Summary
Share feedback
Thanks for sharing your feedback!
To get the image vhd files from CTERA support:
- Log in to your Azure portal and access the Storage Accounts service to display the images.
The list of available storage accounts is displayed. - Either create a new storage account for the image or click the storage account to use for the image.
- The storage account details are displayed.
- Click Access Keys under Security + Networking in the navigation menu and note the Storage account name and the Key 1 key value.Note
Click Show keys to display the key.
- Click Storage browser in the navigation menu and then click Blob containers and select Add container.
The New container page is displayed. - Enter a name for the container and click Create.
- Click the container.
- Click Shared access signature under Security + Networking in the navigation menu.
The Shared access signature page is displayed. - Set the permissions and click Create.
- Copy the URI that is generated and save it.
The URI includes a shared access key.
To copy the vhd files:
- Run the following command from the folder where you saved AzCopy.exe for each vhd file:
AzCopy.exe cp "<source_uri>" "<destination_uri>"
source_uri – The source URI location and path of the vhd file obtained from CTERA.
destination_url – The destination URL.
The vhd file is copied to the container. This can take some time.
To create the CTERA Portal server instance:
Log in to your Azure portal and access the Images service to display the image obtained from CTERA support.
The list of available images is displayed.Click Create.
The Create an image page is displayed.
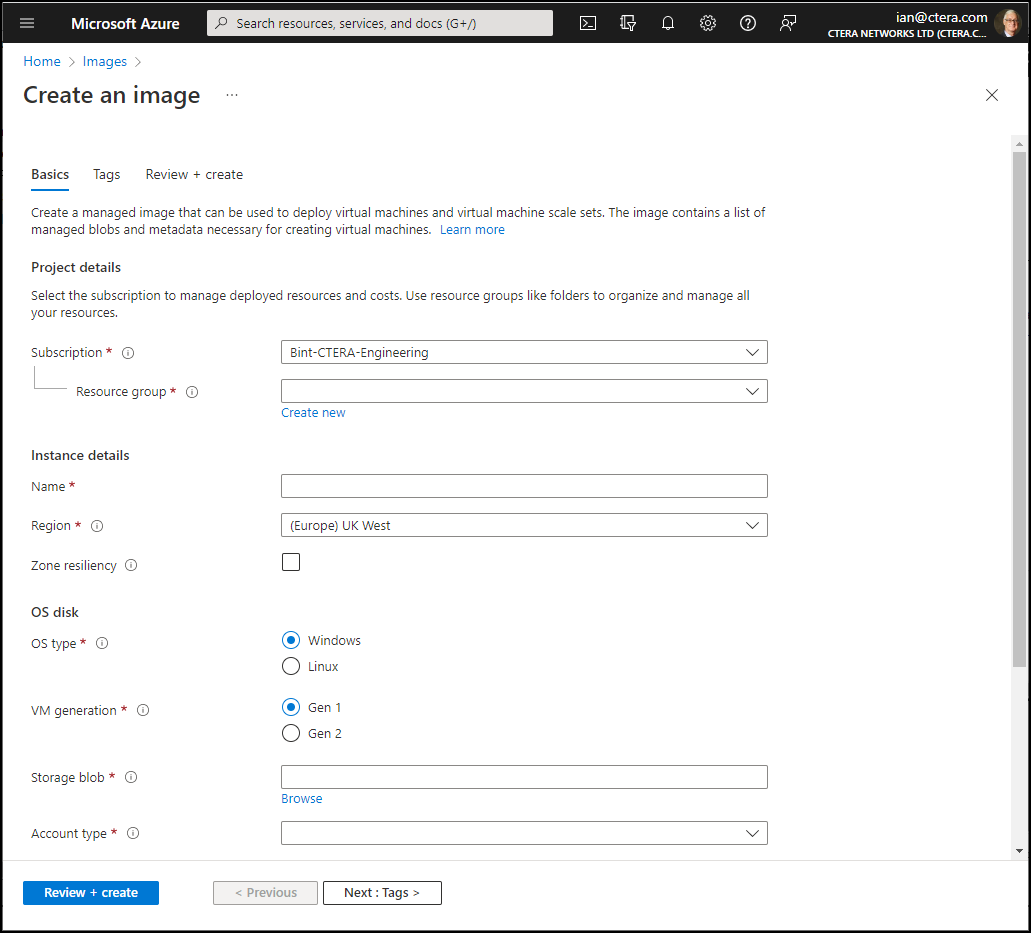
Enter the following in the Basics tab.
Resource group – The resource group to be used. The resource group must use premium storage.
Name – A name to uniquely identify the virtual machine.
Region – The region to host the image.
OS type – SelectLinux.
VM generation – SelectGen 1.NoteYou must select
Gen 1.Storage blob – Either enter the storage blob URI for the OS vhd file from CTERA or click Browse.
The Storage accounts page is displayed.- Select the storage account from the list.
The Containers page is displayed. - Select the container from the list.
The container content is displayed. - Select the OS vhd file received from CTERA and click Select.
Account type – Select
Premium SSD.- Select the storage account from the list.
Leave the other fields with their defaults and click Review + create.
The information is checked and if okay, it is validated.
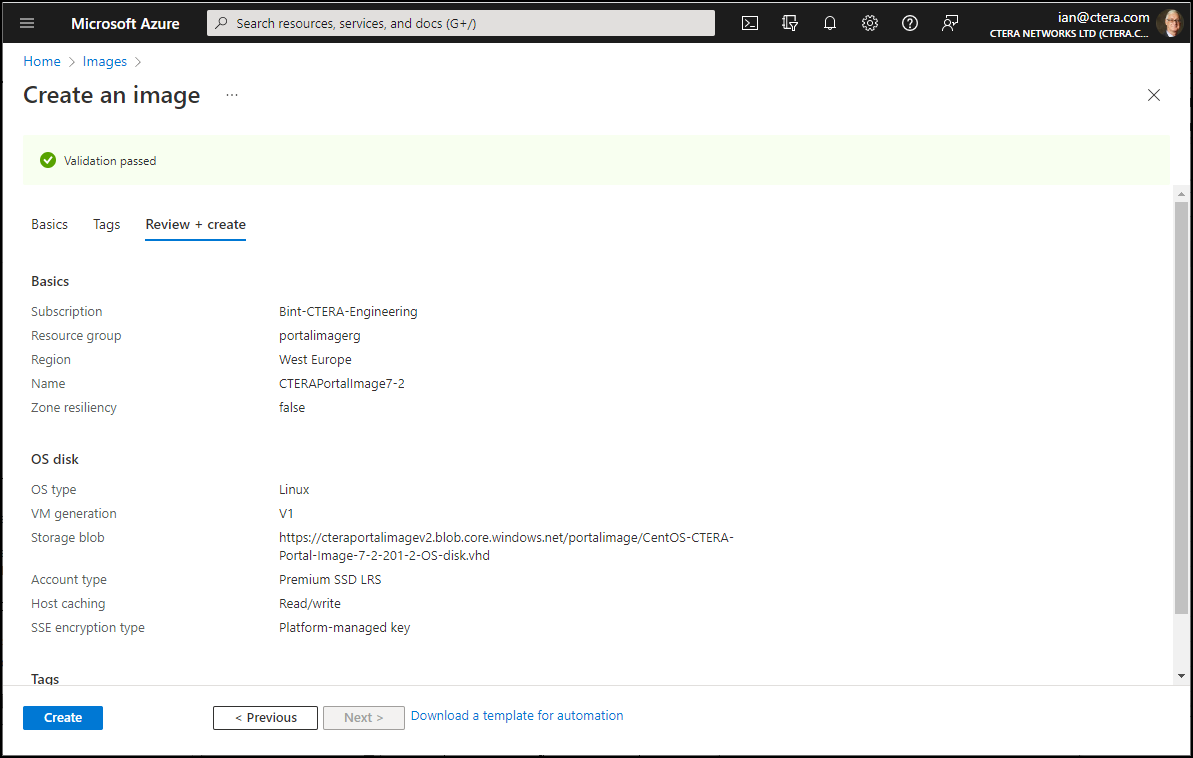
Click Create.
Deployment starts. On completion the following screen is displayed.
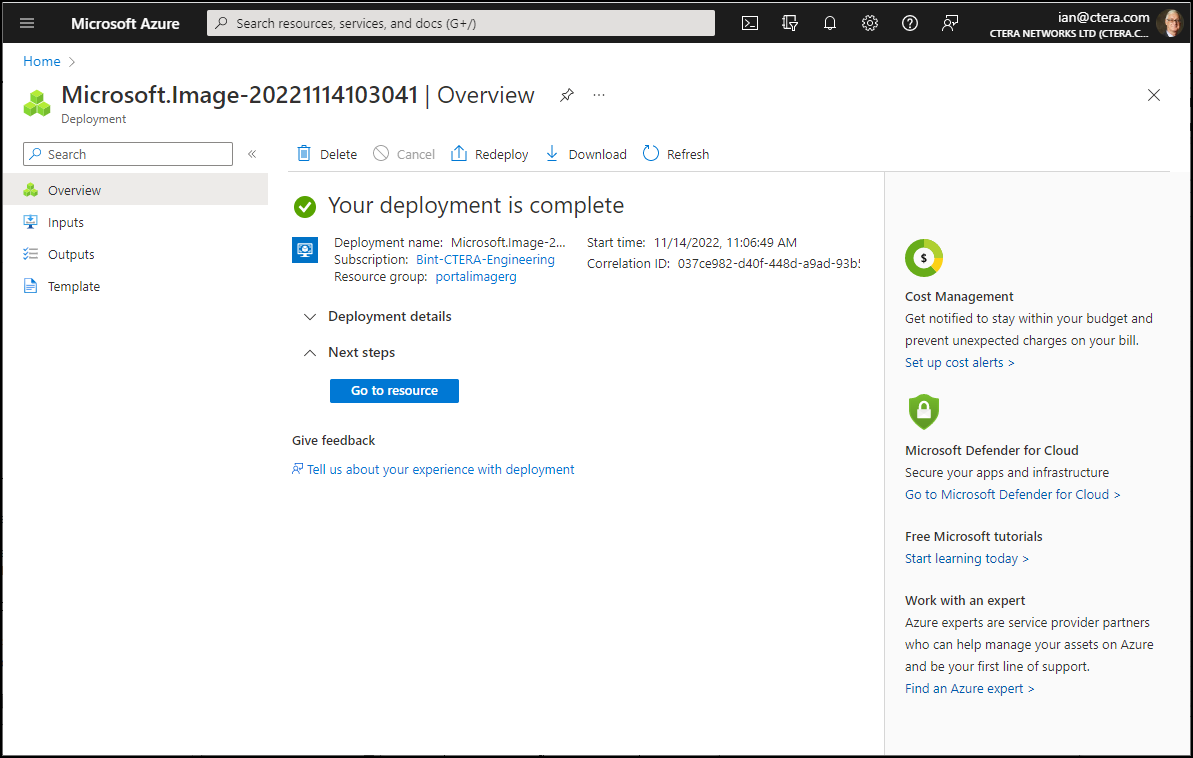
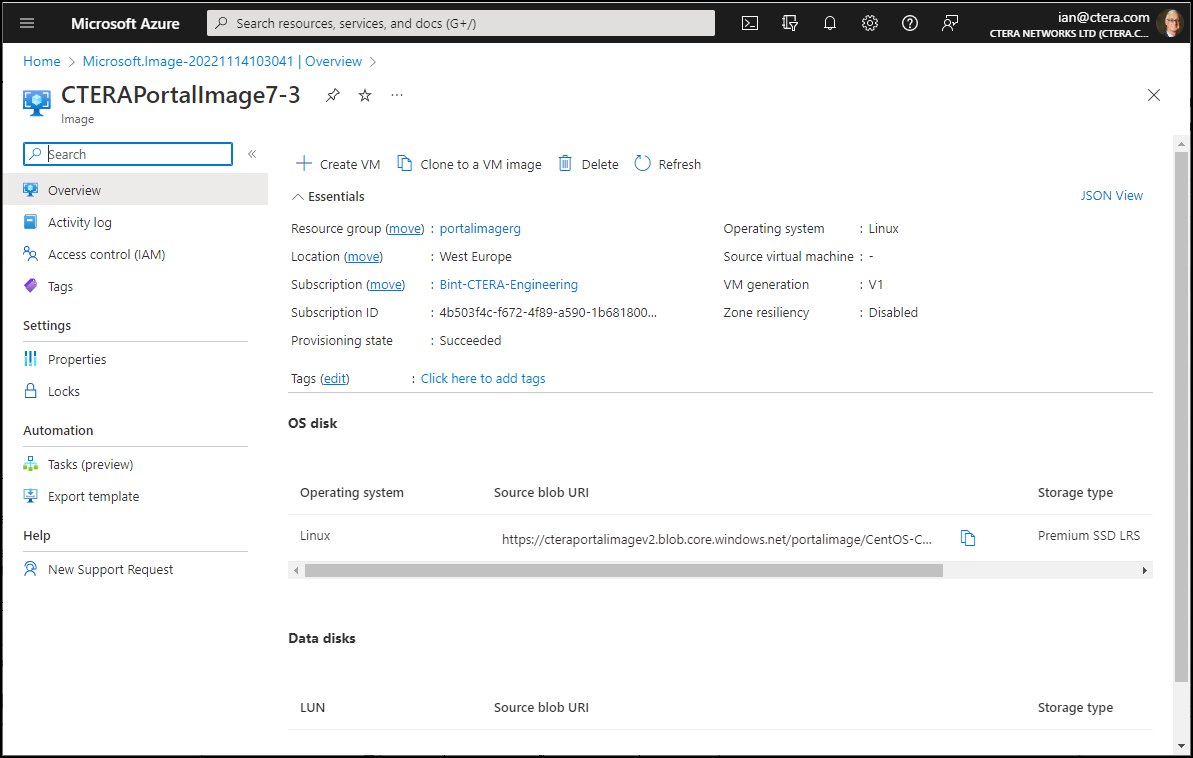
Click Go to resource.
The image details are displayed.


Was this article helpful?