Installing a CTERA Secured Enterprise File Services Platform Instance
- 3 Minutes to read
- Print
- DarkLight
- PDF
Installing a CTERA Secured Enterprise File Services Platform Instance
- 3 Minutes to read
- Print
- DarkLight
- PDF
Article Summary
Share feedback
Thanks for sharing your feedback!
Use the following workflow to install CTERA Secured Enterprise File Services Platform.
- Install CTERA Secured Enterprise File Services Platform: Creating a Portal Instance.
- Logging in to the Server to Create the Storage
- For the first server you install, follow all of the steps in Configuring the Primary Server.
- For any additional servers beside the primary server, configure the server as an additional server as described in Installing and Configuring Additional CTERA Portal Servers.
- Make sure that you replicate the database, as described in Configuring the CTERA Portal Database for Backup.
- Backup the server as described in Backing Up the CTERA Portal Servers and Storage.
Creating a Portal Instance
To create a CTERA Secured Enterprise File Services Platform:
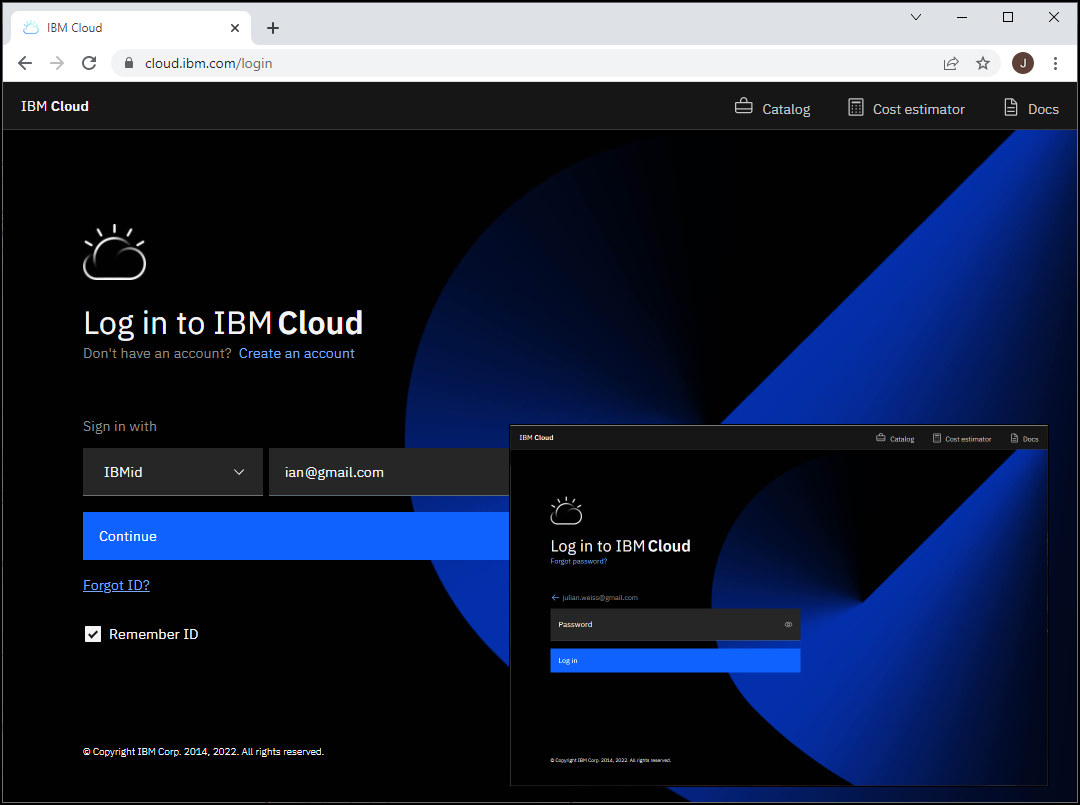
- Log in to the IBM Cloud console.
- Search for
CTERAorSecured Enterprise File Services Platform.
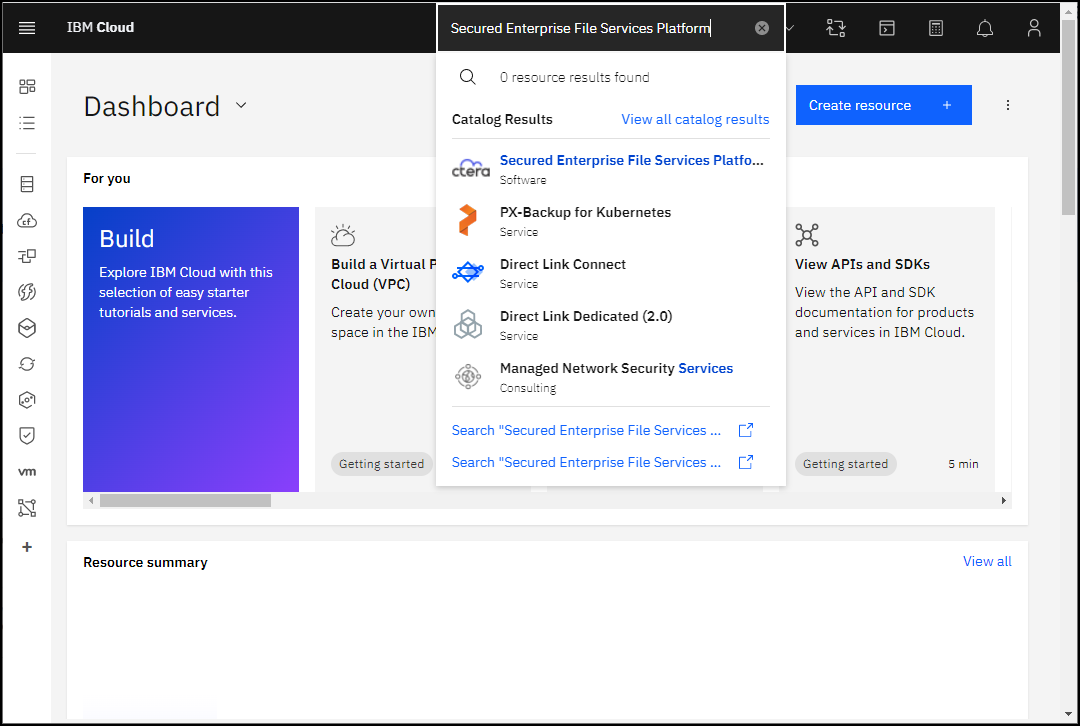
- Click Secured Enterprise File Services Platform.
The Secured Enterprise File Services Platform page is displayed.

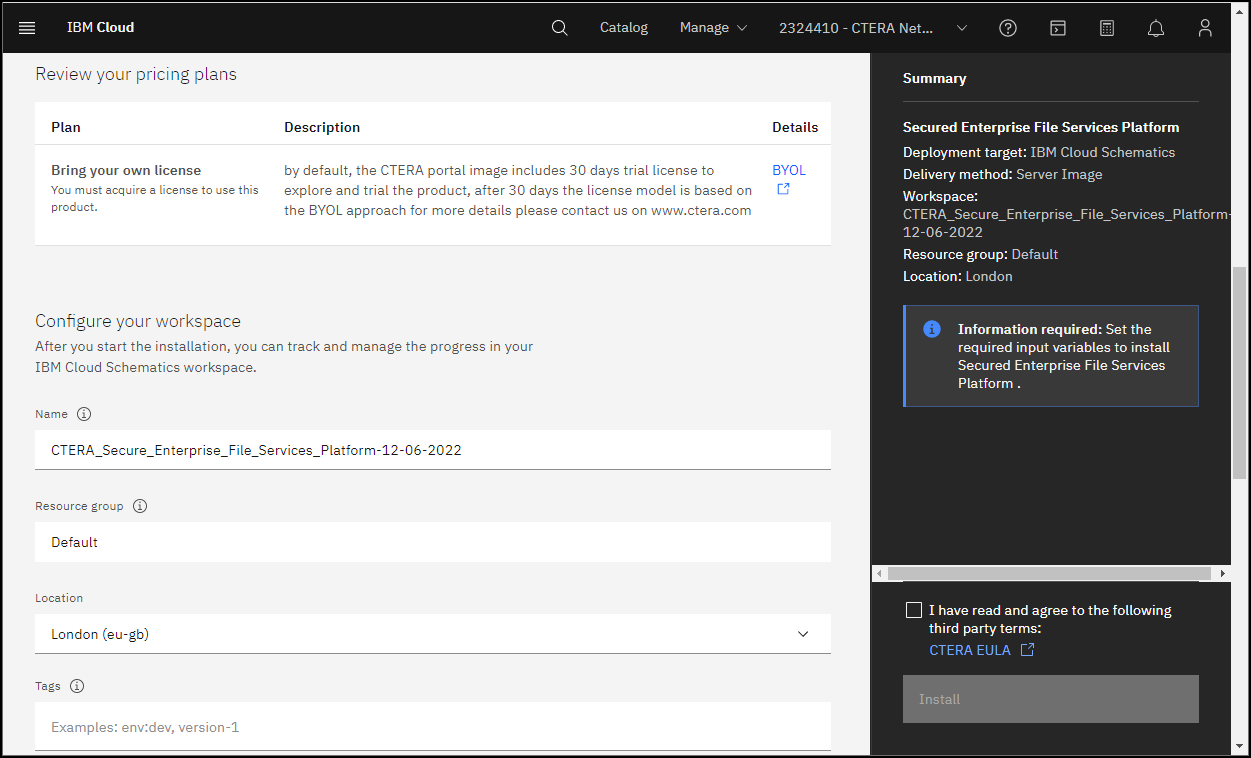
The CTERA Secured Enterprise File Services Platform is created using a Terraform template in a CTERA specific workspace. - Scroll down and under Review your pricing plans you see that you need a license which you get from CTERA support.Note
You enter the license after the installation completes. Without a license you can continue using a 30 day trial license that is included with the Secured Enterprise File Services Platform.
- Under Configure your workspace provide a name for the workspace and the Location for the workspace.
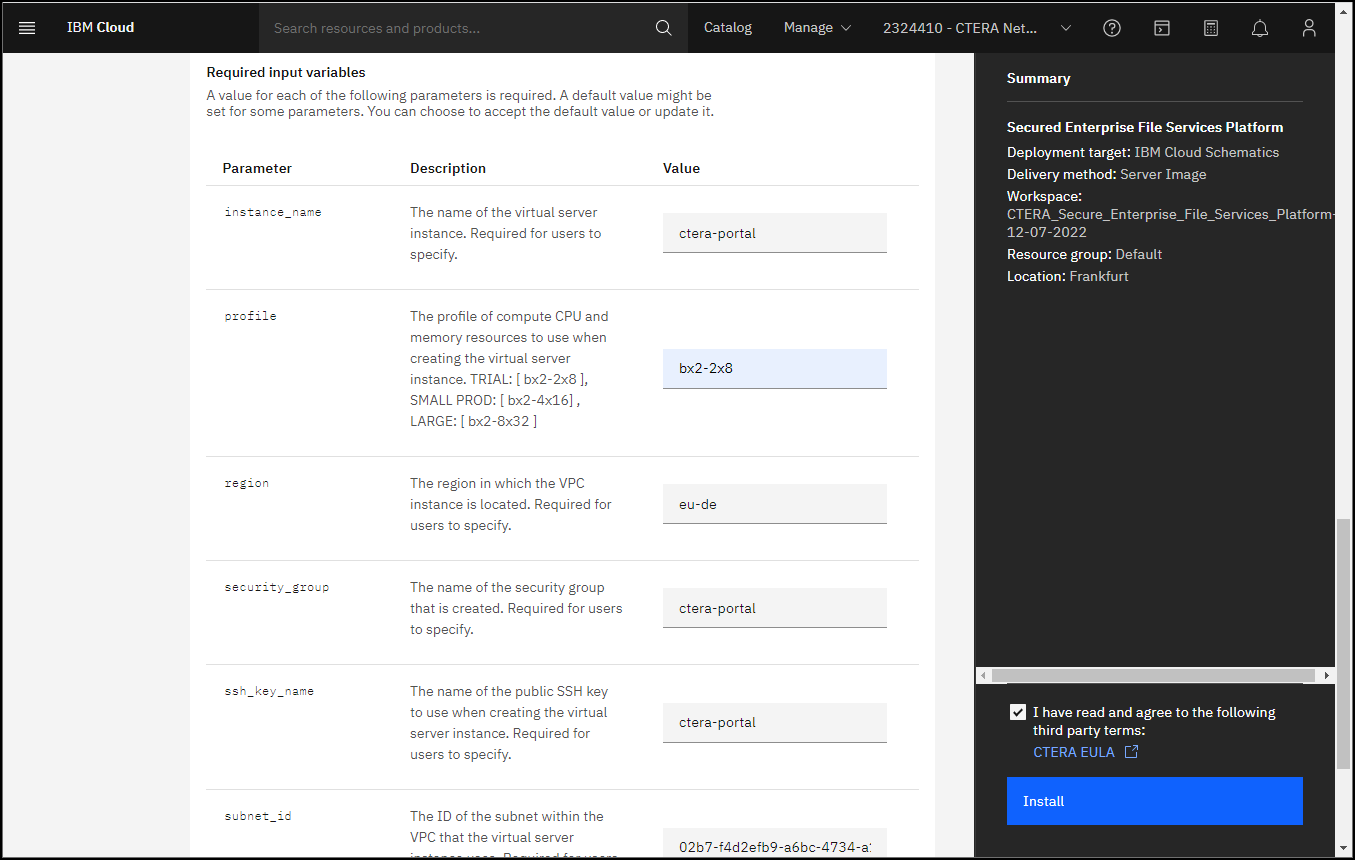
- Scroll down and specify the Secured Enterprise File Services Platform details under Set the input variables.
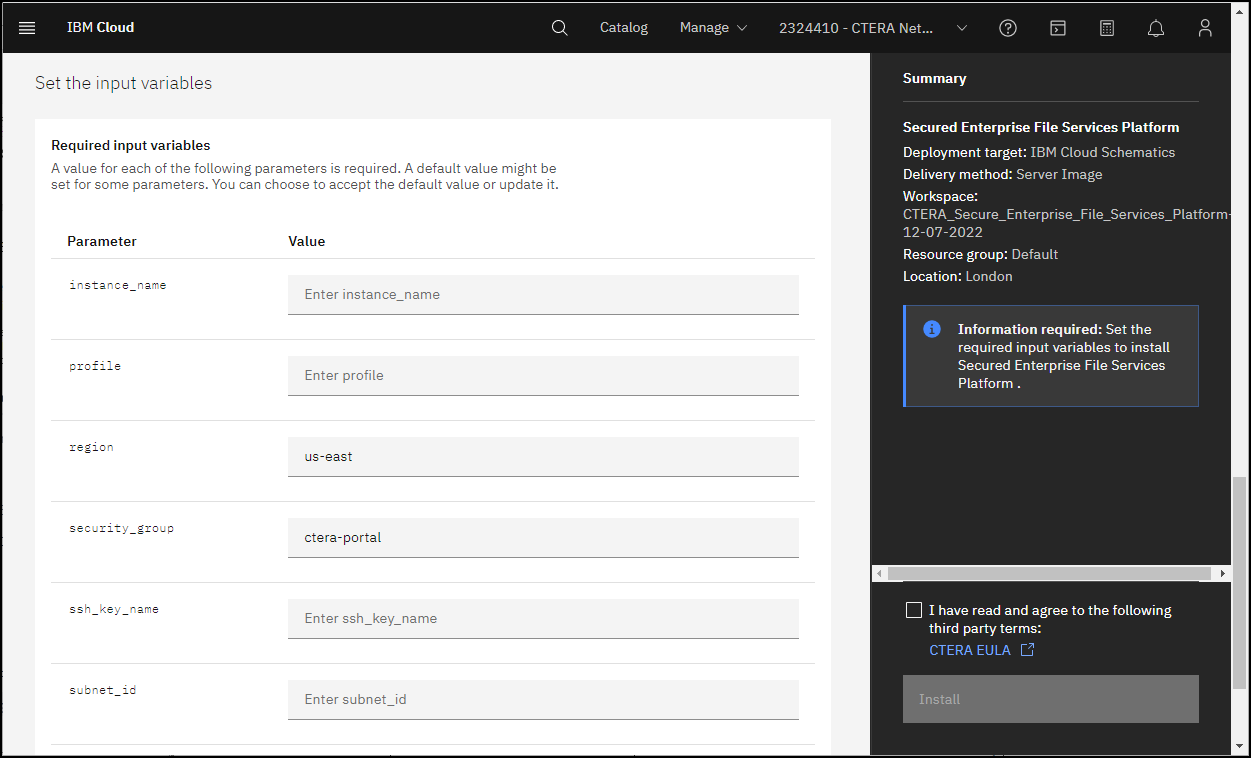
instance_name – The name you want for Secured Enterprise File Services Platform.
profile – The size of the virtual instance. In a small or test environment, with a single server deployment, bx2-2x8 is sufficient. In a production environment, with a multi-node deployment, the primary database servers requires** bx2-4x16**. When an application server will handle up to the maximum 10,000 clients, CTERA recommends bx2-8x32.
region – The region where the VPC is located.
security_group – The name you want forthe security group.
ssh_key_name – The name of the SSH key. For details, see Verifying the IBM Cloud Environment.
subnet_id – The ID of the subnet that you want to use for the Secured Enterprise File Services Platform. The specified subnet is what determines the VPC that is used. For details, see Verifying the IBM Cloud Environment. - Confirm reading the CTERA EULA and click Install.
- After the installation has completed, click VPC Infrastructure > Virtual server instances.
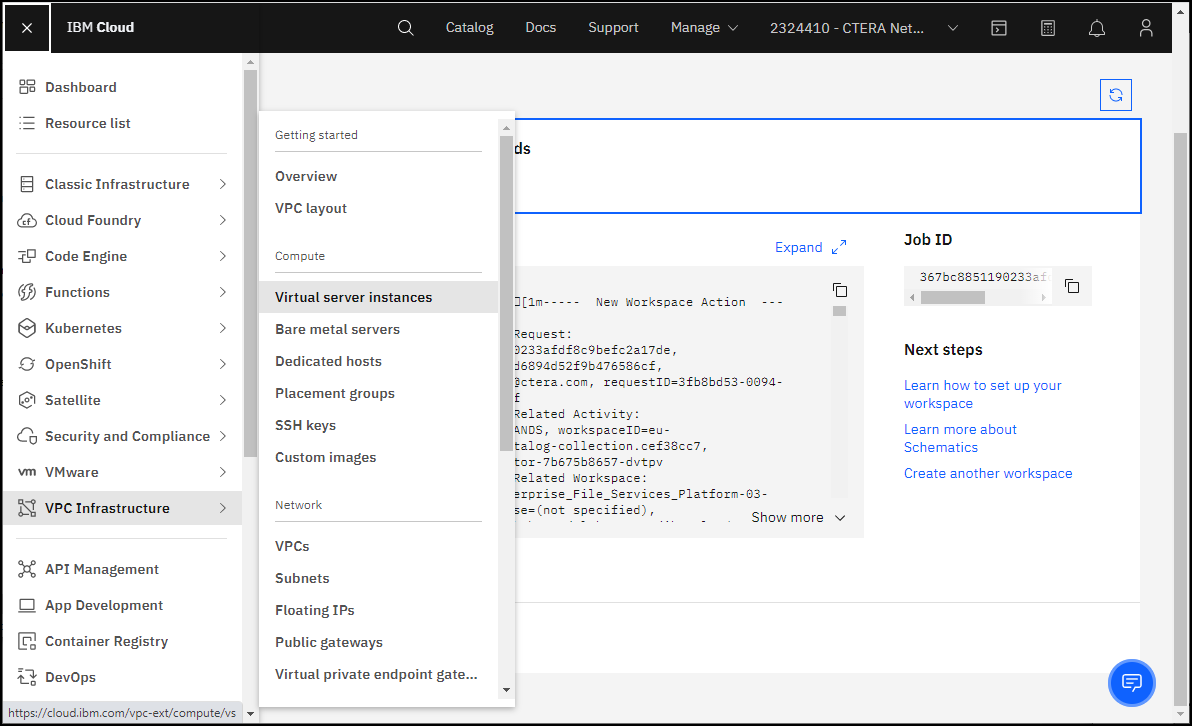
The Virtual server instances for VPC page is displayed.
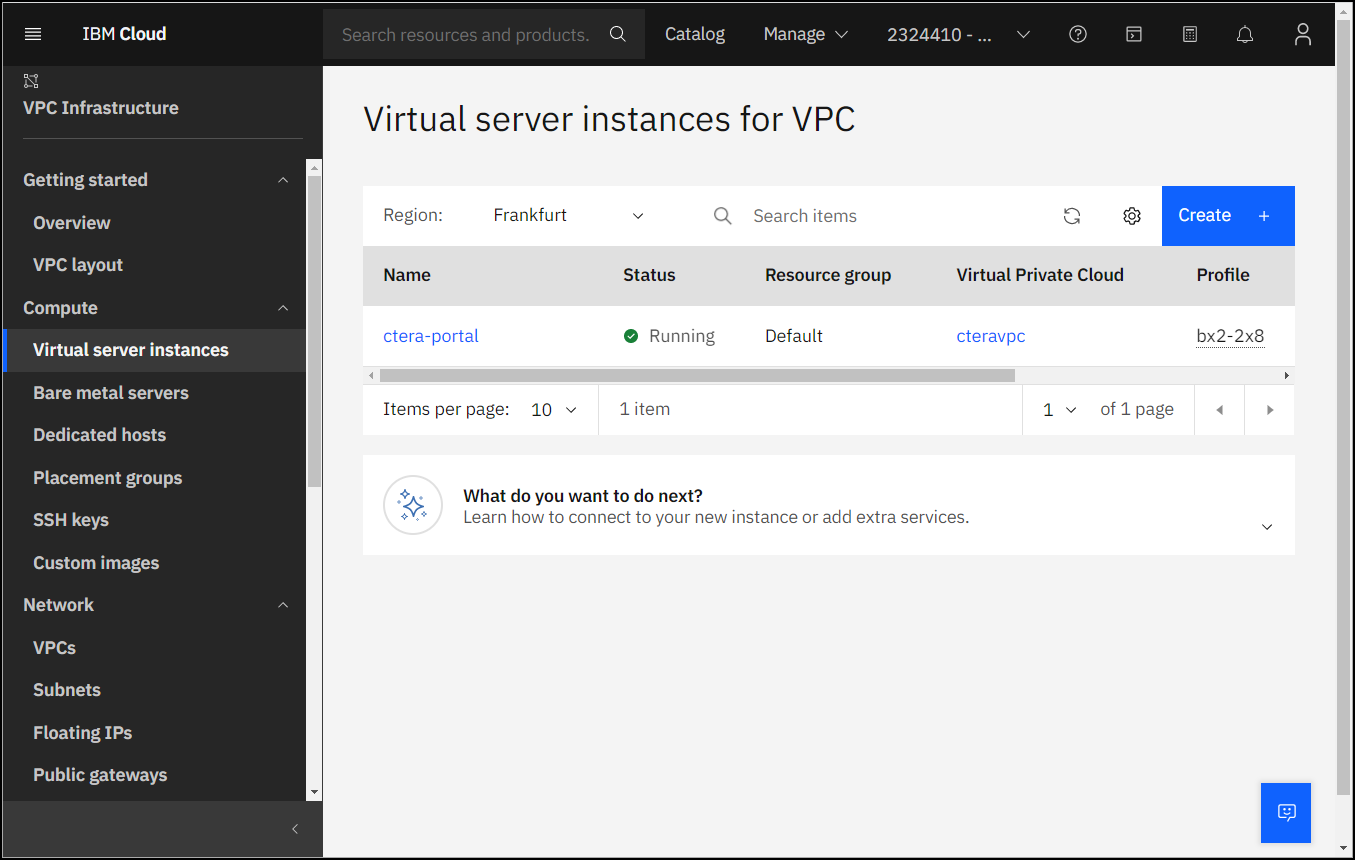
- Click the virtual server instance just created.
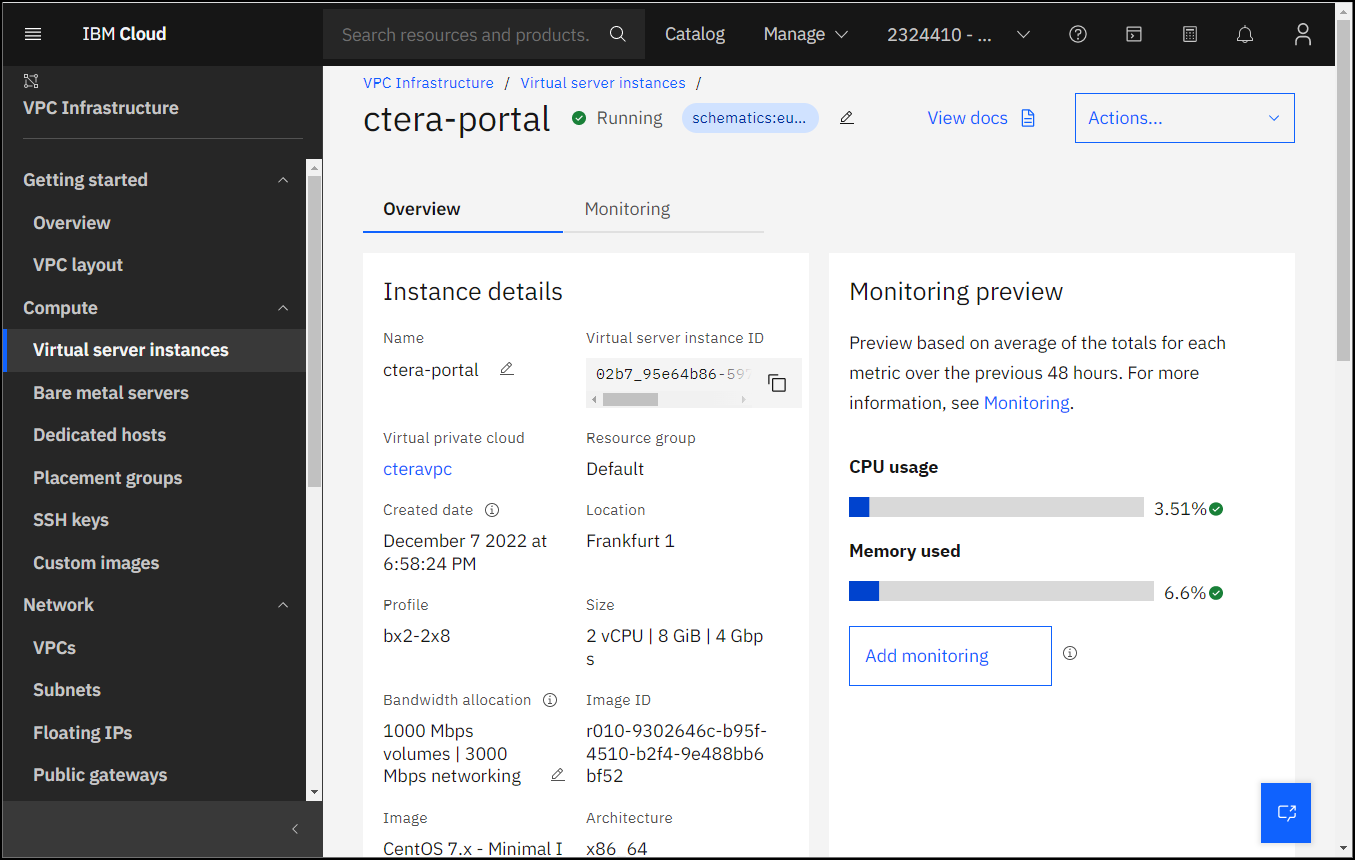
- Scroll down to Network interfaces.
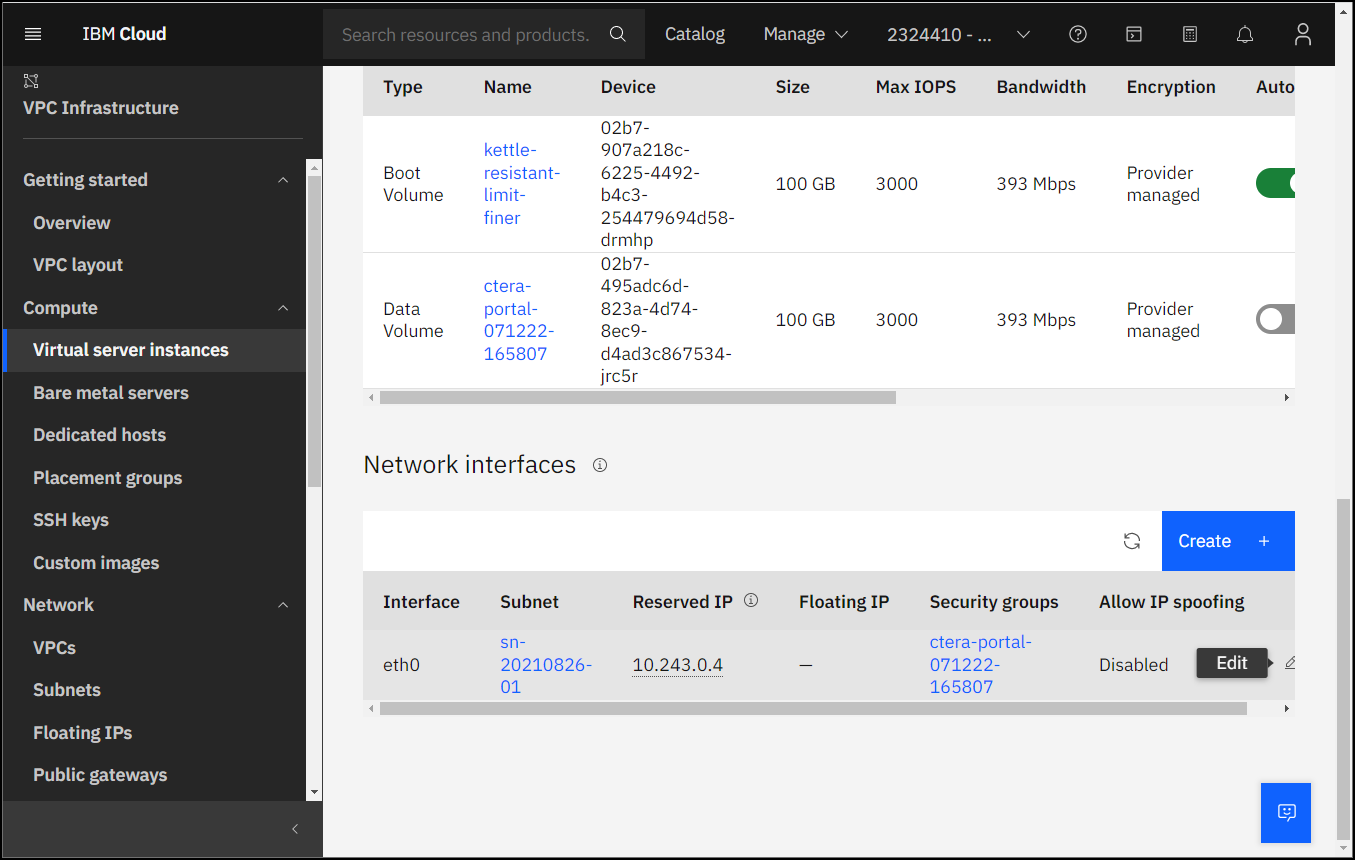
- Click the pencil icon to the right of the network interface to edit the interface to add an external, floating, IP.
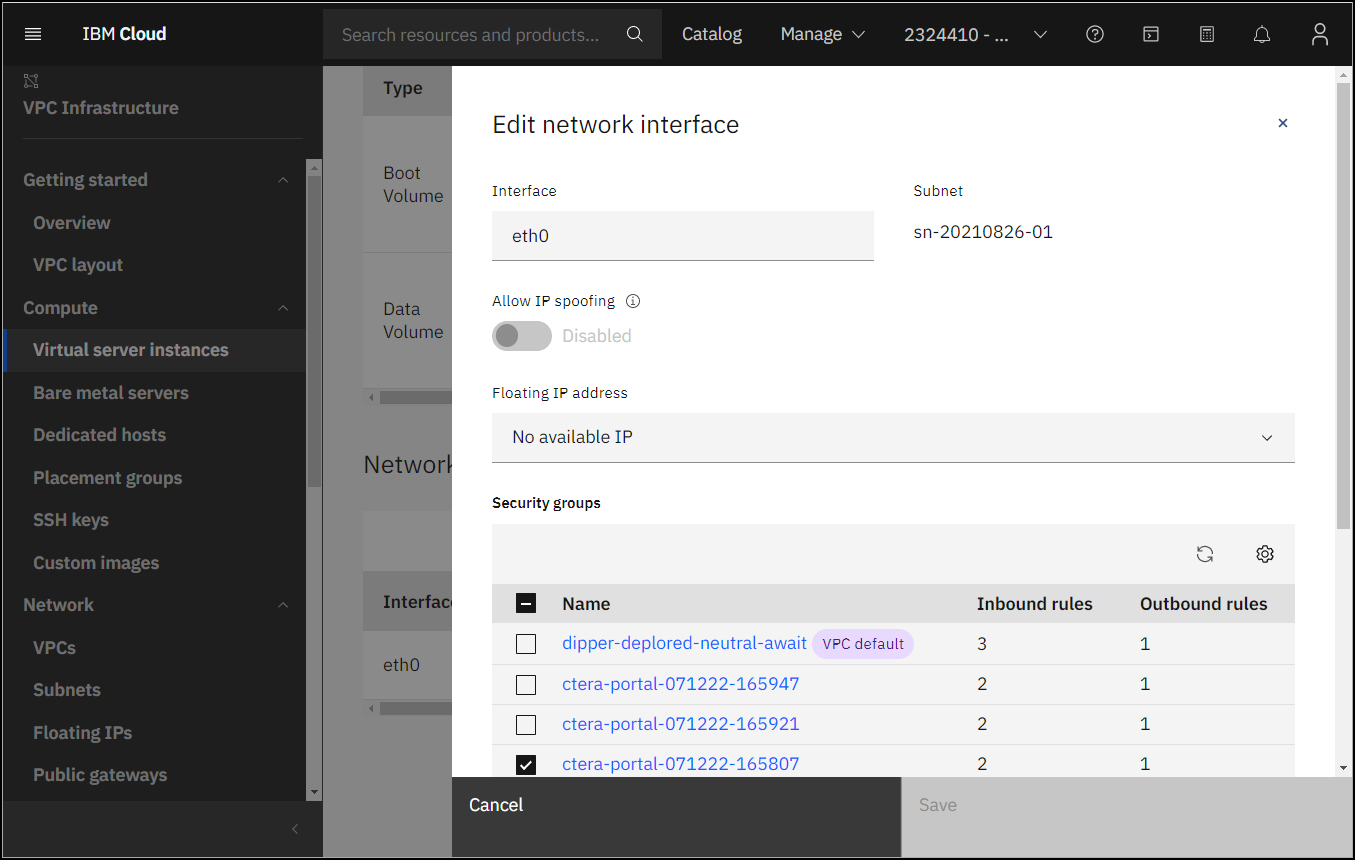
- In the Floating IP box, select Reserve a new floating IP.
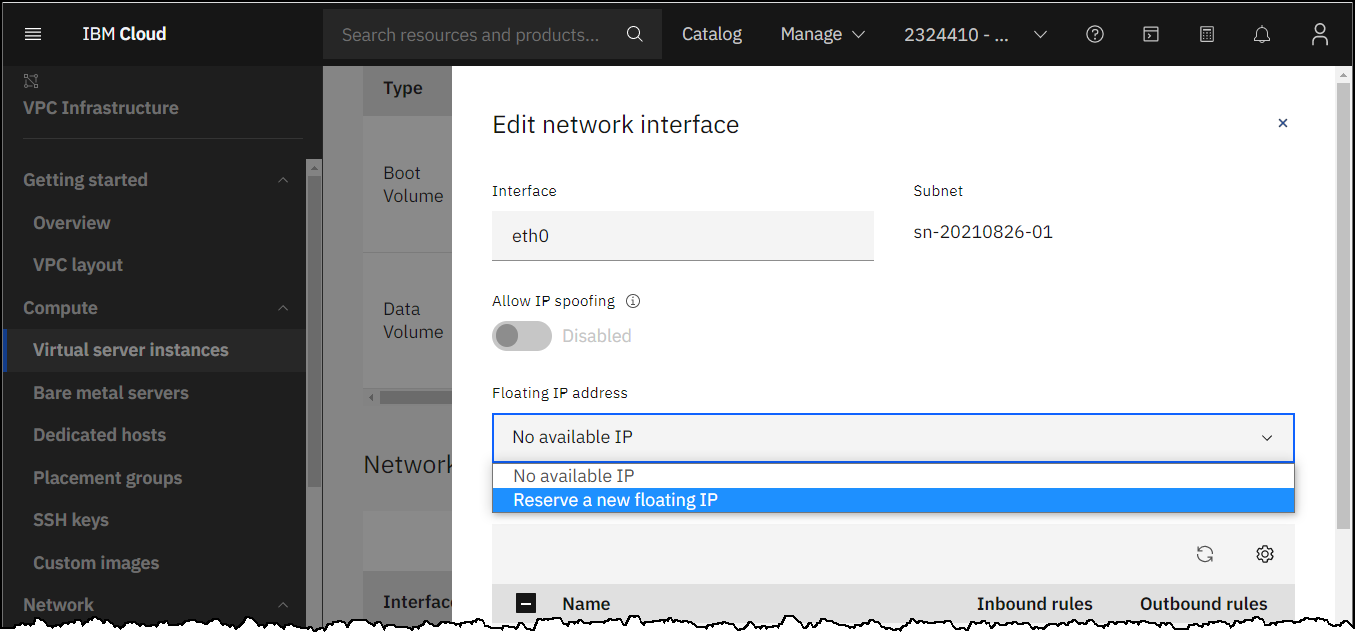
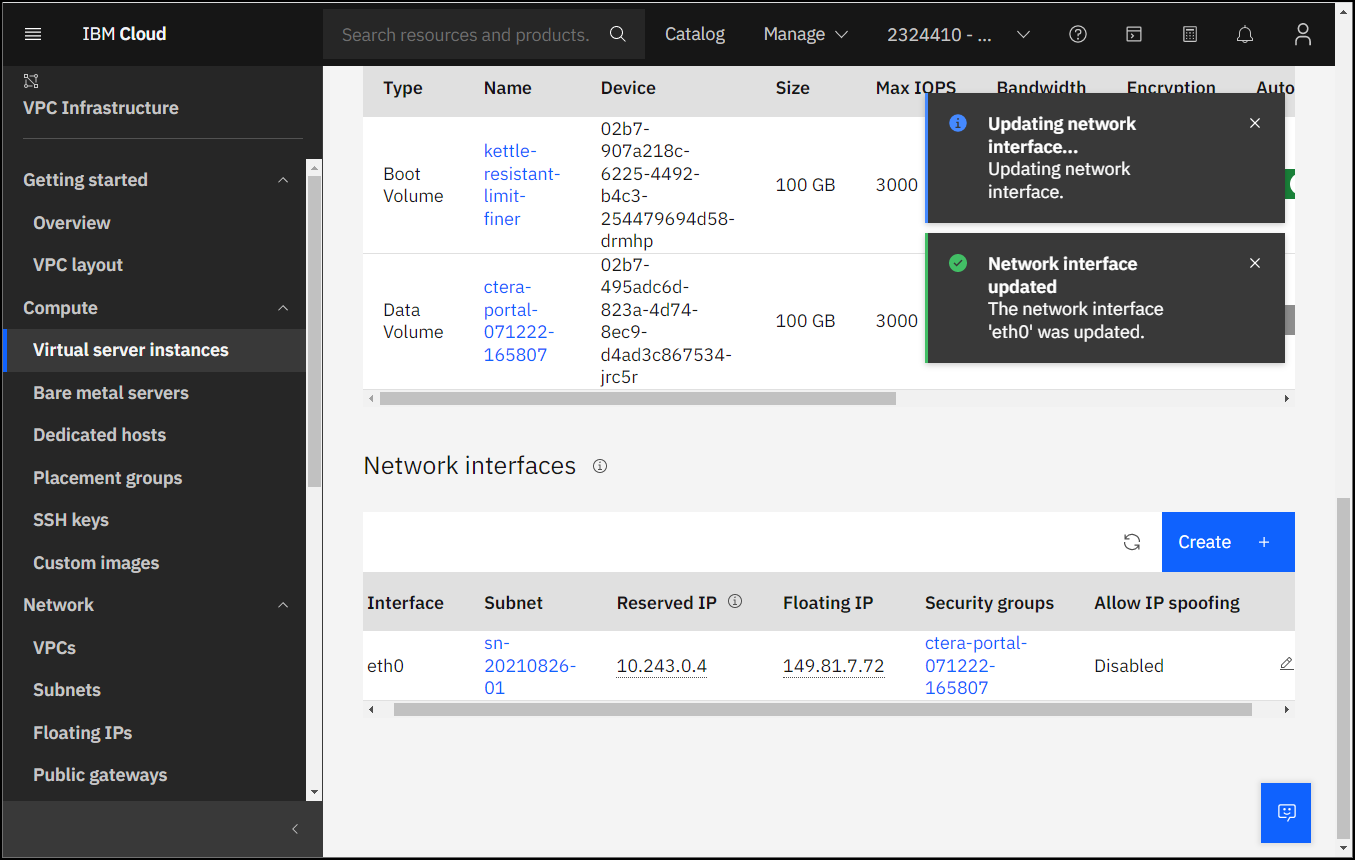
- Click Save.
- For the primary database server and secondary, replication, server, click the virtual server instance.
- Scroll down to Storage volumes.
- Click Attach.
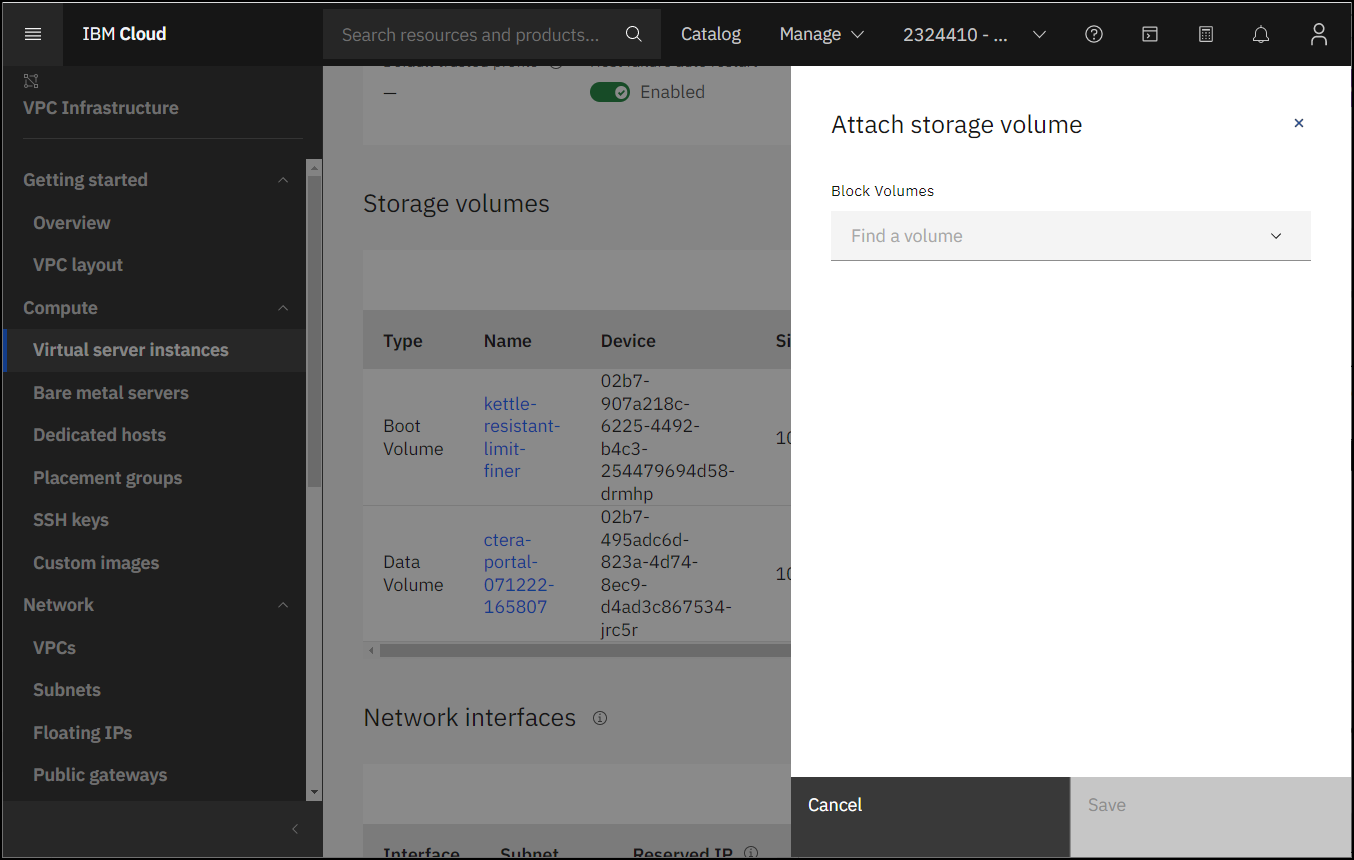
- Click in Block Volumes and select Create a data volume.
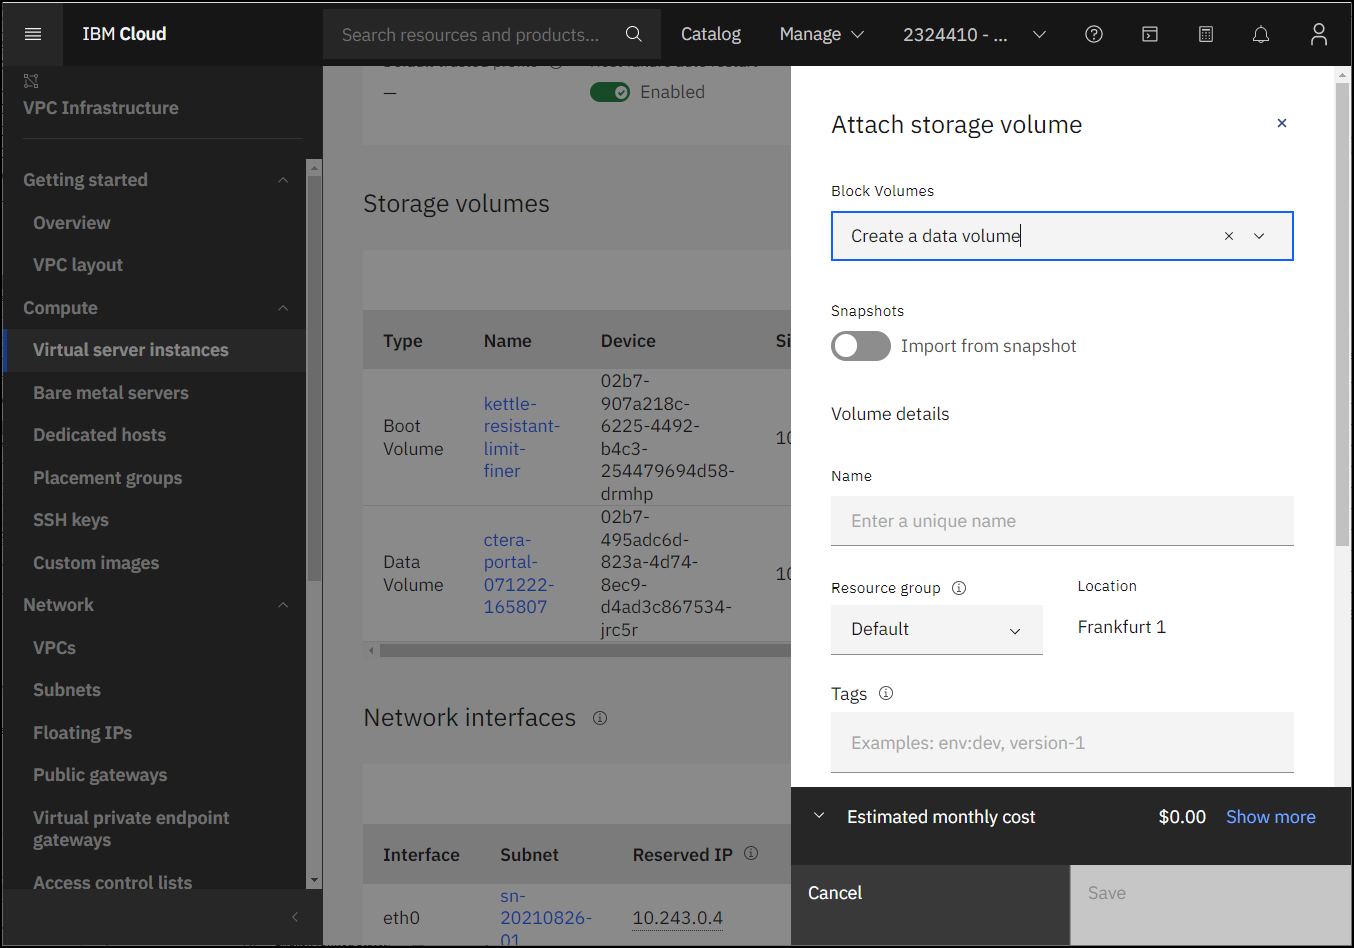
- Enter the following:
Name – A name to uniquely identify the archive pool disk.
Size – The size of the archive pool disk.The minimum archive pool should be 200GB but it should be sized around 2% of the expected global file system size.
3 IOPS/GB (General Piurpose). - Click Save.
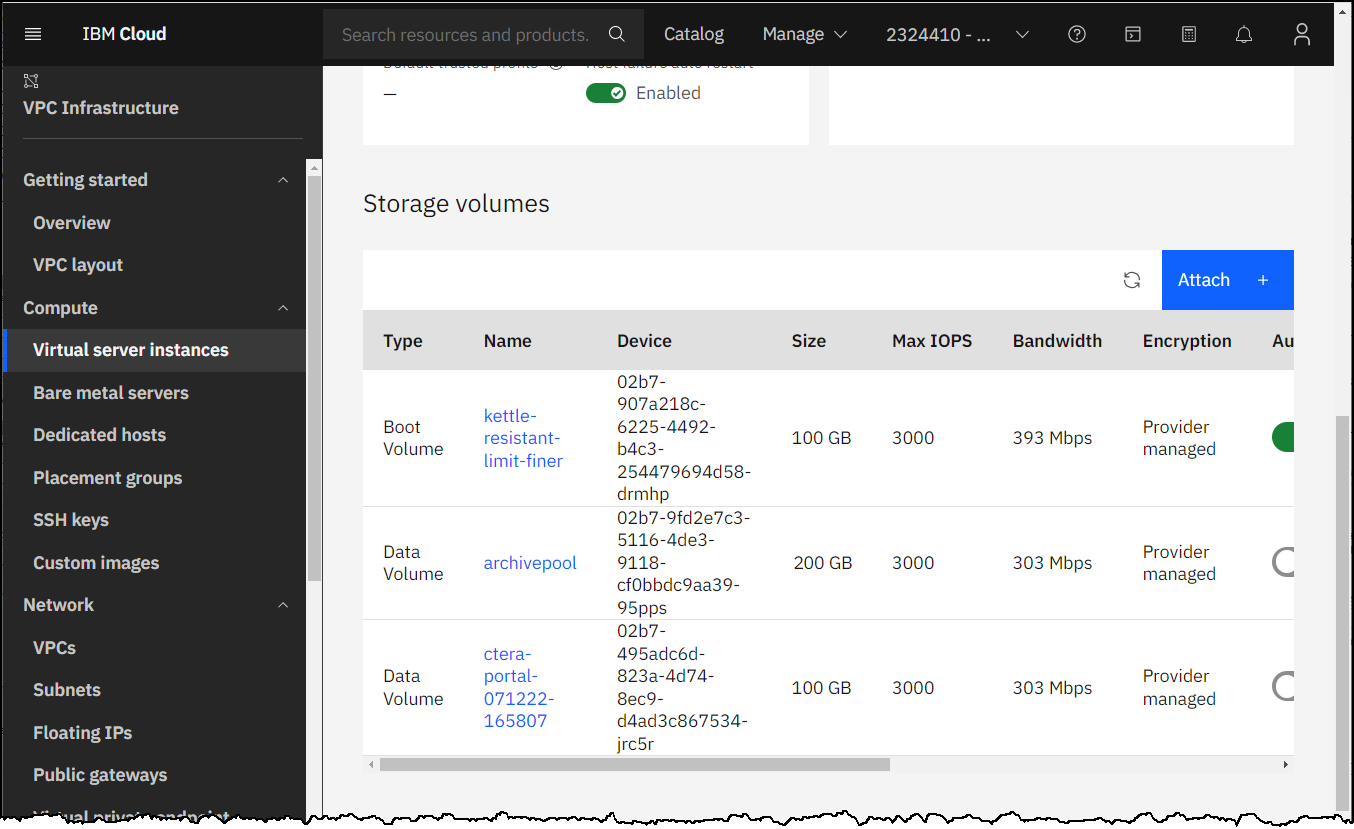


The server instance is defined with a floating, public, IP that can be used to access the CTERA Portal.

Logging in to the Server to Create the Storage
You need to create a data pool and an archive pool.
On the primary database server and when PostgreSQL streaming replication is required, also on the secondary, replication, server, create an archive pool. See Using PostgreSQL Streaming Replication for details about PostgreSQL streaming replication.
To create the data and archive pools:
- Click the 3 vertical dots to the right of the instance and select Open VNC console.
- Log in to the CTERA Portal as root, with the password
ctera321. - Run the following command:
fdisk –l. - Run the following command to create the data pool:
portal-storage-util.sh create_storage Device
Where Device is the name of the non-boot volume listed whenfdisk -lwas run. For example,portal-storage-util.sh create_storage vdd - Run the following command to create the archive pool:
portal-storage-util.sh create_db_archive_pool Device
where Device is the Device name of the disk to use for the archive pool.
For example:portal-storage-util.sh create_db_archive_pool vde - Run the following command to start the portal:
portal-manage.sh start
Was this article helpful?