Installing a TLS Certificate
- 7 Minutes to read
- Print
- DarkLight
- PDF
Installing a TLS Certificate
- 7 Minutes to read
- Print
- DarkLight
- PDF
Article Summary
Share feedback
Thanks for sharing your feedback!
You can install a new signed certificate or import an existing signed certificate from another portal, described in Importing a TLS Certificate from Another Portal.
Perform the following steps to install a new signed certificate on CTERA Portal:
- Note the Portal's DNS Suffix
- Obtain a TLS Certificate
- Generate a Certificate Signing Request
- Sign the Certificate Request
- Validate and Prepare Certificates for Upload
- Install the Signed Certificate on CTERA Portal
Note the Portal's DNS Suffix
You need the CTERA Portal's DNS suffix for use in later steps.
To view your portal's DNS suffix:
- In the global administration view, select Settings in the navigation pane.
The Control Panel page is displayed.
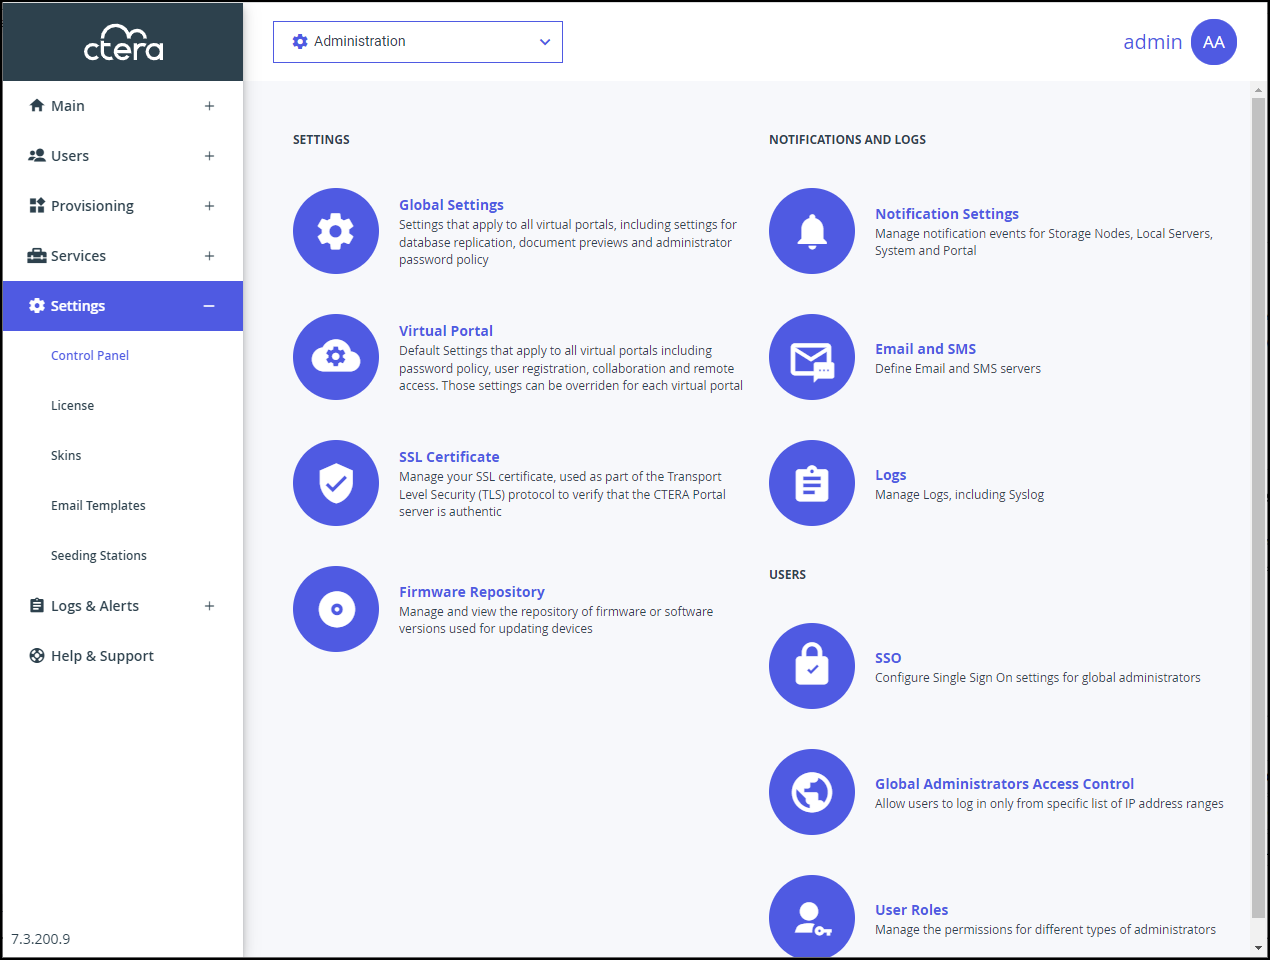
- Select Global Settings, under SETTINGS in the Control Panel page.
The Global Settings window is displayed.
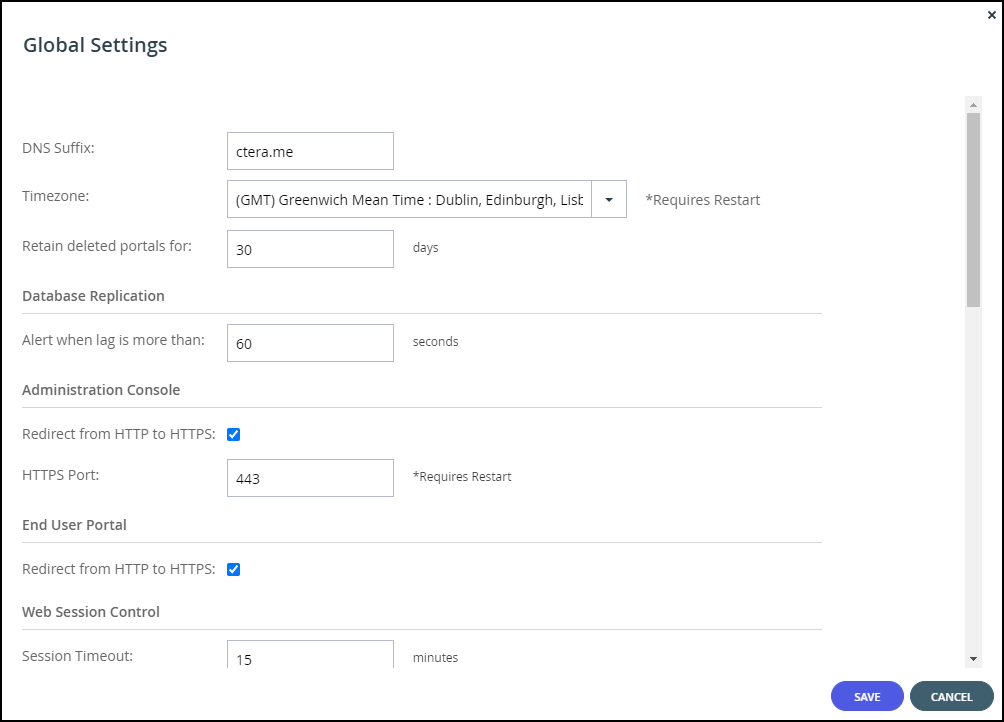
- Note the CTERA Portal's DNS Suffix in the DNS Suffix field.


Obtain a TLS Certificate
It is necessary to obtain a valid certificate signed either by a well-known certificate authority, such as GoDaddy, or by your own internal certificate authority.
Note
If you intend to generate a signed certificate using your own internal certificate authority, contact CTERA Support.
The SSL certificate can be either of the following:
- A wildcard certificate
A wildcard SSL certificate secures your website URL and an unlimited number of its subdomains. For example, a single wildcard certificate for*.ctera.comcan secure bothcompany01.ctera.comandcompany02.ctera.com, which may be for virtual portals company01 and company02.
A wildcard certificate is mandatory if you plan for your service to consist of more than one virtual portal. - A domain certificate
A domain certificate secures a single domain or subdomain only. For example:company01.ctera.com
This option is relevant if you are planning to provision a single virtual portal only.
Note
To obtain a self-signed certificate for testing and evaluation purposes only, contact CTERA Support at http://www.ctera.com/support and specify your CTERA Portal's DNS suffix, see Note the Portal's DNS Suffix. CTERA will generate a self-signed certificate for your DNS suffix and provide you with a ZIP file that you can upload to your CTERA Portal environment.
CTERA Portal also supports certificates with Subject Alternative Names: SAN certificates. This option enables you to secure multiple domain names with a single certificate.
Generate a Certificate Signing Request
You need to generate a certificate signing request, CSR, for your domain. You can generate the CSR from within the CTERA Portal or externally. If you generate the CSR externally, convert the private key file to RSA(PKCS1) format.
Warning
CTERA Portal generates a built-in certificate that is not suitable for production. This certificate is valid for testing purposes only, as it is not signed by a well-known certificate authority.
To generate a certificate signing request for your domain via CTERA Portal:
- In the global administration view, select Settings in the navigation pane.
The Control Panel page is displayed. - Select SSL Certificate under SETTINGS in the Control Panel page.
The SSL Certificate window is displayed.
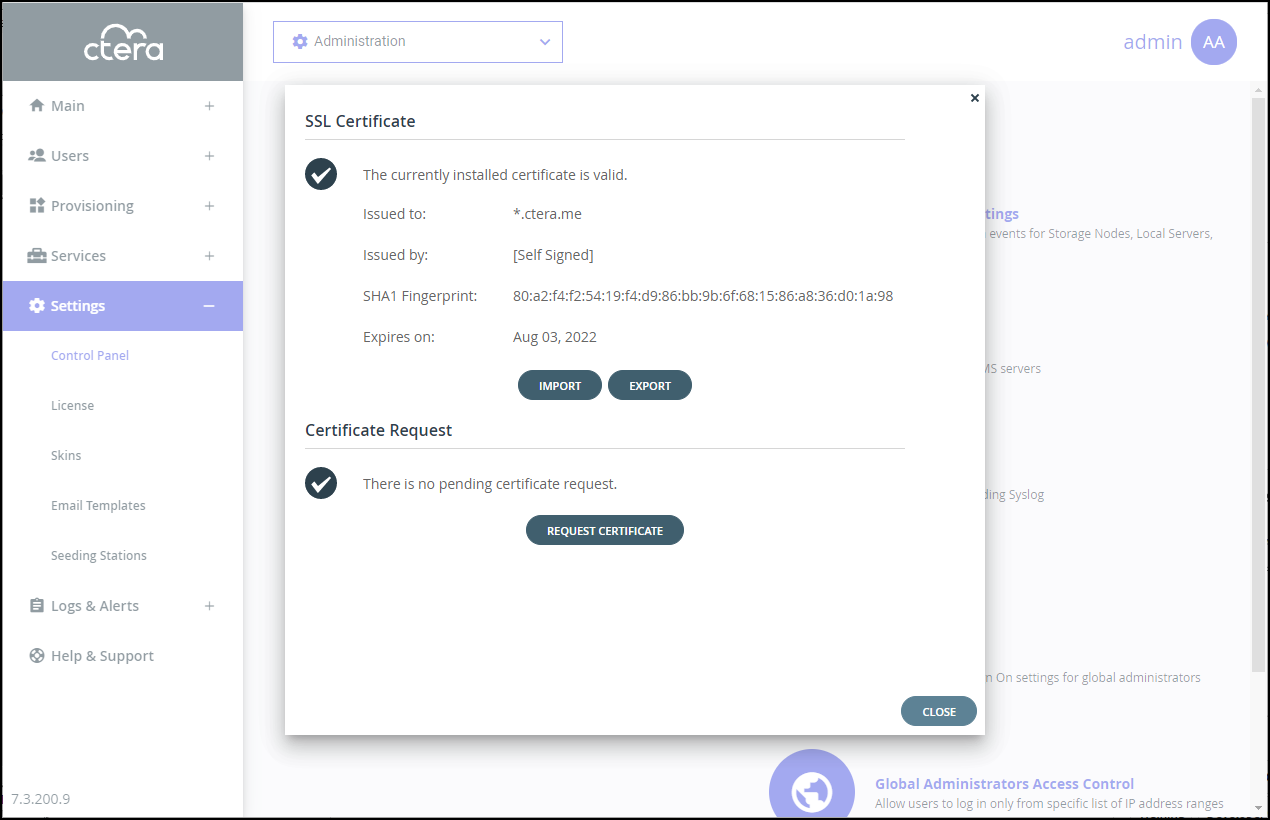 Note
NoteOn installing the portal you have a trial license and self-signed certificate.
- Click REQUEST CERTIFICATE.
The Create a certificate request window is displayed.
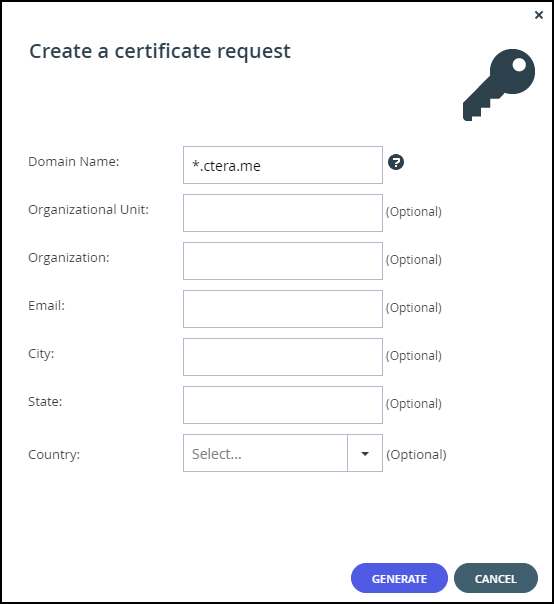
- In the Domain Name field, enter the domain name for which you want to request a certificate.
The value entered must match the type of certificate you chose to use. For example, if you chose a wildcard certificate, the domain name might be*.example.com
If you chose a domain certificate, the domain name might becompany01.example.com, wherecompany01is the name of your virtual portal.
If multiple virtual portals are configured, each virtual portal has its own DNS name. In this case, the TLS certificate should be a wildcard certificate with an asterisk before the DNS suffix, for example,*.example.com
If you have only one portal, and do not intended to configure multiple virtual portals, then use a regular TLS certificate and not a wildcard certificate.
To request a certificate that specifies multiple alternative names, type the multiple names in this field, separated by semicolons (;). The certificate will include thesubjectAltNamecertificate extension. - Optionally, specify the following:
Organizational Unit – The name of your organizational unit.
Organization – The name of your organization.
Email – Your email address.
City – Your city.
State – Your state.
Country – Your country. - Click GENERATE.
A keypair is generated and stored on the portal.
The Download a certificate request window is displayed.
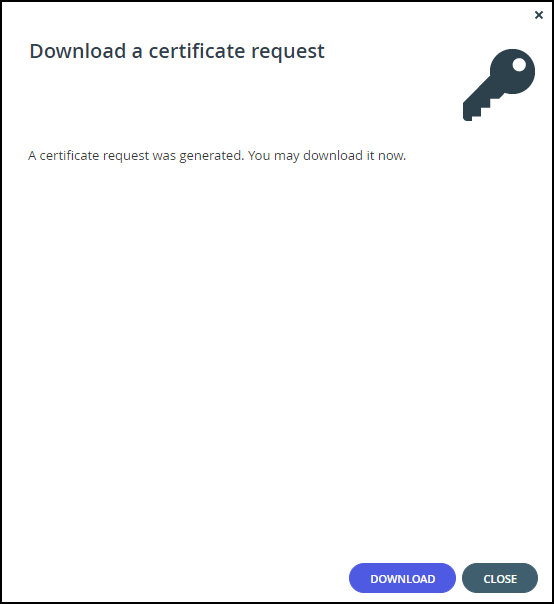
- Click DOWNLOAD.
- Click CLOSE.
The certificate request file certificate.req is downloaded to your computer.
The Certificate Request area of the SSL Certificate window indicates that the certificate request is pending.


Warning
When you generate a CSR, a private.key file is registered in the CTERA Portal. If you generate a new CSR, it will override the existing private.key file, and signing the old CSR will result in an error message indicating that the CSR does not match the private.key file. Therefore, do not generate a new CSR before installing the signed certificate.
Sign the Certificate Request
To sign the certificate request:
- Send the certificate.req file you generated to your certificate authority for signing.
If the request is successful, the certificate authority will send back an identity certificate that is digitally signed with the certificate authority's private key.NoteThe certificate authority must return a base-64 encoded identity certificate.
- Open the identity certificate and verify that the Issued to field includes the DNS you provided upon creating the certificate request.
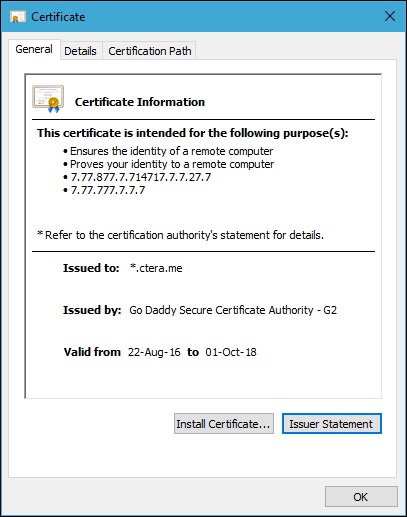
- Build a certification chain from your identity certificate to your trusted root certificate.
You need to obtain all of the intermediate certificates, as well as your root certificate authority's self-signed certificate.
If you are using a well-known certificate authority, the intermediate certificates and the root certificate authority's self-signed certificate can be downloaded from your certificate authority website. If you are using your own internal certificate authority, contact the necessary entity to provide you with the required intermediate and self-signed certificate.
In the above example, the certificate was issued by Go Daddy Secure Certification Authority to .ctera.me . To build the certification chain, obtain a certificate issued to Go Daddy Secure Certification Authority.
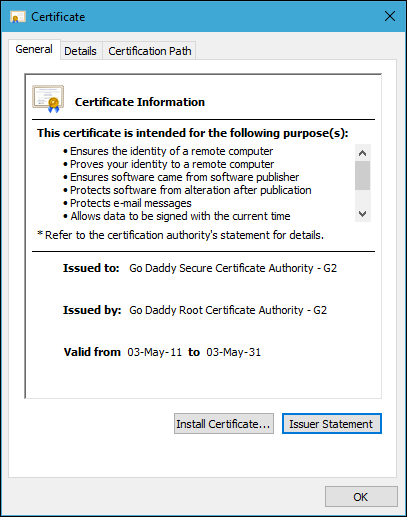
To continue the certification chain, you must obtain a certificate issued to the same authority that the previous certificate was issued by. You continue the chain until the certification chain is complete, with the last certificate, which is a self-signed certificate, issued to and by the same entity.


Validate and Prepare Certificates for Upload
If you received certificates with a DER suffix, using SSH, log in as root to the server and in the command line, run the following command to convert it to a PEM suffix: openssl x509 -inform der -in certificate_name.cer -out certificate.cer
To validate and prepare certificates for upload:
- Verify that none of the certificates in the certificate chain are corrupted or using invalid encoding.
- Open each certificate in a program such as Notepad or Word, and verify that it contains the following:
-----BEGIN CERTIFICATE-----
...certificate_content...
-----END CERTIFICATE-----
- Open each certificate in a program such as Notepad or Word, and verify that it contains the following:
- Change the identity certificate issued to
*.ctera.me to certificate.crt - Change the file extension of the other certificates in the certificate chain to
crt
For example,certificate-name.crt - Archive all of the certificates, the identity certificate, the intermediary certificates, and the root self-signed certificate, in a ZIP file called
certificate.zip.
Install the Signed Certificate on CTERA Portal
Once you have obtained an SSL certificate you must install it on CTERA Portal. The certificate must match the pending certificate request and keypair.
To install aTLS certificate:
- In the global administration view, select Settings in the navigation pane.
The Control Panel page is displayed. - Select SSL Certificate under SETTINGS in the Control Panel page.
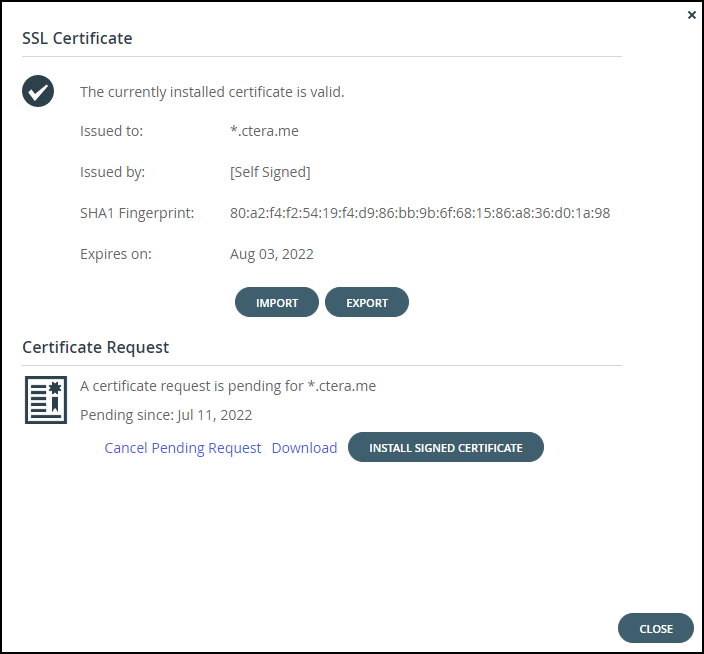
The SSL Certificate window is displayed.
The Certificate Request area of the SSL Certificatewindow indicates that the certificate request is pending.NoteTo cancel a pending request, for example, to make changes to the current certificate request, click Cancel Pending Request and click YES in the confirmation window that is displayed.
The pending certificate request is canceled. - Click INSTALL SIGNED CERTIFICATE in the Certificate Request area of the SSL Certificate window.
The Upload Certificate window is displayed.
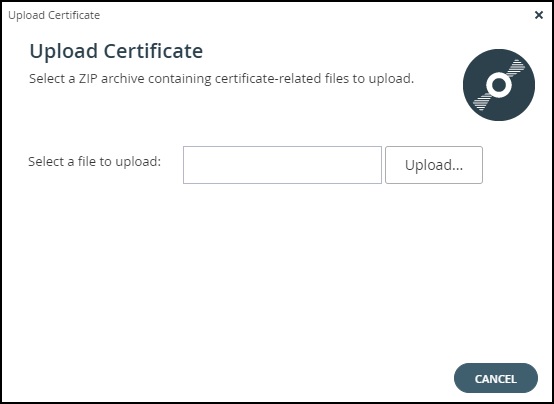
- Click Upload and browse to the certificate.zip file you created. All the certificates in the certificate chain must be in the ZIP file in X.509 format, and each file must have a ".crt" extension.
If you receive the following error:
Caused by: java.lang.ClassCastException: class com.safelogic.cryptocomply.asn1.pkcs.PrivateKeyInfo cannot be cast to class org.bouncycastle.openssl.PEMKeyPair (com.safelogic.cryptocomply.asn1.pkcs.PrivateKeyInfo is in module ccj@3.0.0 of loader 'app'; org.bouncycastle.openssl.PEMKeyPair is in unnamed module of loader java.net.URLClassLoader @5ccd43c2) at com.ctera.security.CA.generateKeyStore(CA.java:427)do the following:- Using SSH, log in as
rootto the server. - In the command line, enter the following command `openssl rsa -in private.key -out <privateun.key>
where privateun.key is the name of the private key. - Use the private.key in the zip file created in Validate and Prepare Certificates for Upload.
- Using SSH, log in as
- Click Open and then FINISH.
- Restart all the CTERA Portal servers via the Main > Servers page. See Restarting and Shutting Down a Server. You can start the servers in any order.
- Open the CTERA Portal.
If the certificate update was successful, there won’t be any security exceptions.

Was this article helpful?