Installing CTERA Portal Instances
- 4 Minutes to read
- Print
- DarkLight
- PDF
Installing CTERA Portal Instances
- 4 Minutes to read
- Print
- DarkLight
- PDF
Article Summary
Share feedback
Thanks for sharing your feedback!
Use the following workflow to install CTERA Portal in a GCP environment.
- Creating a Portal Instance.
- Optionally, configure a default gateway.
- For the first server you install, follow the steps in Configuring the Primary Server.
- For any additional servers beside the primary server, install the server as described below and configure it as an additional server, as described in Installing and Configuring Additional CTERA Portal Servers.
- Make sure that you replicate the database, as described in Backing Up the Database.
Creating a Portal Instance
To access the CTERA Portal disk image you must supply CTERA support with the email address you use to access GCP.
Note
You do not need to provide CTERA support with any passwords.
To create the CTERA Portal server instance in Google Cloud:
- Create an SSH key to access the instance from another instance. This is required when defining additional severs.
- Log in to your Google Cloud Platform as a user with rights to deploy images and create virtual machines and storage.
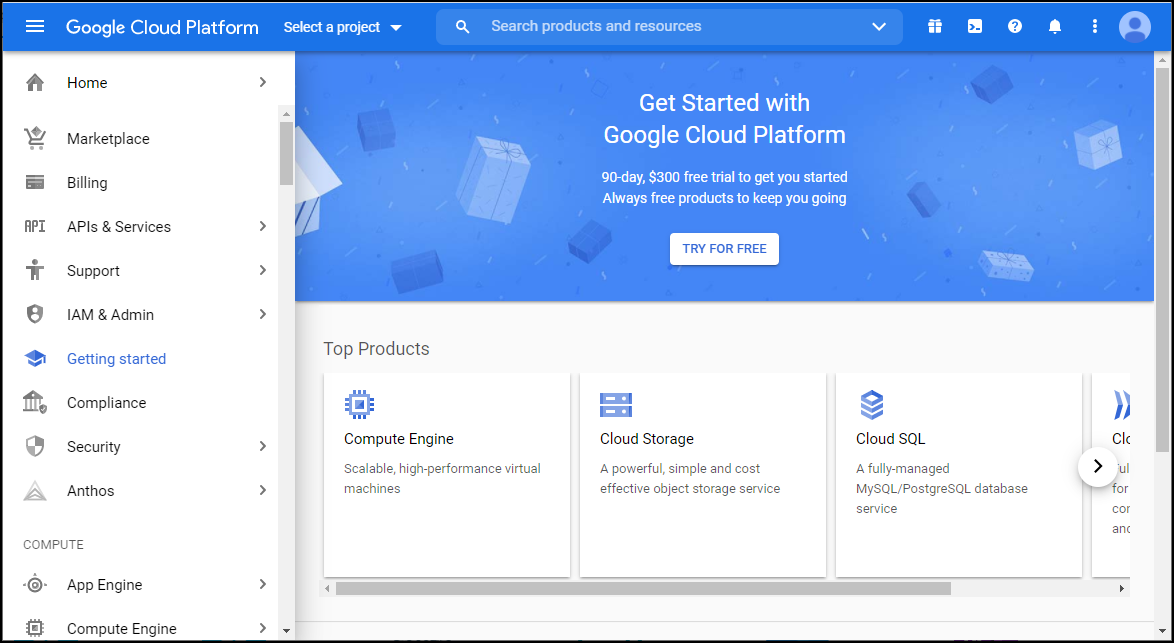
- Select a project from the Select a project drop-down.
- Click Compute Engine > Snapshots in the navigation menu.
The Snapshots page is displayed.
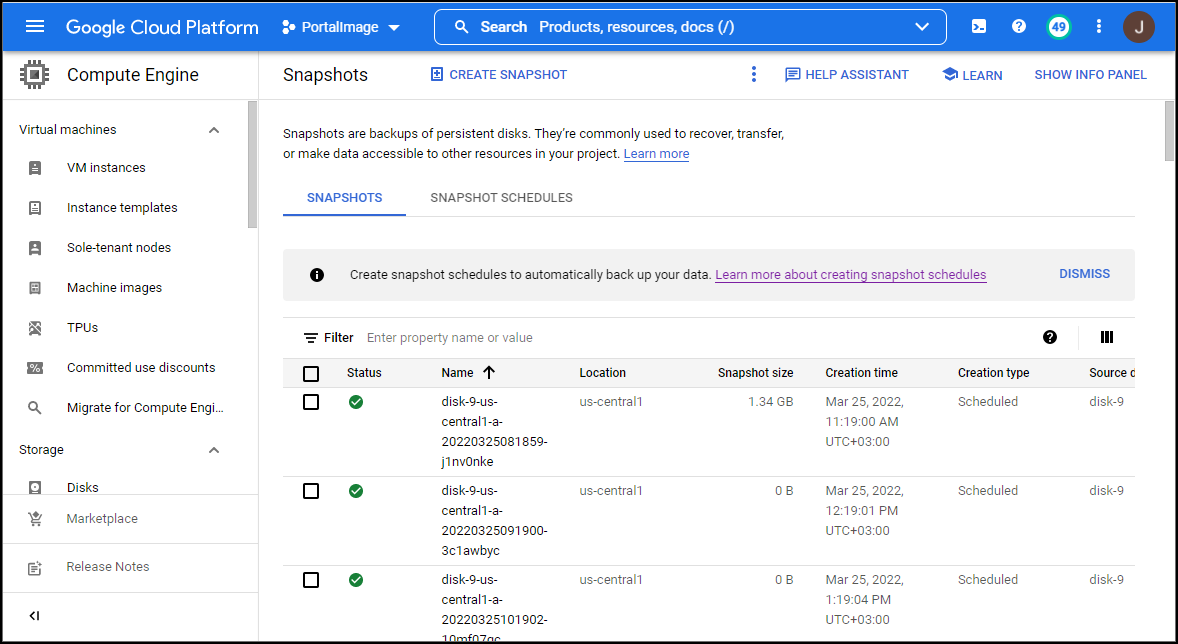
- Click CREATE SNAPSHOT SCHEDULE.
If the CREATE SNAPSHOT SCHEDULE is not displayed, click the three vertical dots to display it.
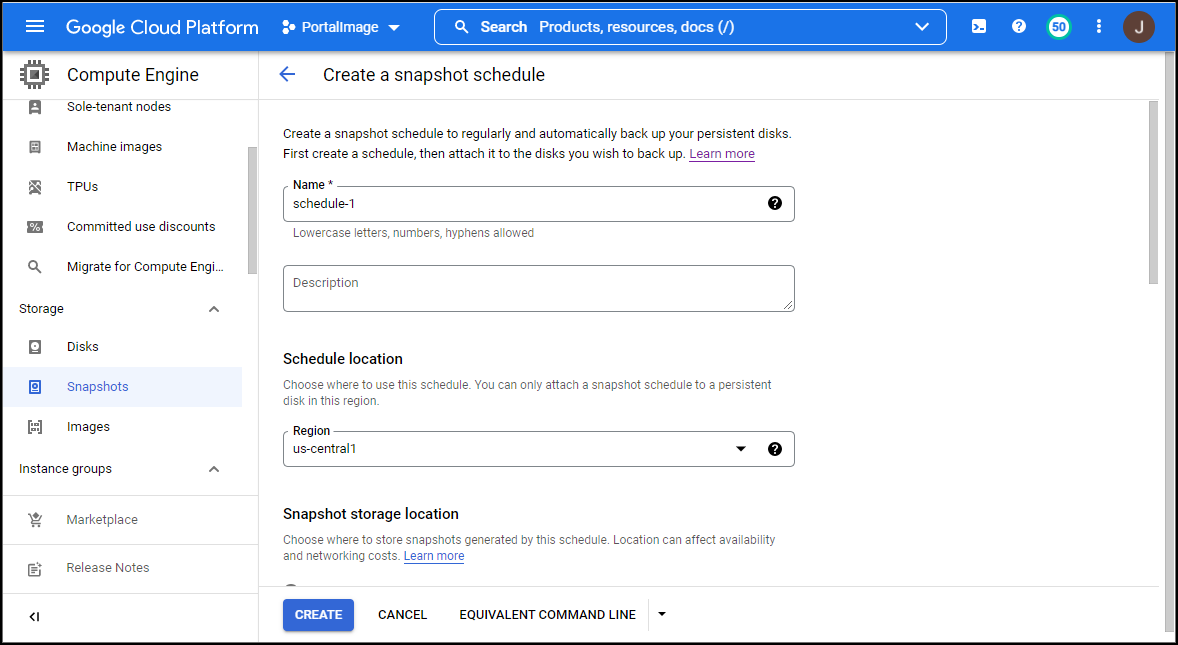
- Name the schedule and provide the following:
Region – The region for this schedule. This should be the same region as the VM instance.
Schedule frequency – The frequency for taking the snapshots.
Start time – The start time to take each snapshot.
Autodelete snapshots after – How long to keep each snapshots. - Select the Deletion rule.
- Leave all the other settings with their defaults and click CREATE.
- Click Compute Engine > VM instances in the navigation menu.
If the Compute Engine API is not enabled for the project, click ENABLE.
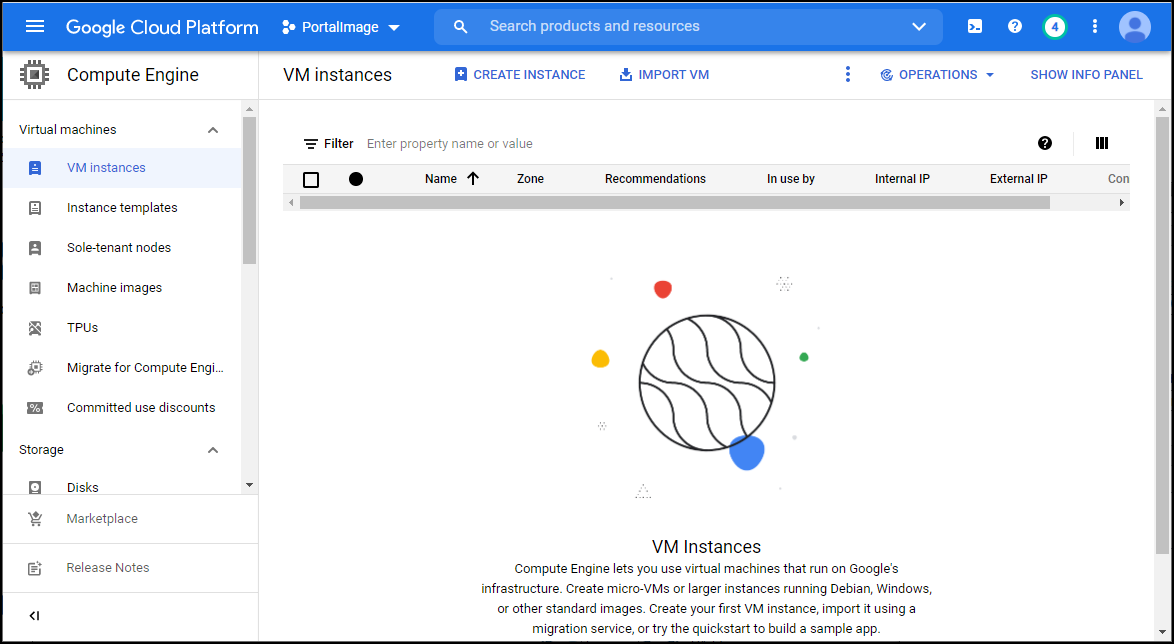
- Click CREATE INSTANCE.
The Create an instance page is displayed.

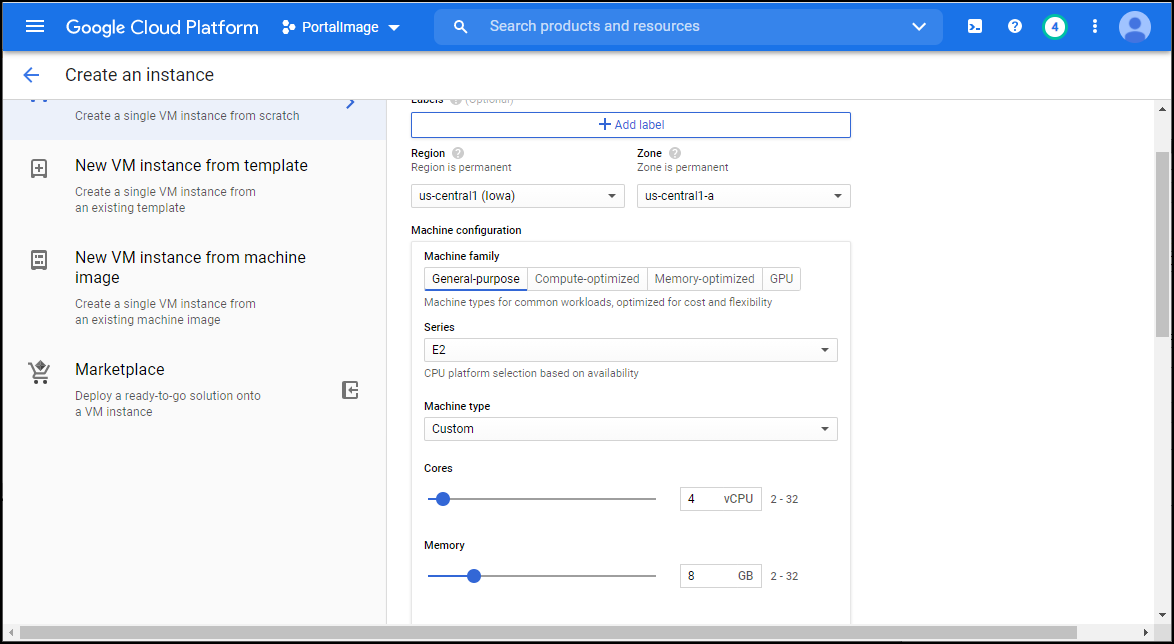
- Specify the portal virtual machine configuration.
Name – A unique name to identify the portal virtual machine.
Region – The location you want to host the virtual machine.
Zone – The zone within the location to host the virtual machine. - Under Machine Configuration, select the Machine family and Series. CTERA recommends using the GENERAL-PURPOSE family and the E2 series.
Under Machine type, select the Custom option from the drop-down and specify the cores and memory.The number of cores and memory depends on your environment and the type of server you want. For details, see Requirements
Memory – The machine RAM.
- Click CHANGE under Boot disk to select the CTERA Portal image.
The Boot disk window is displayed.
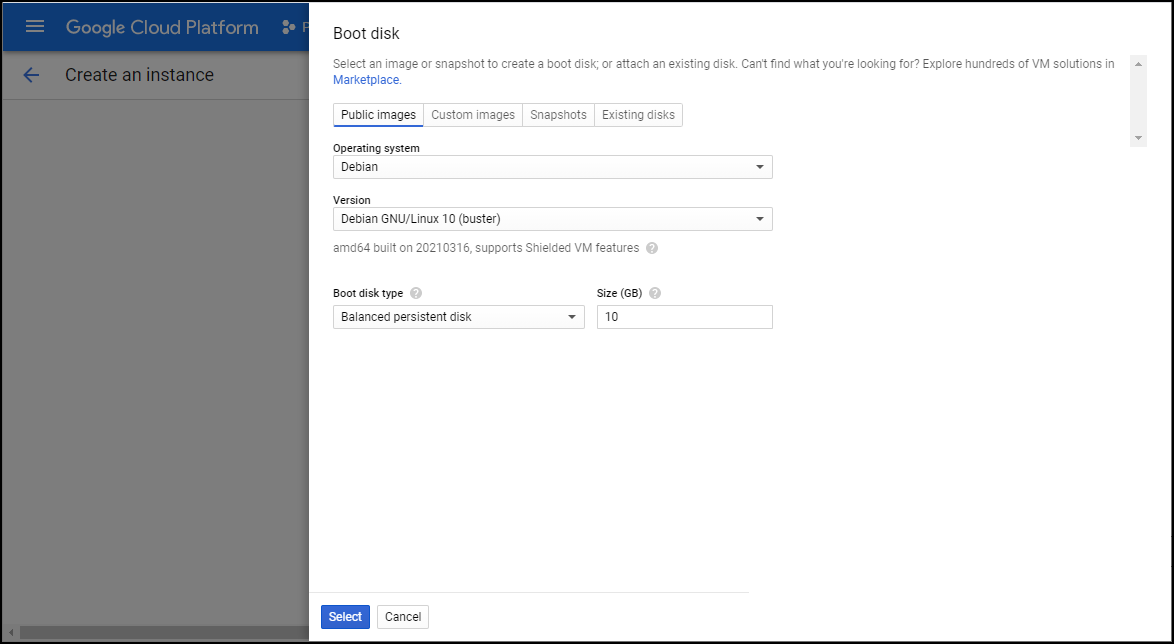
- Click CUSTOM IMAGES.
- Select the project supplied by CTERA Support, to be able to select the portal image.
- Select the image from the Image drop-down.
- For production, CTERA recommends changing the Book disk type to SSD persistent disk.
- Change Size (GB) to 110.
- Click SELECT.
- Under Firewall, check Allow HTTP traffic and Allow HTTPS traffic.
- Click the NETWORKING, DISKS, SECURITY, MANAGEMENT, SOLE-TENANCY link and click Disks.
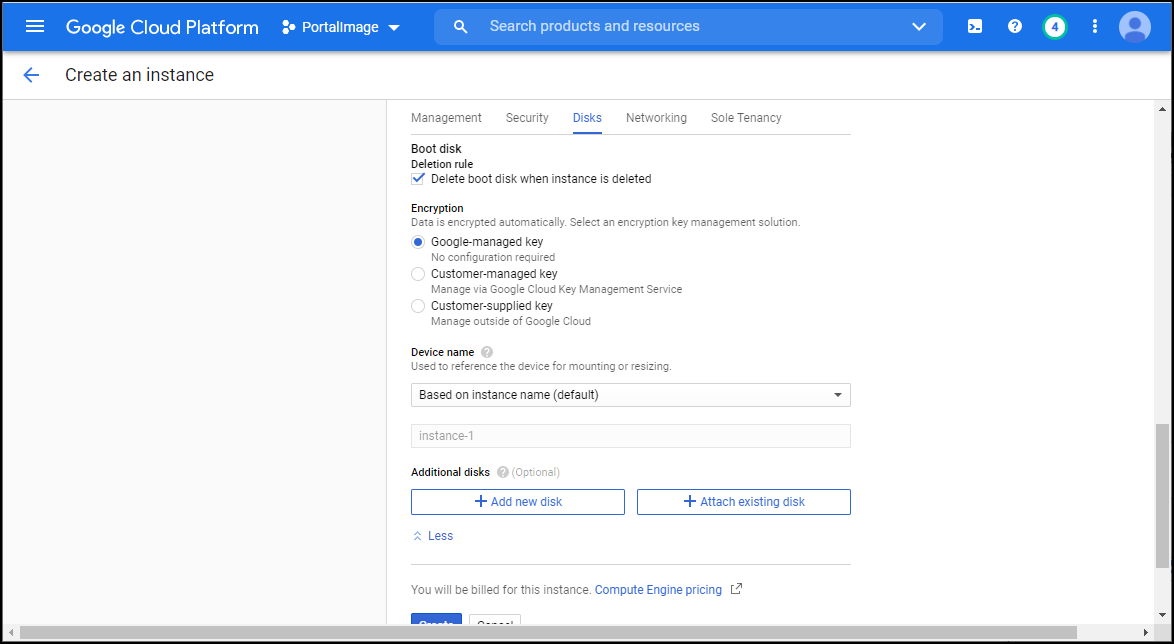
- Click ADD NEW DISK.
- Specify the following disk configuration.
Name – A unique name to identify the disk.
Description – An optional description of the disk.
Disk type – The type of disk. For production, CTERA recommends SSD persistent disk.
Size – The disk size. The minimum disk requirement is 110GB. See Requirements. Prior to going to production, contact CTERA Support to evaluate whether the attached drive's performance meets CTERA's main database performance requirements.
Snapshot schedule (Recommended) – Select the snapshot schedule defined in step 8. - Leave all the other settings with their defaults and click SAVE.
- Click Security.
- Click MANAGE ACCESS.
- Click ADD ITEM.
- Paste the generated public key in Public key.Note
The content of the public key file typically starts with
ssh-rsaand ends with your user ID. - Leave all the other settings with their defaults and click CREATE.
The VM is created and powered on.
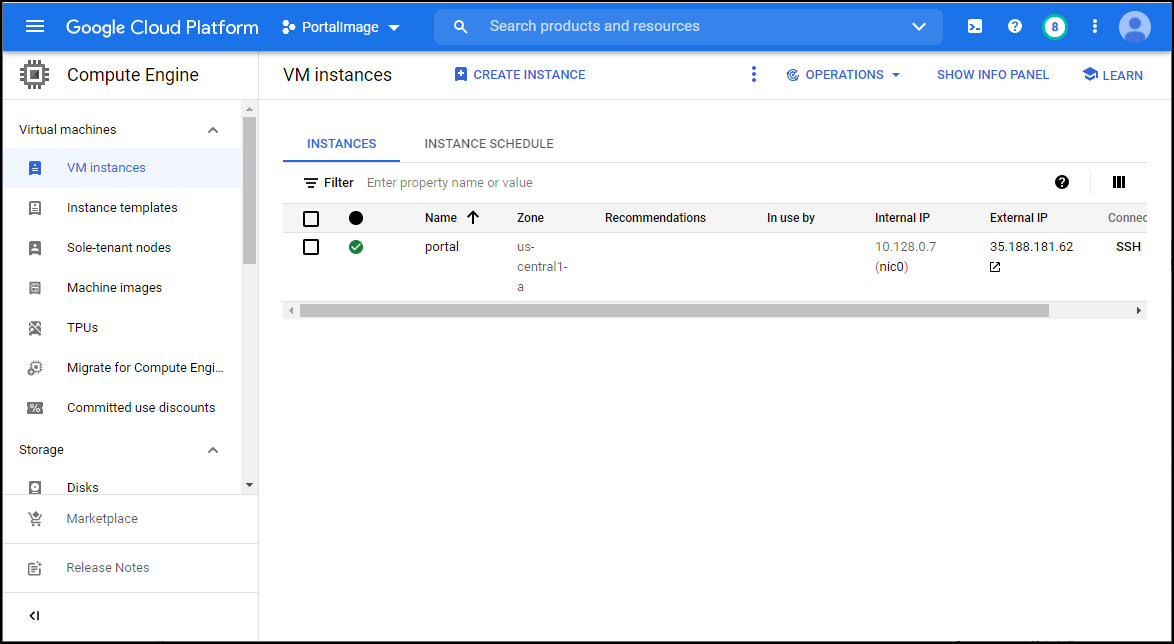
Note the Zone and External IP address. The external IP is the address you use to access the portal. - Click SSH to log in to the virtual machine using the account SSH user and key and switch to root by running
sudo -i.
You have to configure the CTERA portal to recognize the storage datapool defined previously. - List the disks to identify the name of the added disk:
fdisk -l
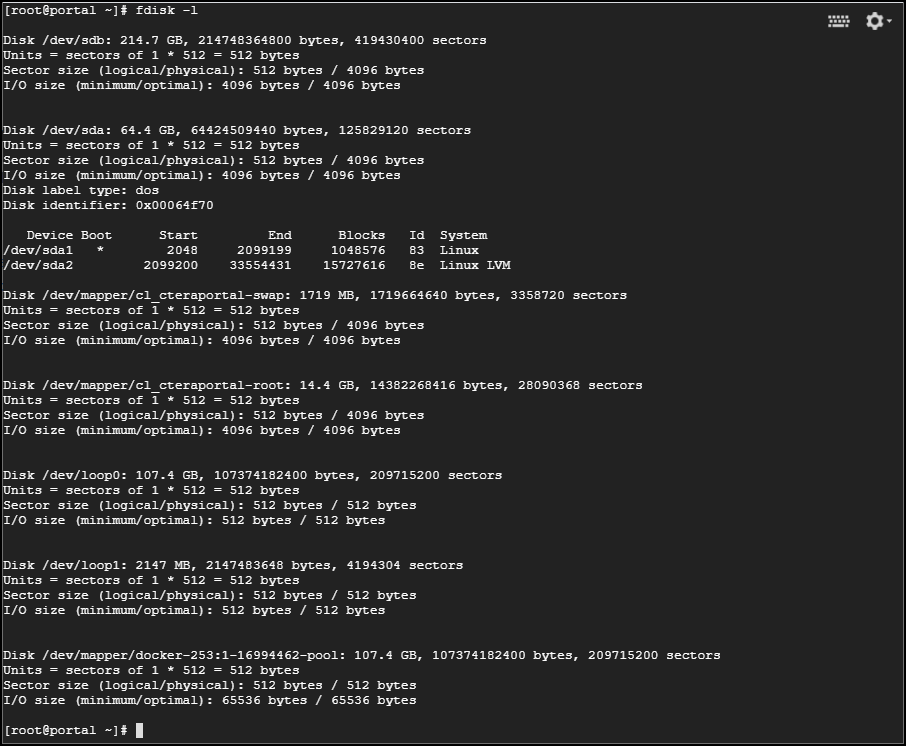
- Create the CTERA Portal data disk:
portal-storage-util.sh create_xfs_storage sdb
where sdb is the disk for the portal data.NoteBecause the disk is an XFS disk, if you need to enlarge the storage
- Edit /etc/ctera/portal.cfg and add the Google Cloud Platform zone specified in step 11 as the value for the CTERA_GC_REGION parameter.
# CTERA portal Google specific parameters ### Google Parameters ### # CTERA_GC_REGION - Google Availability Zone CTERA_GC_REGION=<enter_zone_from_step_11> - start the portal server:
portal-manage.sh start
The data disk is mounted to the portal data folder/usr/local/lib/cteraand the portal starts.


Was this article helpful?