General Load Balancing Best Practice
Probing to test tomcat reachability: Most load balancers have a health check/probing mechanism that checks for ports and services availability. The best scenario is to only use port tests that check if the port is available (checking ports 995 and 443). If a more accurate probing is required, use port 995 probe. With HTTPS use: <portalurl/>admin/startup
Using F5 Load Balancer
If you are not using F5 software for load balancing, the basic principles outlined here can still be applied.
The following describes setting up load balancing based on F5 software. If your version of the F5 software is different to the version described below, contact CTERA support for help with your configuration.
Using F5 load balancing to perform SSL offloading requires the following configuration:
- Create an F5 iRule to add Secure and HttpOnly flags to the JSESSIONID cookie.
- Create an F5 iRule to add HSTS flags.
- Disable old insecure encryption algorithms like RC4.
- If F5 is configured to use TLS 1.0, you must change it.
The following best practices are recommended by CTERA:
- Configure the tcp TCP protocol profile.
- If Idle Timeout is configured, make sure the value is at least 5 minutes, 300 seconds, as CTERA handles its own TCP sessions with keep alives.
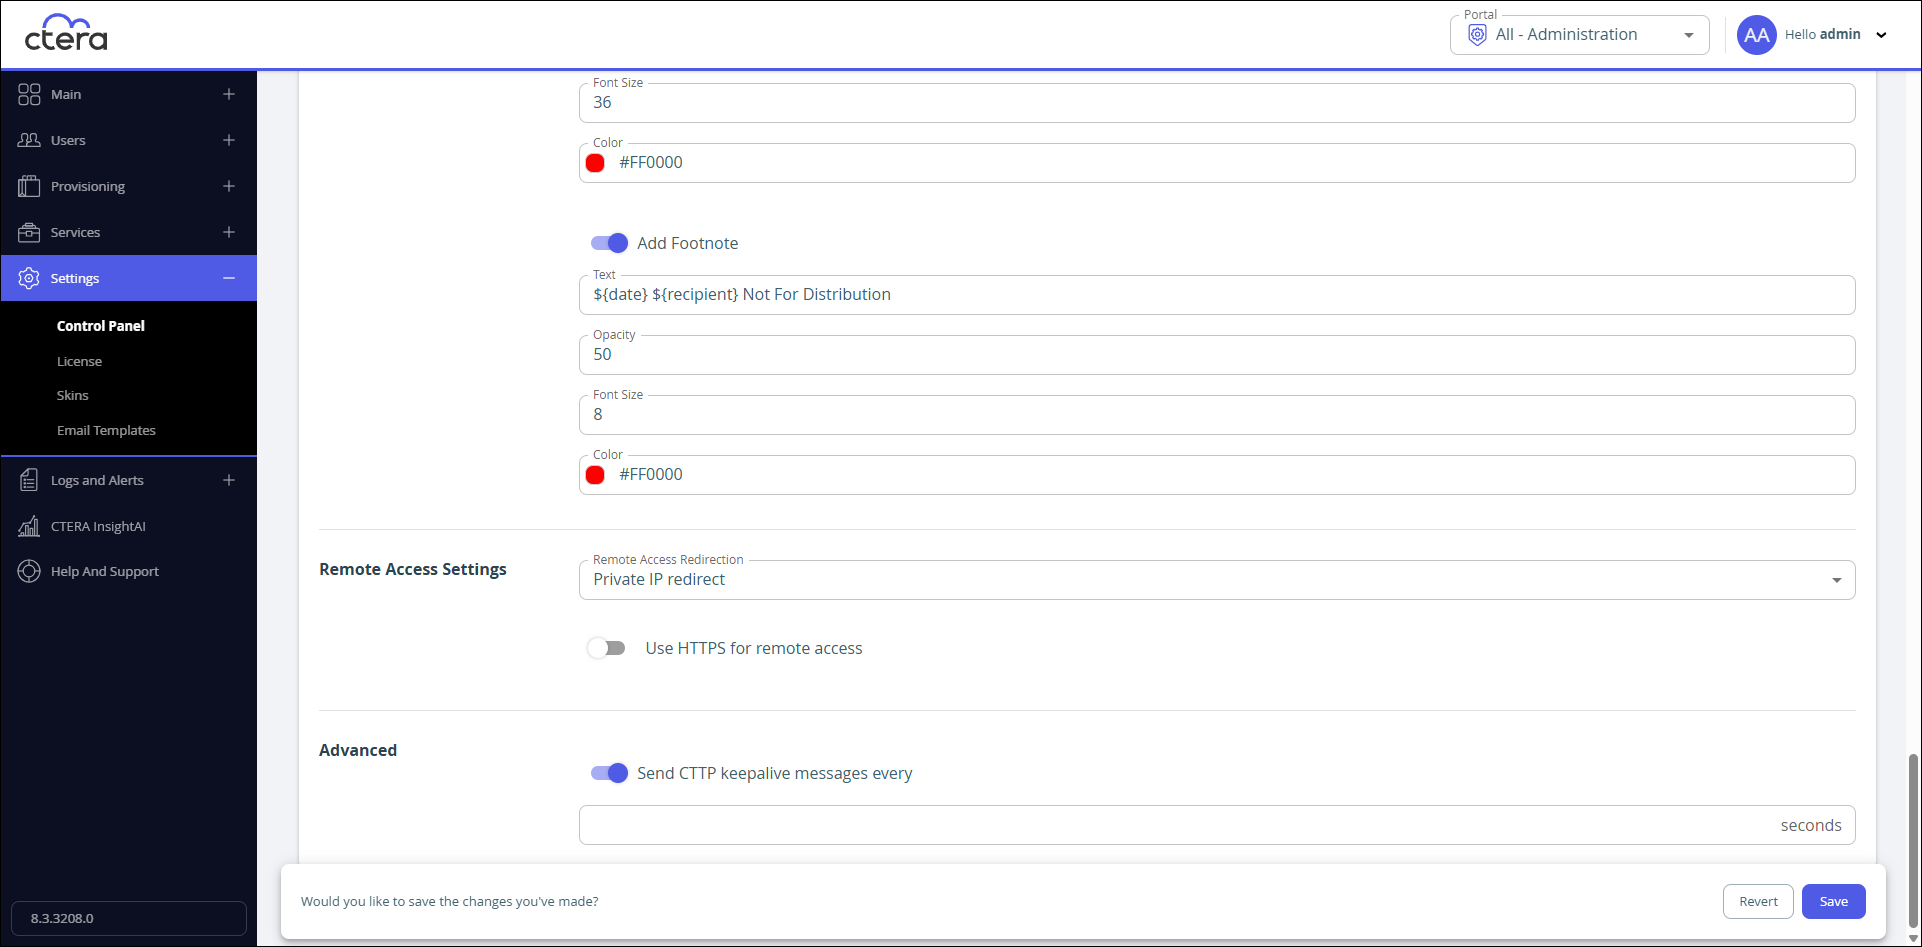
- If Keep Alive Interval is configured, make sure the value is greater than the value specified for Send CTTP keepalive messages every in the virtual portal settings. Send CTTP keepalive messages every prevents proxy or load balancer servers from preemptively terminating connection between a CTERA Agent and the CTERA Portal. CTERA recommends setting Send CTTP keepalive messages every in the Virtual Portal Settings to less than half the value specified for Keep Alive Interval.
- If Zero window Timeout is configured, make sure it is as high as possible. For example, 30000.
- Configure the source_addr Persistence profile.
The following shows recommended F5 settings for source_addr Persistence profile. - After setting the profiles, set up the load balancing for the CTERA virtual servers.
Using Microsoft Azure Load Balancing
Microsoft Azure includes a load balancing solution that can be applied to CTERA Portal servers in Azure that that are part of the same availability zone.
When creating each portal server, under Availability options select Availability zone and for Availability zone select the same zone for each portal server.
- In Azure load balancing click Create.
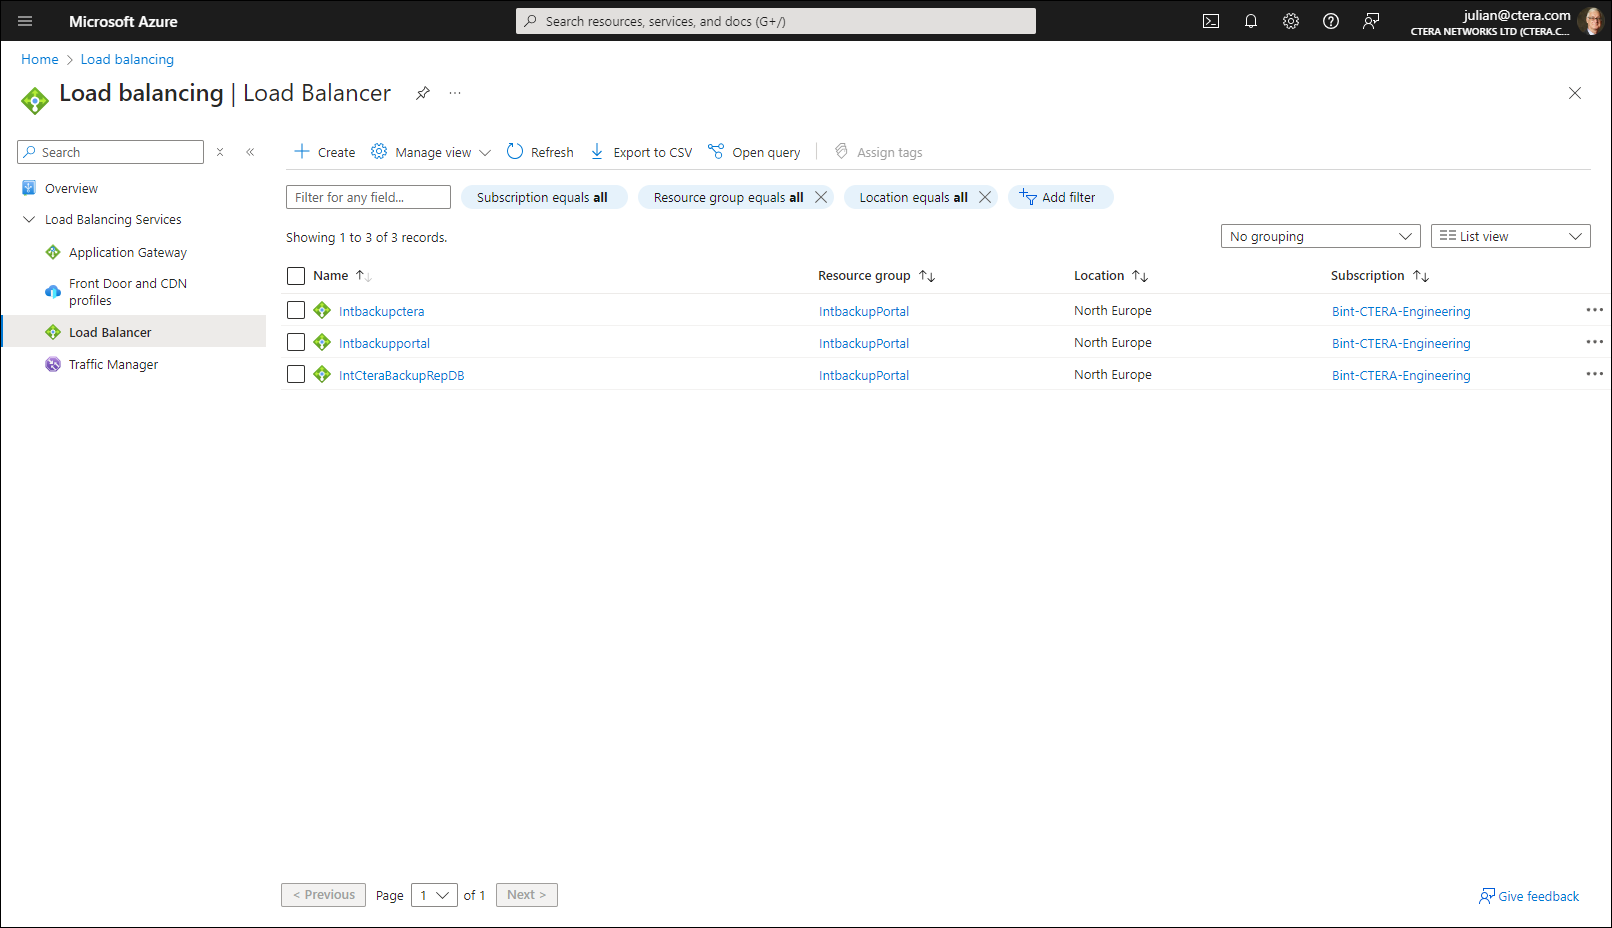
The Create load balancer wizard is displayed.
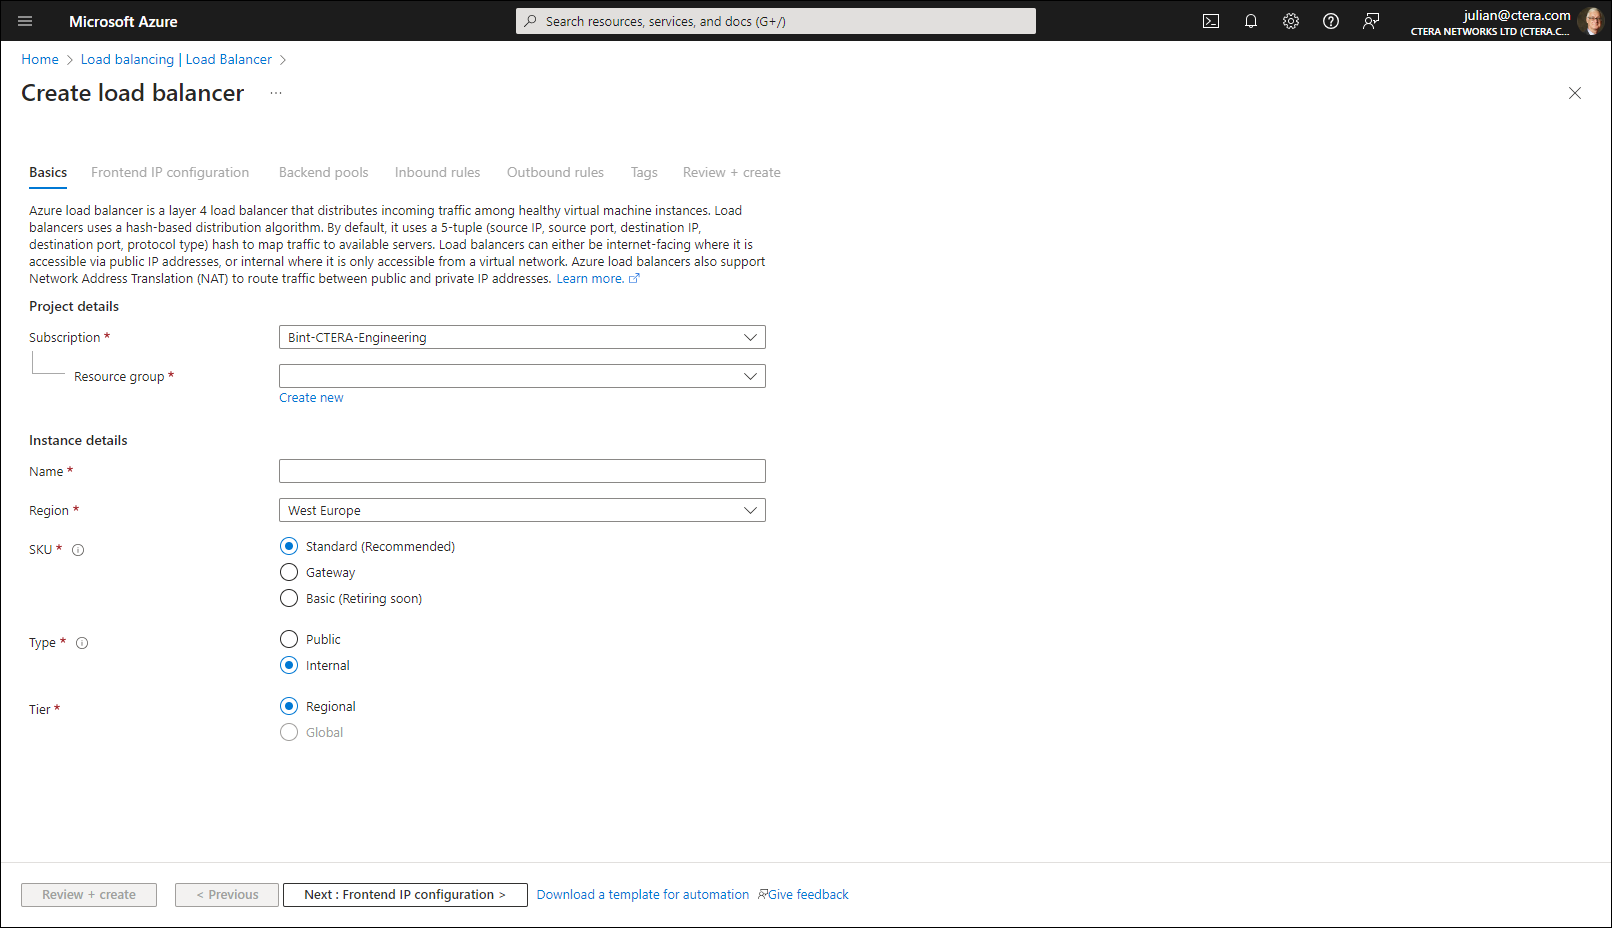
- Set the following:
Resource group – The resource group to be used.
Name – A name to uniquely identify the Load balancer.
Region – The region to host the load balancer.
SKU – Choose the Standard option.
Type – Choose the Public option.
Tier – Choose the Regional option. - Click Next : Frontend IP configuration.
- Click Add a frontend IP configuration and set the following:
Name – The name for the frontend IP configuration.
IP version – Choose the IPv4 option.
IP type – Choose the IP address option.
Gateway load balancer – Select None. - Click Save.
- Click Next : Backend pools.
- Click Add a backend pool and set the following:
Name – The name for the backend pool.
Virtual network – Choose the virtual network. - Under IP configurations click Add.
- Select the portal servers and click Save.
- Click Next :Inbound rules and click Add a load balancing rule to add a new inbound rule.
Name – The name for the rule, such as CTTP or HTTPS.
IP version – Choose the IPv4 option.
Frontend IP address – Select a frontend IP address from the list.
Protocol – Choose the TCP option.
Port – The required port for the rule. For example, for CTTP the port is 995.
Session Persistence – Select Client IP and protocol.
Idle timeout – Change the 4 minutes to a bigger number minutes.
Enable TCP Reset – Optional, depending on the environment requirements.
Enable Floating IP – Keep this disabled.
Outbound Source network address translation (SNAT) – Keep the recommended option. - Click Save.
- Add more inbound rules as required.
- Click Review + create.
- Click Create.
The Azure load balancing is implemented and the public IP of the CTERA Portal servers is replaced by the Frontend IP address.