You can manage the folders in your cloud drive and then share them with other users. You can also specify specific subfolders to exclude. For details about collaboration, see Sharing Content.
In addition, for content that is synced, you can view and restore previous versions. For details, see the Version history option in The Right-click Menu.
Adding Content to the CTERA Portal Cloud Drive
To add to the CTERA Portal cloud drive:
- In Windows File Explorer, right-click any folder on your computer that you want to sync and select CTERA Agent > Sync this folder.
Alternatively:
- Right-click the CTERA Agent tray icon,
 , and select Settings.
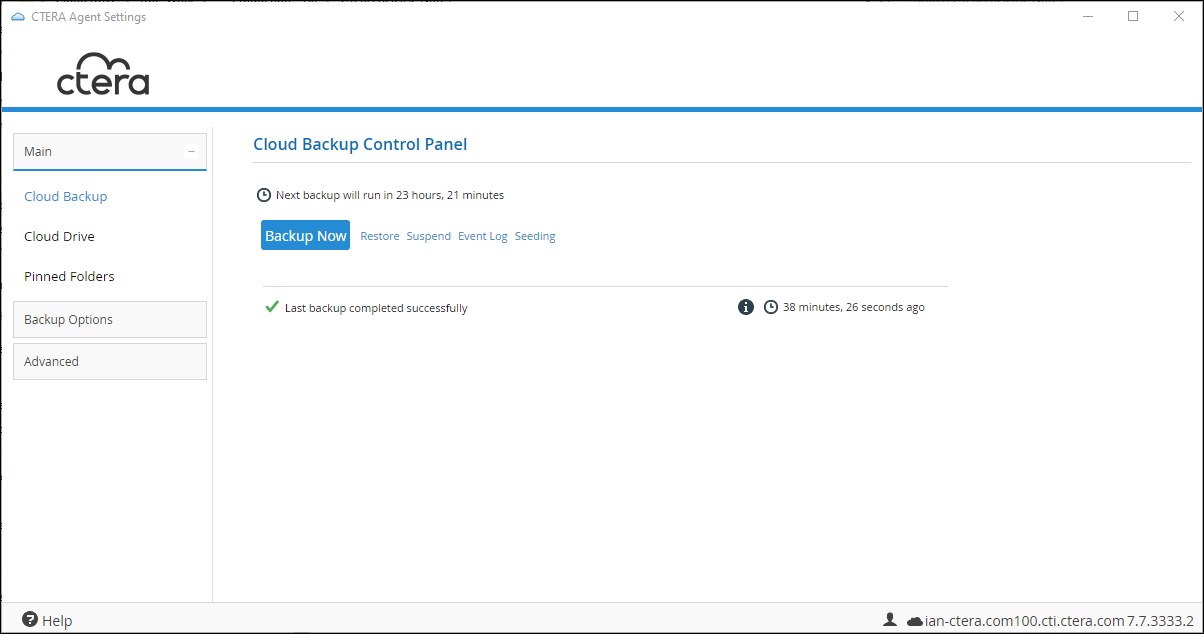
The CTERA Agent Settings window is displayed.
- Click Main > Cloud Drive in the navigation pane.
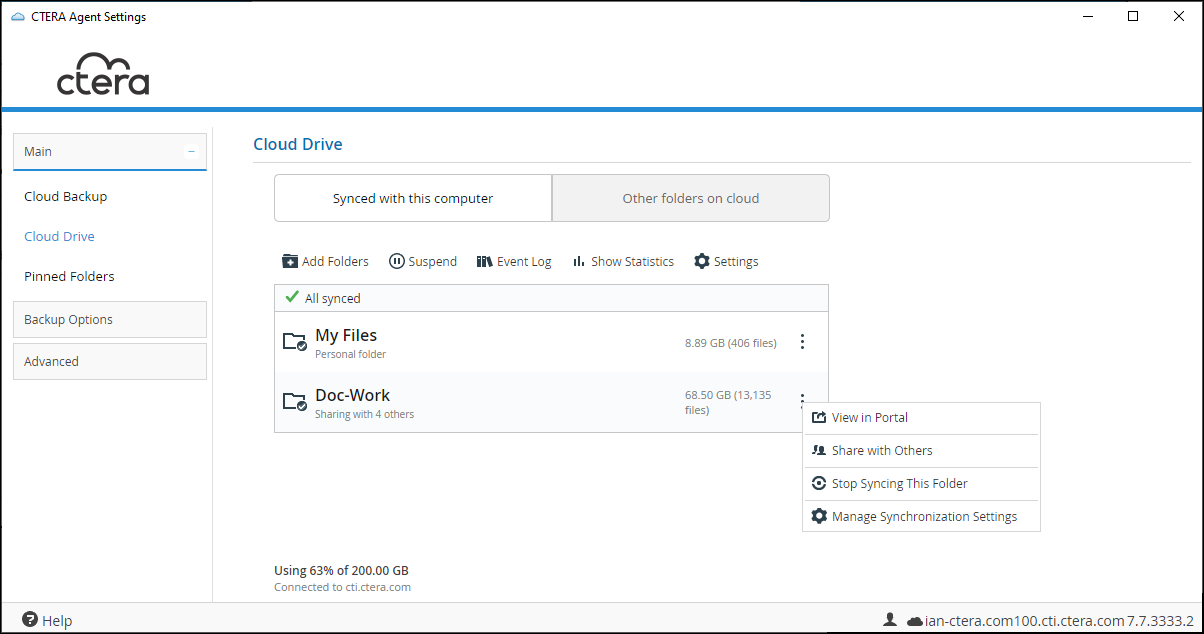
The Cloud Drive page is displayed.
The following information is included in the page:- All the Cloud Drive folders that are currently synced with folders on the CTERA Agent computer such as the My Files folder.
- Any other folders on your Cloud Drive.
- Click Add Folders.
The Find Directory window is displayed enabling searching for the folder to add. - Select the folder or subfolder you want to sync to the cloud drive.Note
You can add a new folder under an existing folder.
- Click Choose.
A folder is created in the Cloud Drive and synced with the local folder you selected. The newly synced folder is displayed in the Cloud Drive page under Synced with this Computer.
Understanding the Overlay Icons
Icons in Windows File Explorer provide information about the status of the folder or file.
If overlay icons are not displayed, you can enable them in the CTERA Agent Settings window: click Advanced > Desktop Integration and then check Overlay icons on files and folders.
For details about the overlay icons, see Overlay Icons Used By a CTERA Agent
Syncing Other CTERA Portal Folders
You can only sync folders at the top level in your CTERA Portal cloud drive.
Folders at the top level in your CTERA Portal cloud drive that are not synced with your computer are listed under Other folders on cloud. You can sync these folders, adding them to the local cloud drive.
To sync CTERA Portal cloud drive folders to your computer:
- Right-click the CTERA Agent tray icon, , and select Settings.
Or,
Click the settings icon, , in the bottom right corner of the CTERA Agent window.
The CTERA Agent Settings window is displayed. - Click Main > Cloud Drive in the navigation pane.
The Cloud Drive page is displayed. - Select Other folders on cloud.
All the folders in the CTERA Portal that are not synced with your computer are displayed.
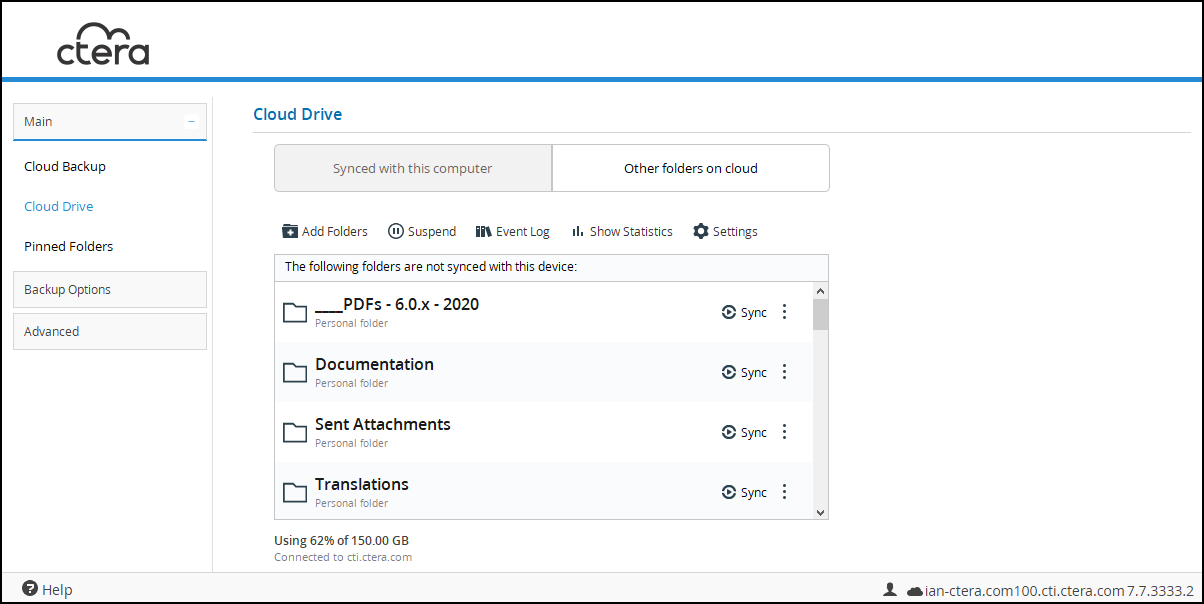
- Click
 next to the folder you want to sync.
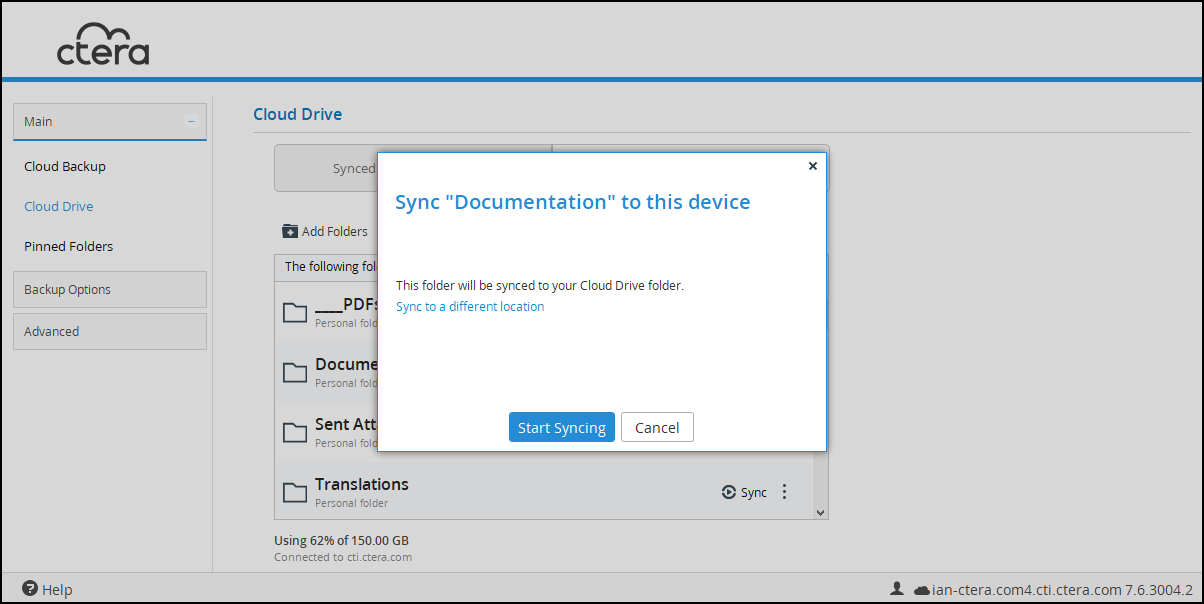
If you want to sync to a location other than your Cloud Drive folder:- Click Sync to a different location, to select or create a new location on your computer to which to sync the folder.
The Find Directory window is displayed enabling searching for the folder to add. - Select the folder or subfolder you want to sync to the cloud drive.
- Click Choose.
- Click Sync to a different location, to select or create a new location on your computer to which to sync the folder.
- Click Start Syncing.
The folder is synced in your local cloud drive.
Controlling to Which Local Folder a Cloud Drive Folder Syncs
To specify the local folder for syncing:
- Right-click the CTERA Agent tray icon, , and select Settings.
Or,
Click the settings icon,, in the bottom right corner of the CTERA Agent window.
The CTERA Agent Settings window is displayed. - Click Main > Cloud Drive in the navigation pane.
The Cloud Drive page is displayed. - Click the
 button for the parent folder of the folder you want to exclude and click Manage Synchronization Settings.
The Synchronized folder settings window is displayed.
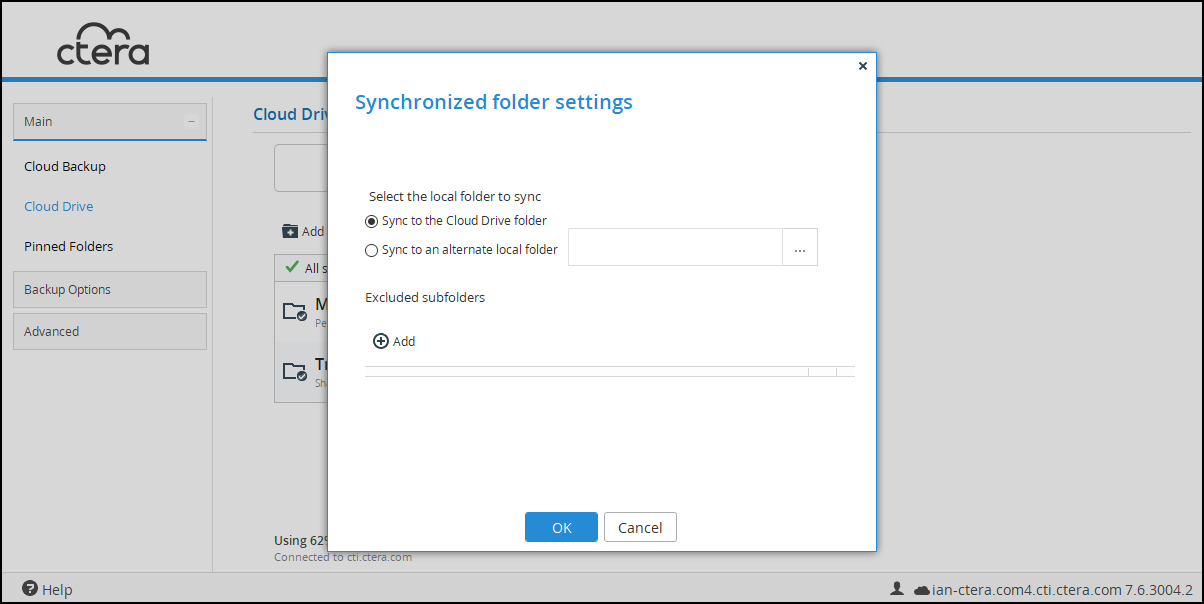
- To sync the folder to a subfolder of the Cloud Drive folder, select Sync to the Cloud Drive folder.
The local synced copy of the folder you selected is moved to the Cloud Drive folder. - To sync the folder to a folder other than the Cloud Drive folder:
- Select Sync to alternate local folder.
- Click in the text box.
The Find Directory window is displayed enabling searching for the folder to add. - Select the folder or subfolder you want to sync to the cloud drive.
- Click Choose.
- Click OK.
The changes are applied.
Excluding Folders
You can exclude subfolders, so that the content on the CTERA Portal is no longer synced with the local content. You can do this as part of the CTERA Agent configuration or by manually stopping or starting the sync of a folder, as described in Manually Managing Folder Syncing.
You can only exclude files when the CTERA Agent is not configured as a Caching Agent. With a Caching Agent, the complete CTERA Portal cloud drive is available, but represented on the local computer by the metadata and displayed as stubs. This results is less storage required locally. When a Caching Agent is not configured, you only include files that you want locally and exclude files that you do not want locally to conserve space.
To configure folders to exclude from syncing:
- Right-click the CTERA Agent tray icon, , and select Settings.
Or,
Click the settings icon,, in the bottom right corner of the CTERA Agent window.
The CTERA Agent Settings window is displayed. - Click Main > Cloud Drive in the navigation pane.
The Cloud Drive page is displayed. - Click the button for the parent folder of the folder you want to exclude and click Manage Synchronization Settings.
The Synchronized folder settings window is displayed.
- Under Excluded subfolders, click Add.
A row is added to the Excluded subfolders list. - Click in the row and type the name of a subfolder under the parent folder you want to exclude from syncing. For example, to exclude
subfolder1that is under subfolder that is under the parent folder, enter\subfolder\subfolder1.NoteYou cannot browse to the folder to exclude.
- Repeat step 4 to add more subfolders as necessary.
- Click
 to remove an added folder from the exclude list.
 - Click OK.
The changes are applied.
Manually Managing Folder Syncing
You can manually stop, suspend and unsuspend syncing content.
To stop syncing a folder:
- Either:
In Windows File Explorer, when the CTERA Agent is not configured as a Caching Agent, right-click the folder on your computer and select CTERA Agent > Stop syncing this folder. For a subfolder, select CTERA Agent > Exclude folder from sync.To include a folder that you stopped syncing, select CTERA Agent > Sync this folder. To include a subfolder that you excluded, select CTERA Agent > Include folder in sync.
- Open CTERA Agent Settings window.
- Click Main > Cloud Drive in the navigation pane.
The Cloud Drive page is displayed. - Click the button for the folder you want to exclude and click Stop Syncing This Folder.
To suspend syncing:
-
Either:
Right-click the CTERA Agent tray icon,, and select Suspend Sync.
Or,
In the CTERA Agent window, click to the right of View online.
Or,- Open CTERA Agent Settings window.
- Click Main > Cloud Drive in the navigation pane.
The Cloud Drive page is displayed. - Click Suspend.
Syncing is suspended.
The CTERA Agent window also shows that syncing is suspended, as does the tray icon.
To resume syncing:
-
Either:
Right-click the CTERA Agent tray icon,, and select Unsuspend Sync.
Or,
In the CTERA Agent window, click to the right of View online.
Or,- Open CTERA Agent Settings window.
- Click Main > Cloud Drive in the navigation pane.
The Cloud Drive page is displayed. - Click Unsuspend.
Syncing resumes.