Managing User Groups
- 3 Minutes to read
- Print
- DarkLight
- PDF
Managing User Groups
- 3 Minutes to read
- Print
- DarkLight
- PDF
Article Summary
Share feedback
Thanks for sharing your feedback!
User groups are groups of users that you can define and then use to simplify assigning user permissions. Groups are useful when setting several types of policies and permissions, such as:
- Automatic template assignment policy. See Configuring the Automatic Template Assignment Policy.
- Setting permissions for accessing folders. See Managing Folders and Folder Groups.
- Setting Collaboration Permissions.
Note
You can create groups manually, as described below, or you can fetch groups from a directory service, as described in Using Directory Services For the Users.
Viewing Groups
To view all user groups:
- Select Users > Groups in the navigation pane.
The GROUPS page opens, displaying the user groups for the portal.

NAME – The user group's name.
DESCRIPTION – A description of the user group.

To view only a specific type of group:
- Select Users > Groups in the navigation pane.
The GROUPS page opens, displaying the user groups for the portal.
- Click the filter drop-down to filter the users either by the default Local Users or by an Active Directory or LDAP directory name.
Adding or Editing Groups
To add or edit a user group:
Select Users > Groups in the navigation pane.
The GROUPS page opens, displaying the user groups for the portal.

Either,
- Add a group, click New Group.
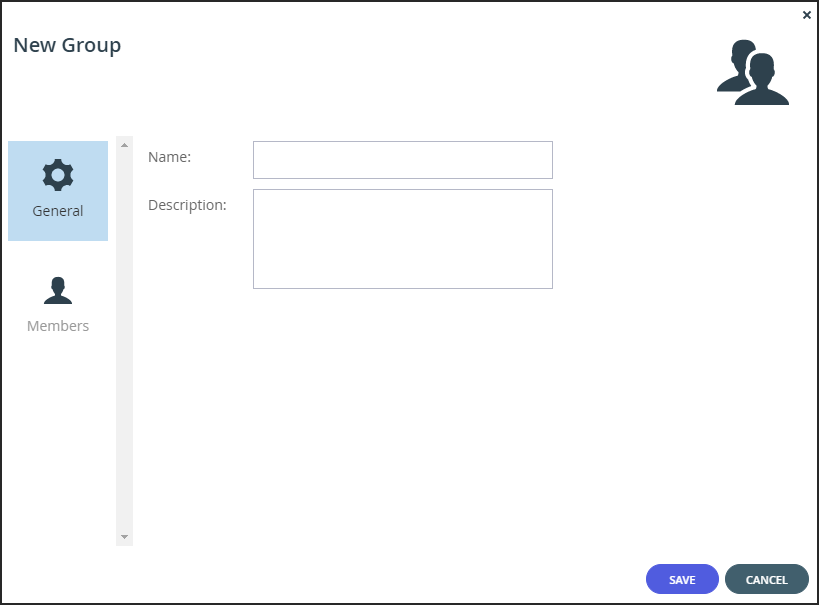
The New Group window is displayed.
Or,
- Edit an existing group, click the group’s name. The group window is displayed with the username of the group as the window title.
- Add a group, click New Group.
Complete the fields in the Profile option:
Name – A name for the group.
Description – Optionally, a description of the group.Select the Members option.
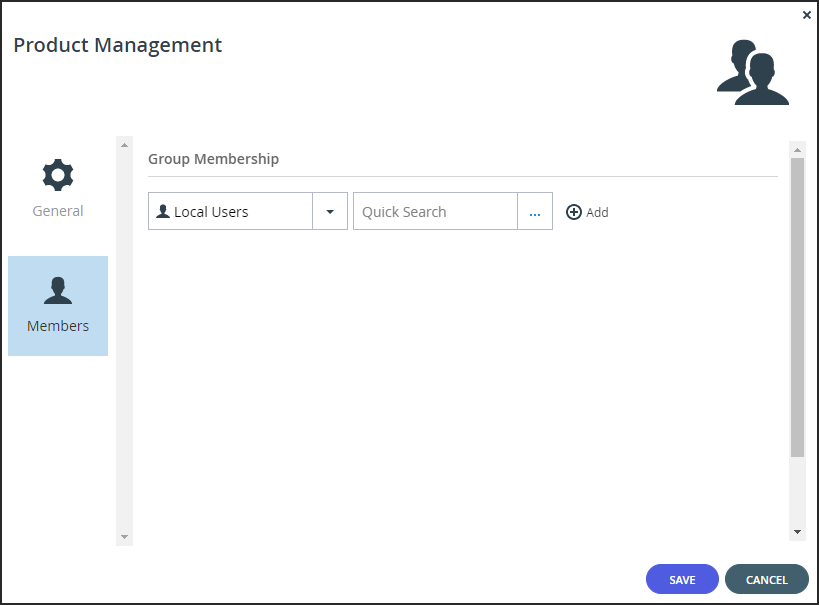
Select either Local Users or the Active Directory or LDAP directory name.
In the Quick Search field, enter a string that is displayed anywhere within the name of the user.
A list of users matching the search string is displayed.Select the user to add to the group and click Add.
NoteUsers can belong to multiple user groups.
A user can be added to an existing group from the Users > Users option, described in Adding a User to an Existing Group.To remove a user from the group, select the user row and click
 .
.
The user is removed from the group.Click SAVE.


 .
.The user is added to the list of group members.
Adding a User to an Existing Group
A User can be added to an existing group from the Users > Users option.
To add a user to an existing group:
- Select Users > Users in the navigation pane.
The USERS page opens, displaying the users for the portal.
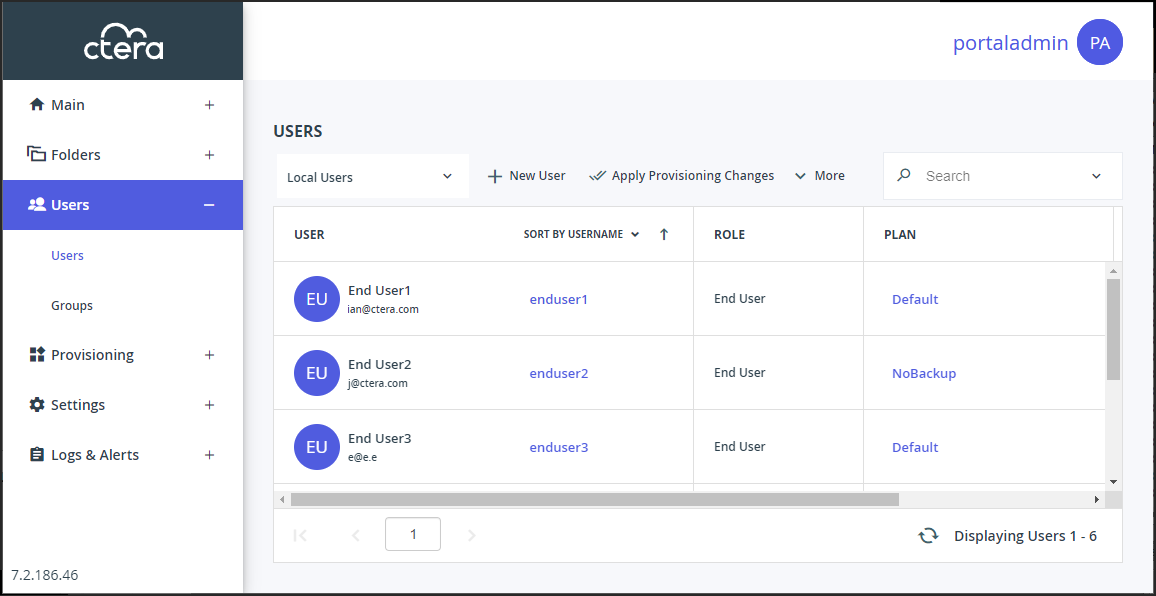
- Click the user's name.
The user window is displayed with the user name as the window title. - Select the Groups option.
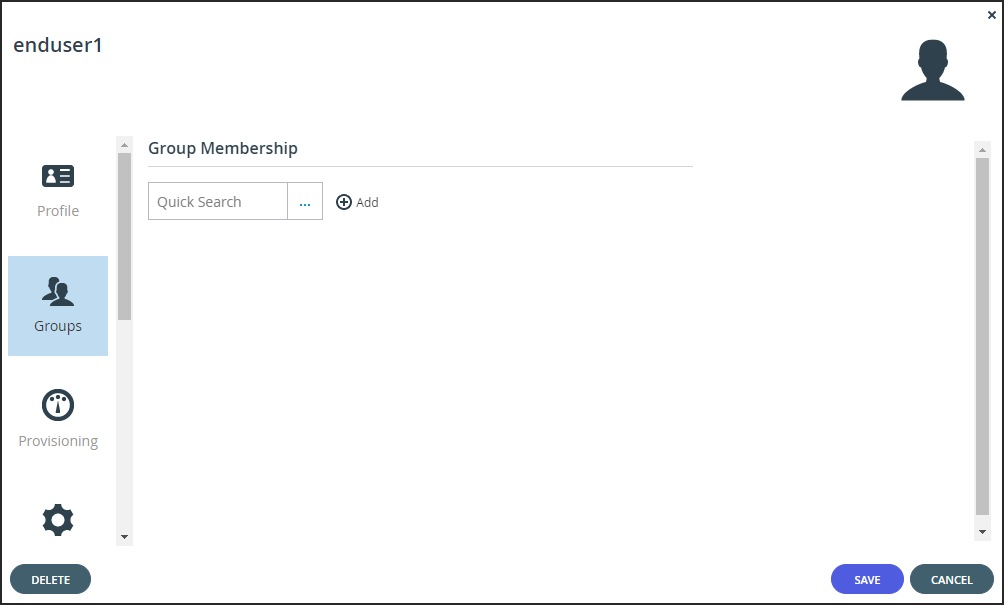
- In the Quick Search field, enter a string that is displayed anywhere within the name of the group.
A list of groups matching the search string is displayed. - Select the group and click Add.Note
Users can belong to more than one user group.
- Click SAVE.


Exporting Group Information to Excel
You can export a list of groups and their details to a comma separated values (*.csv) Microsoft Excel file on your computer.
To export a list of groups to Microsoft Excel:
- Select Users > Groups in the navigation pane.
The GROUPS page opens, displaying the user groups for the portal. - Click Export to Excel.
The group list is downloaded to your computer.
Deleting Groups
To delete a user group:
Note
Deleting a user group does not delete the users.
- Select Users > Groups in the navigation pane.
The GROUPS page opens, displaying the user groups for the portal. - Select the group’s row to delete and click Delete Group.
A confirmation window is displayed. - Click DELETE GROUP to confirm.
The group is deleted.
Was this article helpful?