Antivirus protection is available in a virtual portal if:
- CTERA Portal is licensed for antivirus.
- Antivirus functionality is enabled by the global administrator.
- A subscription plan in global administration includes the antivirus option.
- The subscription plan that includes the antivirus option is provisioned for the portal in global administration.
When antivirus scanning is enabled:
- The navigation pane includes a Services option.

- Files are scanned for malware automatically and transparently, before they are downloaded from the portal. When the browser used is Google Chrome, you are notified that a download failed. With other browsers, the download is unsuccessful without a notification. Background scanning checks for files that were not previously scanned, for example, when the antivirus was disabled or not running on a server. Background scanning scans the following:
- Files that were not previously scanned.
- Cloud drive folders.
- Backup folders that are not passphrase protected.
If an infected file is found, the infected file is quarantined so that an administrator can determine if any action is necessary. The file is replaced by a text file with the name file_name-infected.txt, where file_name is the original name of the file.
If a file called file_name-infected.txt already exists, the new infected file is called file_name-infectedn.txt, where n is a 1, 2, 3, etc, denoting the additional number of times an infected file with this name has been quarantined.
The text file contains information, including how the infected file was uploaded to the portal:
A file was moved to quarantine
File name: *file_name*
Uploaded from device: *device_name*
Detected threat: *detected_threat*
Or:
A file was moved to quarantine
File name: *file_name*
Uploaded via portal's UI
Detected threat: *detected_threat*
For example, detected_threat could be File is infected with Trojan32
Administrators can view files that are quarantined by the antivirus servers, the Cloud Drive location and the user who owns the files.
To manage quarantined files:
- Select Services > Antivirus in the navigation pane.
The Services menu item is only displayed if the portal is licensed for antivirus functionality, provisioned and enabled by the global administrator.

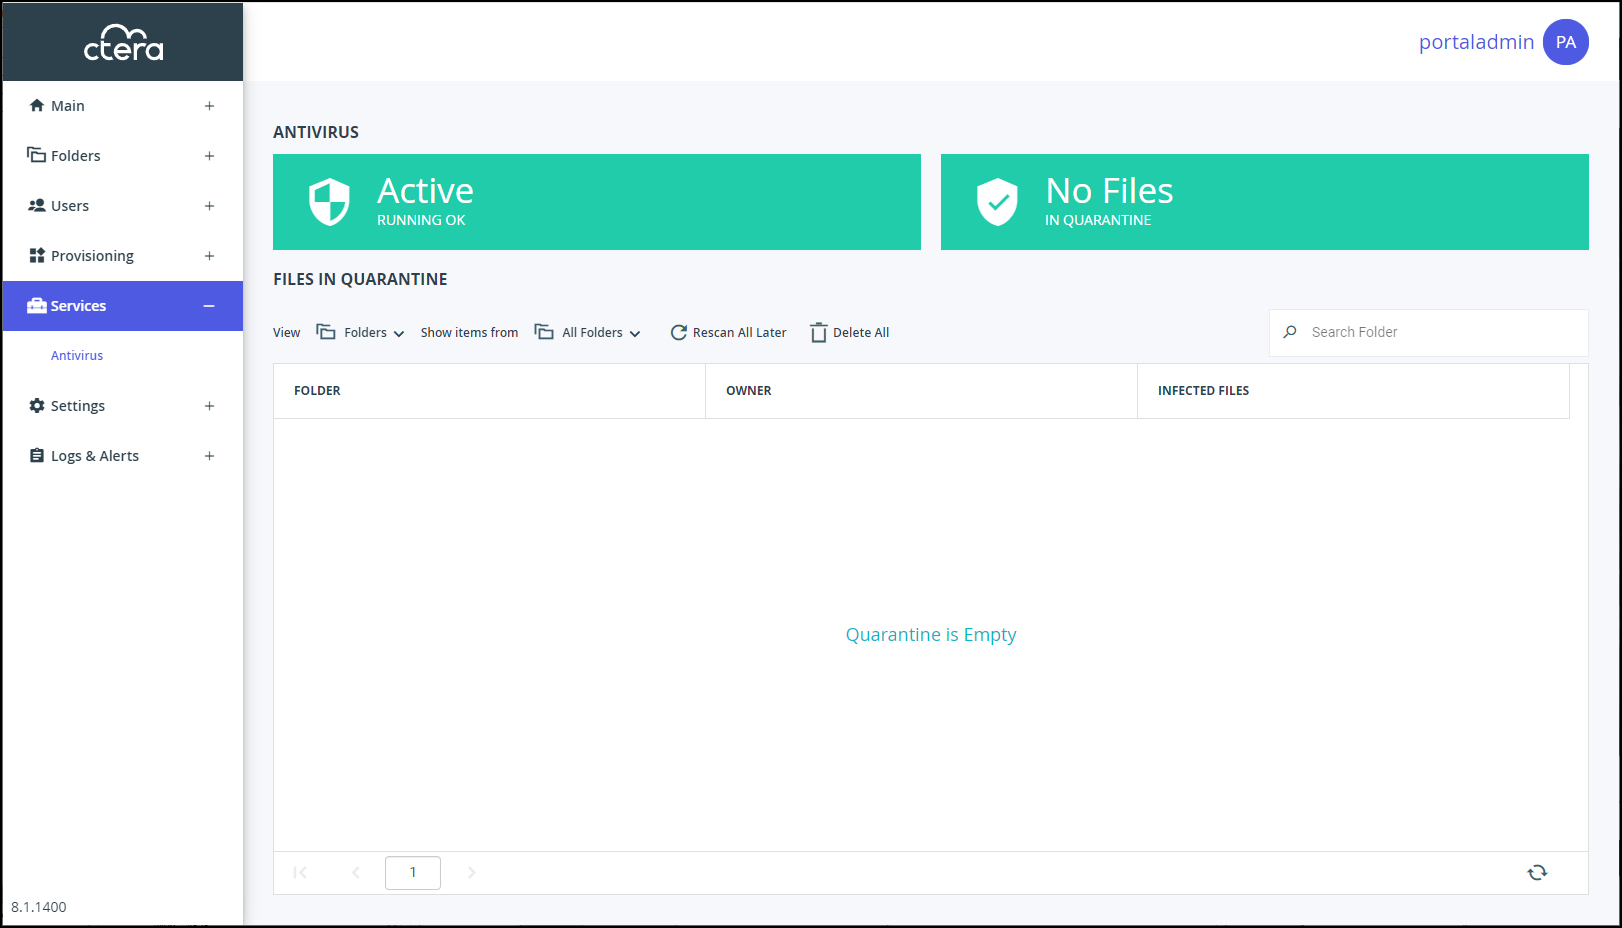
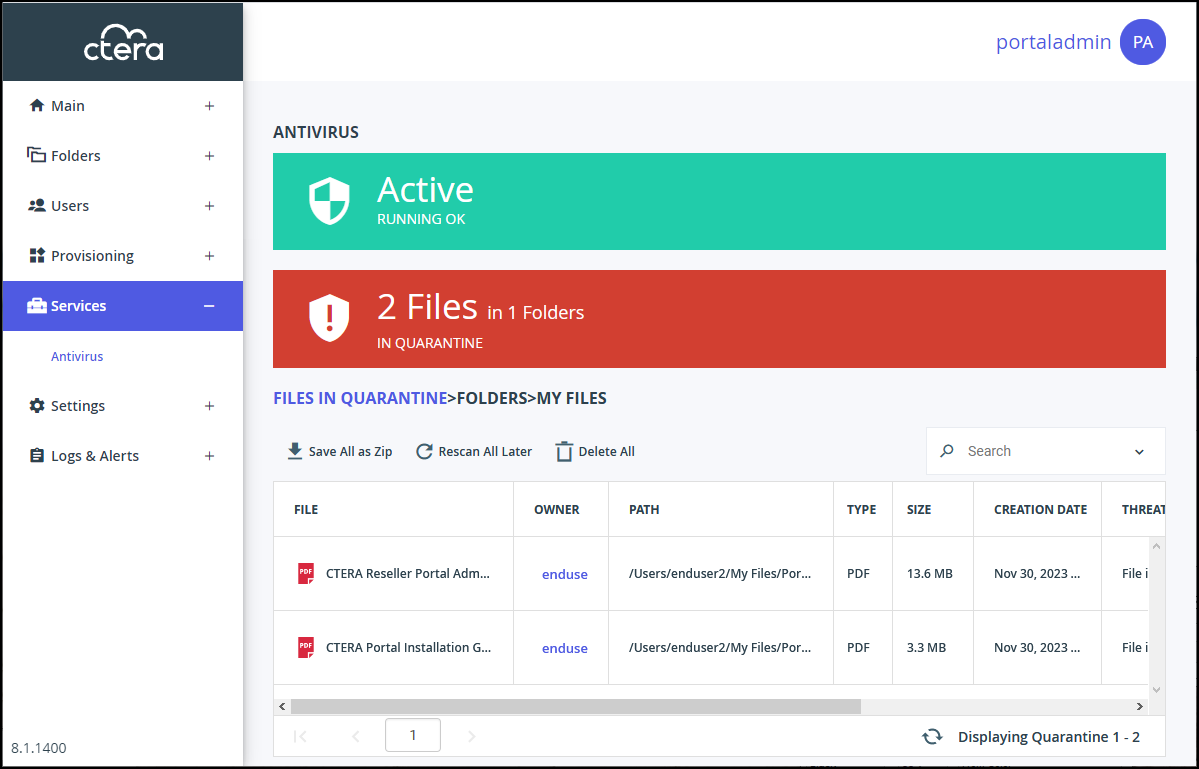
If quarantined files were scanned, the quarantine block is displayed as follows:

The number of quarantined files is displayed with the number of folders that contained at least one quarantined file.
You can also change the infected files view:- Choose either Folders or Files from the View drop-down options.
In the Folders view, you can select what type of folder to inspect, All Folders, Cloud Folders or Backups. The number of infected files displayed is for all the folders. In the Files view the list of infected files displayed is only from cloud folders and not from backup folders. However, in the Files view you can search the list by file name.
- Choose either Folders or Files from the View drop-down options.
- Click on an owner to see details of the user who owns the infected file.
- Select the Files view, or, in the Folders view, click on the number of infected files link in the INFECTED FILES column to drill-down to the details of the infected files in that folder.

The infected files in the folder are displayed as well as the owner of the folder.
When clicking on the link in the INFECTED FILES column to display the details of the infected files in that folder, you can save all the files in an encrypted zip file.
You can download the infected files to a zip file by clicking Save All as Zip.
You can remove all the files from the list by clicking Rescan All Later in the ANTIVIRUS > FILES IN QUARANTINE view. These files will be rescanned and access blocked the next time an external user attempts to view or download them.
You can delete all the files from the list by clicking Delete All in the ANTIVIRUS > FILES IN QUARANTINE view or select an individual row and click Delete to delete just that file.