Managing Volumes
- 4 Minutes to read
- Print
- DarkLight
- PDF
Managing Volumes
- 4 Minutes to read
- Print
- DarkLight
- PDF
Article Summary
Share feedback
Thanks for sharing your feedback!
Volumes are logical partitions on the CTERA Edge Filer that users can access. You create a NAS volume and the CTERA Edge Filer acts as a files server for NAS volumes which can be accessed using any of the supported file sharing protocols.
The CTERA Edge Filer supports XFS file systems. The following conditions apply:
- Open files are not backed up during cloud backup.
- XFS volumes cannot be shrunk. CTERA recommends starting with the required storage and then increasing the storage when using XFS rather than starting with a large storage which cannot be decreased.
When the volume defined in the CTERA Edge Filer does not use all the available storage, you can edit the volume to enlarge the volume size.
Note
When the volume defined in the CTERA Edge Filer uses all the available storage, see Increasing Available CTERA Edge Filer Storage (Except for H series and X series Edge Filers).
To create or edit a volume:
Note
To create a volume, you must have an array defined. An H Series and X Series edge filer is supplied with a predefined RAID. A V Series edge filer has an array defined as part of the initial setup, described in Initial CTERA Edge Filer Setup.
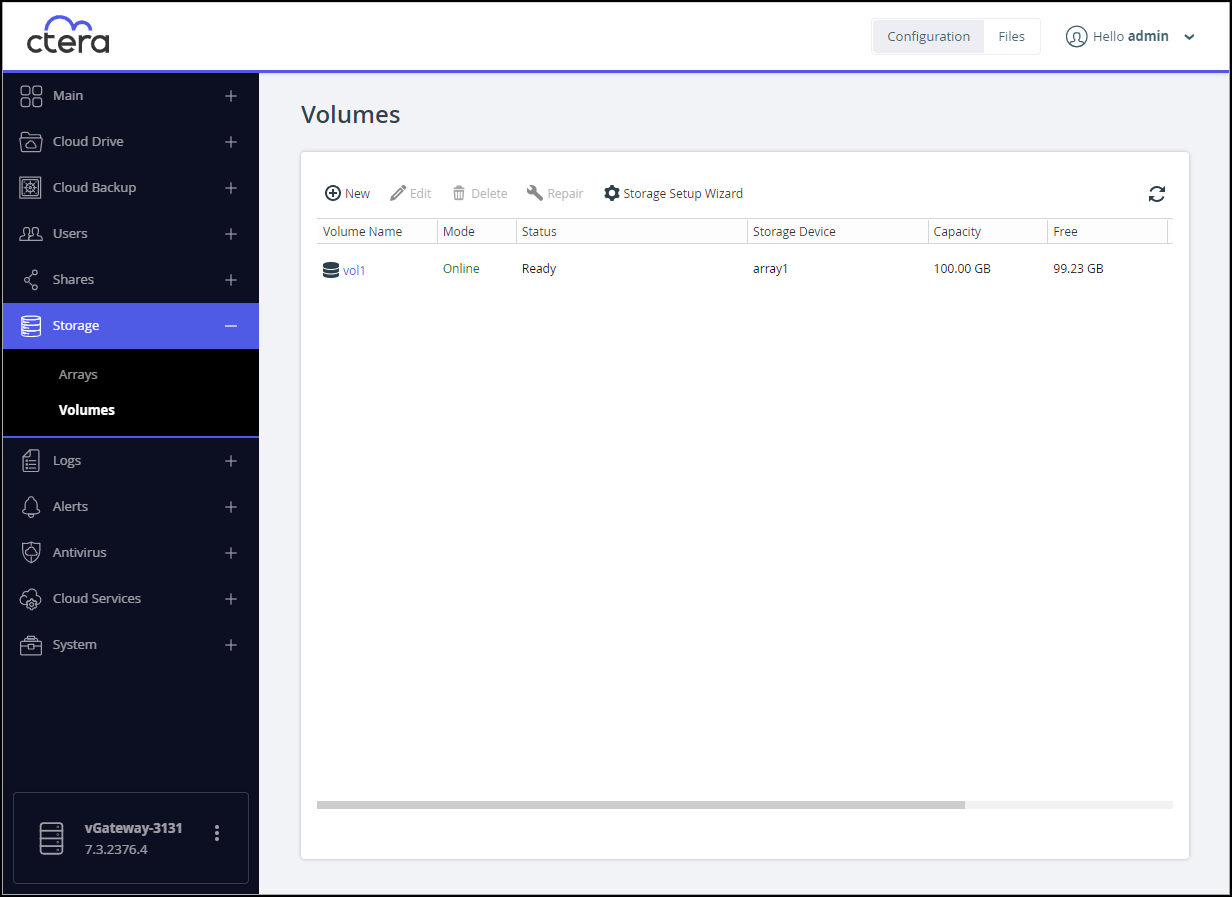
- In the Configuration view, select Storage > Volumes in the navigation pane.
The Volumes page is displayed.
If a volume was not created when the CTERA Edge Filer was installed, the page is empty. - Click New or select the volume to edit and click Edit.
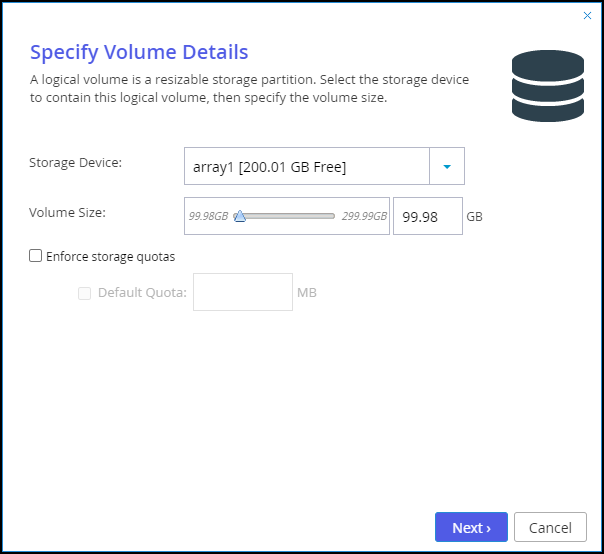
The Specify Volume Details screen is displayed. The following screen shows a volume that was previously defined with 99.98GB with the potential to increase the size to 299.99GB.
 Note
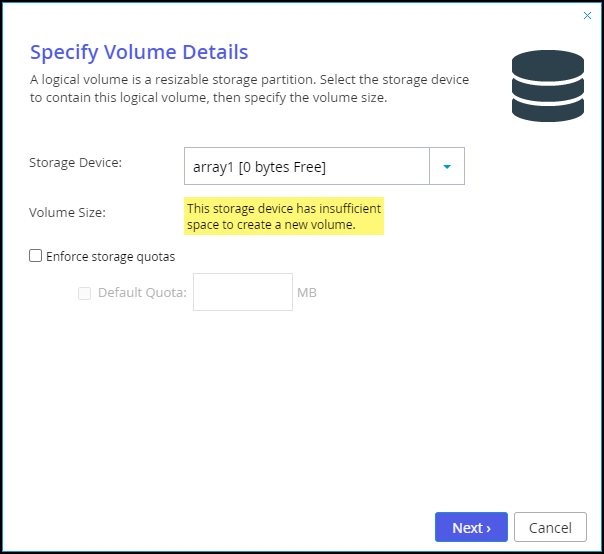
NoteIf the selected disk storage is fully used, the following screen is displayed:
- Set the volume details:
Storage Device – The array on which to create the volume. The size of each array is shown in brackets.
Volume Size – You can either drag the slider or enter a number of GB. CTERA recommends that the volume size is set to the maximum available.
When adding to an existing array, the minimum size displayed is the size of the current volume.
The volume size cannot be decreased.
Enforce storage quotas – Check to limit the amount of storage space allocated to each non-administrative volume user. Each non-administrative user can then be allocated a specific storage space quota, as described in Allocating Disk Quotas to Users. If quotas are not enabled, then each user is able to use unlimited space on this volume.
Default Quotas – The default storage quota in MB, which is allocated to each user. - Click Next.
When defining a new volume you can choose to encrypt the volume.
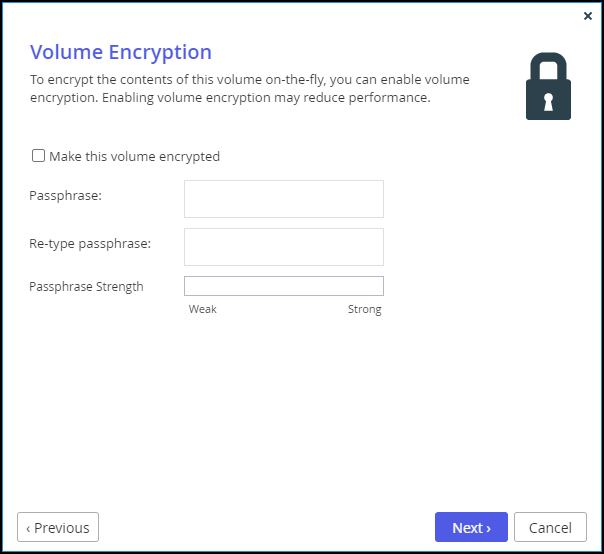
Make this volume encrypted – Encrypt the contents of this volume using a passphrase. This option is disabled when editing a volume.After encrypting a volume, you can edit the volume to change the password.
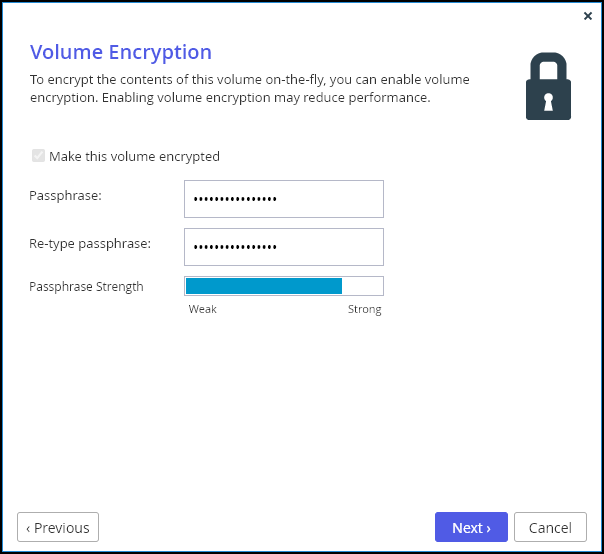
Retype Passphrase – Enter the same passphrase again to confirm it.
The encryption method employed is the Advanced Encryption Standard (AES-256 CBC ESSIV). Enabling volume encryption may reduce performance.NoteIt is important to keep the passphrase in a safe place as there is no way of retrieving it if you lose it. If you reset the CTERA Edge Filer to its default settings, you cannot access the volume without this passphrase.
- Click Next.
The Name this Logical Volume window is displayed.

- If the volume is a new volume, enter a name for the volume.Note
You cannot change the name of an existing active volume.
- Click Next and then click Finish.
The volume you created is displayed in the Volumes page.


Deleting Volumes
To delete a volume, select the volume and click Delete and then Yes to confirm.
Note
You cannot delete an active volume directly if it has data stored on it.
Scanning and Repairing Volumes
You can scan the file system on a volume for errors. Any detected errors are automatically repaired, if possible.
Warning
During the scanning process, the volume is taken off line. Do not turn off the CTERA Edge Filer while the volume is being scanned.
To scan and repair a volume:
- In the Configuration view, select Storage > Volumes in the navigation pane.
- Select the volume and click Repair.
The Volume Repair Utility wizard is displayed.
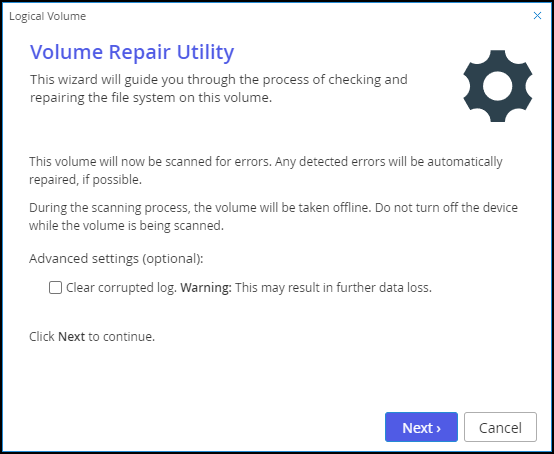 Warning
During the scanning process, the volume is taken off line. Do not turn off the CTERA Edge Filer while the volume is being scanned.
- Optionally, configure the settings for the repair operation.
- Click Next.
While the files system on the volume is scanned for errors, the Scanning & Repairing screen displays a progress bar, including what is being checked, such as inodes, blocks and sizes and group summary information.
When the process is complete, the Repair Complete screen displays a list of files system errors that were corrected. - Click Finish.

Handling Volumes Close to Capacity
Handling situations when the storage volume is almost full is performed as follows:
- Background downloads are disabled when the disk is 90% full and syncing is disabled when the disk is 97% full.
- When the storage volume is 1% less that the critically full value, the default being 97%, all downloads to the edge filer are canceled.
- When the storage volume is 2% less that the critically full value, the default being 97%, throttling starts to slow down the writes to the volume.

Was this article helpful?