Installing the CTERA Edge Filer in a Scale Computing HyperCore Environment
Installing the CTERA Edge Filer involves creating and configuring a virtual machine and then performing an initial configuration, described in First Time Setup.
The CTERA Edge Filer can be installed in a Scale Computing HyperCore environment.
Contact CTERA, and request the latest qcow2 CTERA Edge Filer disk image. Add this image to the machine where you run the Scale Computing HyperCore System console.
The CTERA Edge Filer installation must be done using the qcow2 file and not by cloning an existing CTERA Edge Filer.
To install the CTERA Edge Filer in a Scale Computing HyperCore environment:
-
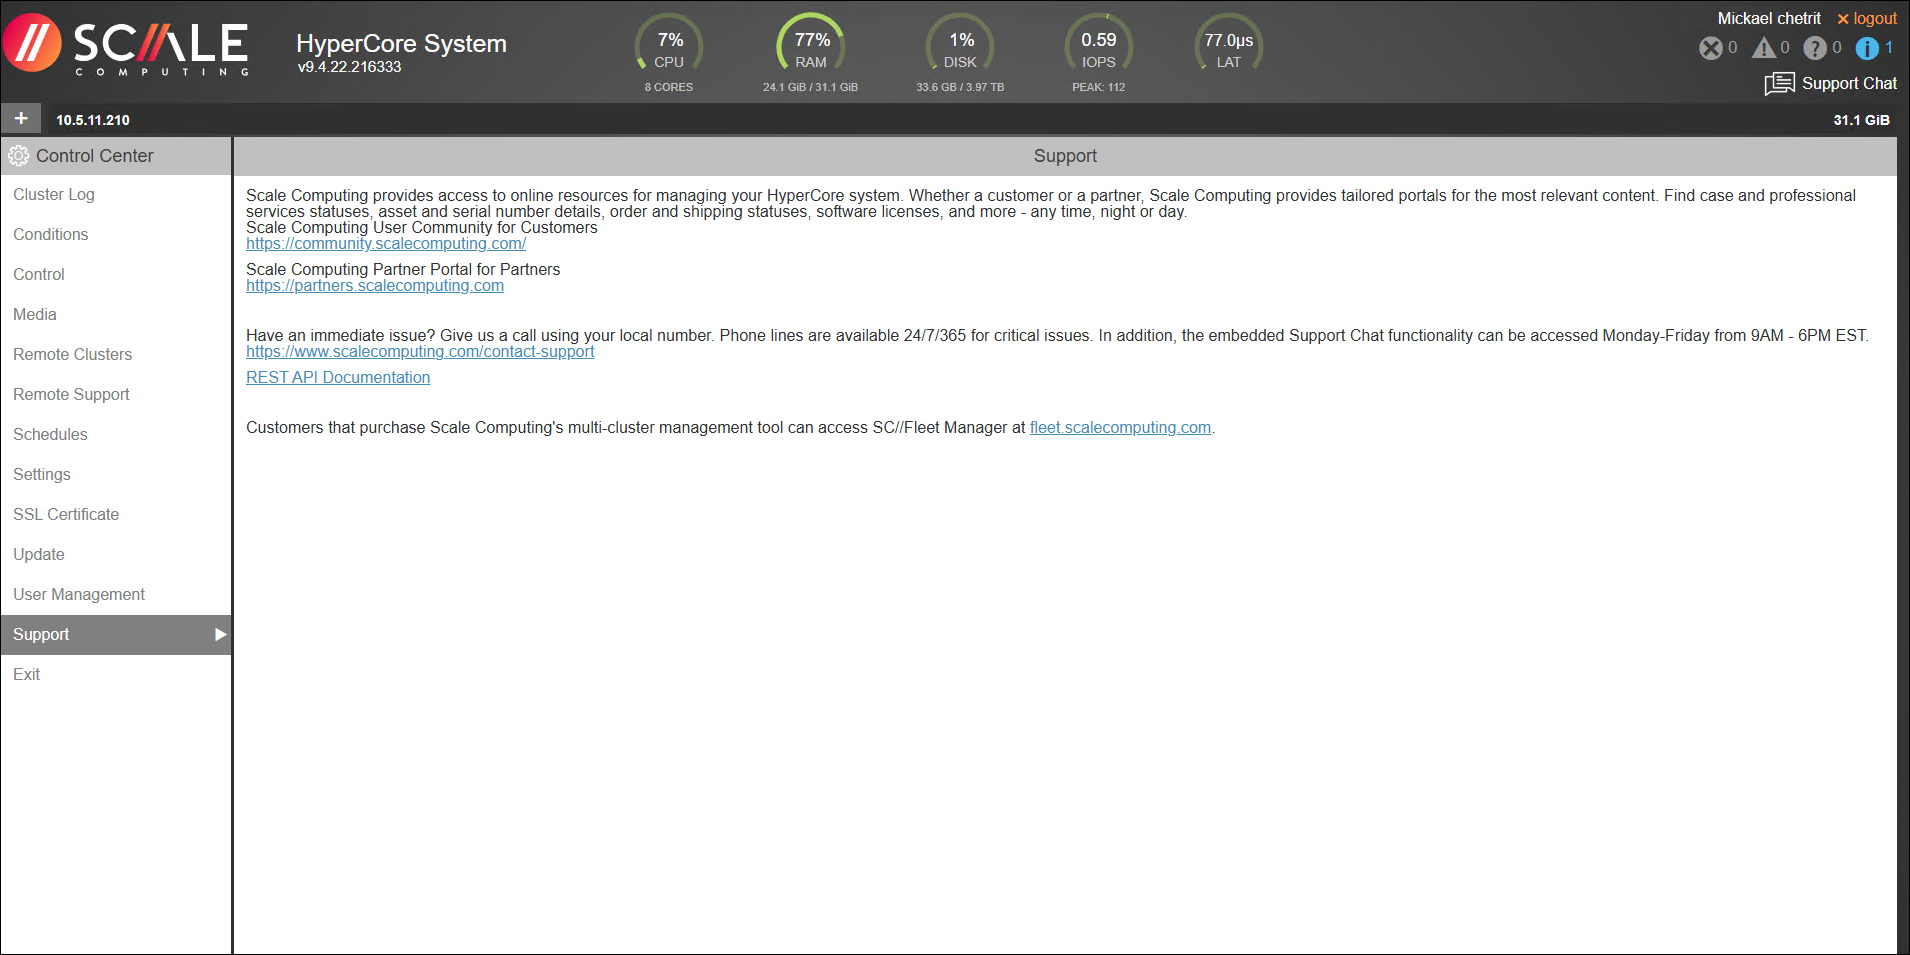
Log in to the Scale Computing HyperCore System console and access the Control Center.
-
In the Control Center click Media in the navigation pane.

-
Click Upload and upload the qcow2 image you received from CTERA.
NoteYou cannot drag-and-drop the qcow2 image to the console.
-
Click the cog icon,
 , next to Control Center in the navigation pane.

-
Click the plus icon,
 , to create a VM.

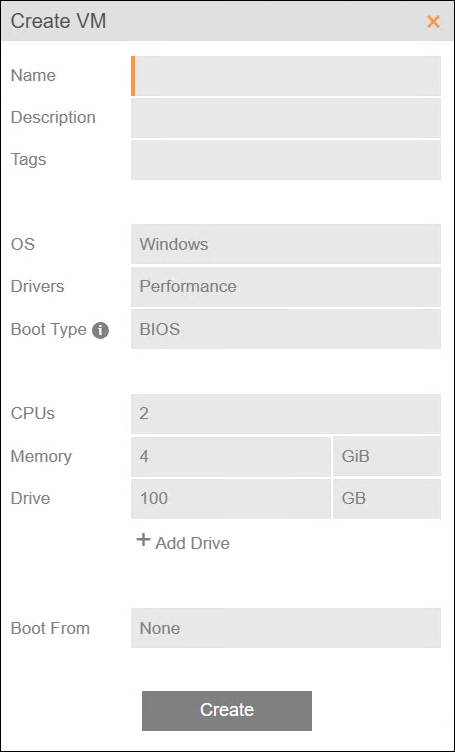
The Create VM window is displayed.
-
Enter the following details in the Create VM window:
Name – A unique name to identify the edge filer.
Description – An optional description of the edge filer.
Tags – A tag for the edge filer. On creation the VM is displayed under this tag.
OS – SelectOther
Drivers – Leave the default,Performance
Boot Type – Leave the default,BIOS
CPUs – Change the CPUs to4
Memory – Change the memory to at least8GB RAM. CTERA recommends consulting with CTERA support to assess what is required for your specific workload.
Drive – Change the value to the amount of storage you will require for the edge filer. CTERA recommends storage of at least 20% of the CTERA Portal Global Name Space. The maximum storage is dependent on the license.- For an EV16 license, the maximum is 16TB.
- For an EV32 license, the maximum is 32TB.
- For an EV64 license, the maximum is 64TB.
- For an EV128 license, the maximum is 128TB.
- For an EV256 license, the maximum is 256TB.
Boot From – Leave the default,
None -
Click Create.
The VM is created and displayed under the tag specified in the Create VM window.

-
Click the Add Drive icon to add the qcow2 disk as the boot disk for the VM.
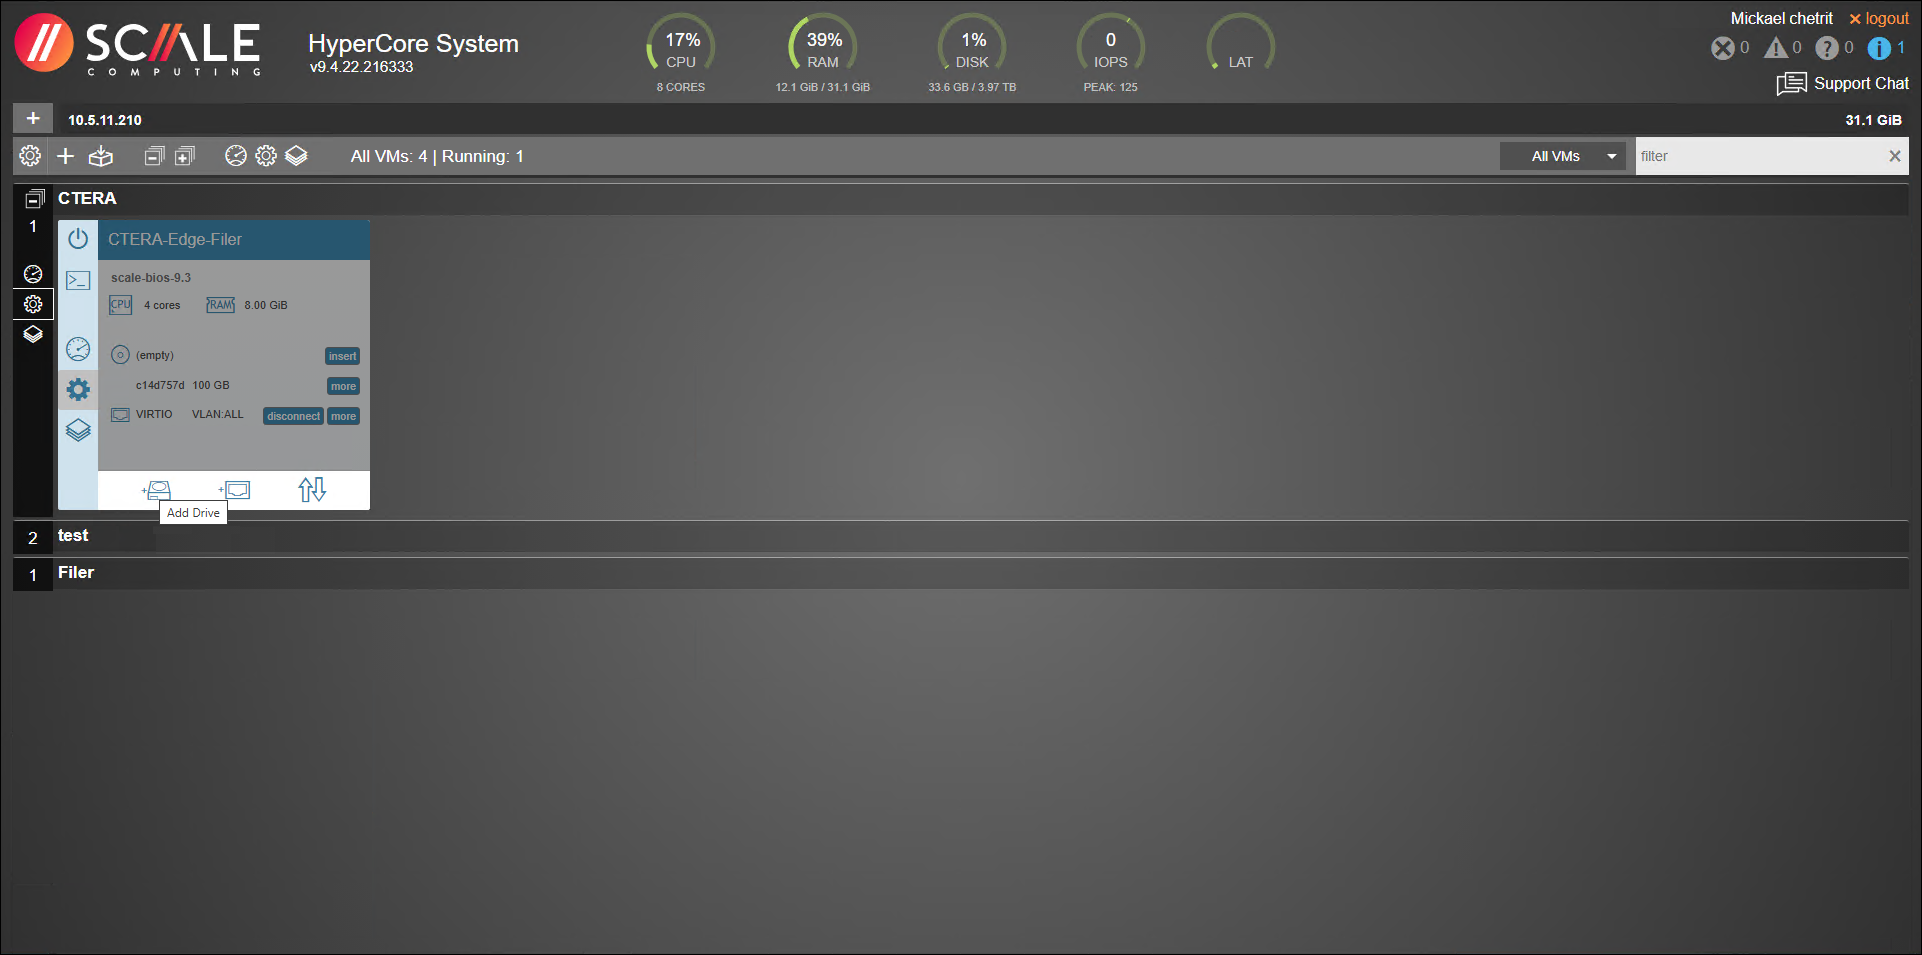
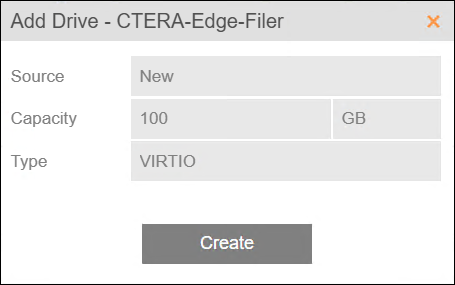
The Add Drive window is displayed.
-
In the Add Drive window change Source to
Uploadedand select the qcow2 disk that you received from CTERA for the Disk Image. -
Click Create.
-
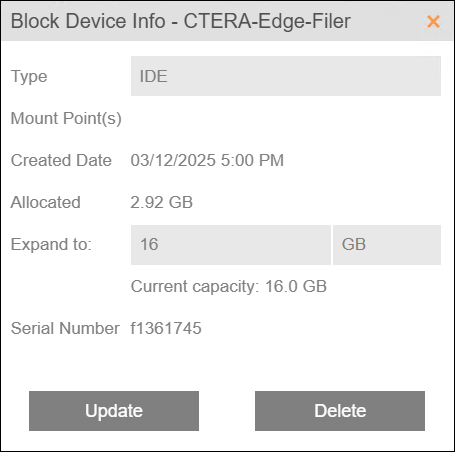
Click more next to the disk.
The Block Device Info window is displayed.
-
Change the Type to
VIRTIOand click Update. -
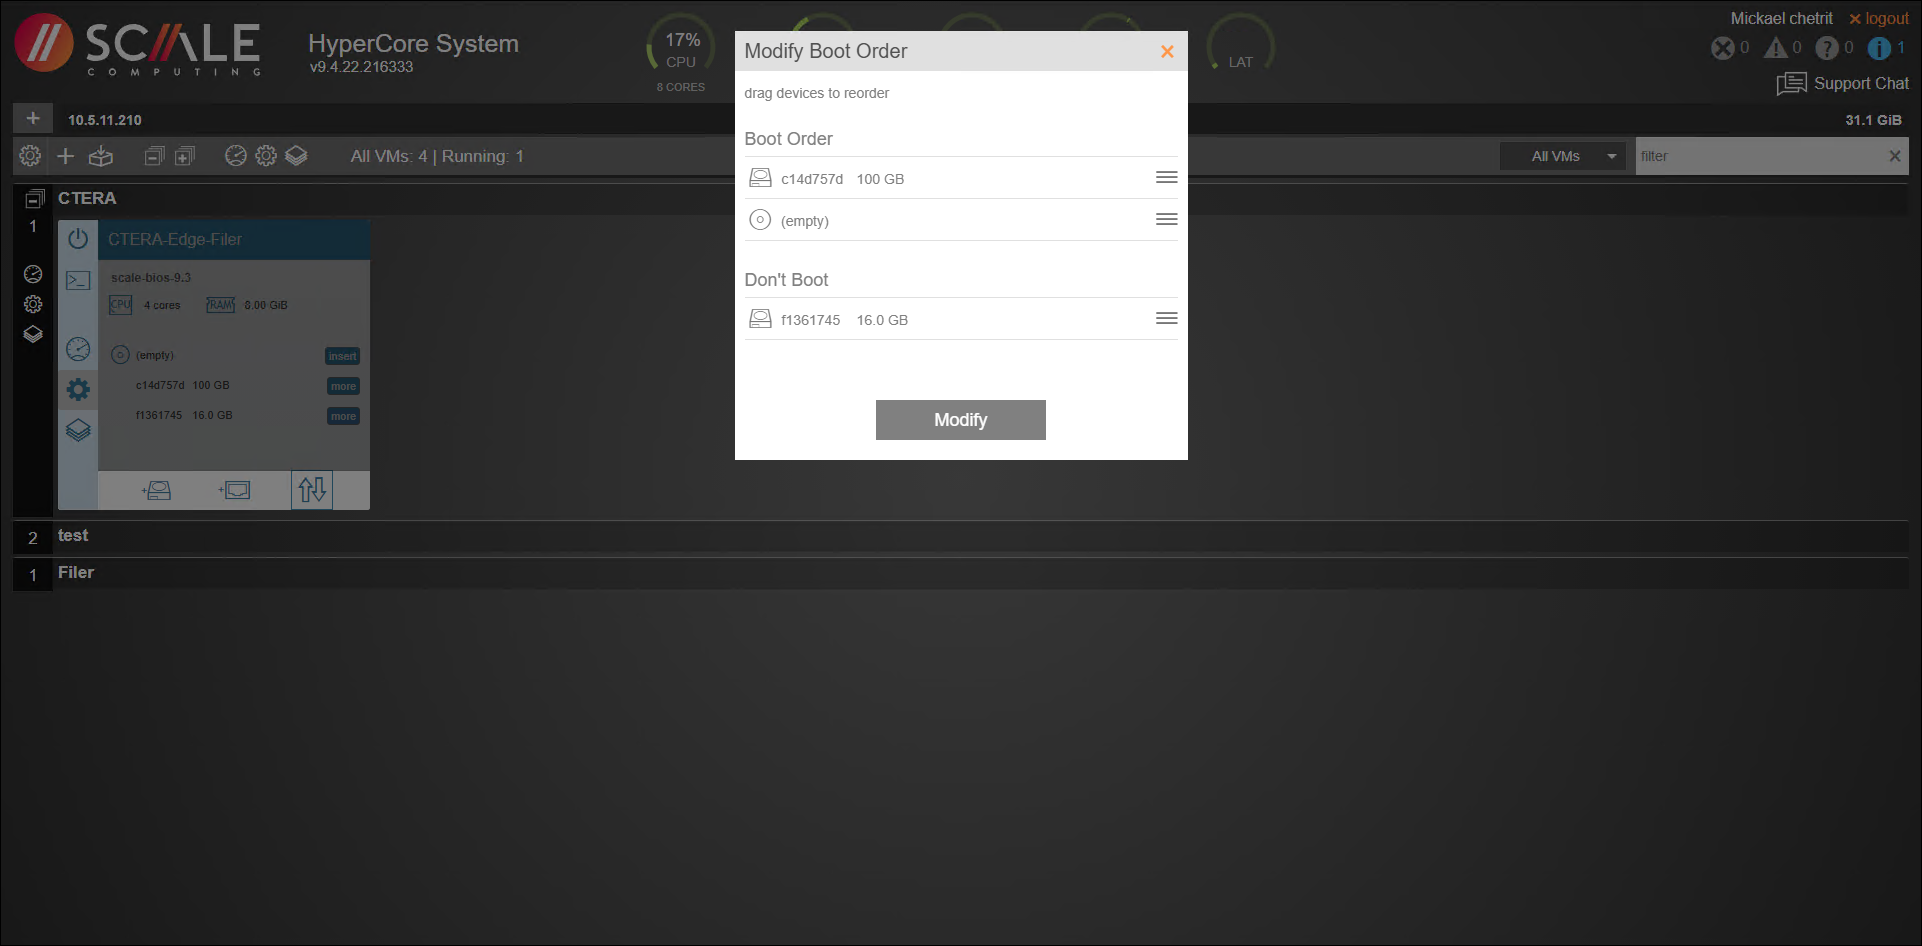
Click the Modify Boot Order to move the 16GB qcow2 disk to the top of the list of disks.
The Modify Boot Order window is displayed.
-
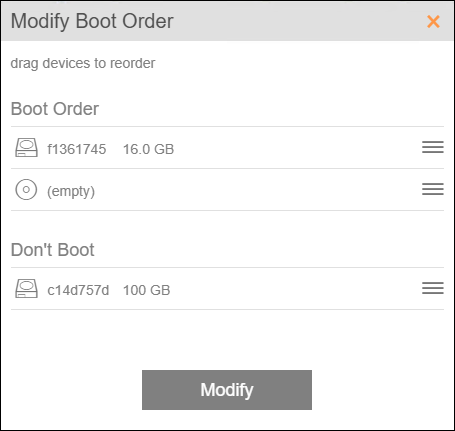
Drag the 16.0 GB disk to the top of the list and the data disk to the Don't Boot section.
-
Click Modify.
-
Click the Power button.
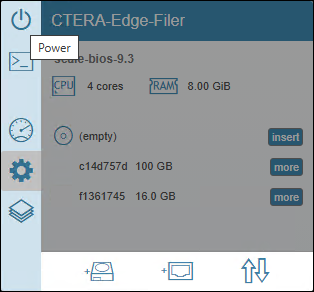
The VM is powered on and the Console option is enabled.
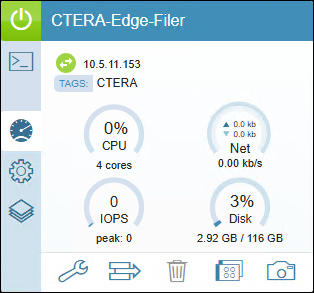
The IP is displayed in the VM display.
Or,
Click Console to open the console to set the IP address for the CTERA Edge Filer.
-
Login in with the username
setupand no password, as instructed.
Using DHCP, after a few seconds, the IP address to access the CTERA Edge Filer is displayed in the top right of the console.
Otherwise, set a static IP address, as described below. -
Continue with First Time Setup.
To set the virtual machine static IP address:
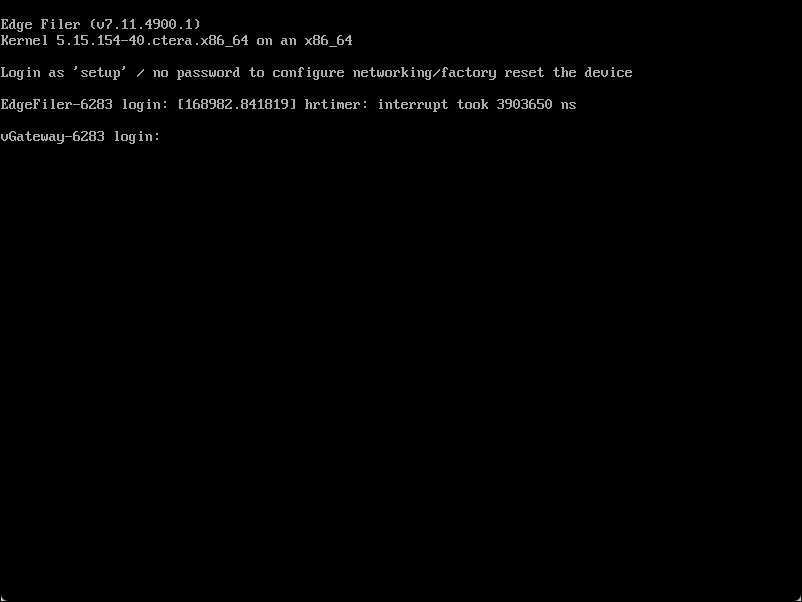
- Access the virtual machine.
The following login screen is displayed:
- Login in with the username
setupand no password, as instructed.
Using DHCP, after a few seconds, the IP address to access the CTERA Edge Filer is displayed in the top right of the console.
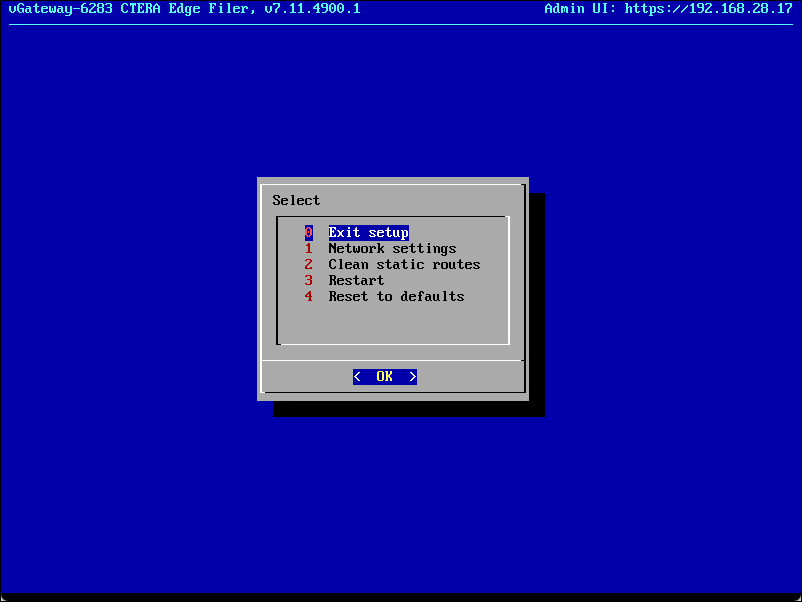
- Click in the console to transfer the keyboard control to the console and, if necessary, use the arrow keys to scroll to Network settings.
- Press Enter.
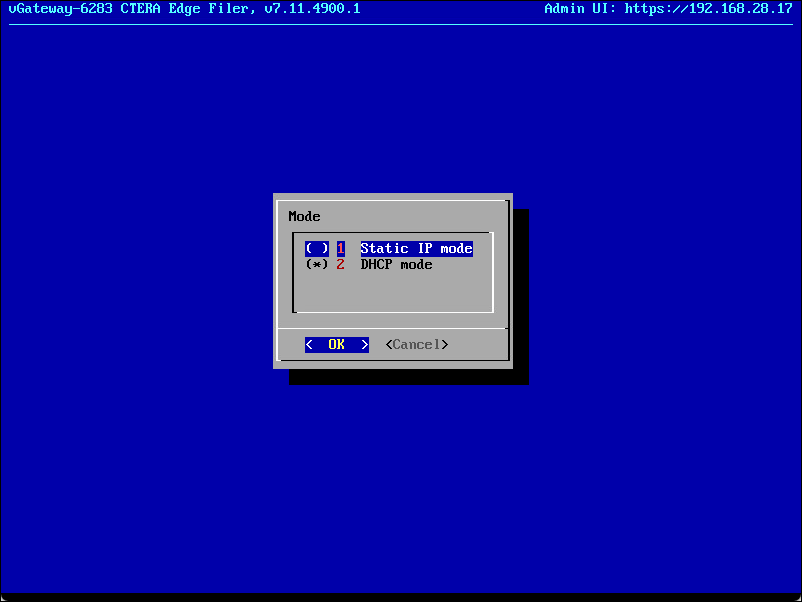
- Select Static IP mode and press OK.
- Complete the configuration for static mode by entering the static IP, netmask, default CTERA Edge Filer IP and the primary and secondary DNS server IPs.
- Press OK.