Setting or Removing the Default Zone
- 1 Minute to read
- Print
- DarkLight
- PDF
Setting or Removing the Default Zone
- 1 Minute to read
- Print
- DarkLight
- PDF
Article Summary
Share feedback
Thanks for sharing your feedback!
The default zone is automatically assigned to all new team portals. The default portal cannot be deleted.
To set a zone as the default:
- Sign in to the portal as an administrator with read/write permissions.
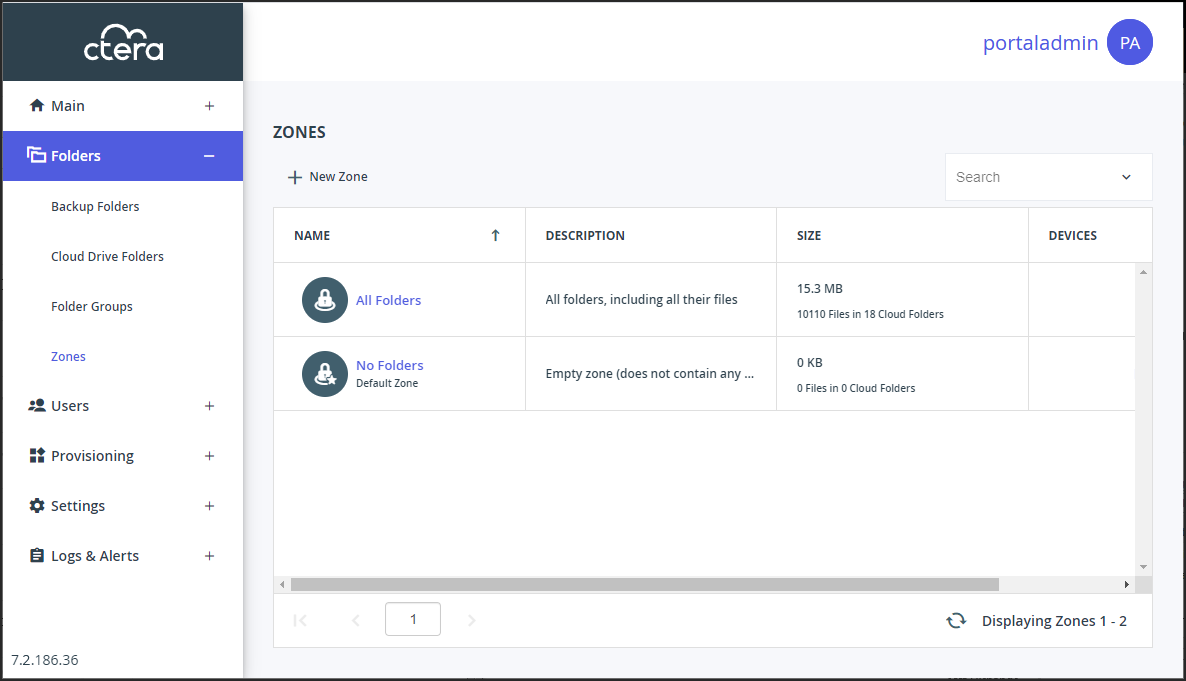
- Select Folders > Zones in the navigation pane.
The ZONES page opens, displaying all the zones.
- Select the desired zone's row.
- Click Set Default.

The selected zone becomes the default zone. Default Zone is displayed under the zone name.
To remove a zone from being the default:
Note
You must have a default zone. To remove the default setting from a zone requires specifying another zone as the default zone.
- Sign in to the portal as an administrator with read/write permissions.Note
The administrator can be a team portal administrator or a global administrator.
- In the administration view for the portal, or in the team portal administration, select Folders > Zones in the navigation pane.
The ZONES page opens, displaying all the zones. - Select the zone’s row that will become the default zone instead of the current default zone.
- Click Set Default.
The selected zone replaces the old default zone as the default.
Was this article helpful?