Setting up key management involves the following steps:
- Generating Keys for the Key Management Service
- Setting Up the CTERA Portal Key Management Service
- Managing Key Management Servers in CTERA Portal
Generating Keys for the Key Management Service
The server and client keys are generated in Thales CipherTrust Manager. The procedures described below use a local server certificate. If you want to use an external server certificate, replace Local with External in the procedures.
To add the server certificate to Thales CipherTrust Manager:
-
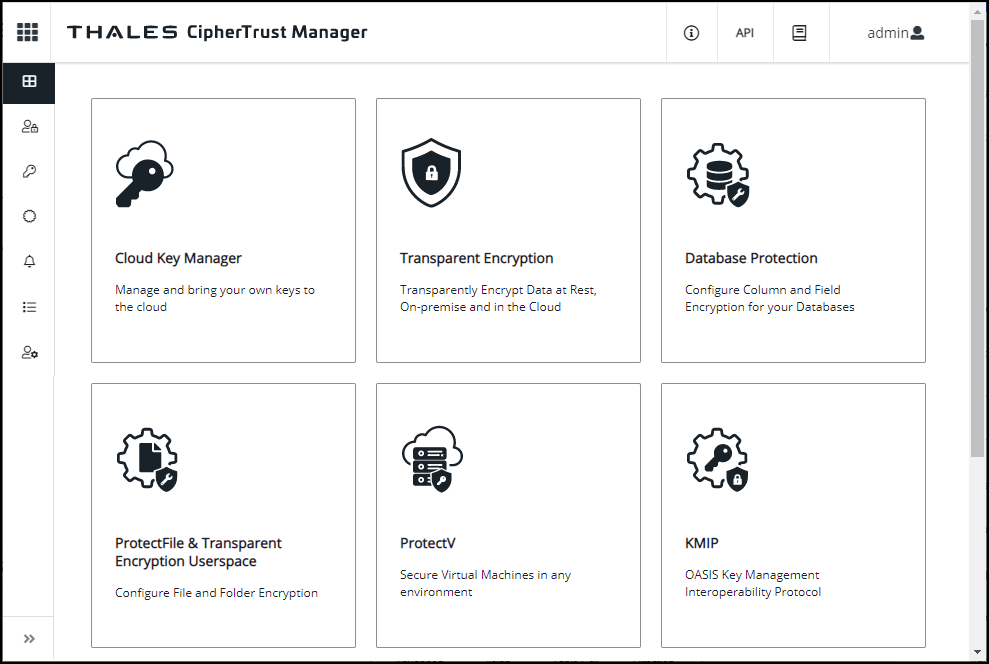
Access the Thales CipherTrust Manager as an administrator.
-
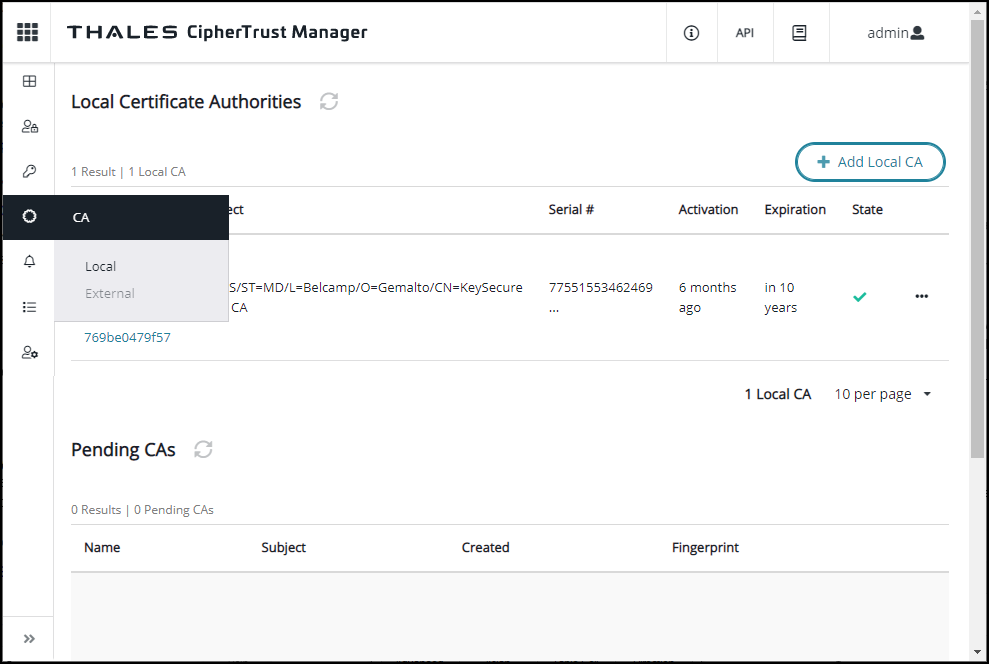
Click the CA > Local in the navigation pane.
The Local Certificate Authorities page is displayed.
-
Click the Add Local CA.
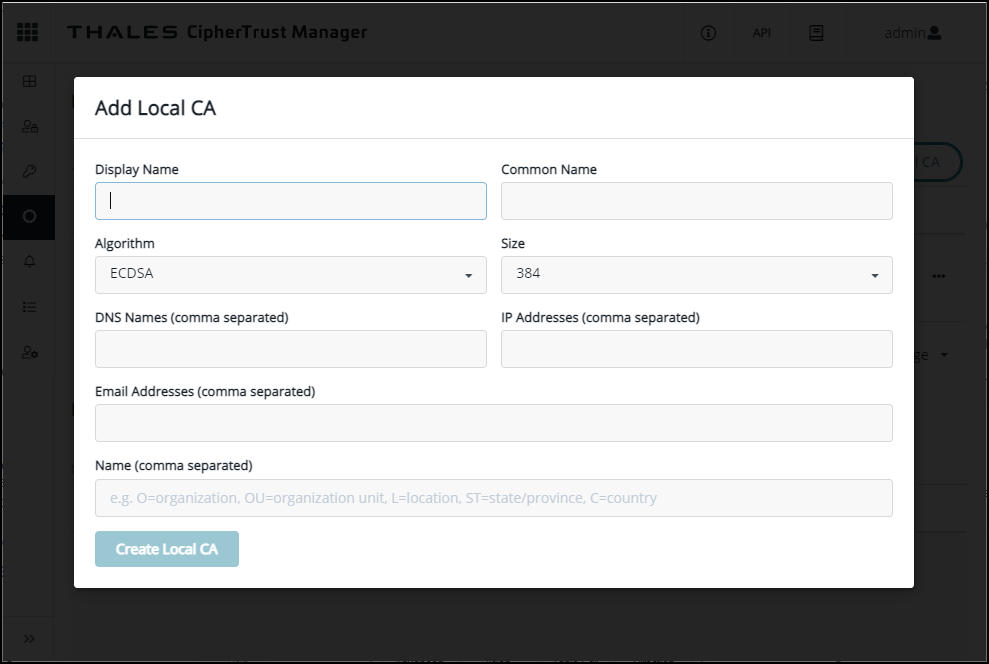
The Add Local CA window is displayed.
 Note
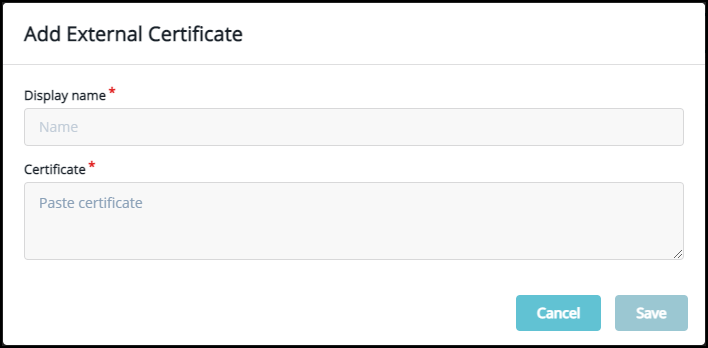
NoteIf using an external certificate, you copy and paste the certificate in the following window and click Save:
-
Enter the information for the certificate and click Create Local CA.
The Local Certificate Authorities page is redisplayed, showing the local server certificate. -
Click the ellipsis (
...) on the right of the certificate and then click Download.
To generate the client private key and certificate:
- Access the Thales CipherTrust Manager as an administrator.
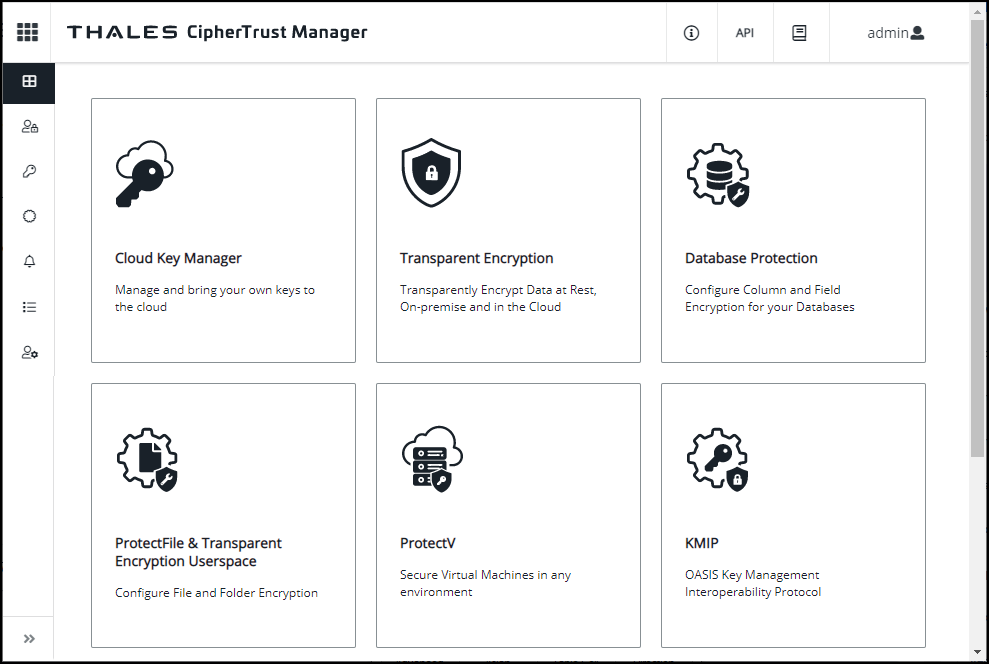
- Click the KMIP product.
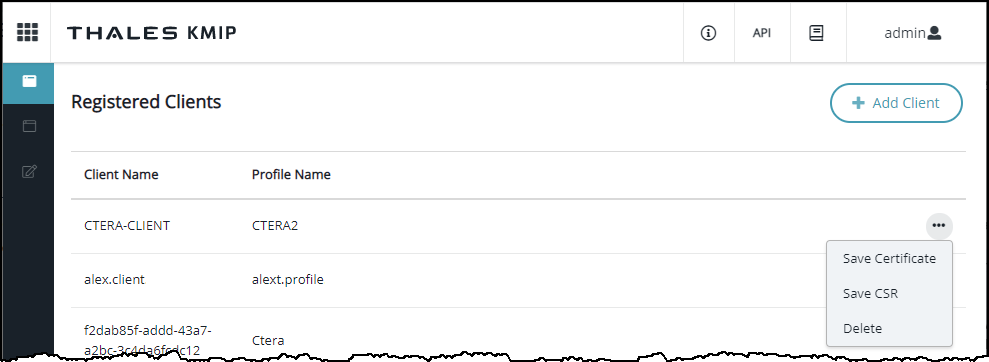
The Registered Clients page is displayed.
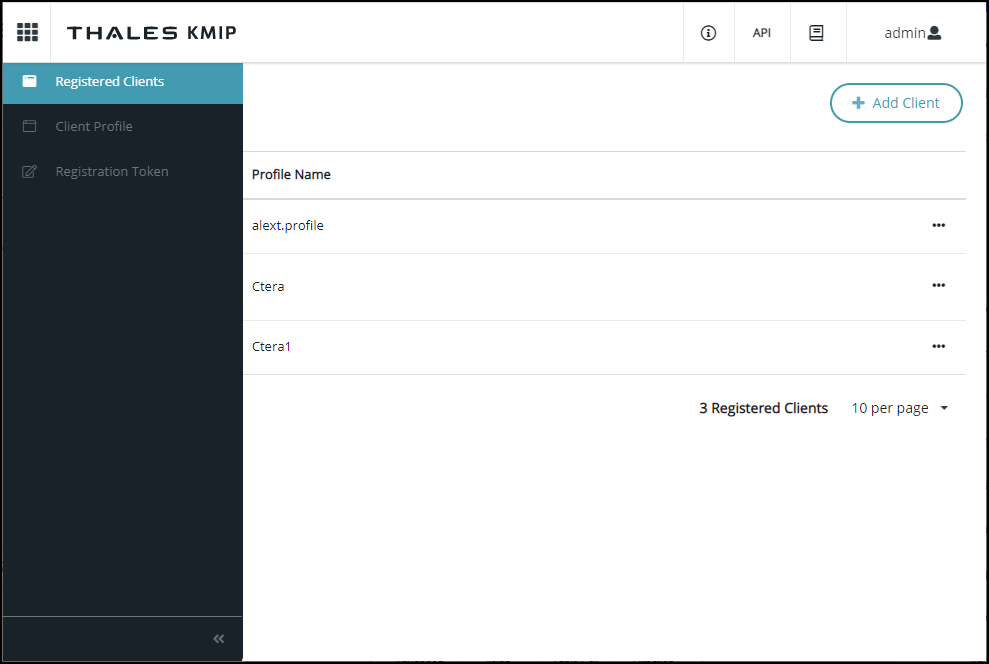
- Click the Client Profile in the navigation pane.
The Client Profiles page is displayed.
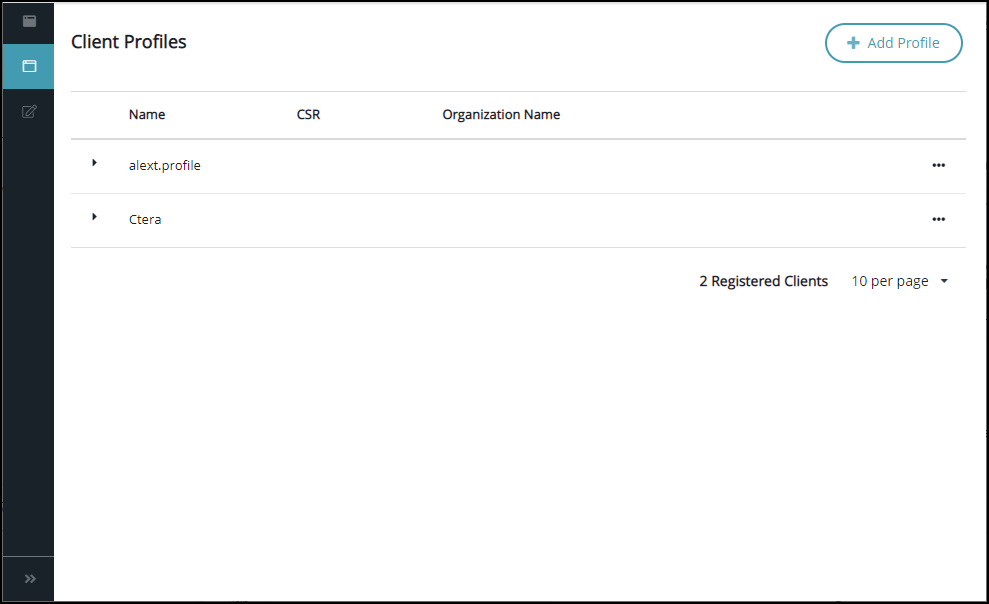
- Click the Add Profile.
The Add Profile window is displayed.

- Enter a Profile Name and click Save.
- Click Registration Token in the navigation pane.
The Registration Token page is displayed.
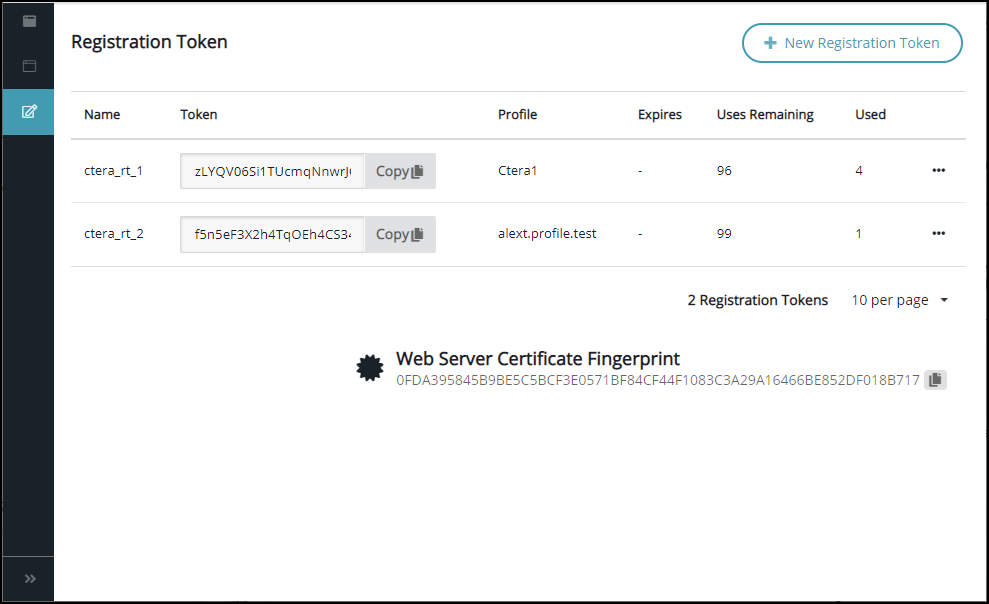
- Click New Registration Token.
The Create New Registration Token window is displayed.
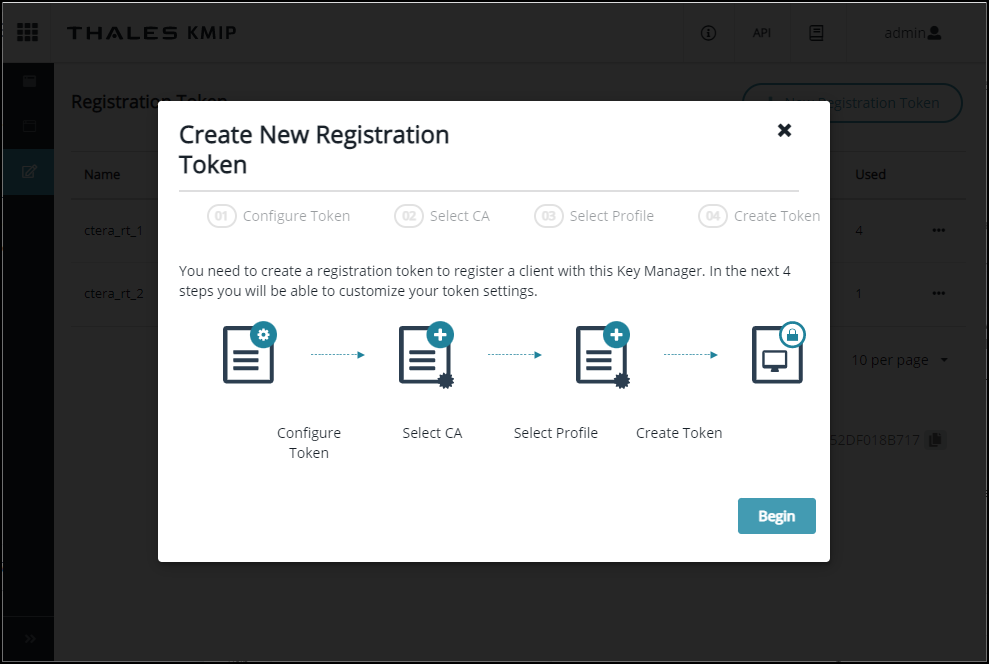
- Click Begin.
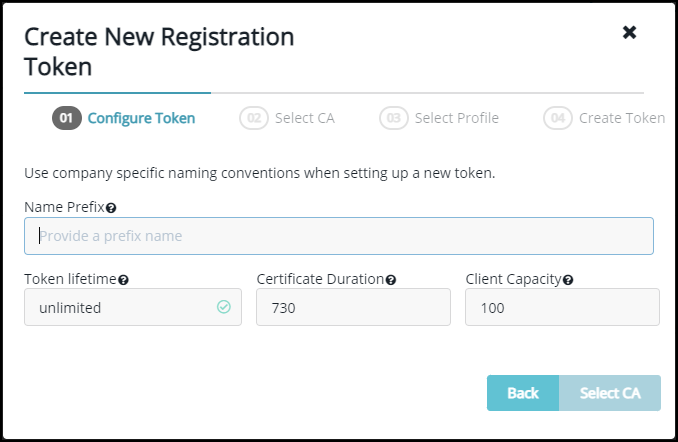
- Provide a Name prefix for the token and click Select CA.
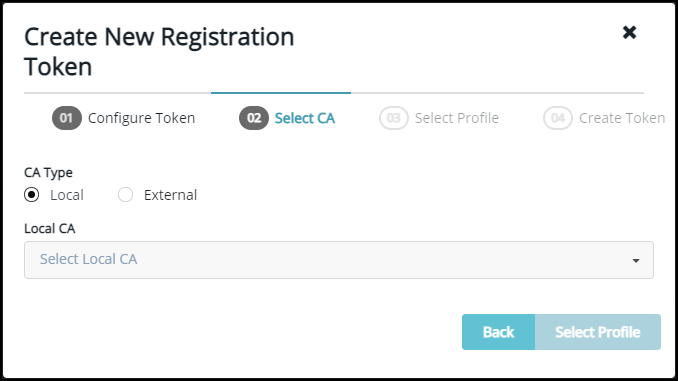
- Choose Local CA and select the CA from the drop-down list. This is the certificate added to Thales CipherTrust Manager.
- Click Select Profile.
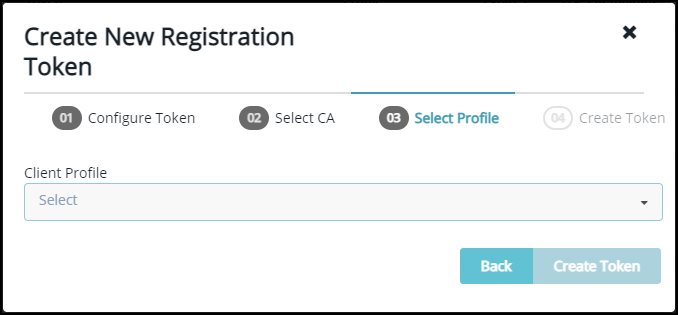
- Choose either the Client Profile from the drop-down list and click Create Token.
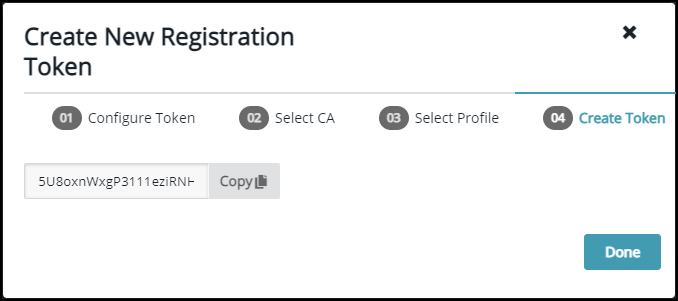
- Copy the token and click Done.
The Registration Token page is redisplayed, showing the token that was created. - Click Registered Clients in the navigation pane.
The Registered Clients page is displayed.
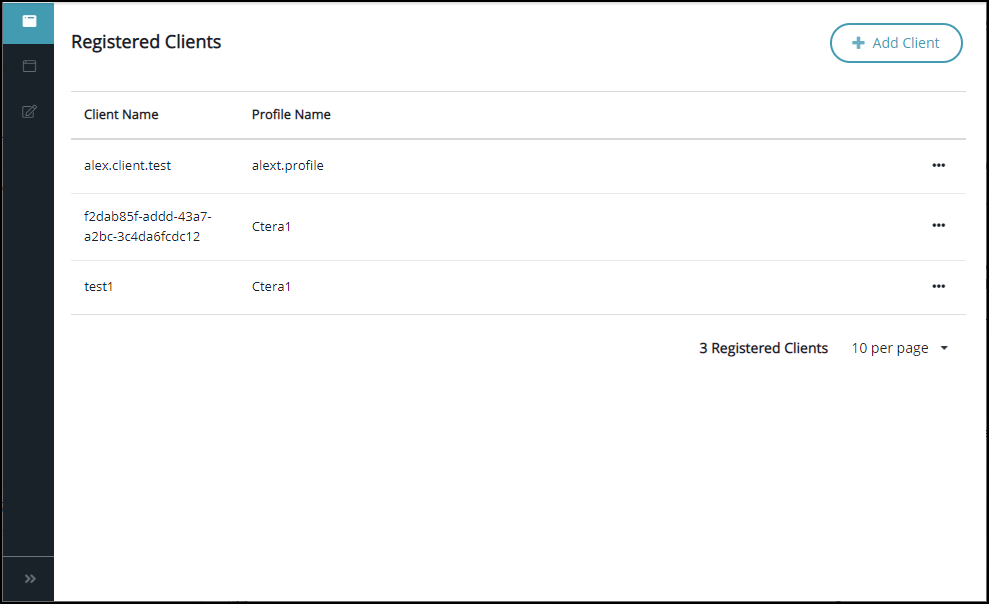
- Click Add Client.
The Add Client window is displayed.
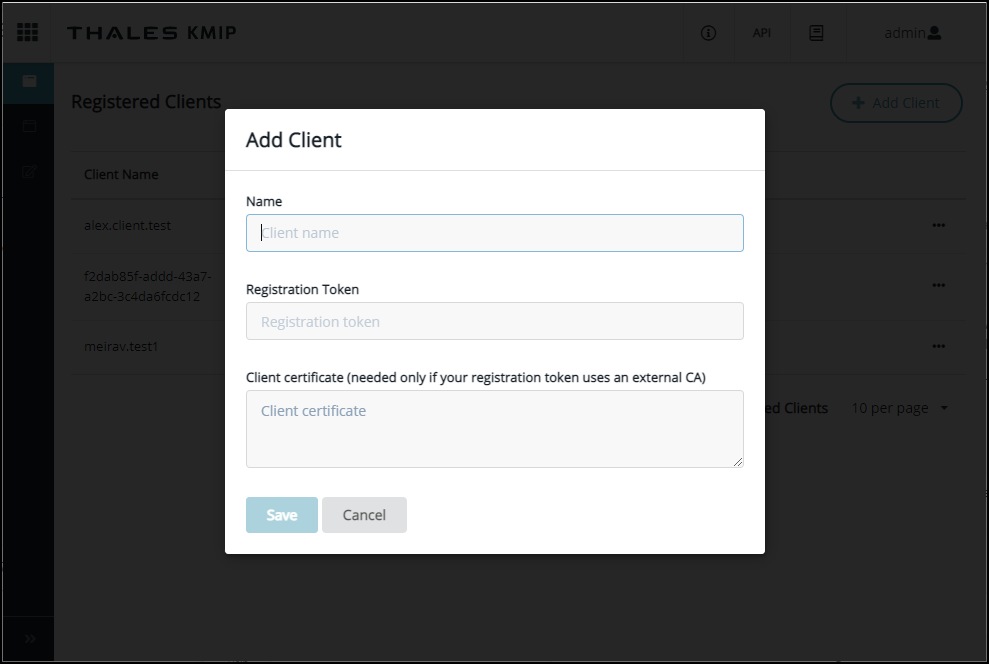
- Enter a Name and the Registration Token, copied in step 13 and, if required, the Client certificate and click Save.
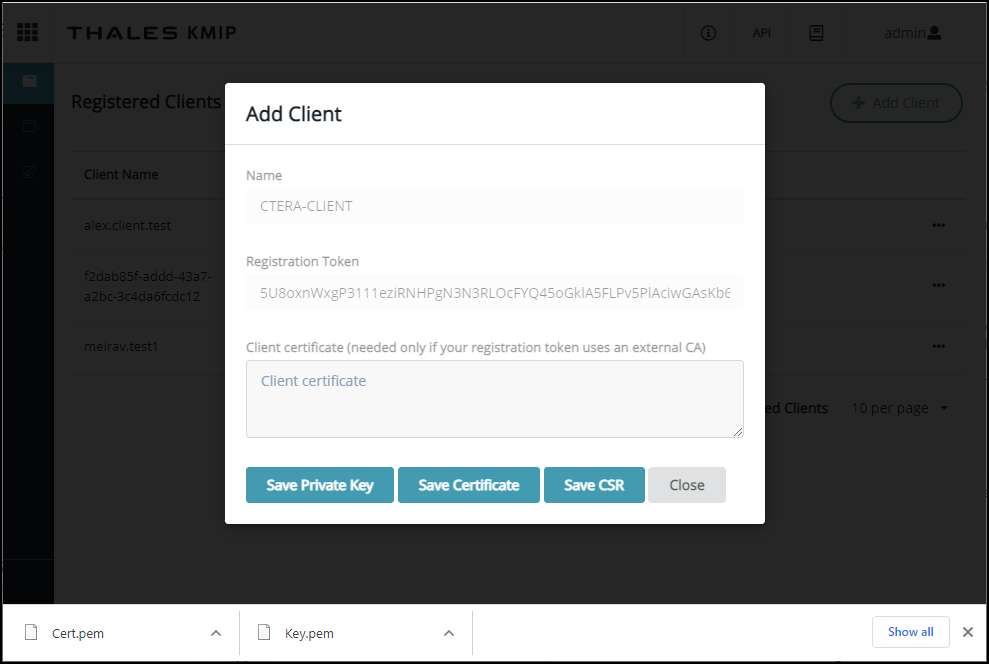
The Add Client window is displayed with buttons to download the client private key and certificate and a CSR.

- Click the Save Private key and Save Certificate buttons to download the private key and client certificate.
 Warning
If you do not download the private key, you cannot get it later and will not be able to set up key management in CTERA Portal with this key and certificate.
NoteYou can download the certificate later.
Setting Up the CTERA Portal Key Management Service
You can specify key management server settings and authentication specifications.
To set up key management:
-
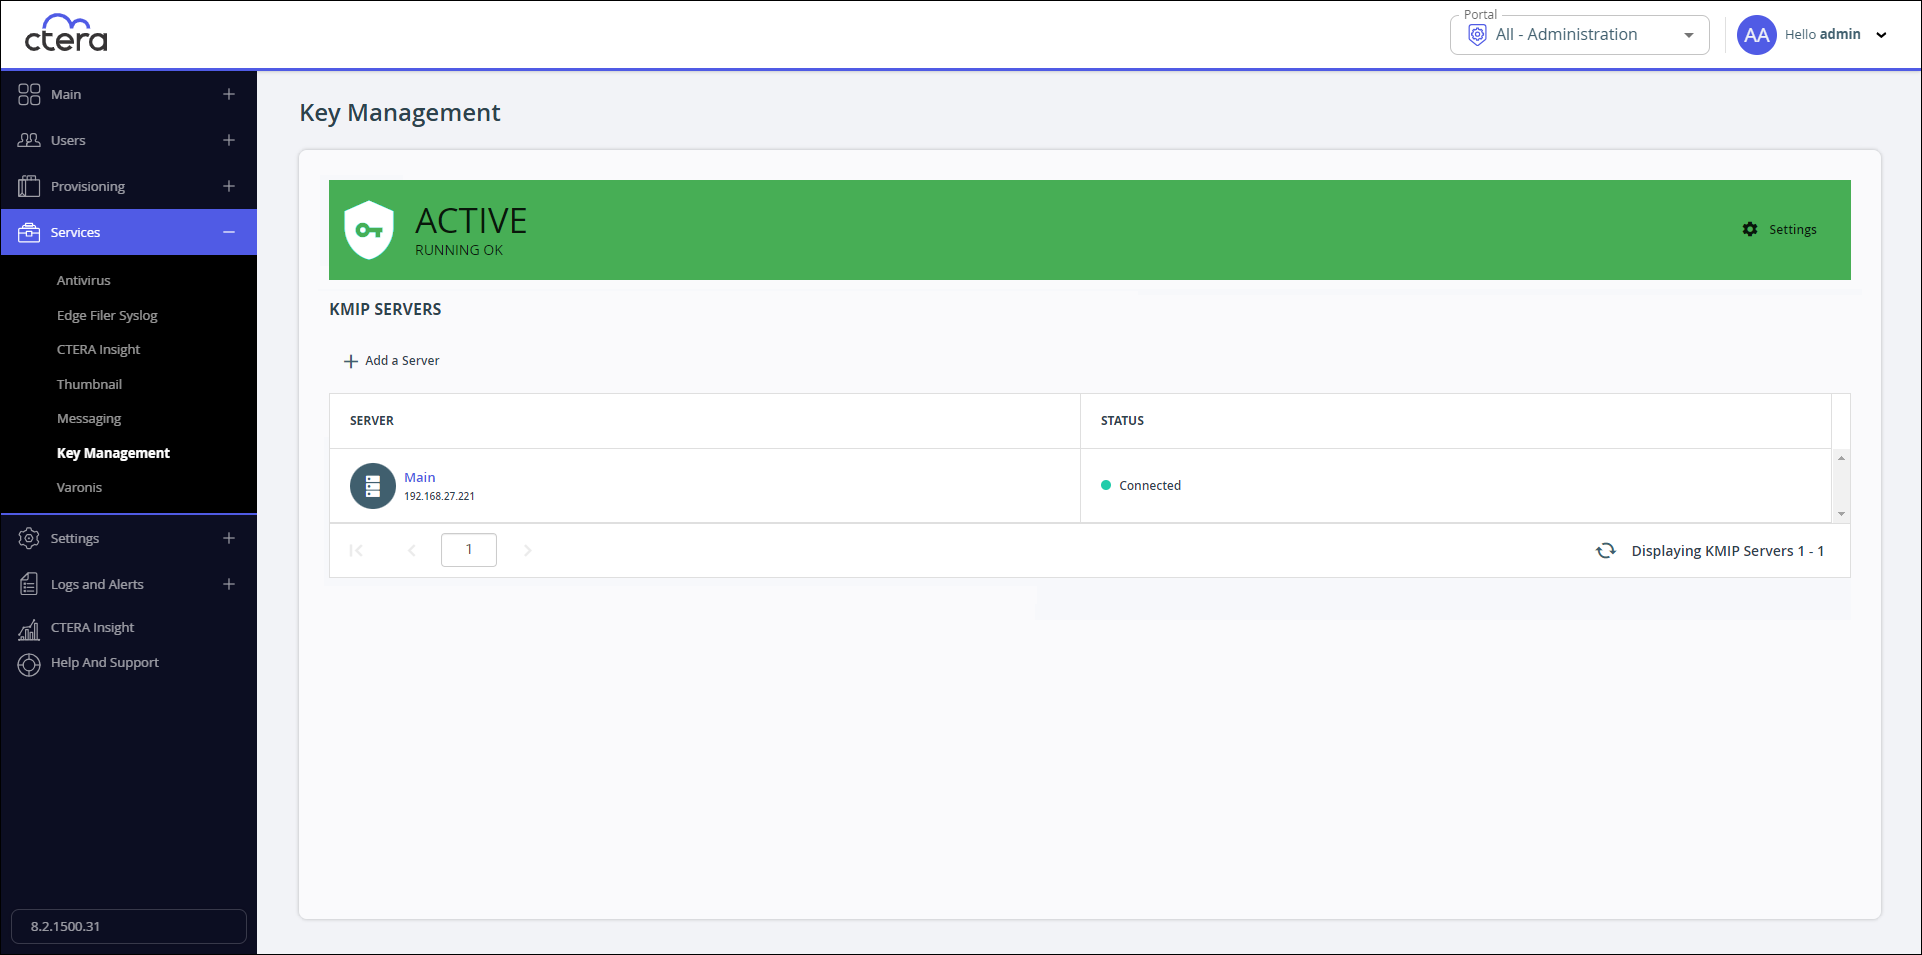
In the global administration view, select Services > Key Management in the navigation pane.
The Key Management page is displayed.
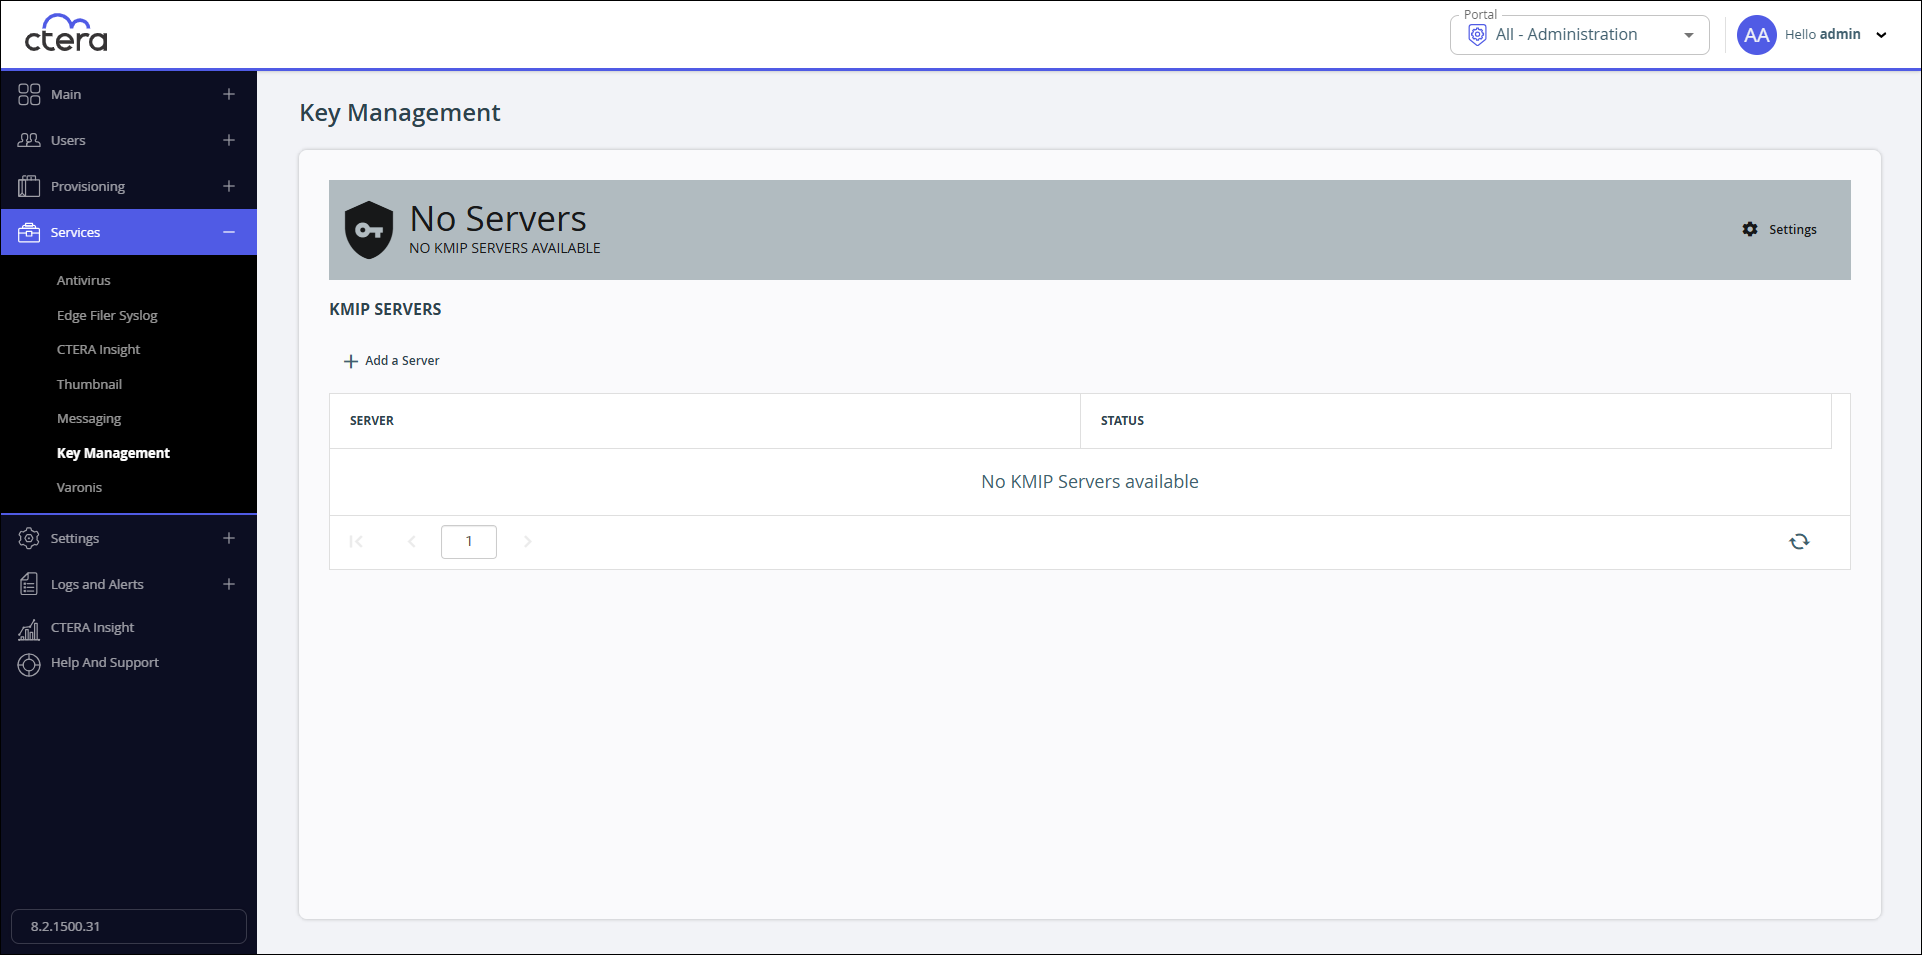
The Status bar at the top of the page shows the current status:
Active/RUNNING OK – The service is running on at least one server.
Disabled/NOT RUNNING – The CTERA Portal is not licensed for key management.
Error/ALL KEY MANAGEMENT SERVERS ARE OFFLINE – There is an error with the key management service.
Failed/INTERNAL ERROR – There is an error with the key management service.
No Servers/NO KMIP SERVERS AVAILABLE – A key management server has not been defined.
Warning – There is a problem with the key management service. The status message is one of the following:- REMOVING THE SERVICE...
- FAILED TO REMOVE SERVICE
- SOME KEY MANAGEMENT SERVERS ARE OFFLINE
- KEY MANAGEMENT SERVICE IS IN WARNING STATE
-
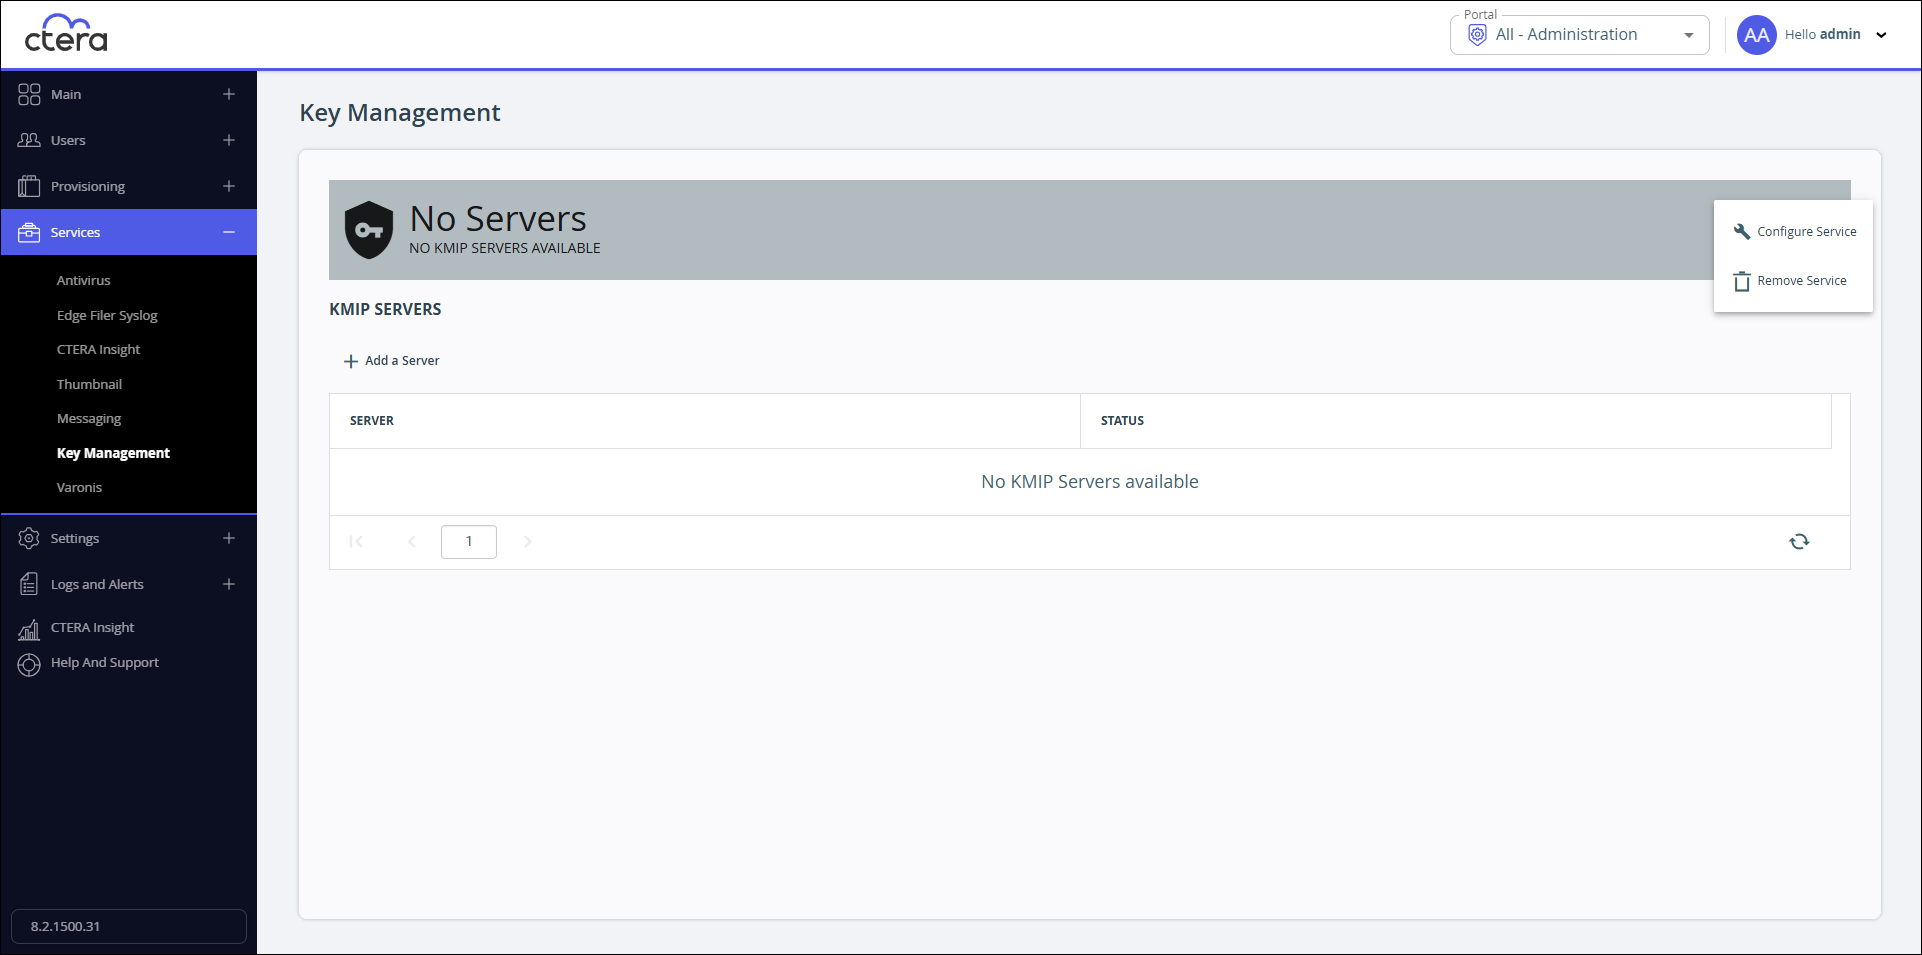
Click Settings in the Key Management status bar to configure the key management settings.
-
Click Configure Service.
The Key Management Settings window is displayed.
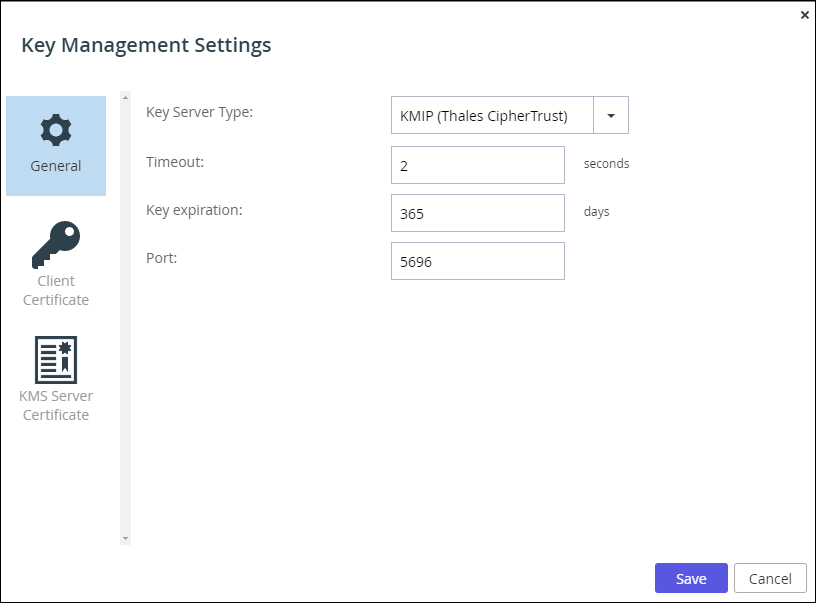
Key Server Type – The type of key manager server. Currently, only Thales CipherTrust is supported.
Timeout – The amount of time to wait for a reply from the key management server before the operation times out.
Key expiration – The amount of time before the key encryption keys become invalid.NoteKeys are automatically rotated before they expire.
Port – The port used by the key management server.
-
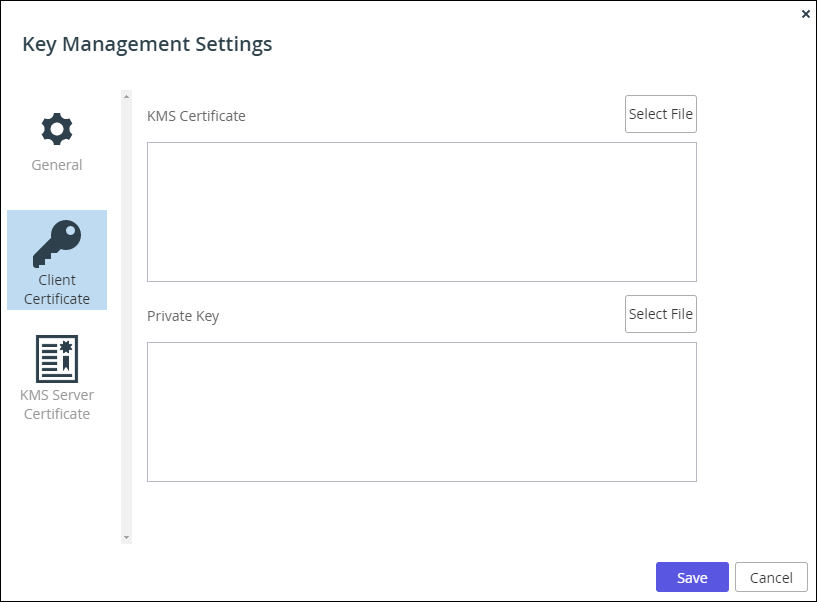
Click Client Certificate to upload the client certificate.
-
Click Select File to select the .pem file KMS client certificate to use, from the procedure described in Generating Keys for the Key Management Service procedure.
NoteOnly pem files are allowed.
-
Click Select File to select the private key, from the procedure described in Generating Keys for the Key Management Service procedure. The private key must match the KMS certificate.
-
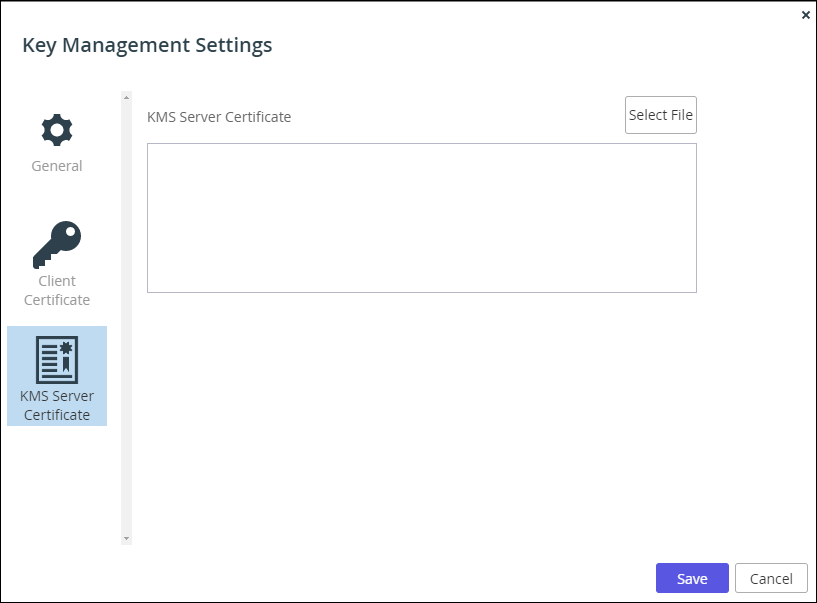
Click KMS Server Certificate to upload the server certificate.
-
Click Select File to select the .pem file KMS server certificate to use, from the procedure described in Generating Keys for the Key Management Service procedure.
NoteOnly pem files are allowed. The certificate must match the client certificate.
-
Click Save.
If there is a problem with the certificate, for example the client and server certificates do not match, an error is displayed, with additional information written to the log.
Adding and Managing Key Management Servers in CTERA Portal
You can use more than one key management server and CTERA recommends using more than one key management server for high availability. All the key management servers are expected to be members of a synchronized cluster. All the key management servers use the same client certificate and private key and server certificate and not a separate set per server.
To add or edit a key management server:
- In the global administration view, select Services > Key Management in the navigation pane.
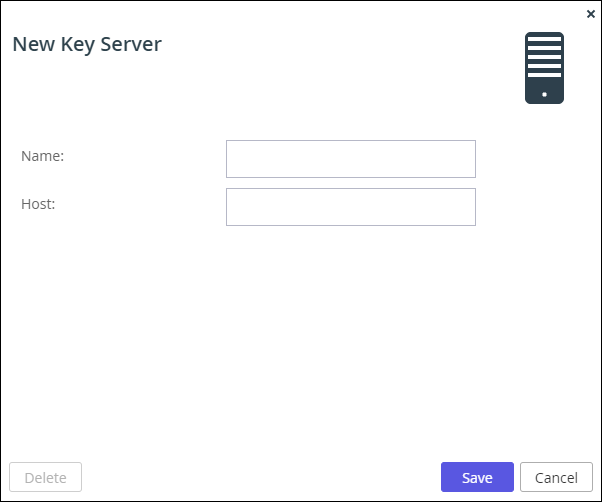
The Key Management page is displayed. - To add a key management server, click Add a Server.
The New Key Server window is displayed.
Or,
To edit an existing key management server, click the server’s name.
The key server window is displayed with the server as the window title. - Specify the details:
Name – A display name for the server.
Host – The IP address or DNS name of the server. - Click Save.
The server is added to the list of key management servers.
Any new folder group uses managed keys to access the folder group content. All existing folder groups are transitioned to use managed keys by a task that runs in the background.
Each folder group has a key in the key management server. After a file is accessed in the folder group for the first time, the key is saved in a cache in the CTERA Portal. As long as the key is in the cache, access to the files in the folder group is quicker, and access is still possible, even if the key management server is not running.