Setting Up the CTERA Messaging Service
- 2 Minutes to read
- Print
- DarkLight
- PDF
Setting Up the CTERA Messaging Service
- 2 Minutes to read
- Print
- DarkLight
- PDF
Article Summary
Share feedback
Thanks for sharing your feedback!
To set up the CTERA Messaging Service:
- Initialize the messaging components by running the following CLI:
set /settings/platformServicesSetting/enabled trueon a CTERA Portal server.
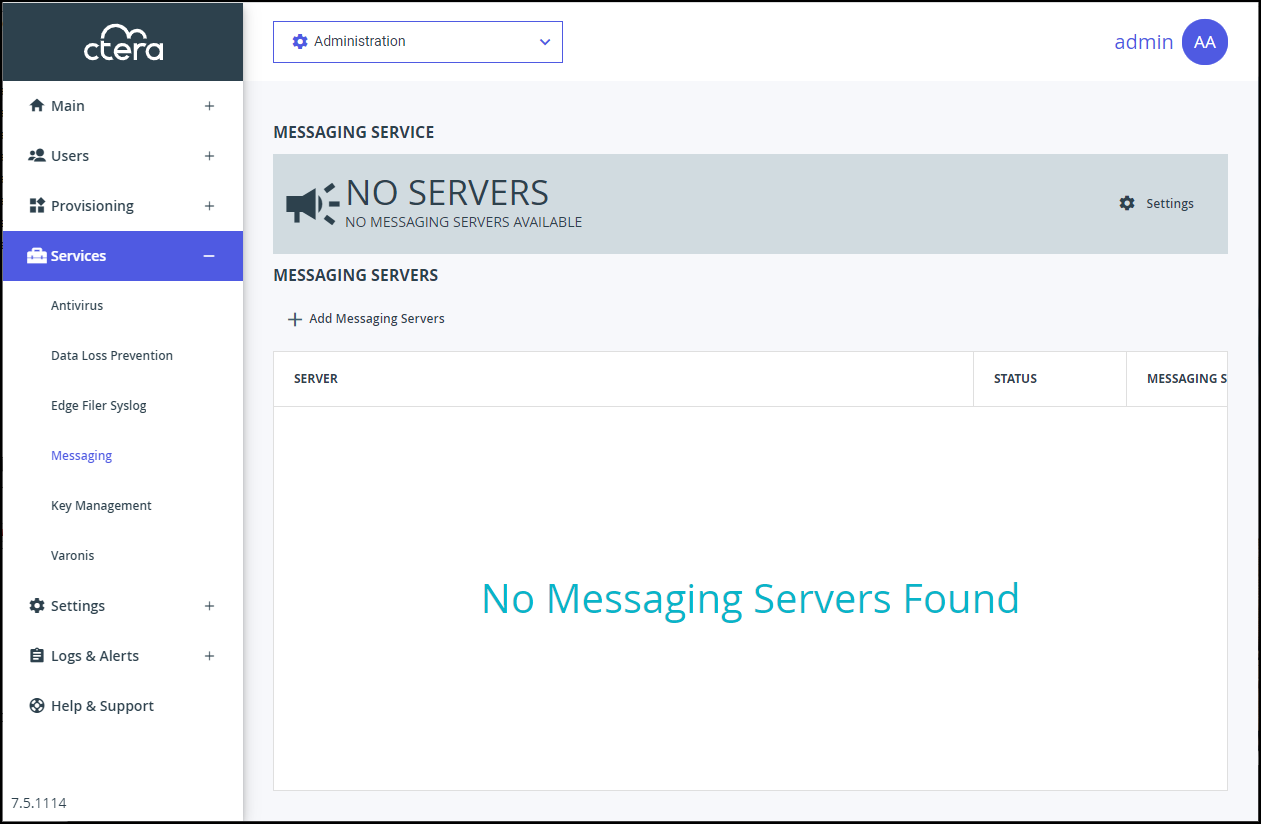
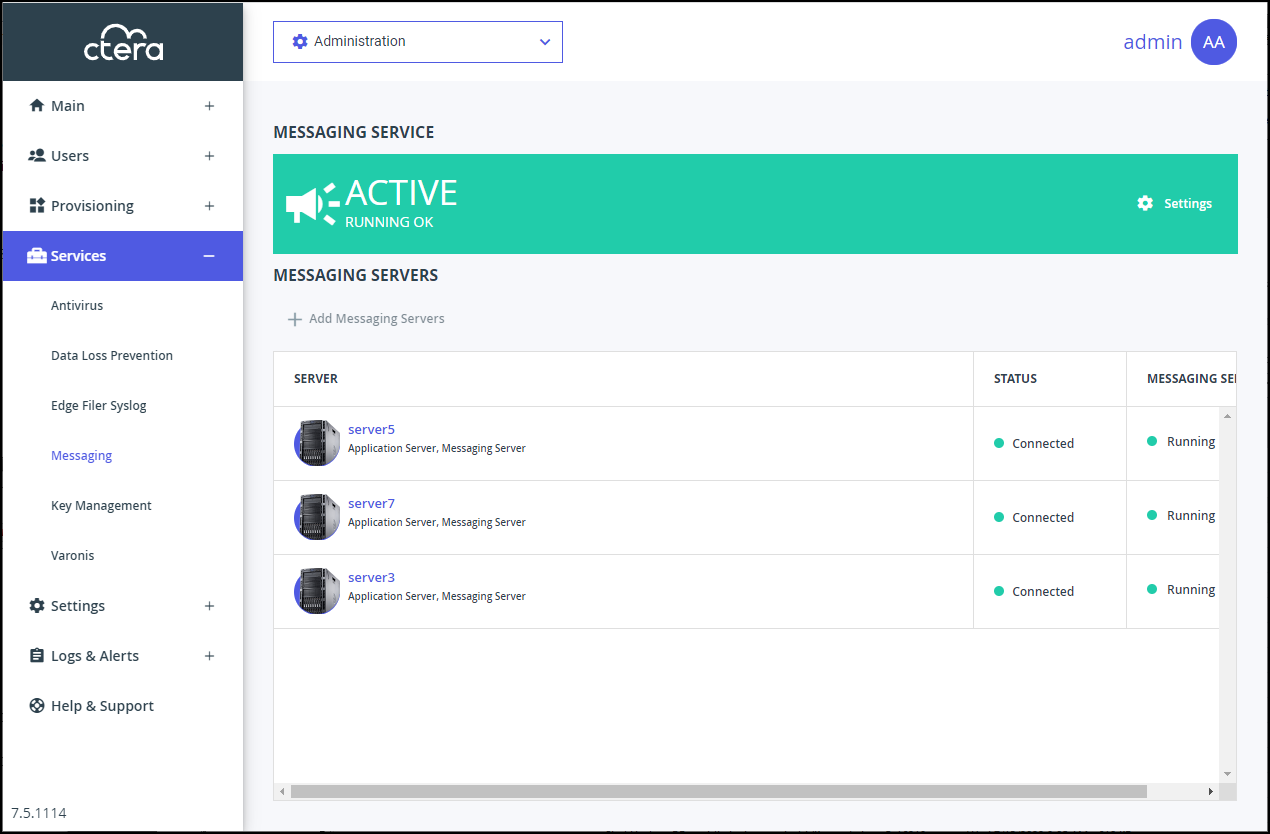
2 In the global administration view, select Services > Messaging in the navigation pane.
The MESSAGING SERVICE page is displayed.
- To add a new messaging server, click Add Messaging Servers.
The Messaging Service window is displayed, showing all the CTERA Portal Servers.
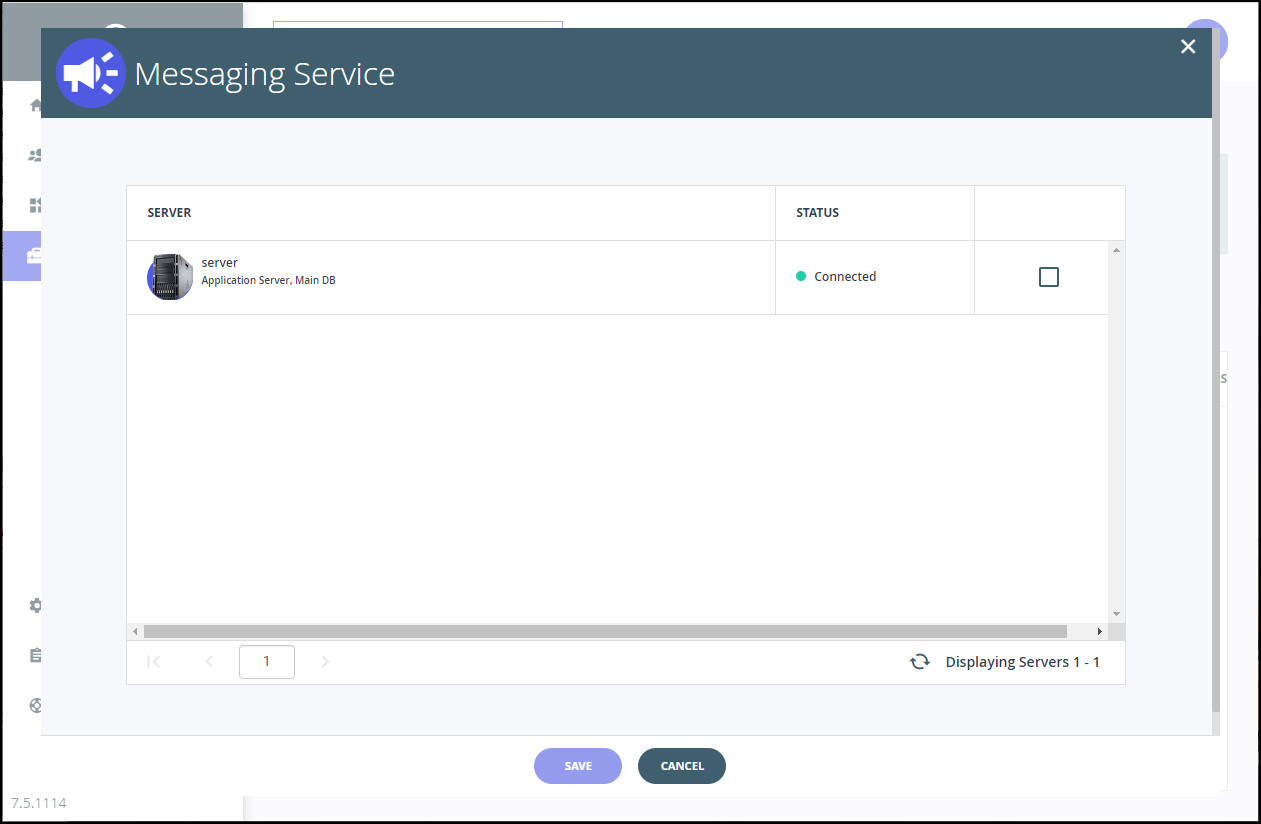
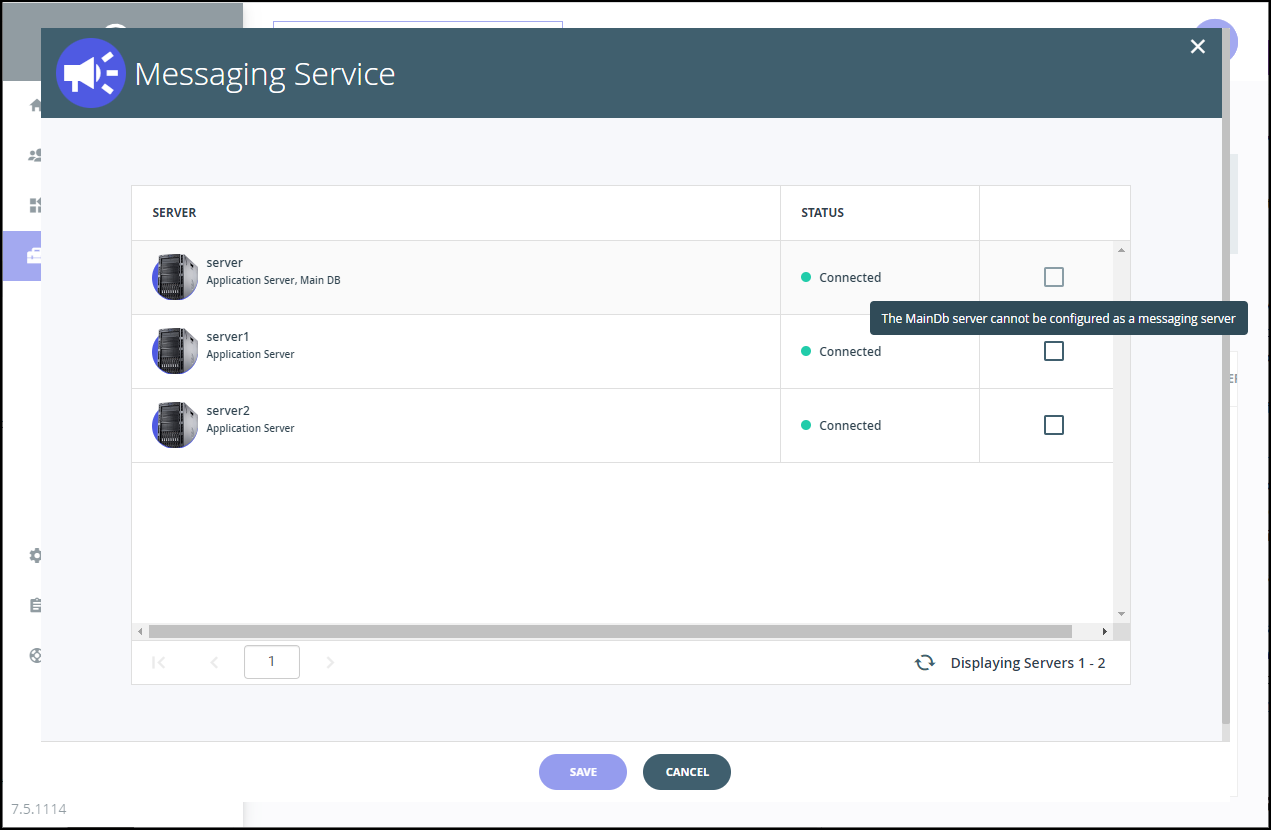
- Check the servers you want to use as messaging servers.
In a production environment, you must select three servers to be messaging servers. CTERA allows a single messaging server in a small or test environment where the main database server is the only server. Otherwise you have to assign three, and only three, servers as messaging servers.NoteUnless the main database server is the only server, if you try to check the main database server, the replication server, or a preview server, a message is displayed.
- Click SAVE.
If you only selected one server to be a messaging server, the following warning is displayed.

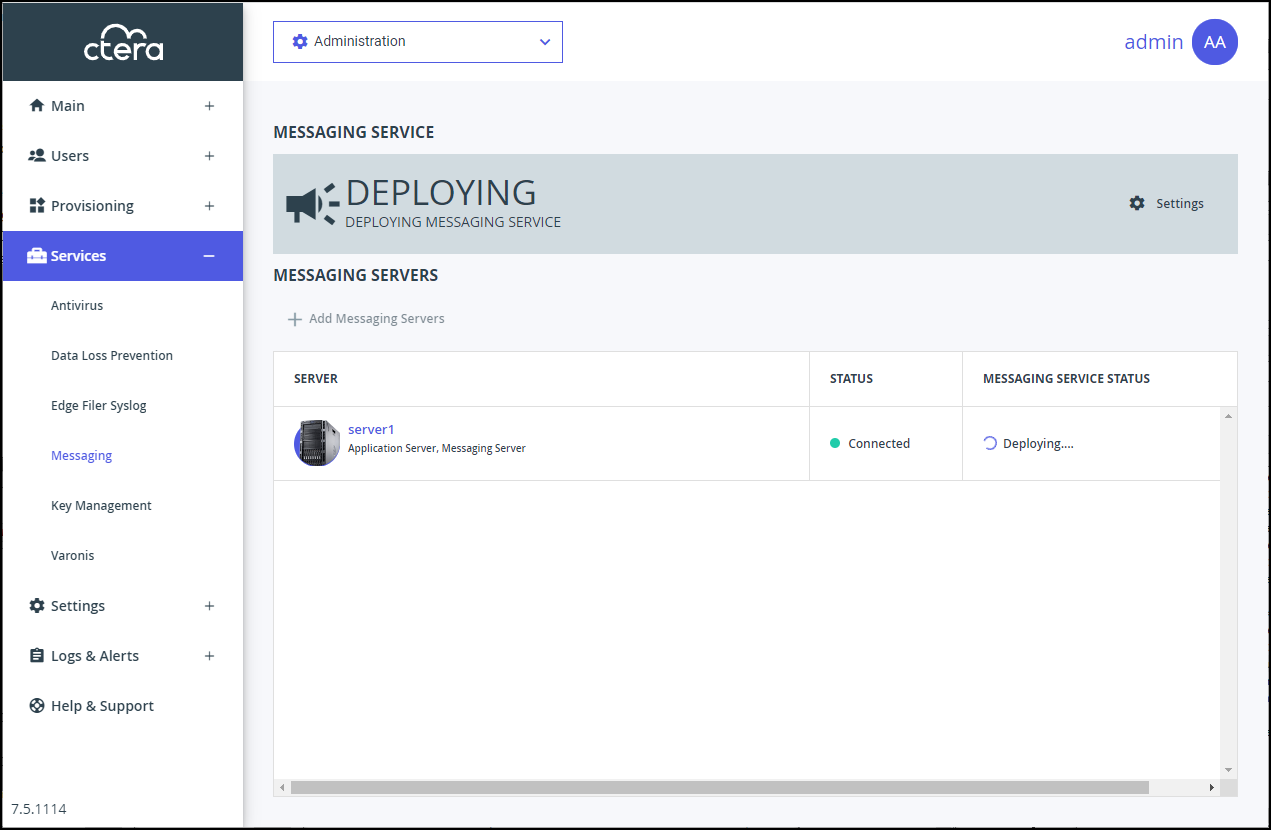
Deploying the servers for the messaging service takes a few minutes, after which the status changes to STARTING. After the messaging service starts running, the status changes to ACTIVE.


Note
The process of deploying and starting the messaging service takes a few minutes. You cannot start to configure any other service that requires the messaging service, such as Varonis, until the messaging service is running.
Clicking a server displays the server window with the server name as the window title. The Messaging Server box is checked.

You cannot uncheck this service.
Messaging Service Statuses
The messaging service is in one of the following statuses:
NO SERVERS: NO MESSAGING SERVERS AVAILABLE – No servers have been defined as messaging servers.
DEPLOYING: DEPLOYING MESSAGING SERVICE – The servers defined as messaging servers are being deployed. This status is displayed after defining messaging servers and takes a few minutes for the service to be deployed on the servers.
STARTING: COLLECTING MESSAGING SERVICE STATUS – After the messaging service has been deployed, the portal starts to gather information before the service becomes active.
ACTIVE: RUNNING OK – The messaging service is up and running.
WARNING: SOMETHING WRONG WITH SOME OF THE SERVERS – At least one messaging server is working but one or more messaging servers have problems. The messaging service is still running but the problematic messaging servers need attention.
ERROR: MESSAGING SERVICE HAS FAILED – The messaging service is not working.
ERROR: COULDN'T FETCH MESSAGING SERVICE STATUS – The collection of the messaging service status failed.
READ-ONLY MODE: NOT ENOUGH AVAILABLE STORAGE ON THE MESSAGING SERVER – The available storage for the messaging service logs has dropped to 4GB or less. The messaging server is in read-only mode until more space is freed up. Message retention in the logs can be set to help prevent this status. For details, see CTERA Messaging Service Logs.
CTERA Messaging Service Logs
All CTERA services that require the CTERA Messaging service, for example the Varonis log, write to the same volume, /usr/local/lib/ctera/work/logs/services.
In order that the logs do not grow too large, which can cause storage issues, you can set how long messages in the logs are retained.
To set the messaging service logs retention:
- In the global administration view, select Services > Messaging in the navigation pane.
The MESSAGING SERVICE page is displayed.
- Click Settings in the status bar and click Configure Service.
The Message Settings window is displayed.
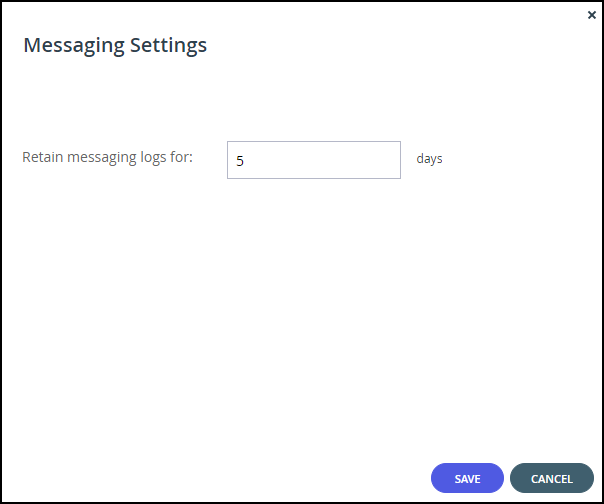
- Set the number of days messages should be retained.
- Click SAVE.

Was this article helpful?