- 2 Minutes to read
- Print
- DarkLight
- PDF
Using CTERA Edge Filer Cloud Services
- 2 Minutes to read
- Print
- DarkLight
- PDF
Connecting to a CTERA Portal
You connect the CTERA Edge Filer to the CTERA Portal using an administrator account. During the initial CTERA Edge Filer setup you connect the CTERA Edge Filer to the CTERA Portal. This section describes the general procedure of how to connect to a CTERA Portal.
If access using CAC, Common Access Card, has been enabled for the CTERA Portal, the CTERA Edge Filer connects to the CTERA Portal using an activation code instead of the user and password credentials. For details, contact CTERA support.
To connect the CTERA Edge Filer to a CTERA Portal:
- In the Configuration view, select Cloud Services > Status in the navigation pane.
The CTERA Portal page is displayed.
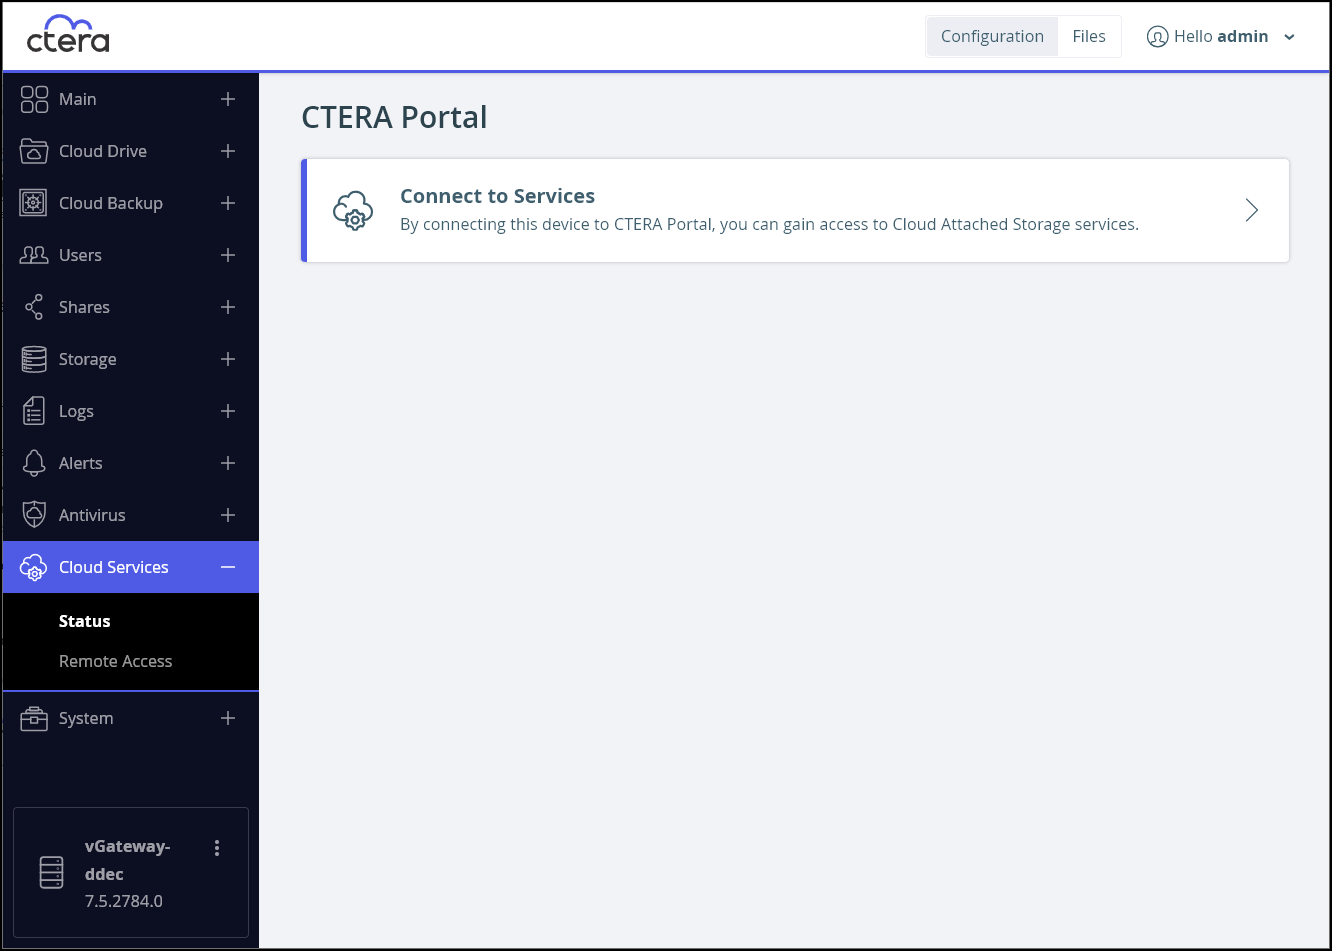
- Click Connect to Services.
The Account Details window is displayed.
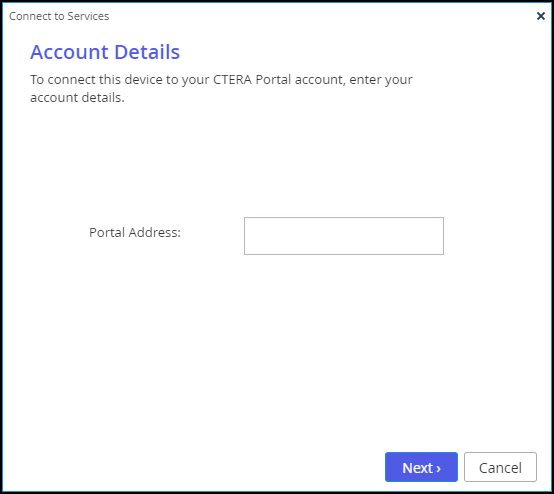
- Enter the address of the CTERA Portal, and then click Next.
If the CTERA Portal does not have a valid certificate installed, a warning is displayed to the end user when logging a device into the portal, offering the option to proceed anyway. This warning is presented every time a user connects a device to the portal, until a valid certificate is installed.
 Note
NoteIf single sign-on has been set up to the portal, the following window is displayed.
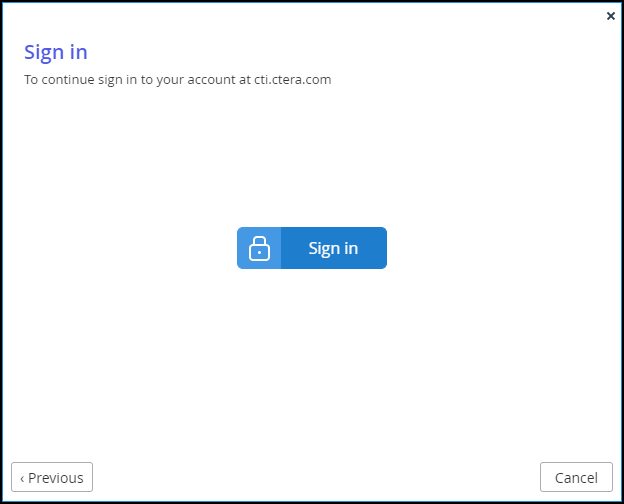
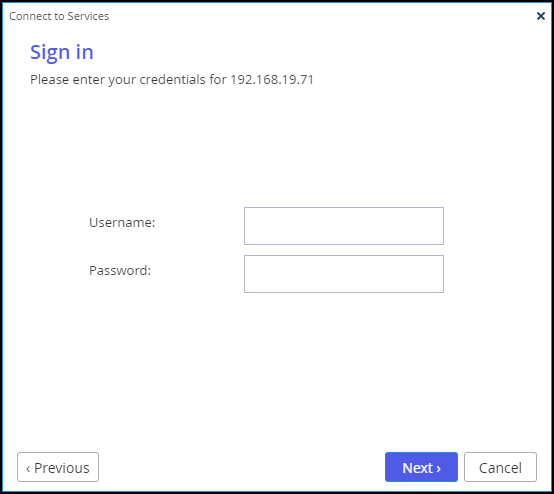
In this case, click Sign In and then Allow in a separate window when prompted, and then the Select License window is displayed. For CTERA Edge Filers except the HC100, skip the next step. For an HC100, skip the next 2 steps. - Enter the CTERA Portal designated user username and password to access the CTERA Portal.Note
The designated user is the owner of the cloud folders and data to manage the CTERA Edge Filer connection to the CTERA Portal for all users and not just the current user. This designated user has CTERA Portal read/write administrator permissions.
- Click Next.
The Select License window is displayed.
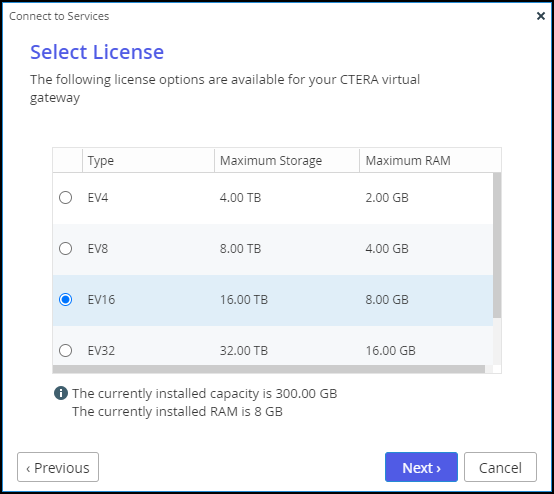
You are prompted to select the license from those available on the CTERA Portal.
If only one license is available, this license is selected automatically.
- Select the license and click Next.
The CTERA Edge Filer connects to the CTERA Portal and is added to the CTERA Portal account.
A success window is displayed. - Click Finish.
The CTERA Portal page is displayed, showing that the CTERA Edge Filer is connected to the CTERA Portal.

Viewing the Connection to a CTERA Portal Status
The CTERA Portal page displays information about the CTERA Edge Filer connection to a CTERA Portal account.

After connecting to a CTERA Portal the CTERA Edge Filer status panel shows the following:
- The status of the connection to the CTERA Portal can be one of the following:
Resolving the portal address – The CTERA Edge Filer is resolving the CTERA Portal address.
Connected to portal – The CTERA Edge Filer is connected to the CTERA Portal named portal or with the IP address portal, and the connection is currently in use.
Connecting – The CTERA Edge Filer is connecting to the CTERA Portal.
Disconnected – The CTERA Edge Filer is disconnected from the CTERA Portal. You can reconnect as described in Reconnecting and Disconnecting to a CTERA Portal.
Authenticating – The CTERA Edge Filer is authenticating to the CTERA Portal.
Connection Failed – The connection to the CTERA Portal failed. - The amount of time that the CTERA Edge Filer has been connected to the CTERA Portal.
- The IP address of the CTERA Portal.
- The edge filer identifier used by the portal.


