Adding, Editing and Deleting Global Administrators
- 2 Minutes to read
- Print
- DarkLight
- PDF
Adding, Editing and Deleting Global Administrators
- 2 Minutes to read
- Print
- DarkLight
- PDF
Article summary
Did you find this summary helpful?
Thank you for your feedback
You can create an administrator and then configure what events and alerts you want to receive to the administrator email.
Note
When specifying user names for the global administrators, if you will be using SSO for the administrator to log on to portal, the user names must match the SAML identity provider user names. For details about setting up SAML SSO, see Using SAML 2.0 For Single Sign-on.
To add or edit a global administrator:
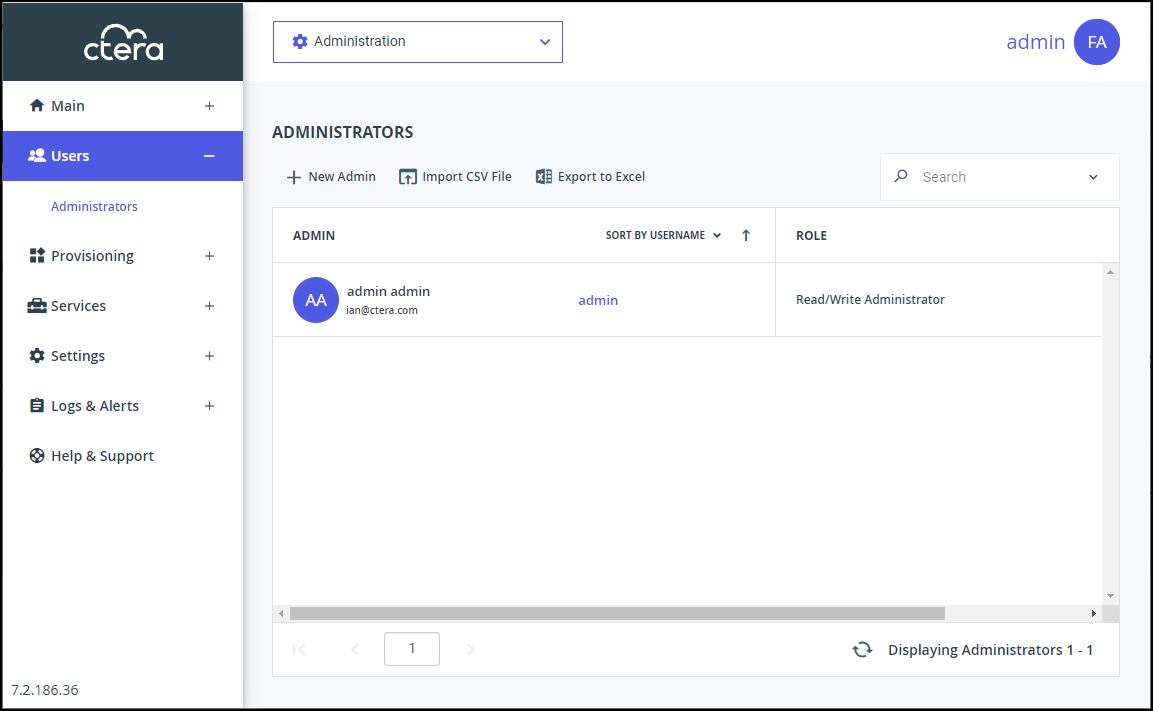
In the global administration view, select Users > Administrators in the navigation pane.
The ADMINISTRATORS page is displayed.
Either,
- Add an administrator, click New Admin.
The New Administrator window is displayed.
Or,
- Edit an existing administrator, click the administrator's name. The administrator window is displayed with the username of the administrator as the window title and account details: The creation date of the account and the last login.
- Add an administrator, click New Admin.
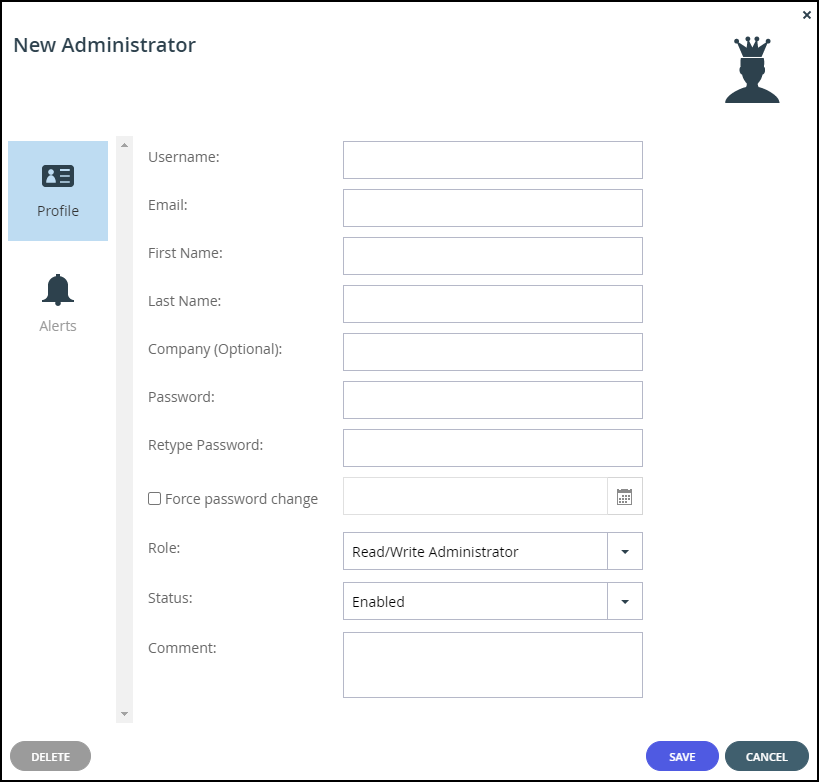
Enter the Profile details:
Username – A user name for the administrator.
Email – The administrator's email address.
First Name – The administrator's first name.
Last Name – The administrator's last name.
Company (Optional) – The name of the administrator's company.
Password – A password for the administrator. By default, the password must be at least 7 characters long. The minimum password length can be changed. See Administrators Password Policy.
Retype Password – Retype the password.
Force password change – To specify an expiration date for the administrator’s password. When the password has expired, the administrator must specify a new password on the next login.
Role – Specify the administrator's role. CTERA Portal includes built-in global administrator roles:- Read/Write Administrator – The administrator has read-write permissions throughout the CTERA Portal.
- Read Only Administrator – The administrator has read-only permissions throughout the CTERA Portal.
- Support – The administrator has read/write access to devices, user accounts, folders, and folder groups, and read-only access to all other settings in the CTERA Portal.
NoteYou can customize these roles, adding or removing permissions as described in Customizing Administrator Roles.
Status – The administrator status.
- Enabled – The account is enabled, and the administrator can access the portal.
- Disabled – The account is disabled, and the administrator cannot access the portal.
The default value for new administrators is Enabled.
NoteThe currently logged in administrator cannot be disabled.
Comment – A description of the administrator.
Optionally, select the Alerts option.
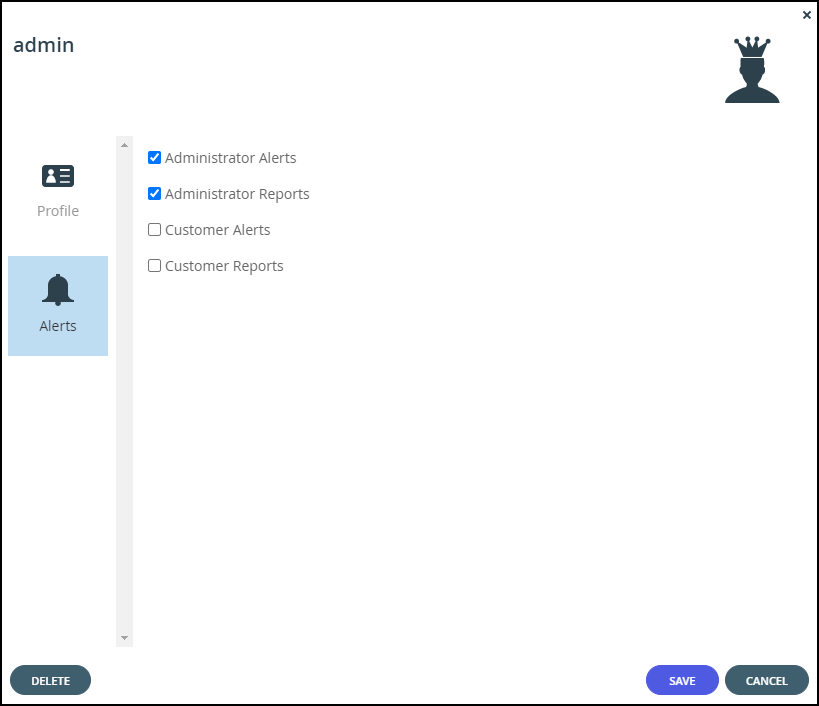
Check the types of alerts to receive:
Administrator Alerts – Notifications about portal-level problems.
Administrator Reports – Notifications reporting portal-level activity.
Customer Alerts – Notifications about device-level problems.
Customer Reports – Notifications about customer activity.Click SAVE.


Deleting Global Administrators
To delete a global administrator:
In the global administration view, select Users > Administrators in the navigation pane.
The ADMINISTRATORS page is displayed.Either,
- Select the administrator to delete and click** Delete Administrator**.
A confirmation window is displayed. - Click DELETE ADMINISTRATOR to confirm.
Or,
- Click any of the ADMIN values: First and last name, email address, or username.
The administrator window is displayed with the username of the administrator as the window title. - Click DELETE.
A confirmation window is displayed. - Click YES to confirm.
- Select the administrator to delete and click** Delete Administrator**.
The administrator is deleted.
Was this article helpful?