Adding and Editing Storage Nodes
- 2 Minutes to read
- Print
- DarkLight
- PDF
Adding and Editing Storage Nodes
- 2 Minutes to read
- Print
- DarkLight
- PDF
Article Summary
Share feedback
Thanks for sharing your feedback!
Warning
Do not define encryption on the storage node.
All data in transit to and from a storage node, and stored in the storage node is encrypted by the CTEA Portal. Additional encryption, for example server-side encryption, will prevent the data from being read or downloaded by the CTERA Portal.
To add or edit a storage node:
For NFS storage nodes, EMC Isilon (NFS), Generic (NFS), and NetApp (NFS):
- Log in to the server as
root, using SSH. - Create a folder for the NFS mount on the server.
- Mount the NFS storage node to each server, except the preview server, by running the following script on each server:
portal-mount.sh mount_storage_node NFS_IP:/NFS_FOLDER
where NFS_IP is the IP address of the NFS mount point, and NFS_FOLDER is the name of the folder you created on the NFS server.
- Log in to the server as
In the global administration view, select Main > Storage Nodes in the navigation pane.
The STORAGE NODES page is displayed.
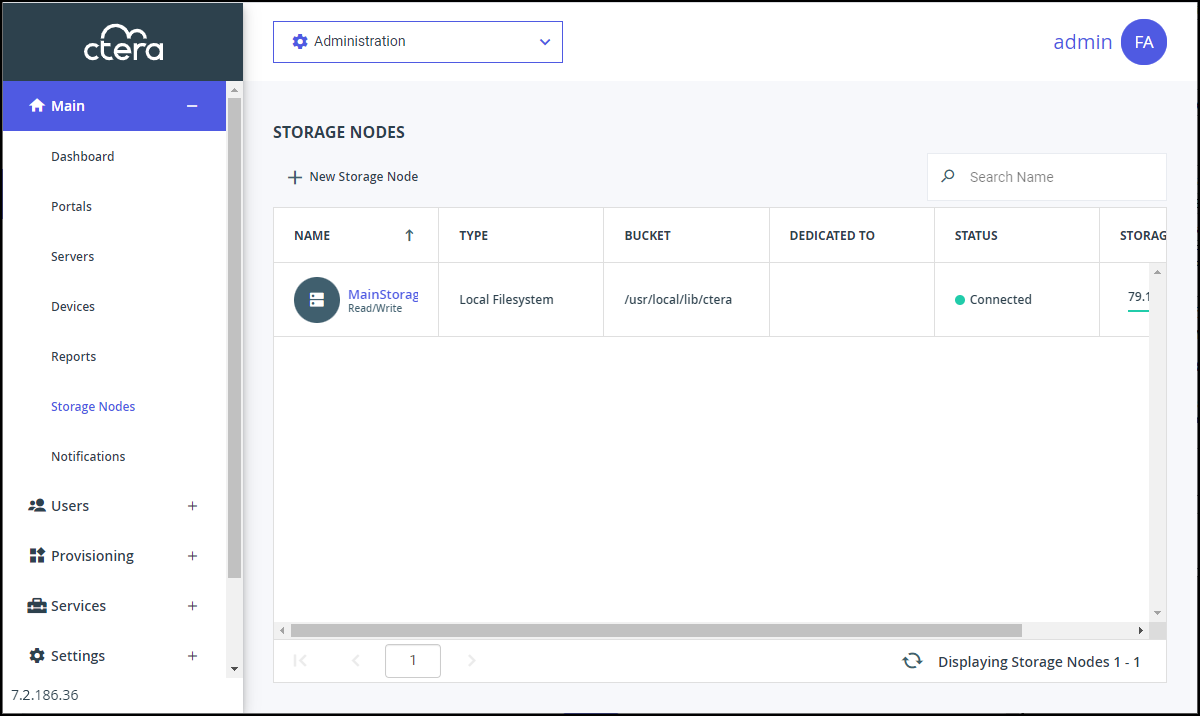
Either,
- Add a storage node, click New Storage Node.
The New Storage Node window is displayed.
Or,
- Edit an existing storage node, click the node's name.
The storage node window is displayed with the storage node name as the window title.

The details displayed depend on the type of storage node.
- Add a storage node, click New Storage Node.
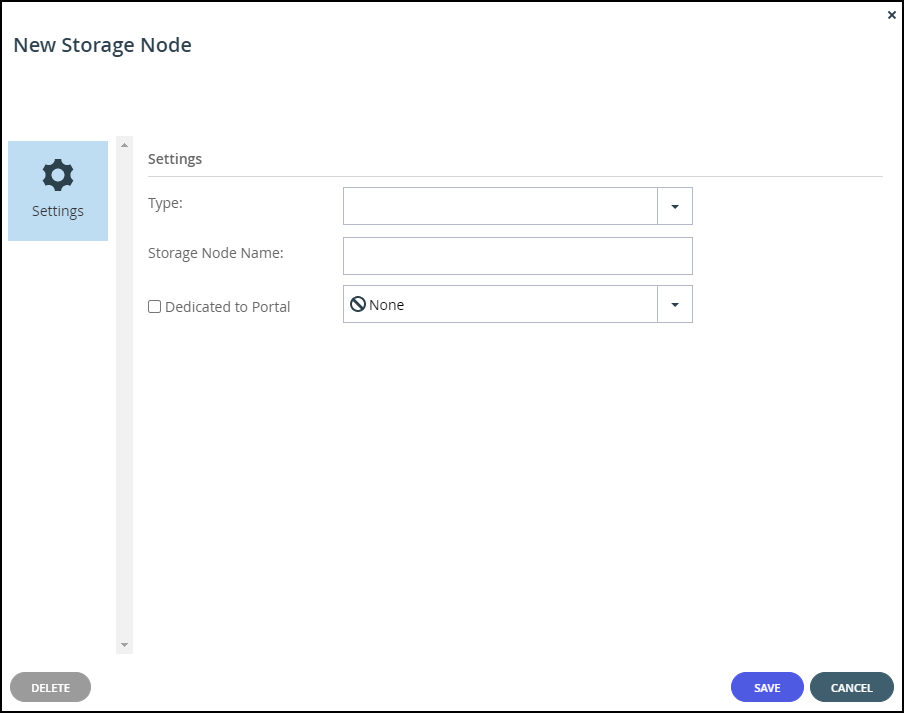
Enter the generic details for the storage node. These details are the same for every type of storage node.
Type – The type of storage node you are adding. When you select the type, more fields are displayed so that you can add the specific details for the storage node, as described for each storage node listed in step 7.
Storage Node Name – A unique name to identify the storage node.
Dedicated to Portal – Dedicate the storage node to one virtual portal selected from the drop-down list.


Note
When defining an Amazon S3 storage node and AWS Snowball, you must dedicate the storage node to one virtual portal.
- Complete the additional fields that are displayed when you choose the type and then click SAVE.
- Amazon S3
- Caringo (S3)
- Ceph, see OpenStack Swift
- Cisco Cloud Services
- Cloudian
- DDN Web Object Scaler
- EMC ECS (S3)
- EMC Isilon (NFS)
- EMC ViPR (S3)
- Generic (NFS)
- Generic (S3)
- Google Cloud Storage (S3)
- HGST Active Archive
- HGST Active Scale
- Hitachi HCP
- HP Helion
- IBM Cloud Object Storage (S3)
- IBM Cloud Object Storage (Simple Object API)
- IBM GPFS
- IBM SoftLayer
- Local Filesystem
- Microsoft Azure Blob Storage
- NetApp (NFS)
- NetApp StorageGRID Webscale (S3)
- Nutanix (S3)
- OpenStack Swift
- OpenStack Swift (KeyStone)
- Oracle Storage Cloud Service
- Scality (S3 API)
- Scality RING
- Verizon (S3)
- Wasabi (S3)
Was this article helpful?