Discovering Shares
- 3 Minutes to read
- Print
- DarkLight
- PDF
Discovering Shares
- 3 Minutes to read
- Print
- DarkLight
- PDF
Article Summary
Share feedback
Thanks for sharing your feedback!
To discover the shares to migrate:
In the Configuration view, select Main > Welcome in the navigation pane.
The Welcome page opens, displaying the product information.
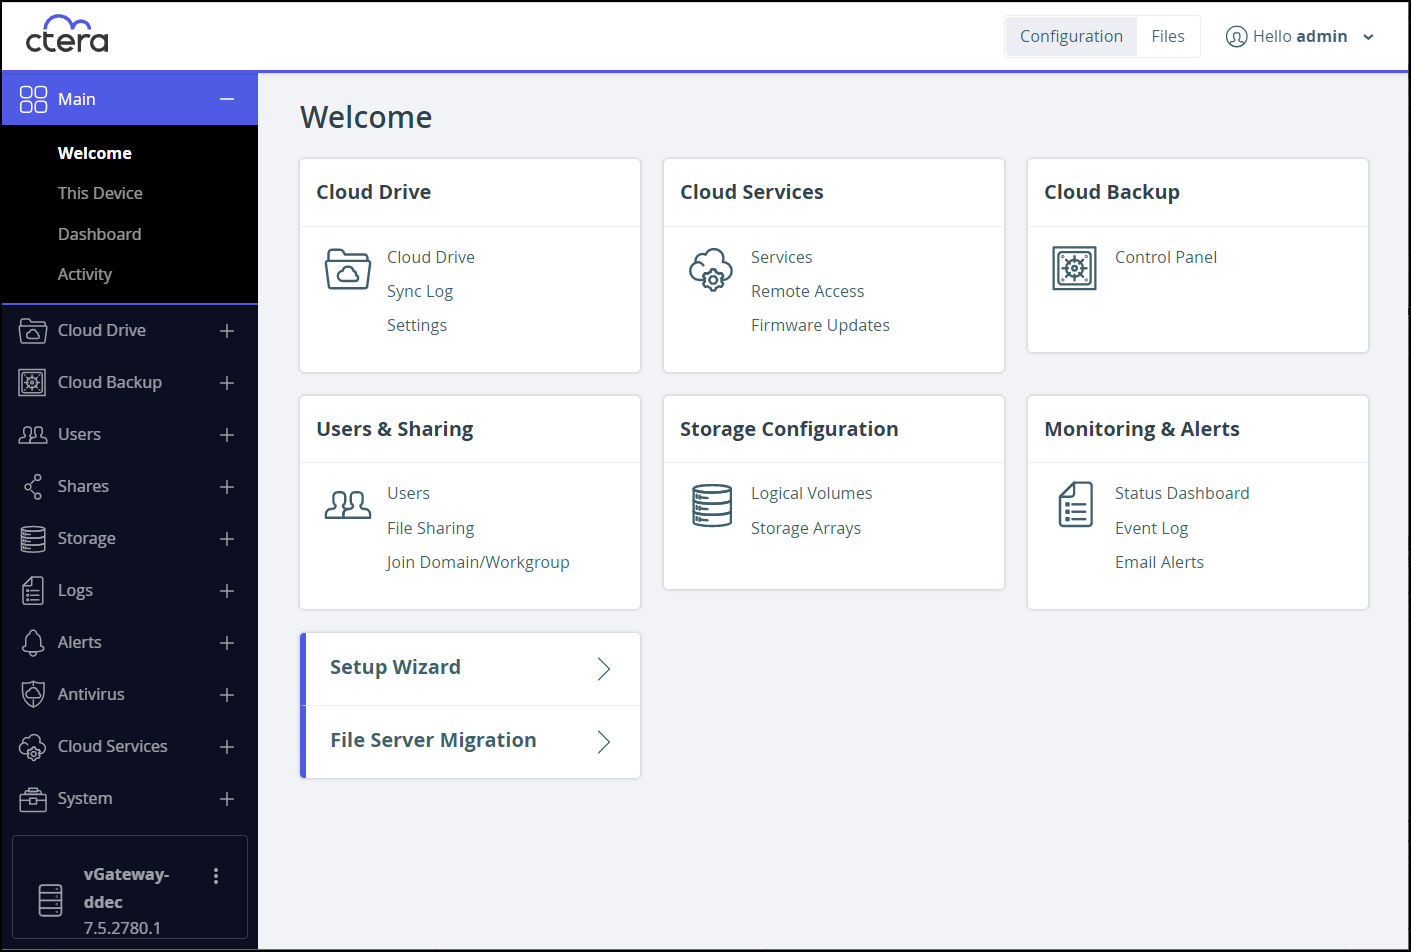
Click File Server Migration.
The migration Dashboard page is displayed.
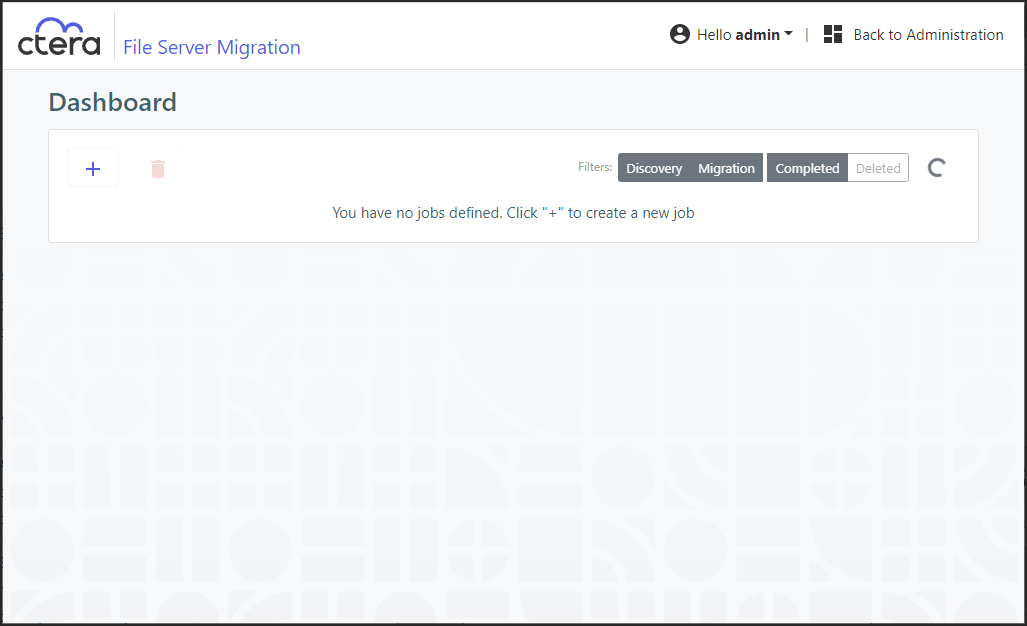
Click + to create a new job.
The Create Discovery Job wizard is displayed showing the Task Type step.
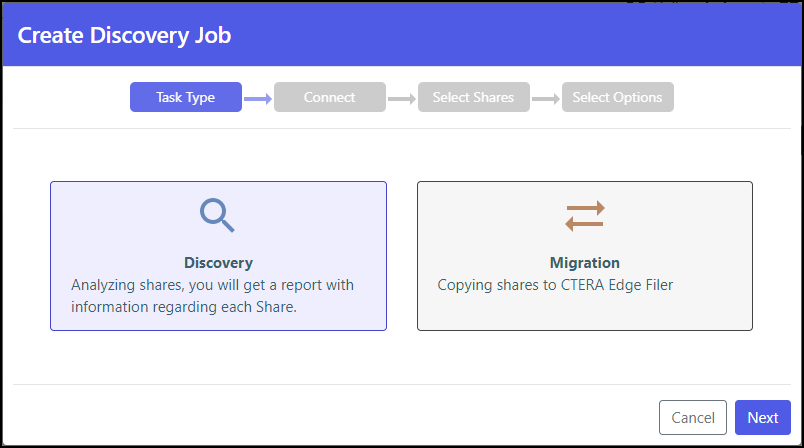
The default job is a Discovery job. This job analyses the file server that is being replaced to identify what data should be migrated.Click Next.
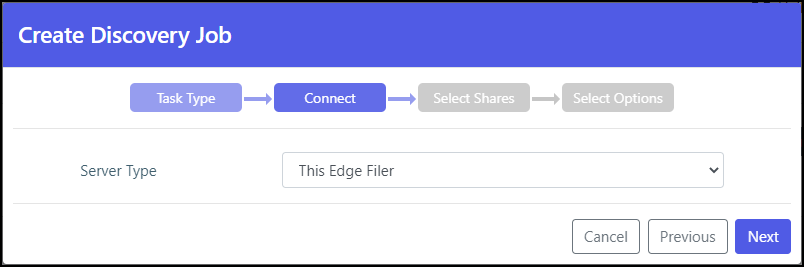
The Connect step is displayed.
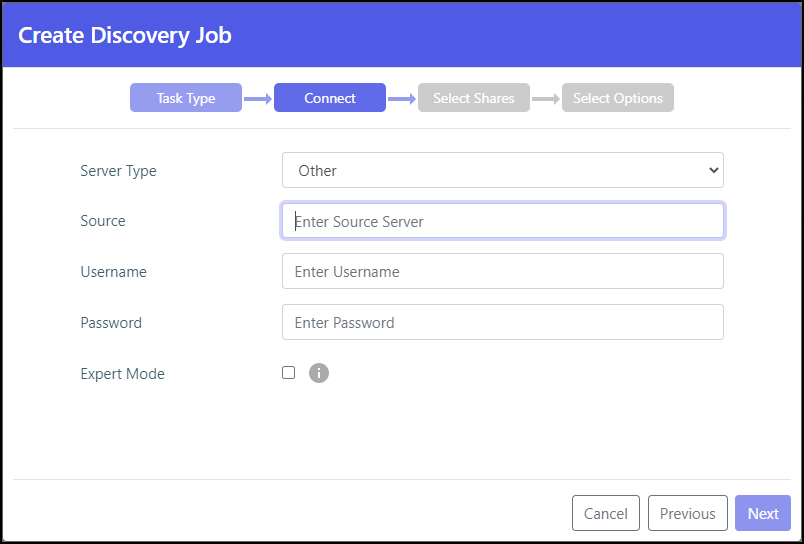
Select the server type to connect to from the drop-down box. You can connect to one of the following:
- Azure StorSimple
- Isilon OneFS
- Microsoft Azure Files
- NetApp ONTAP
- NetAPP StorageGRID 9 (SMB)
- NetAPP StorageGRID 11 (SMB)
- Panzura Freedom Filer
- Windows Server
Another option, Other, is available to attempt to migrate from a file server that is not listed.
NoteYou can run discovery on the edge filer itself, by selecting This Edge Filer for Server Type. When This Edge Filer is selected, no other Connect parameters are displayed.
For all server types except This Edge Filer, enter the IP address or DNS name for the source file server and an administrator user name and password to access this server.
NoteThe administrator used must have access to the files to migrate.
For Microsoft Azure Files, the shares cannot be presented and have to be added manually. Select Expert Mode to enable specifying the shares in the next step.
Click Next.
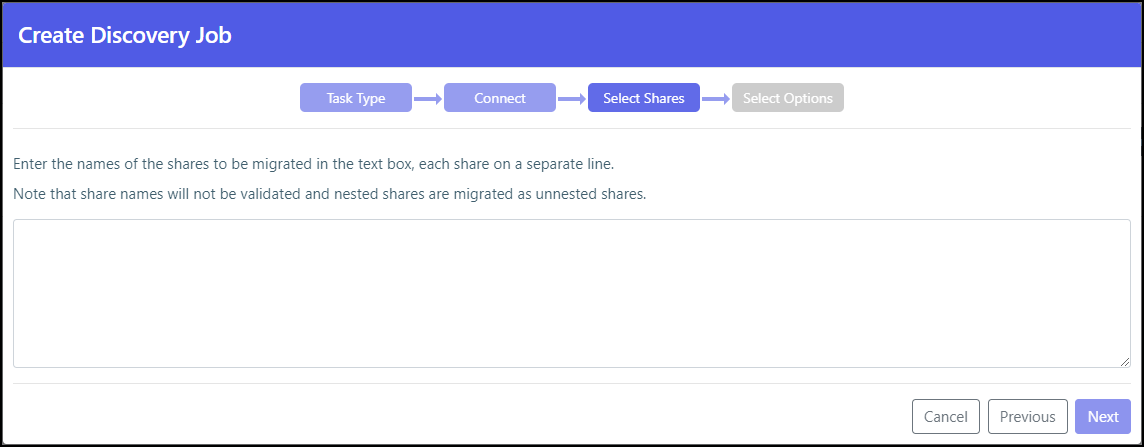
The Select Shares step is displayed.

The shares on the file server are displayed and you can select the shares that you want to migrate to the CTERA Edge Filer.NoteWhen Expert Mode was selected, the following window is displayed where you enter the shares to migrate.
Select the shares to migrate and click Next.
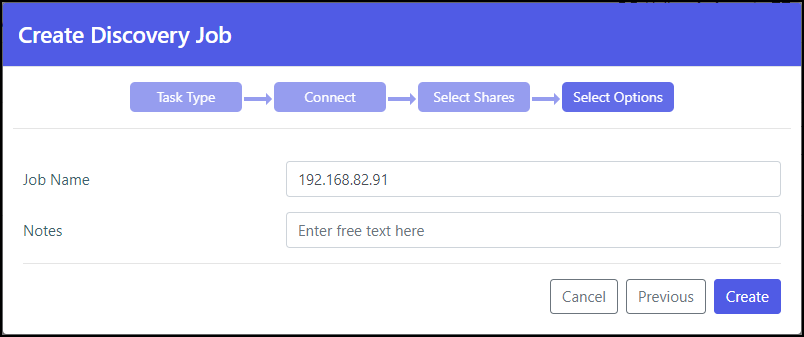
Optionally, provide a different name for the job and any specific notes about the job.
Click Create.


The discovery job runs and the results are displayed in the Dashboard.
The Dashboard After a Discovery Run
After the job completes and you get a report as well as a full analysis of each share in the filer server that you selected.

Log files and discovery file lists generated by the migration are compressed if they are greater than 100MB.
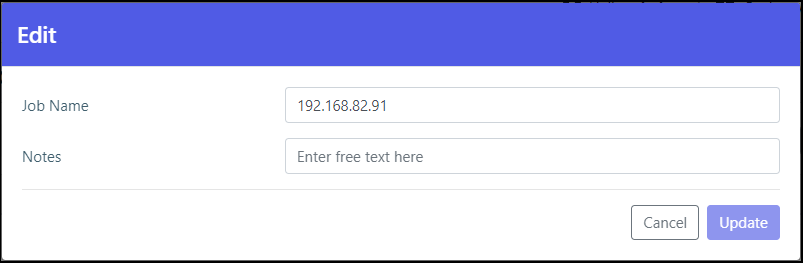
- Click
 to edit the discovery job name and notes.
- Click
 to display the discovery report.
 - Click
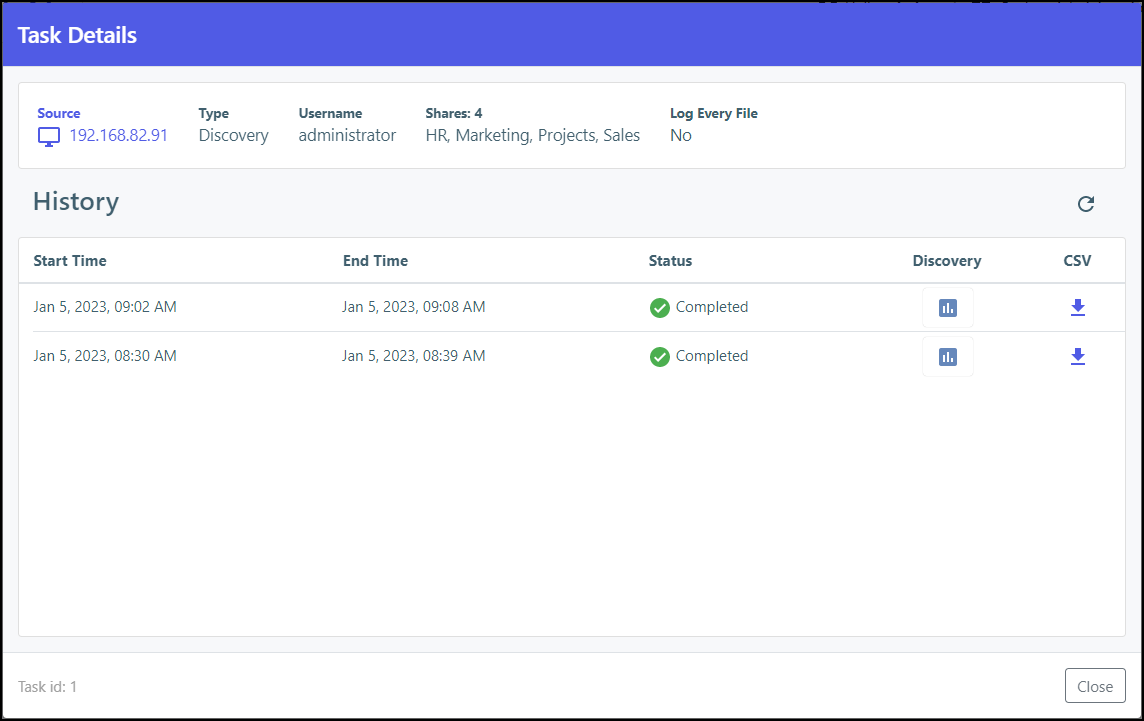
 to display the list of every time this job was run and rerun with the results of each run. The Task Details can also be accessed by clicking Details in the discovery report.

- Click
 to rerun the discovery.
The discovery job reruns. - Optionally, in the dashboard you can select a job and click
 to delete the job.
After deleting a job, you can display all the jobs including the deleted jobs by clicking the Deleted filter in the dashboard.
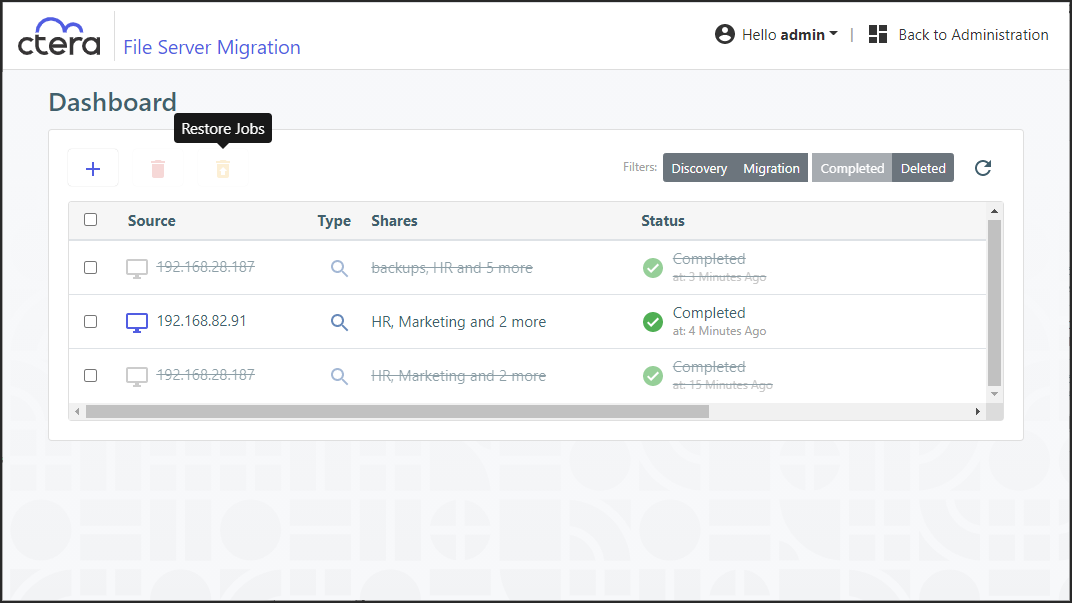
You can restore deleted jobs by selecting the deleted jobs to restore and clicking .
.
 to edit the discovery job name and notes.
 to display the list of every time this job was run and rerun with the results of each run. The Task Details can also be accessed by clicking Details in the
 to rerun the discovery.
 to delete the job.
 .
.The Discovery Report
Clicking  displays the discovery report.
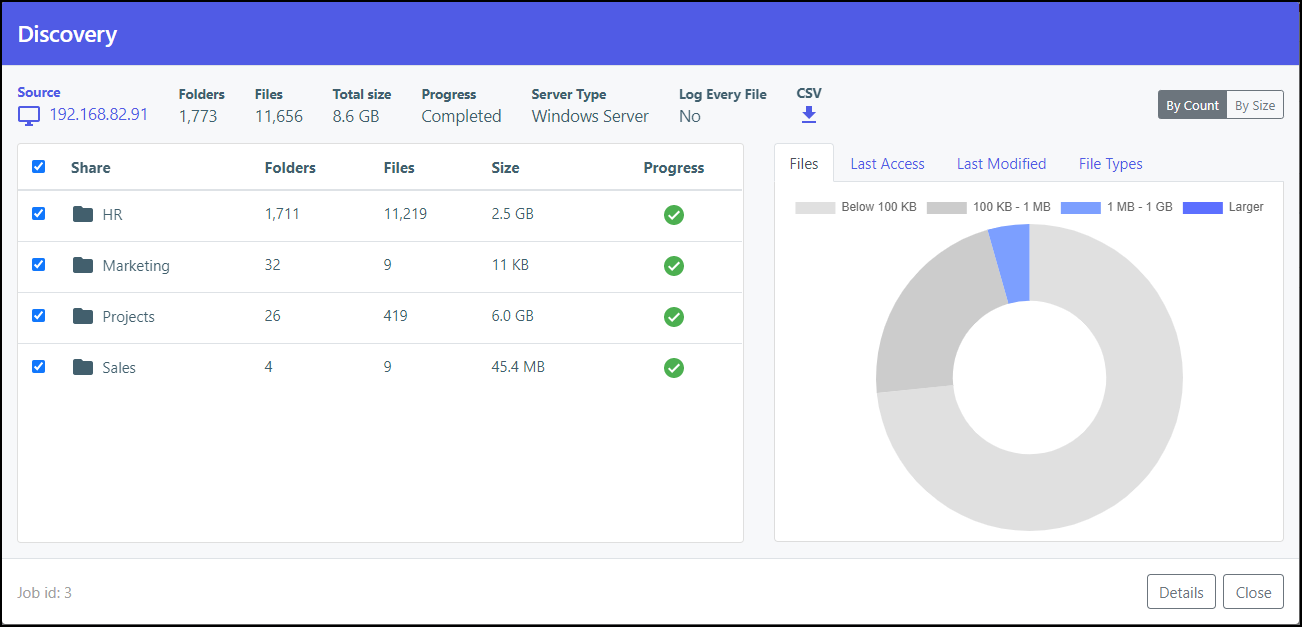
A report when Log Every File (Verbose Logging) was not checked:
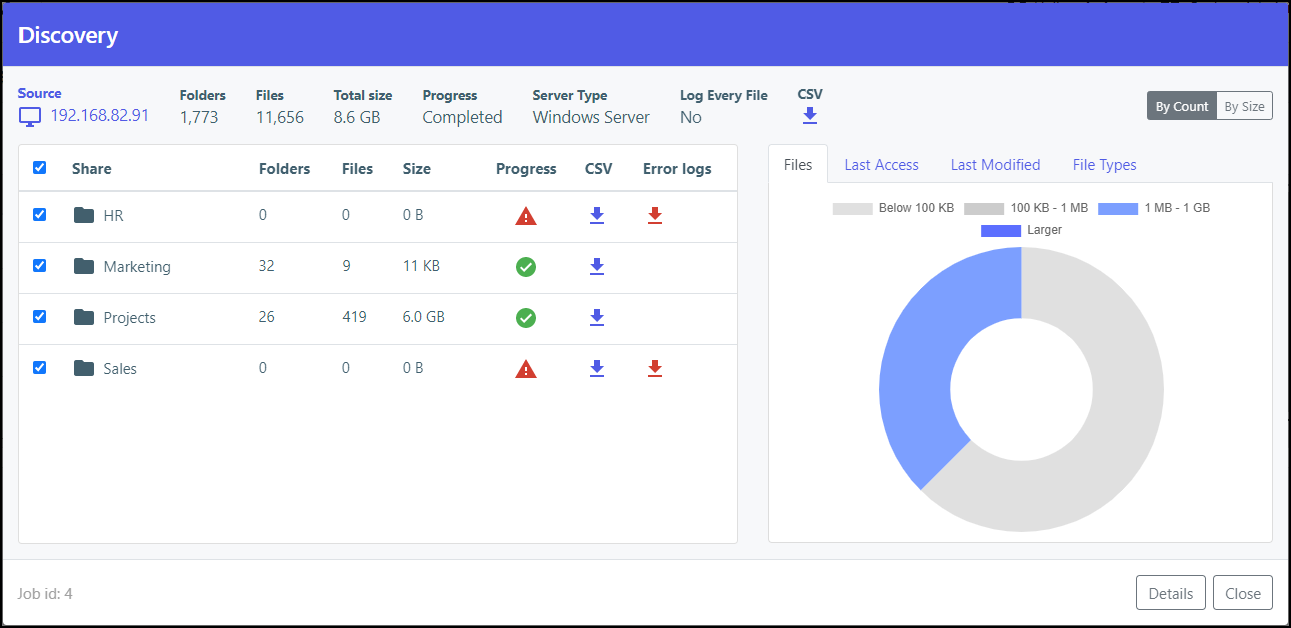
A report when Log Every File (Verbose Logging) was checked:
At the top of the report the sum of the information for the migrated shares is displayed. Optionally, click  to download the discovery report as a .csv file.
The first pane in the discovery report shows the list of shares with details of each share:
- The number of folders in the selected shares.
- The number of files in the selected shares.
- The size of the selected shares.
- The status of the migration for the selected shares.
- If Log Every File (Verbose Logging) was checked, optionally for each share, click
 to download the discovery report for the share as a .csv file.
 - Any errors in the discovery job are written to a separate log, under
/errorlog. Each share with an error has a separate log file. Clicking downloads the log file as a .csv file.
 downloads the log file as a .csv file.
The second pane in the discovery report has tabs showing the following:
Files – A pie chart with the sizes of the files in the selected shares.
Last Access – A bar chart showing when the files in the selected shares were last accessed.
Last Modified – A bar chart showing when the files in the selected shares were last modified.
File Types – The list of the file types in the selected shares.
You can display this information either By Count, for example, the number of each file type, or By Size, for example, the size of each file type.ClickDetails to display the list of every time this job was run and rerun with the results of each run.
Click Close to return to the Dashboard.

Was this article helpful?