Installing and Configuring Additional CTERA Portal Servers
- 2 Minutes to read
- Print
- DarkLight
- PDF
Installing and Configuring Additional CTERA Portal Servers
- 2 Minutes to read
- Print
- DarkLight
- PDF
Article Summary
Share feedback
Thanks for sharing your feedback!
Installing an Additional Server
All servers except the primary server are additional servers.
Warning
You must complete the setup of each server before setting up another server.
You install additional servers using the same procedure you used to install the primary server, except for the following:
- For messaging servers, you require 4 vCPU, 32GB RAM, and 250GB data pool (Magnetic).
- For a preview server, you require 4 vCPU, 16GB RAM,and 60GB data pool (SSD).
- For all other application servers, you require 4 vCPU, 16GB RAM, and 100GB data pool (Magnetic).
For the installation procedure, see:
Note
For document previews to work, you must install at least one additional server as a document preview server.
After installing the additional server, continue with Configuring an Additional Server.
In a production environment, the primary server hosts the CTERA Portal database, referred to as Main DB. In production this server and the server that hosts the replication database, referred to as Replication of main_db_server_name should not be defined as application servers. For details about editing server settings, see Editing Server Settings.
Configuring an Additional Server
To configure an additional server:
Note
If the HTTPS administration port was changed on the primary server, you must enable the relevant port on all servers.
Using a Web browser, browse to the new server, via the IP address or DNS.
The Setup wizard opens, displaying the Select Server operation mode window.
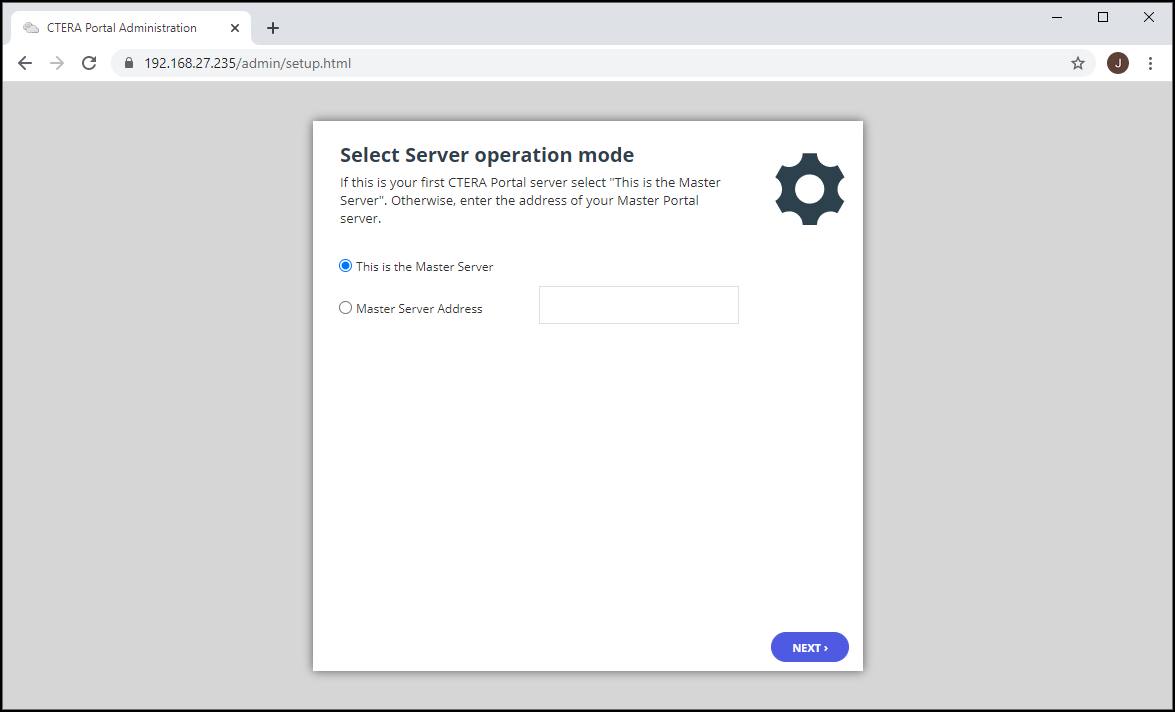
Choose Master Server Address and enter the address of the primary server.
Click NEXT.
The Master Server Details window is displayed.Azure, ESXi, Hyper-V, Nutanix AHV, OpenStack/KVM Platforms AWS, GCP Platforms 
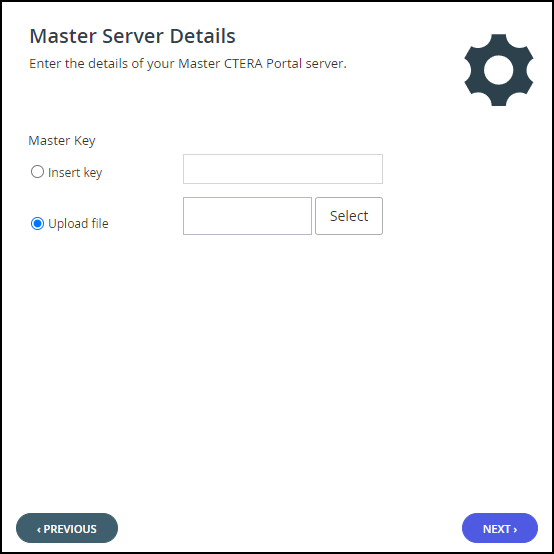
Enter the root password for the primary server. The default is ctera321, but this should have been changed on first access to the server.Enter the key to access the master, primary, server. This is the master key, with PEM format, created when installing the primary server. Click NEXT.
The Replication window is displayed.
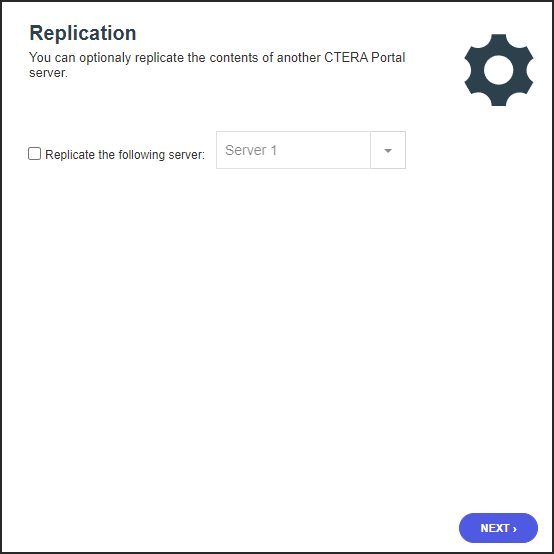
To configure this server as a replica of the main database, select the Replicate the following server check box, and then select the server you want to replicate in the drop-down list.
Click NEXT.
The wizard completes and a success message is displayed.NoteCompleting the procedure takes a few minutes. Once the procedure is almost complete a 60 second countdown is displayed before the server is up and running.
Click OK.
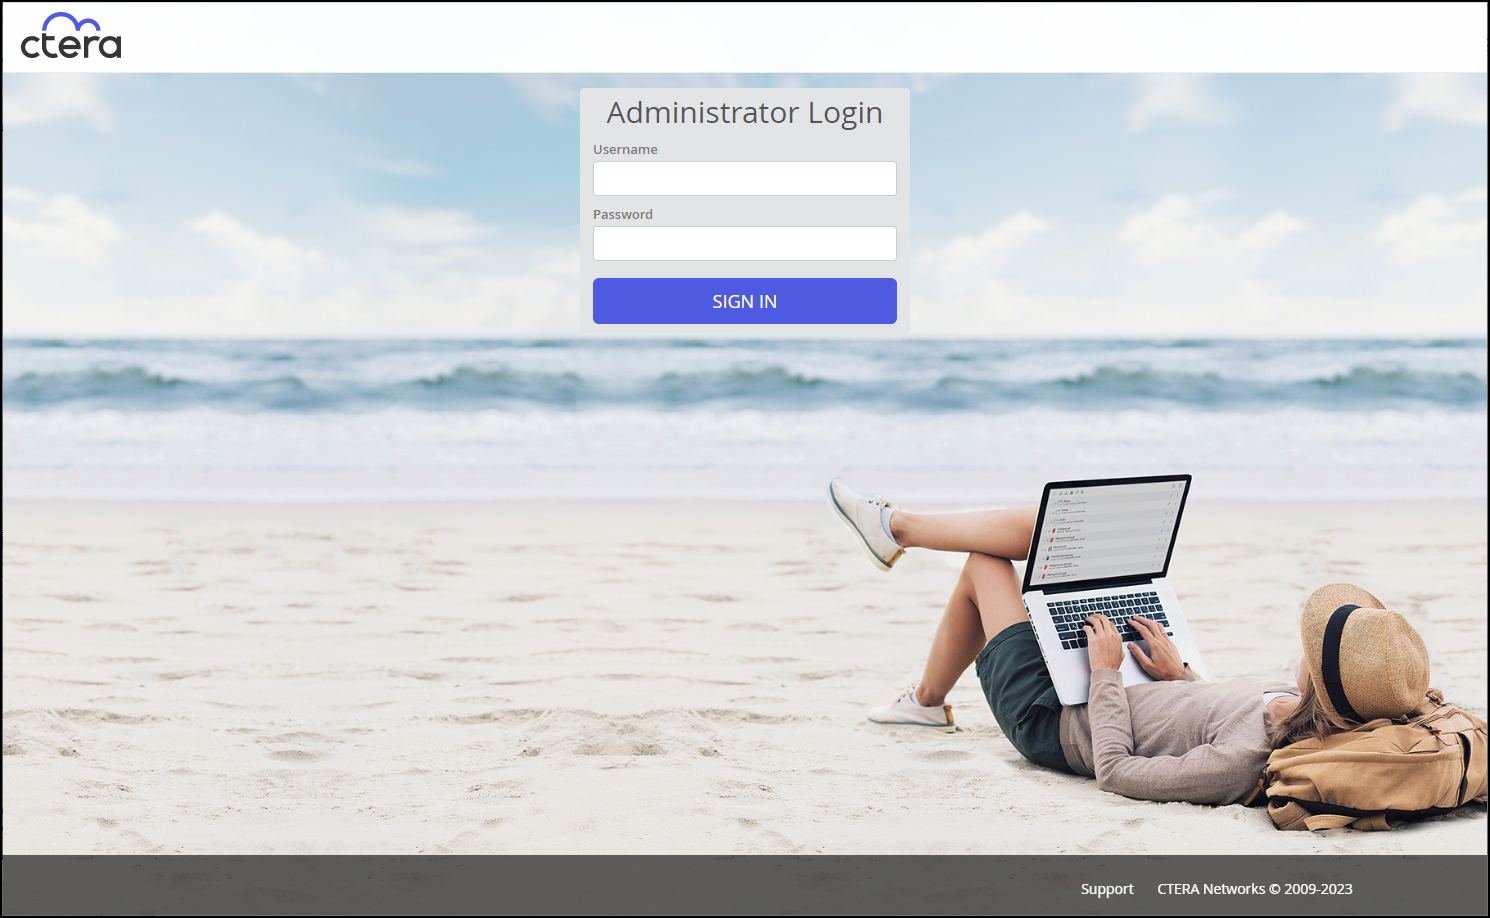
CTERA Portal opens, displaying the Administrator Login page.
 Note
NoteThe IP address is the IP of the additional server. Either the primary server IP address or the additional servers IP addresses can be used to access the portal.
Enter the user name and password and click SIGN IN.
The portal opens, displaying the Main > Dashboard page. By default, CTERA Portal creates a team portal called portal. For information about how to rename, view and edit this portal, or create additional team or reseller portals, see the Global Administrator Guide.In the global administration view, select Main > Servers in the navigation pane.
The SERVERS page is displayed, listing all the servers for the CTERA Portal.

Click the server to edit.
The server window is displayed with the server name as the window title.
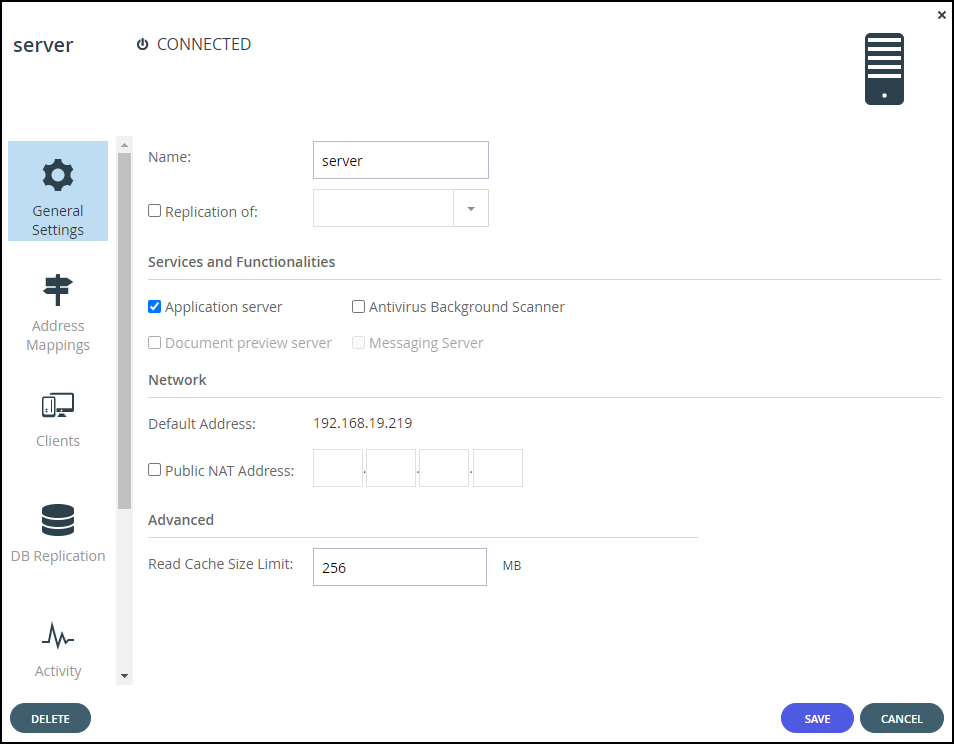
Check the boxes of the services to be provided by this server, for example, as a document preview server.
Click SAVE.


Was this article helpful?