Manage File Eviction From the Cache
- 1 Minute to read
- Print
- DarkLight
- PDF
Manage File Eviction From the Cache
- 1 Minute to read
- Print
- DarkLight
- PDF
Article Summary
Share feedback
Thanks for sharing your feedback!
Files that are evicted leave only the stubs in the cache.
When there are many files to be checked for eviction, the whole file system needs scanning. To improve the time required to determine which files need evicting, enable local deduplication on the edge filer and run full reindexing, described in Applying Local Deduplication to Existing Files.
To manage eviction from the cache:
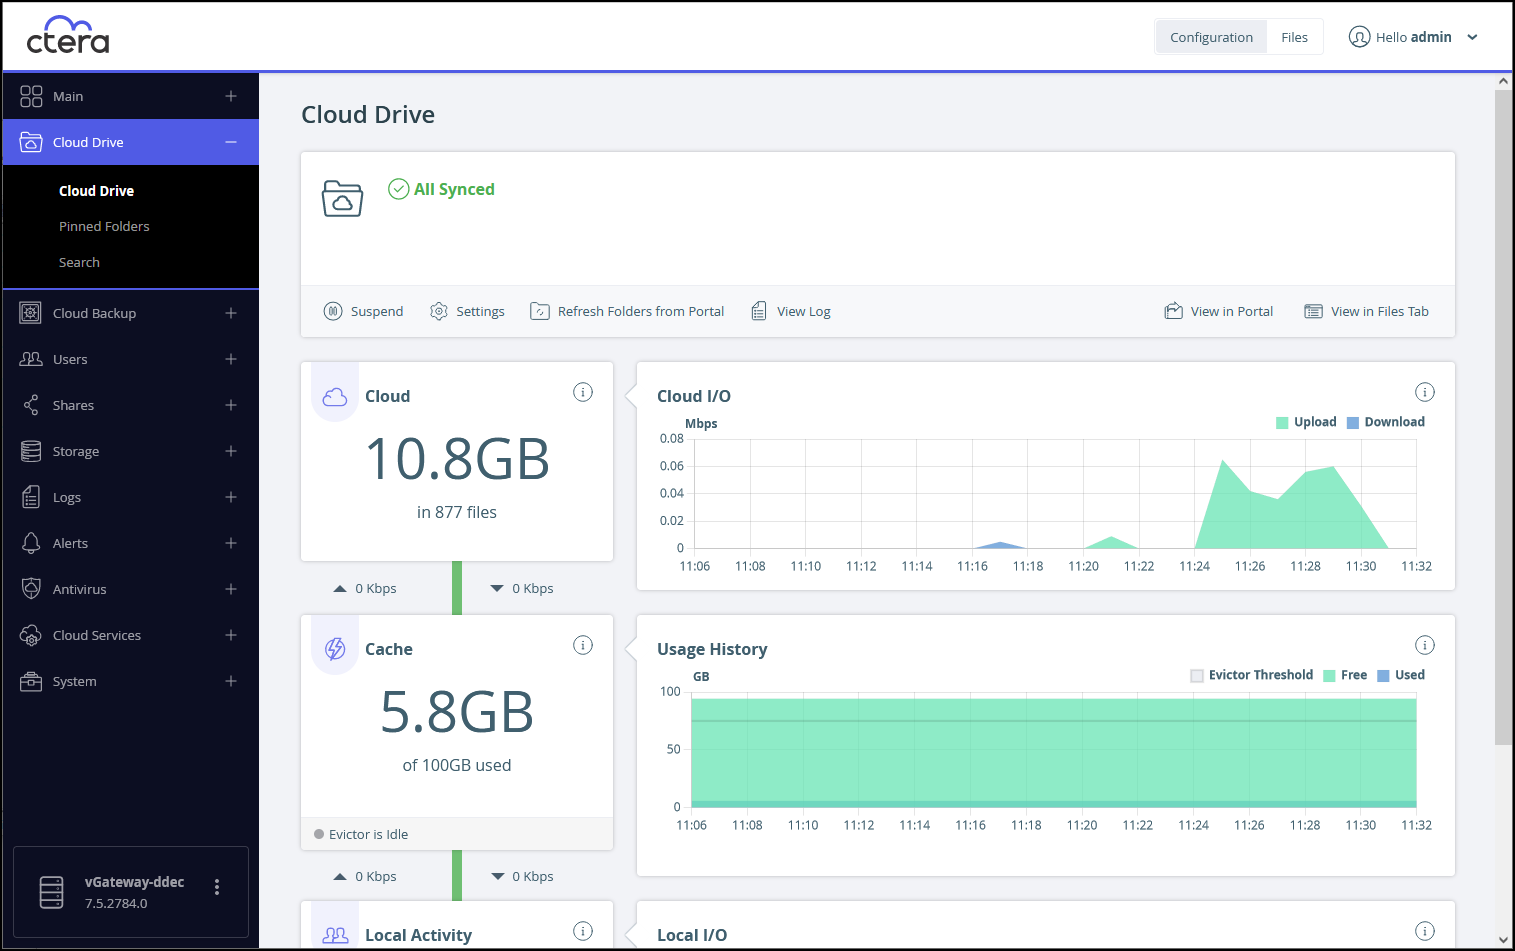
- In the Configuration view, select Cloud Drive > Cloud Drive in the navigation pane.
The Cloud Drive page is displayed.
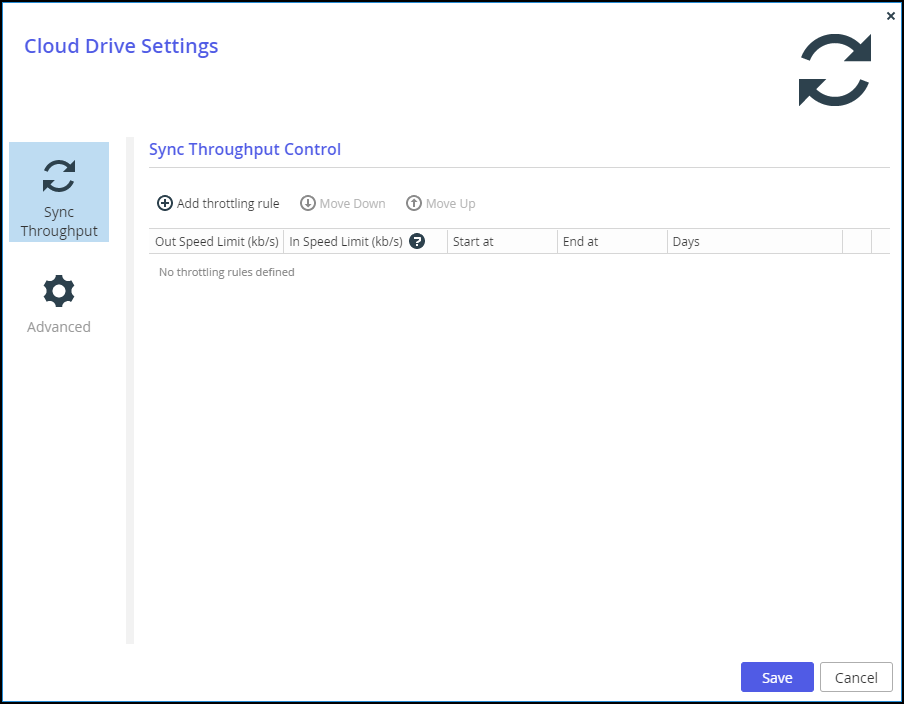
- Click Settings.
The Cloud Drive Settings window is displayed.
- Select the Advanced option.
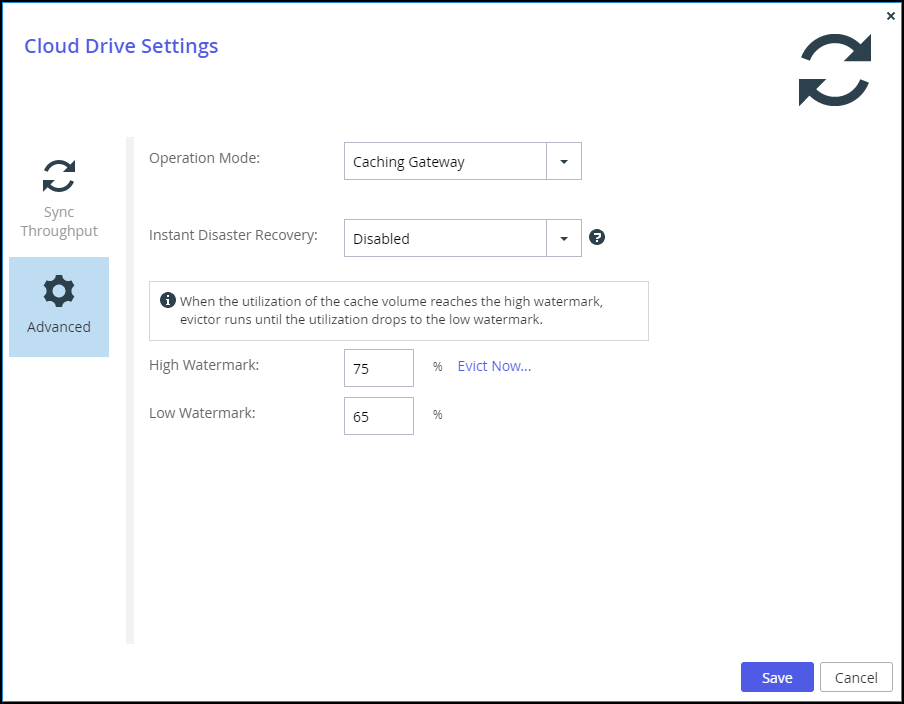
- Change either the High Watermark or Low Watermark or both as required.
- Optionally, click Evict Now to start evicting files based on the eviction policy.
The Evict Now window is displayed.
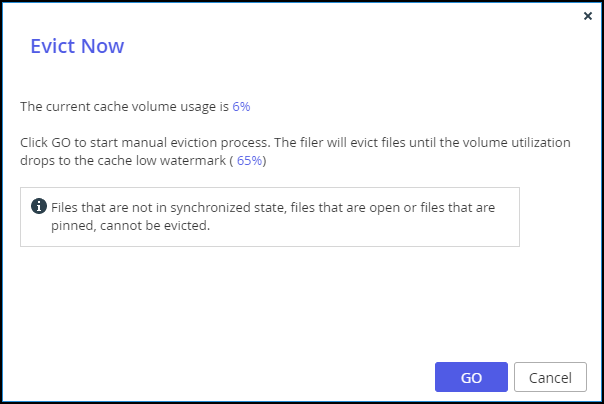
- Click GO to start evicting content from the cache.
When Evict Now is run by the user, the process is the same as when a scheduled eviction is performed. Eviction will not start if the amount of data in the cache is less than the low watermark.
- Click GO to start evicting content from the cache.


Additional changes to the eviction policy can be configured. For details, contact CTERA support.
Evicting Individual Folder Content From the Cache
You can evict individual folder content, including all the subfolder content, from the edge filer cache. See Navigating the CTERA Edge Filer User Interface.
Was this article helpful?