Managing Notifications and Email Templates
- 2 Minutes to read
- Print
- DarkLight
- PDF
Managing Notifications and Email Templates
- 2 Minutes to read
- Print
- DarkLight
- PDF
Article Summary
Share feedback
Thanks for sharing your feedback!
As an administrator, you can receive and view notifications about all portals and users as follows:
- On the Notifications dashboard of the global administration interface (Main > Notifications). Here, you receive all types of notifications that are enabled on the Notification Settings page (Settings > Notification Settings).
- In the main dashboard of the global administration interface. This page displays a summary of the ten highest priority notifications.
- By email. Notifications are sent to administrators by email.
Notifications enable you to track error and warning conditions. For instance, one can use the notification dashboard to track failed backup jobs.
The notification dashboard displays error and warning conditions that are currently in effect, including alerts related to the system, storage nodes, specific virtual portals, users and devices.
It is possible to mark specific notifications as hidden, if you do not feel that they require immediate attention. Those notifications can always be unhidden later if desired.
Viewing Notifications
You can view a summary of the highest priority notifications in the dashboard and all the notifications in the NOTIFICATIONS page.
Viewing Notifications in the Main Dashboard
The dashboard displays a summary of the highest priority active notifications, if there are any.

If there are notifications you can go directly to the NOTIFICATIONS page by clicking SHOW IN NOTIFICATION MANAGER, which is displayed at the bottom of the NOTIFICATIONS area when there are notifications displayed.
Viewing Notifications in the Notification Page
To view notifications via the notification page:
In the global administration view, select Main > Notifications in the navigation pane.
The NOTIFICATIONS page is displayed.
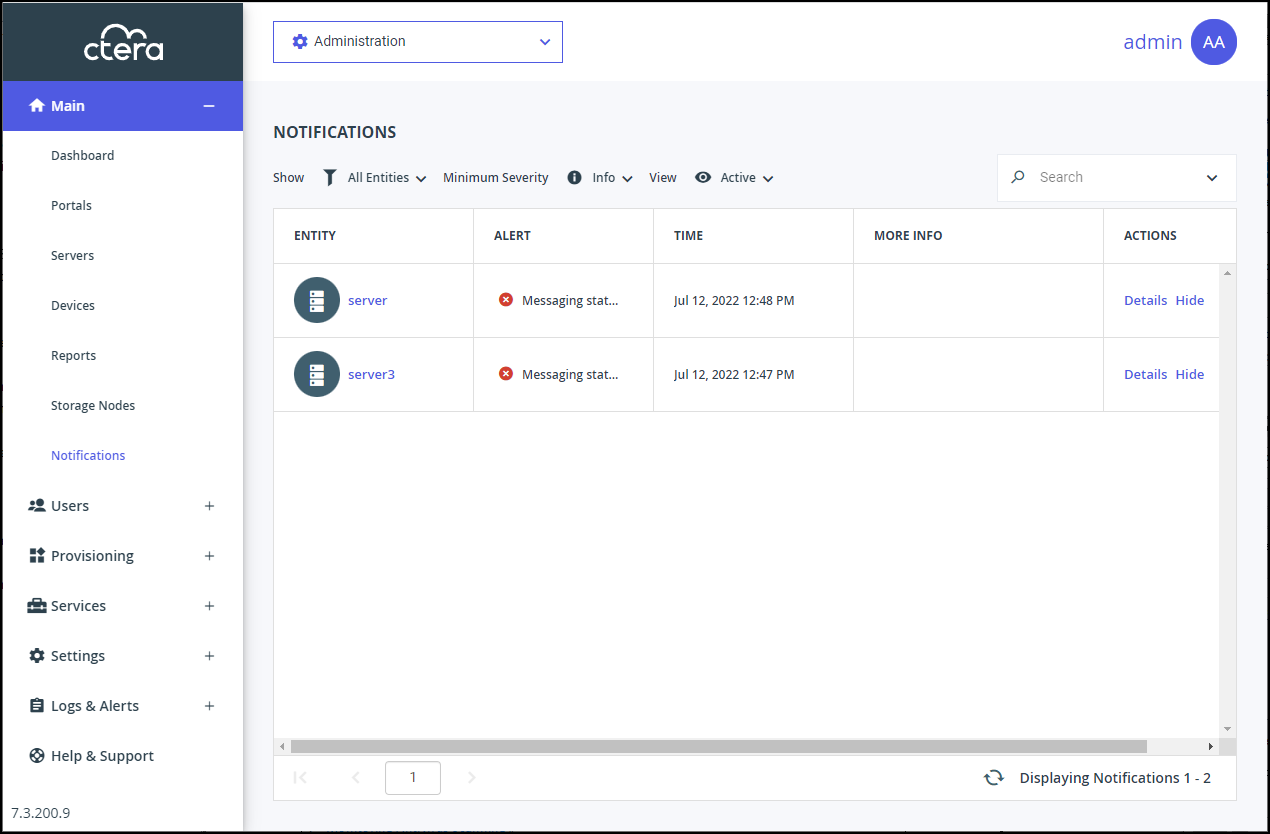
ENTITY – The entity issuing the notification.
ALERT – The alert message.
TIME – The time at which the alert was triggered.
MORE INFO – Additional information about the notification.
ACTIONS – Actions you can perform on an alert, for example hiding the alert.You can filter the display.
Show – Filter notifications dependent on the notification source.- All Entities – Notifications from the system, storage nodes, and portals.
- System – Notifications from the system.
- Storage Node – Notifications from the storage nodes.
- Portal – Notifications from the portal.
Minimum Severity – Filter notifications dependent on the notification severity: Info, Warning, or Error.
View – Filter notifications by whether they are active or not. Non-active notifications are marked as hidden.You can search the list of alerts, searching everything or by entity or by the MORE INFO or ALERT columns.
You can unhide a notification that you marked as hidden by filtering the display to show hidden notifications and then clicking the Unhide link in the ACTIONS column for a hidden alert or selecting the notification row and clicking Unhide.

Was this article helpful?