Provisioning the Virtual Portal: Global Plans and Add-ons
- 2 Minutes to read
- Print
- DarkLight
- PDF
Provisioning the Virtual Portal: Global Plans and Add-ons
- 2 Minutes to read
- Print
- DarkLight
- PDF
Article summary
Did you find this summary helpful?
Thank you for your feedback
Assigning Global Plans to Virtual Portals
A global plan can be added to a virtual portal for every user in the portal. Plans can be assigned to individual users in the virtual portal.
To assign a global plan to a virtual portal:
- In the global administration view, select Main > Portals in the navigation pane.
The PORTALS page opens, displaying all the virtual portals.
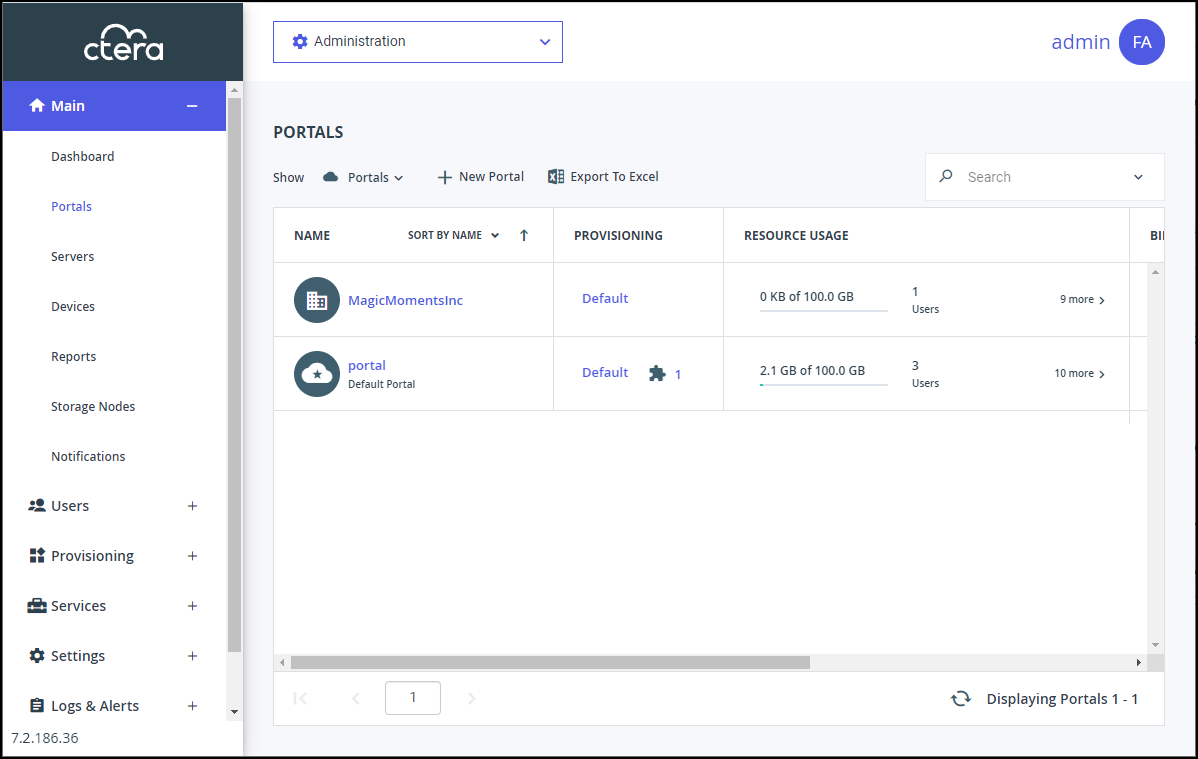
- Click the portal name.
- If the virtual portal is a reseller portal, keep the Enable Resource Provisioning check box selected.
- Click the Provisioning option.
The Provisioning window is displayed.
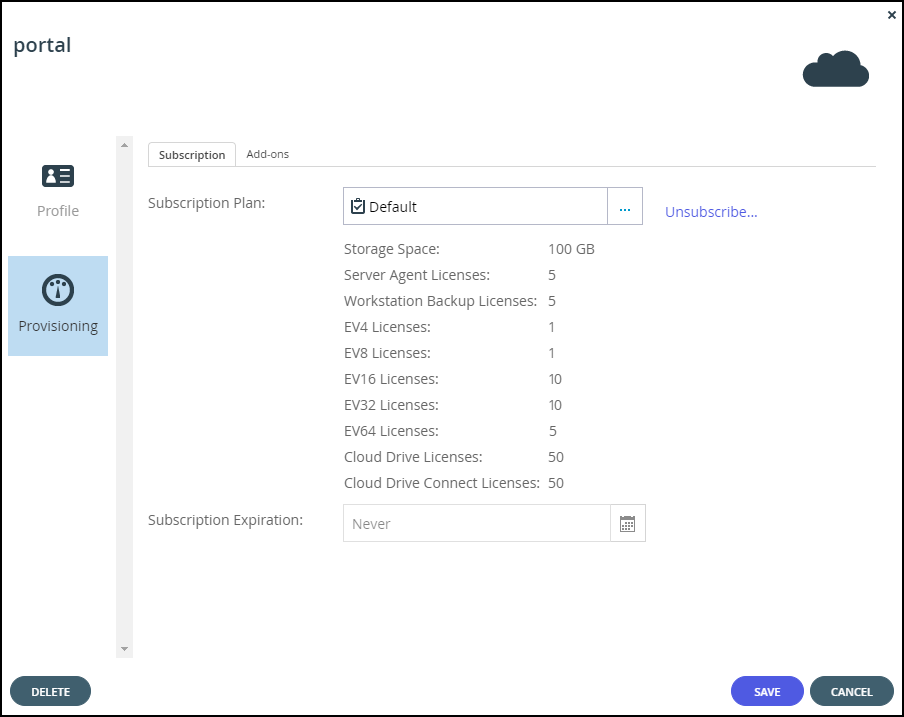
- Click the Subscription Plan field.
The Select Your Subscription Plan window is displayed.
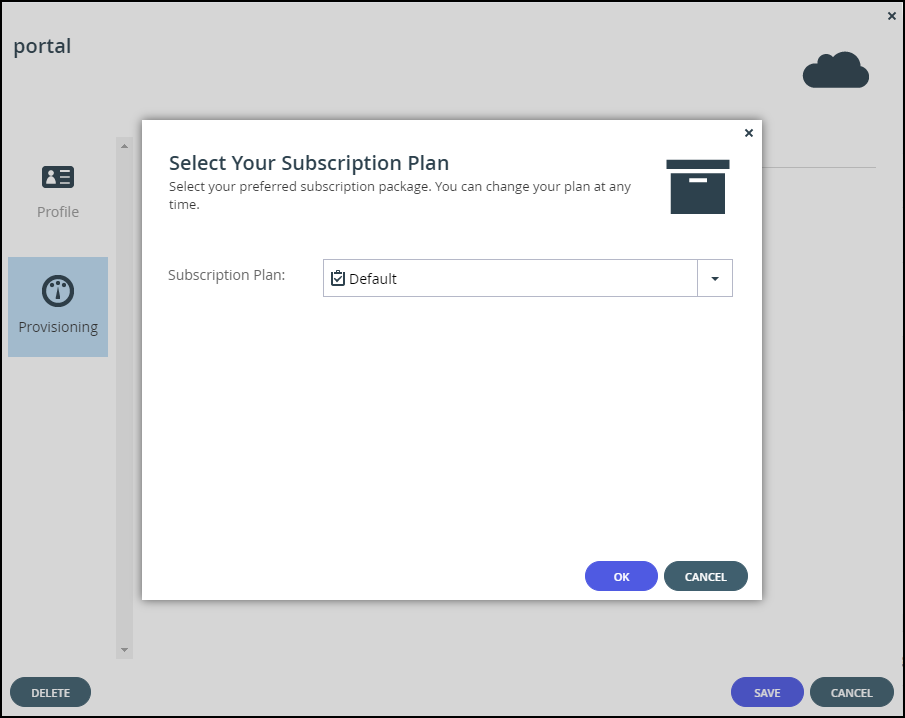
- In the Subscription Plan drop-down list, select the global plan to assign the portal.
- Click OK.
- In the Subscription Expiration field, click
 to specify the date on which the portal's subscription to the selected plan will expire. This field is only enabled for plans that are defined as time limited trial plan.
 - Click SAVE.


 to specify the date on which the portal's subscription to the selected plan will expire. This field is only enabled for plans that are defined as time limited trial plan.
The virtual portal is assigned to the subscription plan.
Assigning Add-ons to Virtual Portals
An add-on can be added to a virtual portal as part of the provisioning for the portal and the add-on is valid for every user in the portal.
Note
As part of provisioning for a user in a reseller portal, you can also assign add-ons that were defined for the portal.
To assign global add-ons to a virtual portal:
- In the global administration view, select Main > Portals in the navigation pane.
The PORTALS page opens, displaying all the virtual portals.
- Click the portal name.
- If the virtual portal is a reseller portal, keep the Enable Resource Provisioning check box selected.
- Click the Provisioning option.
The Provisioning window is displayed.
- Select the Add-ons tab.
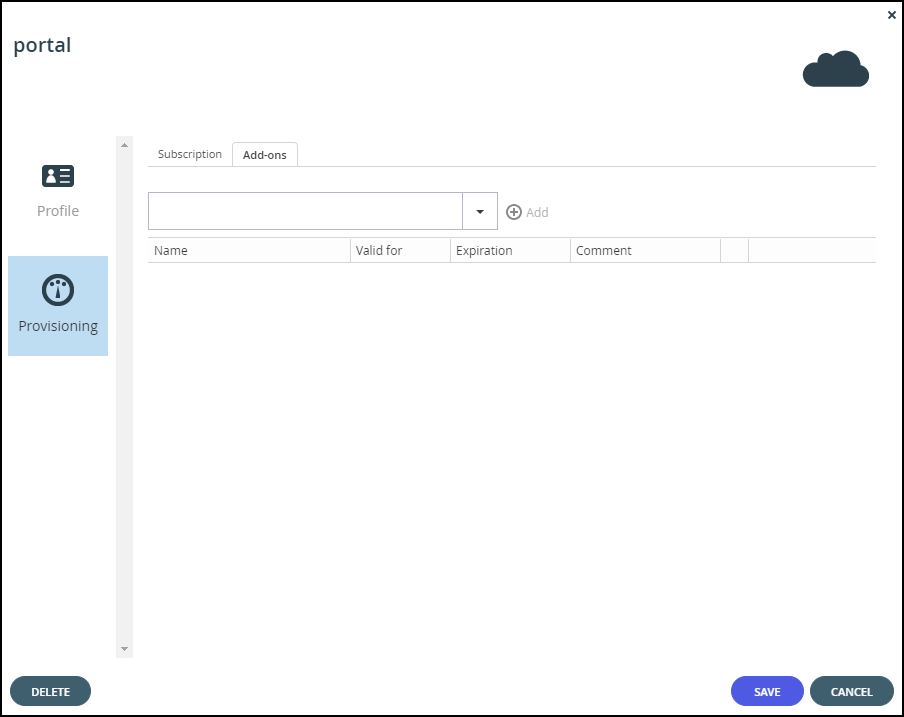
- Add an add-on for the virtual portal:
- In the drop-down list, select the add-on.
- Click Add.
The add-on is displayed.

- To select a new date until when the add-on is valid, in the add-on row, click in the Valid for column and then either clear the value, type a new value or click to display a calendar to select a new date when the add-on subscription should end.
The Expiration column is updated accordingly. - Optionally, enter a comment in the Comment column.
- To remove an add-on from the virtual portal, in the add-on row in the list box, click
 .
.
The add-on is removed. - Click SAVE.


 .
.The add-on, identified by the  icon, is assigned to the virtual portal.
Was this article helpful?