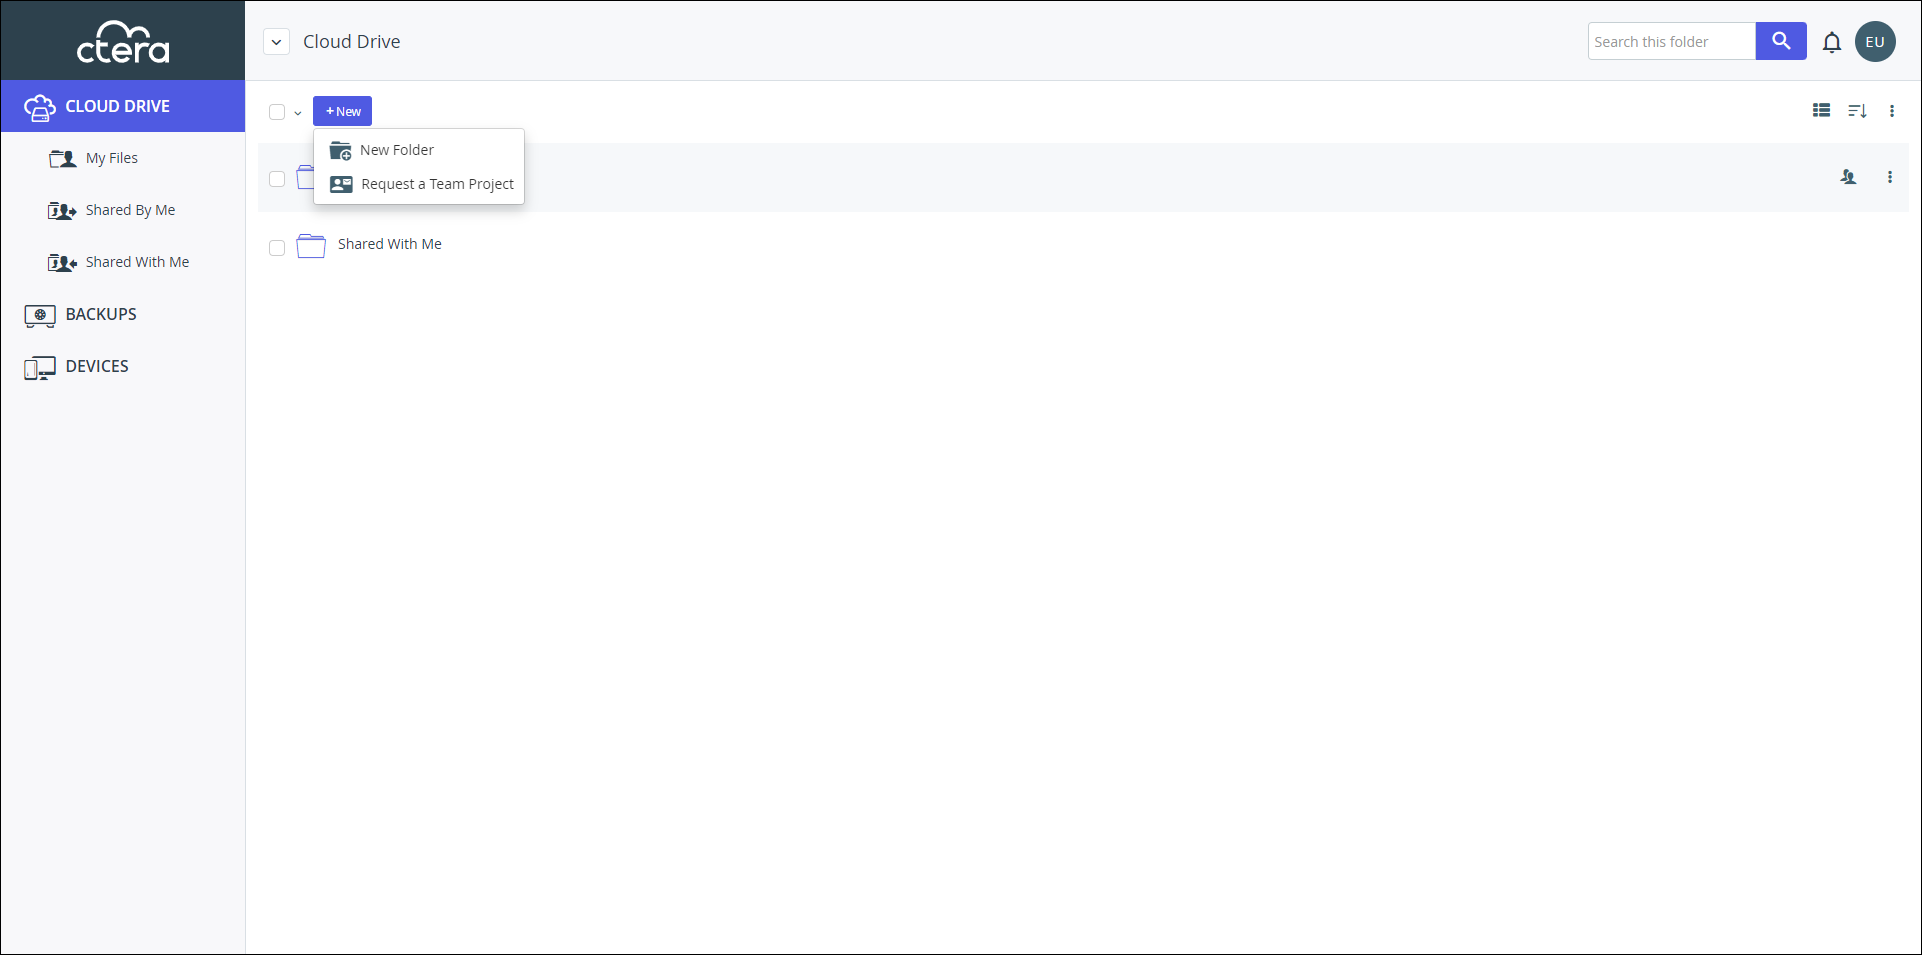
What you can do with your content depends upon where you are in CLOUD DRIVE and whether you have selected one specific folder or file, multiple folders or files – or a combination of both.
- In CLOUD DRIVE, you can create folders and request team projects.
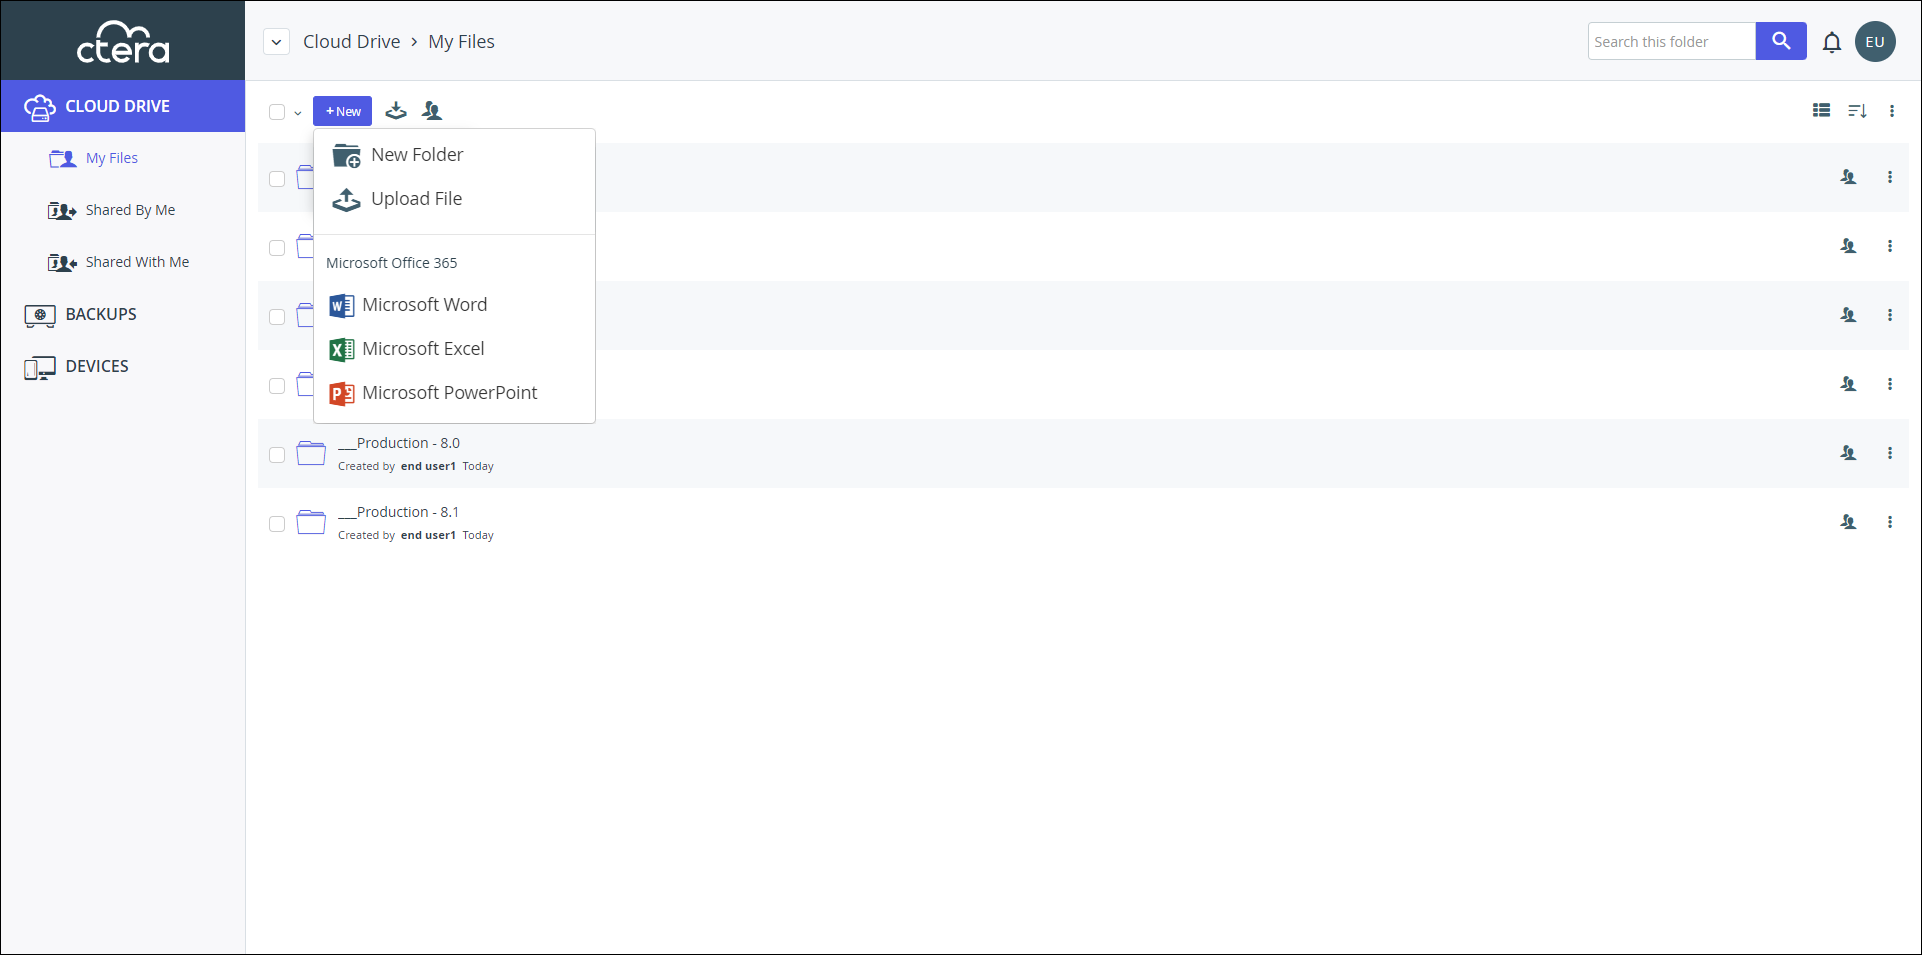
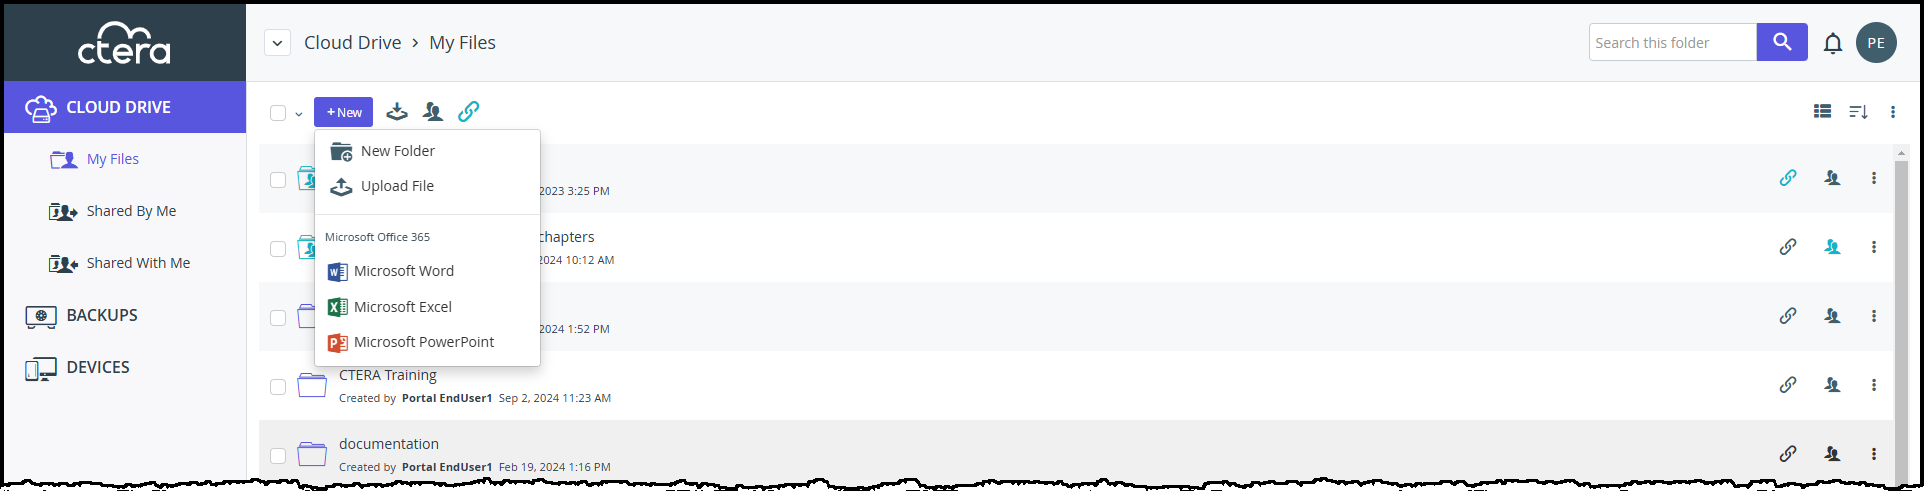
- In other folders, you can create folders and Microsoft files and upload or drag and drop files from elsewhere. You can drag and drop folders and files to and from any cloud drive folder except for Shared With Me and Shared By Me.
The Shared By Me and Shared With Me folders do not have the option to create content.
Creating a Cloud Drive Folder
To create a folder in CLOUD DRIVE:
- Click the
 icon in the top menu and choose New Folder.
- Enter the folder name and click Create.
The following reserved words cannot be used for a folder name:- previousversions
- shared with me
- backups
- shared by me
- users
- share
- backups
- backupfolders
- clouddrivefolders
- invitations
NoteThe characters in the folder names in the above list can be upper or lower case. For example, both
uSERsanduserscannot be used.
The folder is created.
Creating Microsoft Office Files
You can create Microsoft Office files for the following:
- Word
- Excel
- PowerPoint
The Microsoft Office 365 options are only displayed if the CTERA Portal is configured for Microsoft Office 365.
To create a Microsoft Office file:
- Navigate to the folder where you want to create the file.Note
If the folder under which you want to create a file does not have Read/Write permission, you cannot create a file in this folder.
- Click the
 icon and choose Microsoft Word, Excel or PowerPoint.
- Enter a name for the file and click Create.Note
You do not need to supply the suffix. All word files are saved as .docx. All Excel files are saved as .xlsx and all PowerPoint files are saved as .pptx. If you enter any other suffix, the file is created with this suffix as part of the file name.
For example, test.doc is saved as test.doc.docx but test or test.docx are both saved as test.docx. - The file is created and displayed in a new tab.
Uploading Files
You can upload files to the CTERA Portal.
To upload files:
- Click on the relevant folder.
The folder page is displayed. - Click the icon and choose Upload File.
- Select the files on your PC that you want to upload and click Open.Note
You can only upload files and not folders.
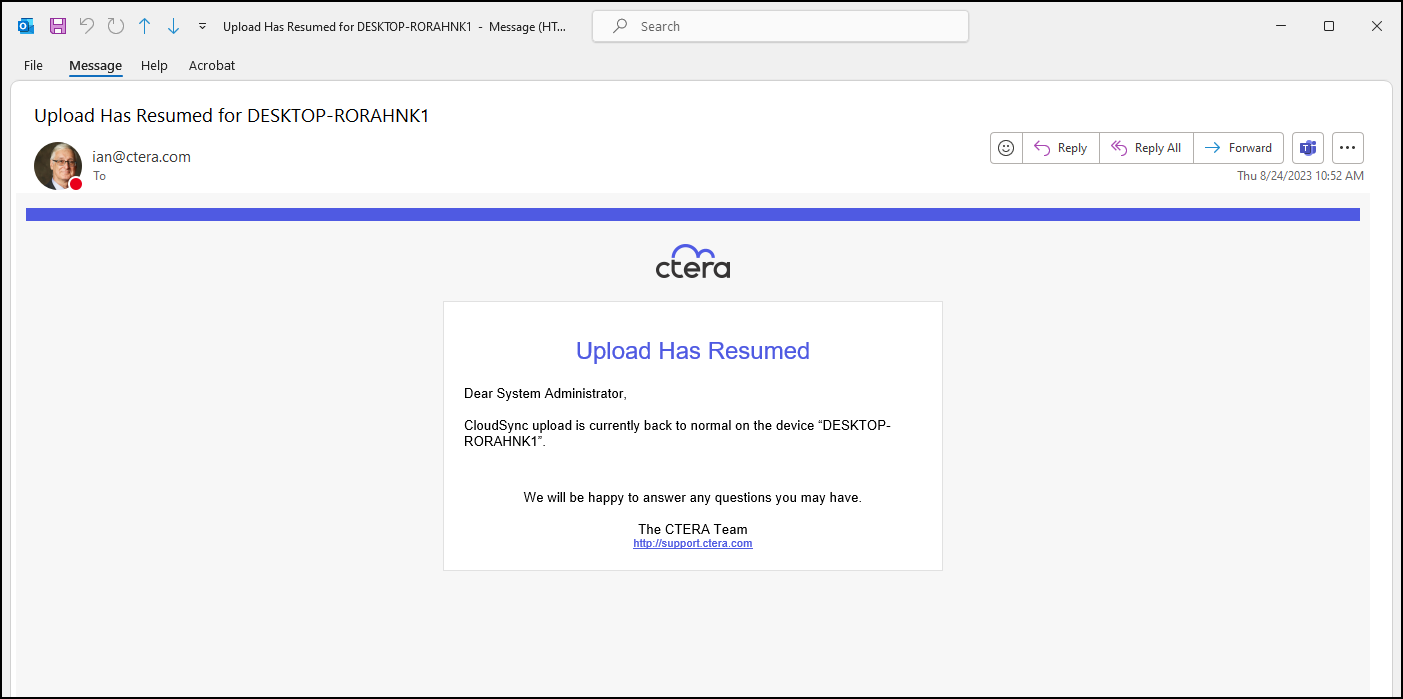
Sometimes uploading files to a portal can stall. A mechanism monitors the upload queue and the administrator is notified when there is an uploading issue. For example, when the portal is executing another task that is using all the resources, the upload to the portal can stop.
When uploading files to the portal stops and does not restart for a few hours, the status is changed to stalled and a notification is written to the end user interface, Sync upload is stalled, both in the notifications for the device and in the general notifications for the portal.

An email is also sent to the user.
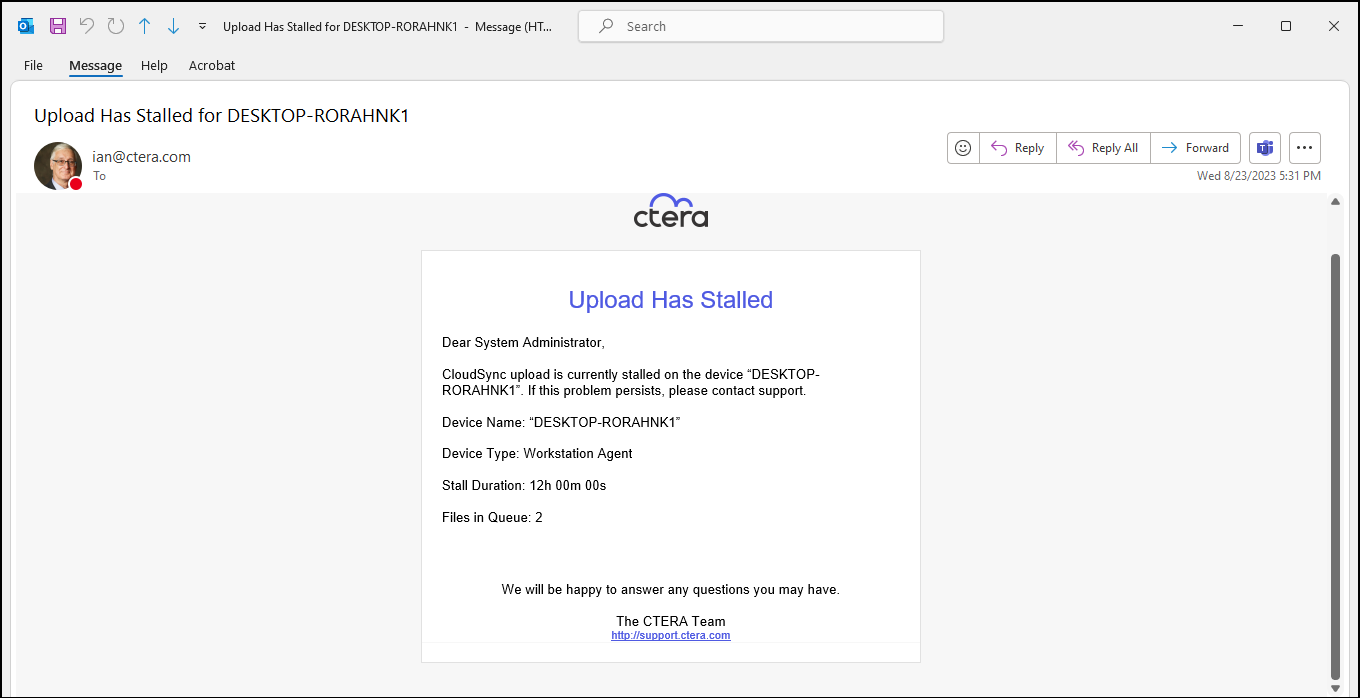
An email is also sent when the problem has been resolved.
The status enters a stalled status when nothing is uploaded for 12 hours, even though there are files in the upload queue. The default of 12 hours can be changed. For details about changing this default, contact CTERA support.