Each email template includes variables, with the format param.variableName. When customizing a template, only variables in that template, and not from other templates, can be used. You can rearrange where the parameters will be displayed in the email message and add or change the text.
To customize email notification templates:
- In the global administration view, select Settings > Email Templates in the navigation pane.
The Email Templates page is displayed with a list of email templates. For a description of each template, see Email Notification Templates.

- Click the email template to edit.
The template editor is displayed, with the email template content.
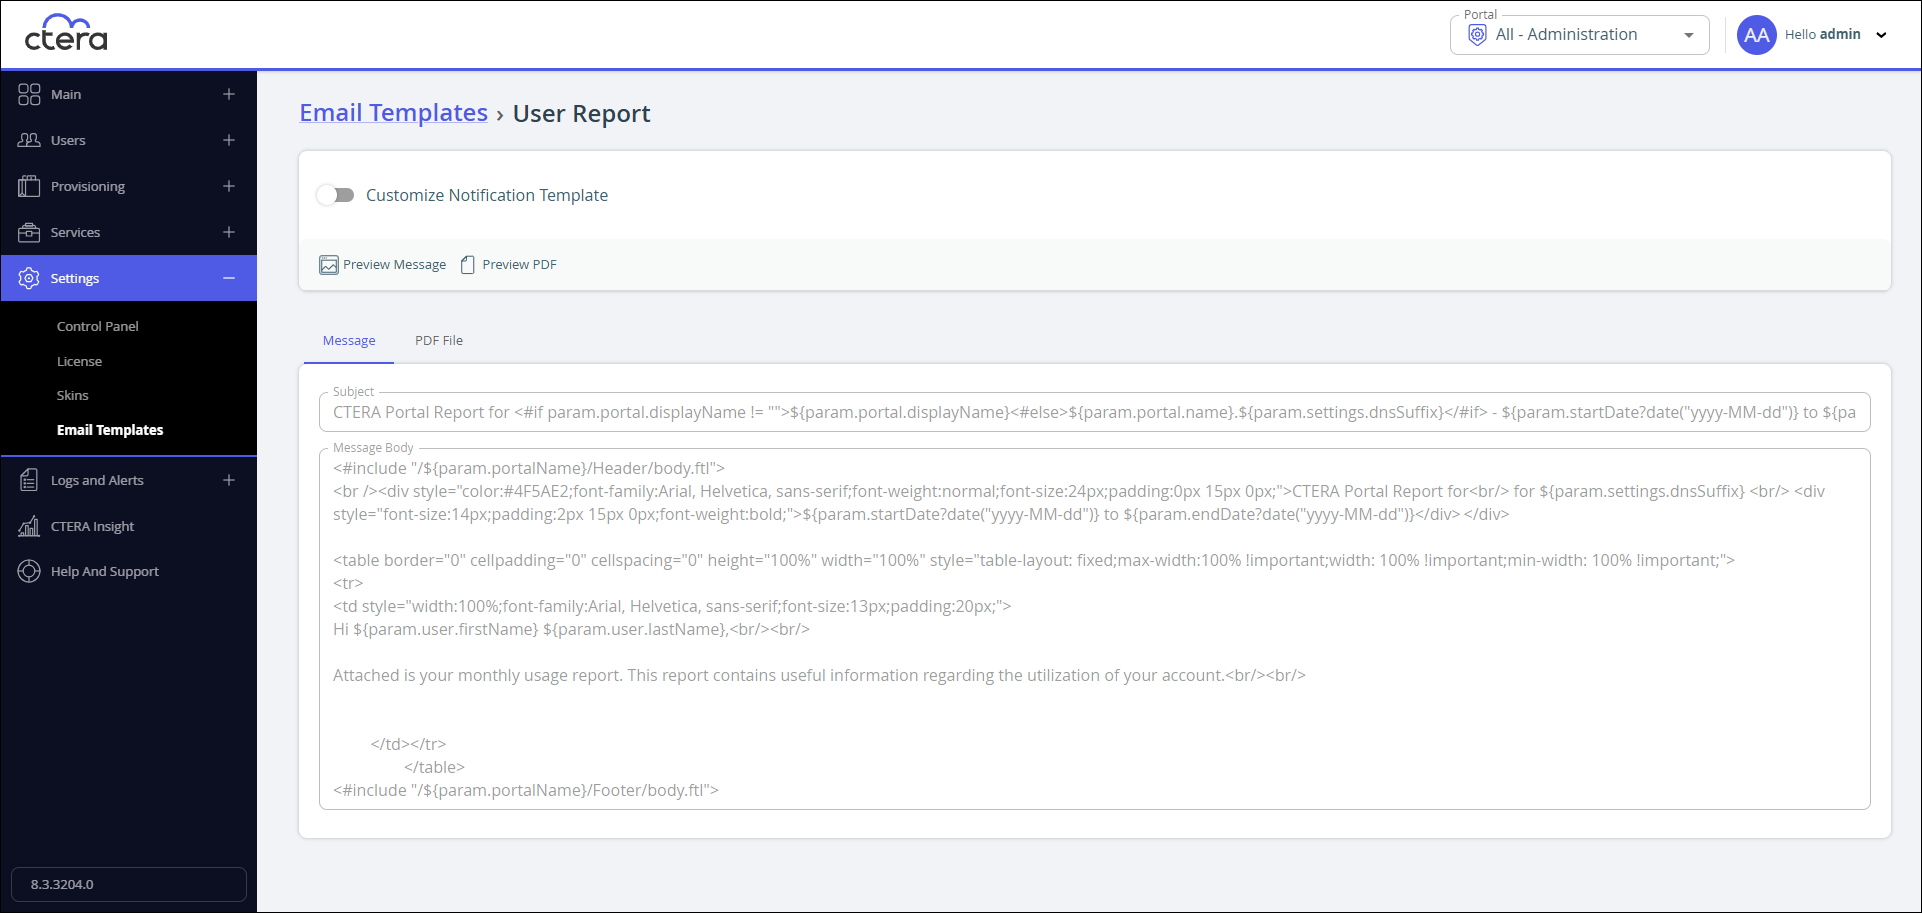
If the notification includes a PDF attachment, the editor includes a PDF tab, as in the above example. - Click Preview Message to preview the current format of the email message and understand how each parameter is displayed in the output. Click Preview PDF to download a PDF to view the default PDF.Note
You can delete parameters from the email message or rearrange where the parameters will be displayed. You can also add or change the email message text. You cannot use parameters that are not already included in the template.
- Slide Customize Notification Template on to enable editing the template.
- In the Subject field, type the text to appear in the notification email's Subject line.Note
Some templates, such as the Header template, do not have a Subject field.
- To edit the email message, In the Message tab, modify the template and then click Preview to preview the changes to the email message.
A window is displayed with the email content as it will be displayed to the recipient.NoteSome templates, such as the Header template, do not have a Preview button.
- To edit a PDF attachment, in the PDF File tab, modify the template and then click Preview to preview the changes to the PDF.
The PDF is downloaded to your computer where you can open and review the content. - If you made any changes, either click Save or click Revert to revert to the last saved configuration.