Before using CTERA Content Services, you have to set up the following:
- At least one LLM
- At least one collector
- System settings
- Sources that you can query
- Datasets for the sources
- An expert to enable querying the sources
Adding LLMs
A Large Language Model (LLM) is a type of AI deep learning model trained on massive datasets to understand, generate, and summarize text or other content. Based on transformer architectures, LLMs act as next-word predictors.
To add an LLM:
- Sign in as an administrator, using the following address
https://<ip>/admin/login
The administration dashboard is displayed. - Select LLMs in the navigation pane.
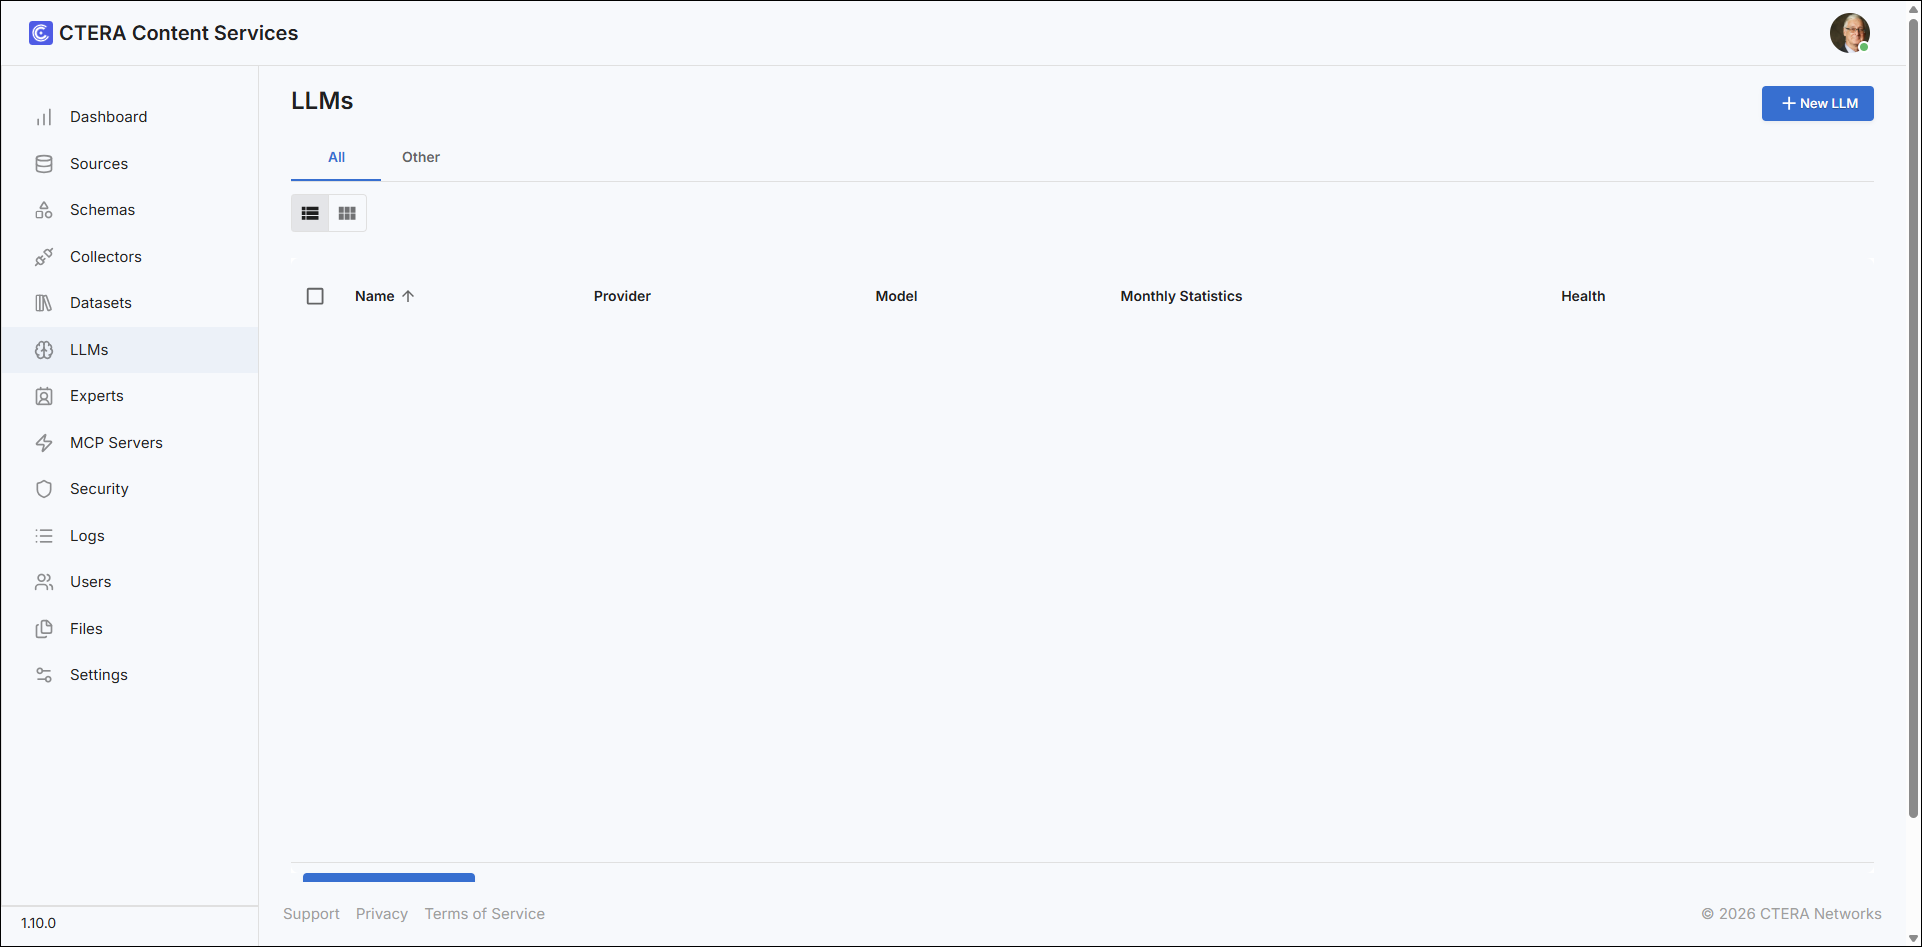
- Click New LLM.
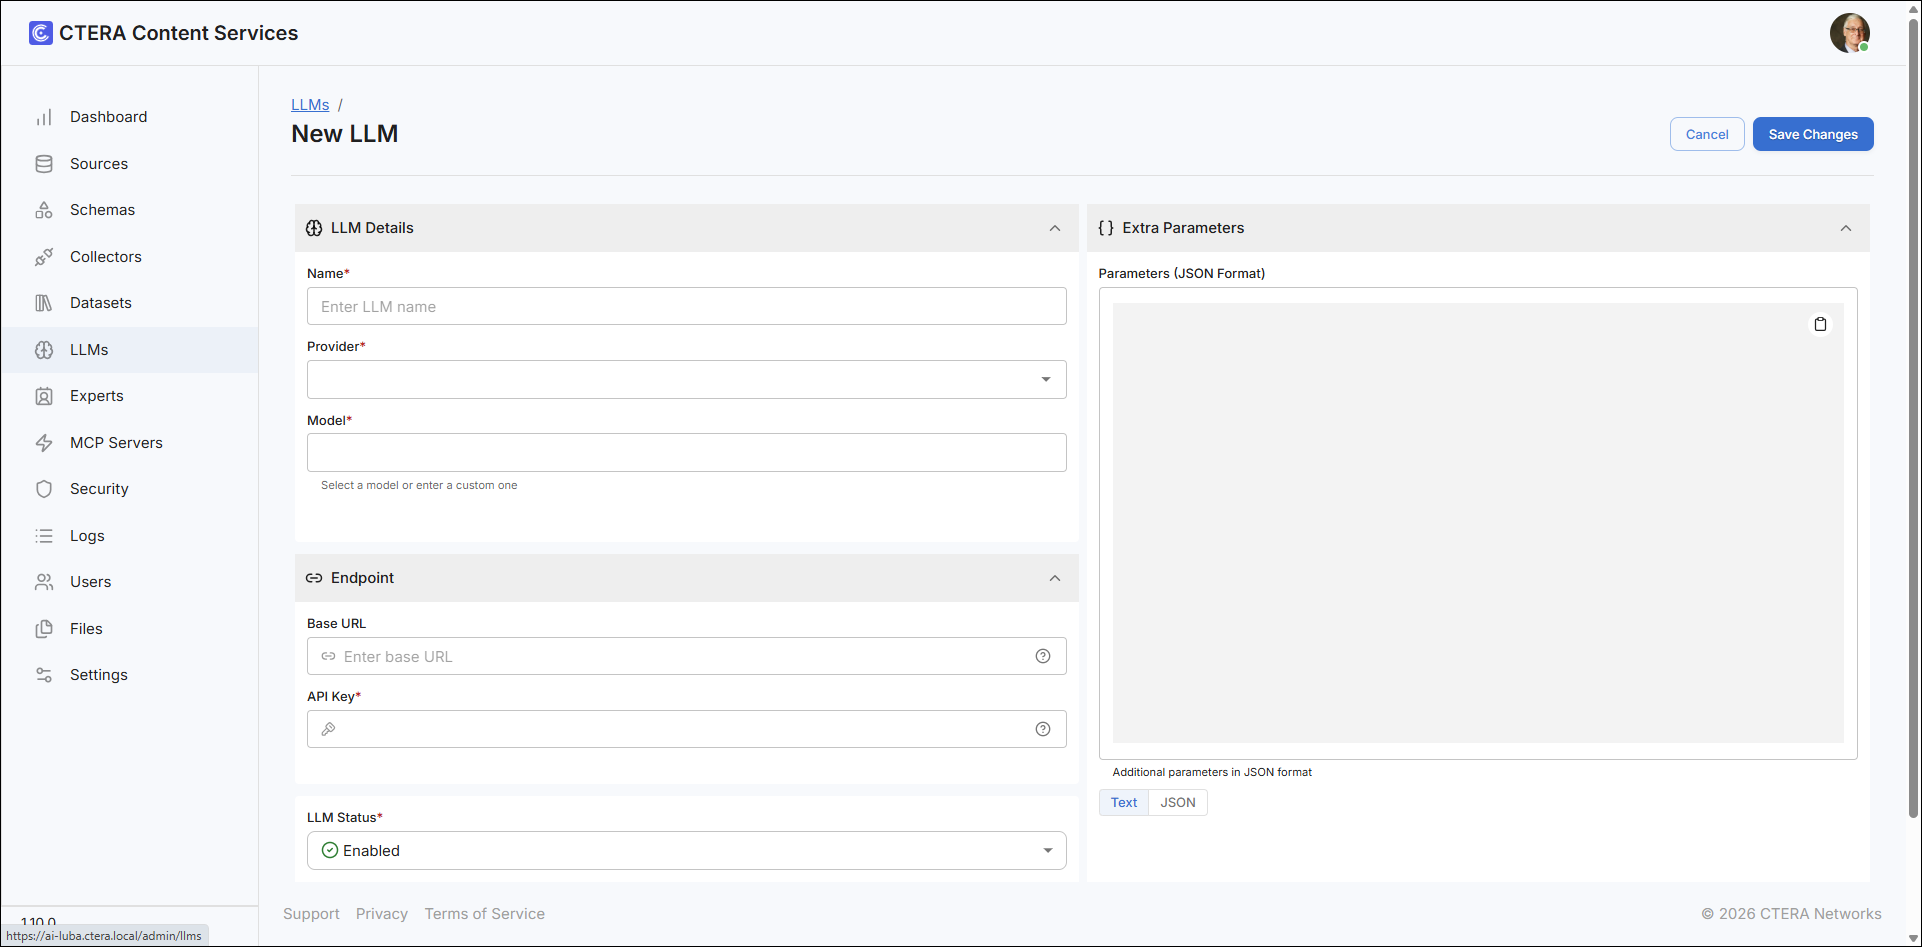
- Under LLM Details, enter the following:
Name – A name for the LLM.
Provider – Select an LLM provider from the list.
Model – Select a model from the list. - Under Endpoint, enter the API Key.
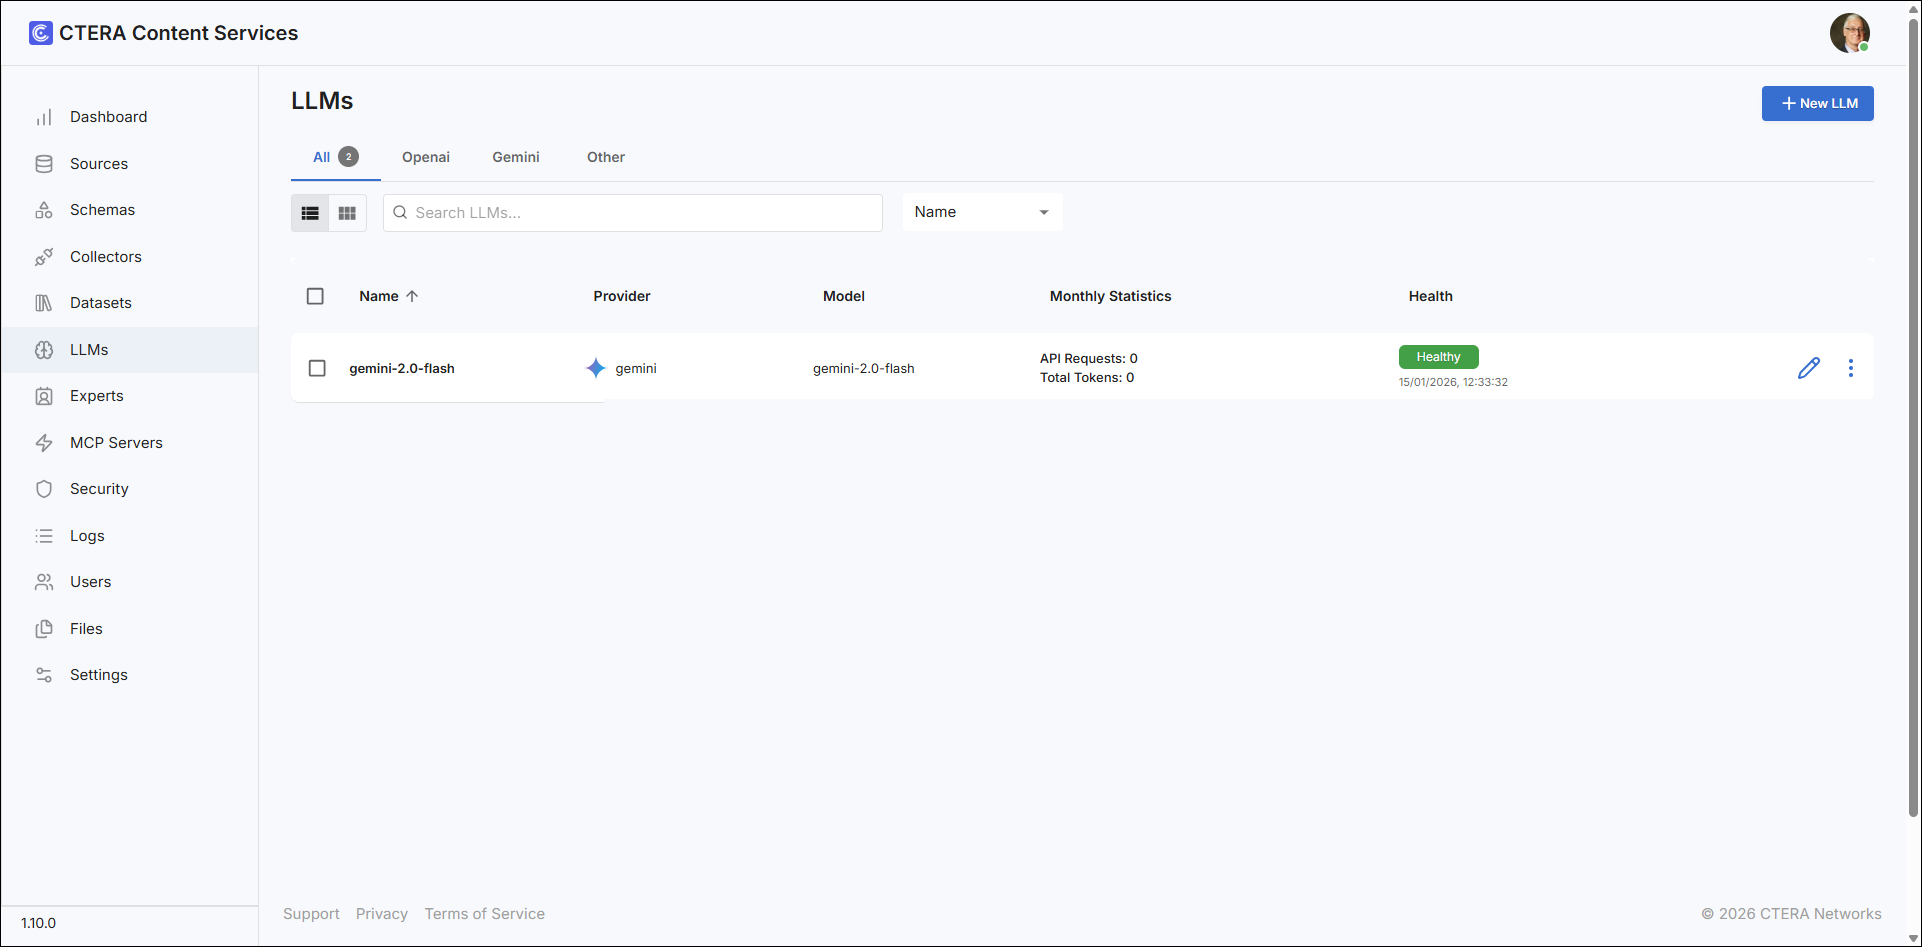
- Click Save Changes.
Adding a Collector
A collector is designed to gather and organize the massive amounts of data required to train or operate AI models (like LLMs), which require high-quality datasets to learn.
To add a Colllector:
- Select Collectors in the navigation pane.
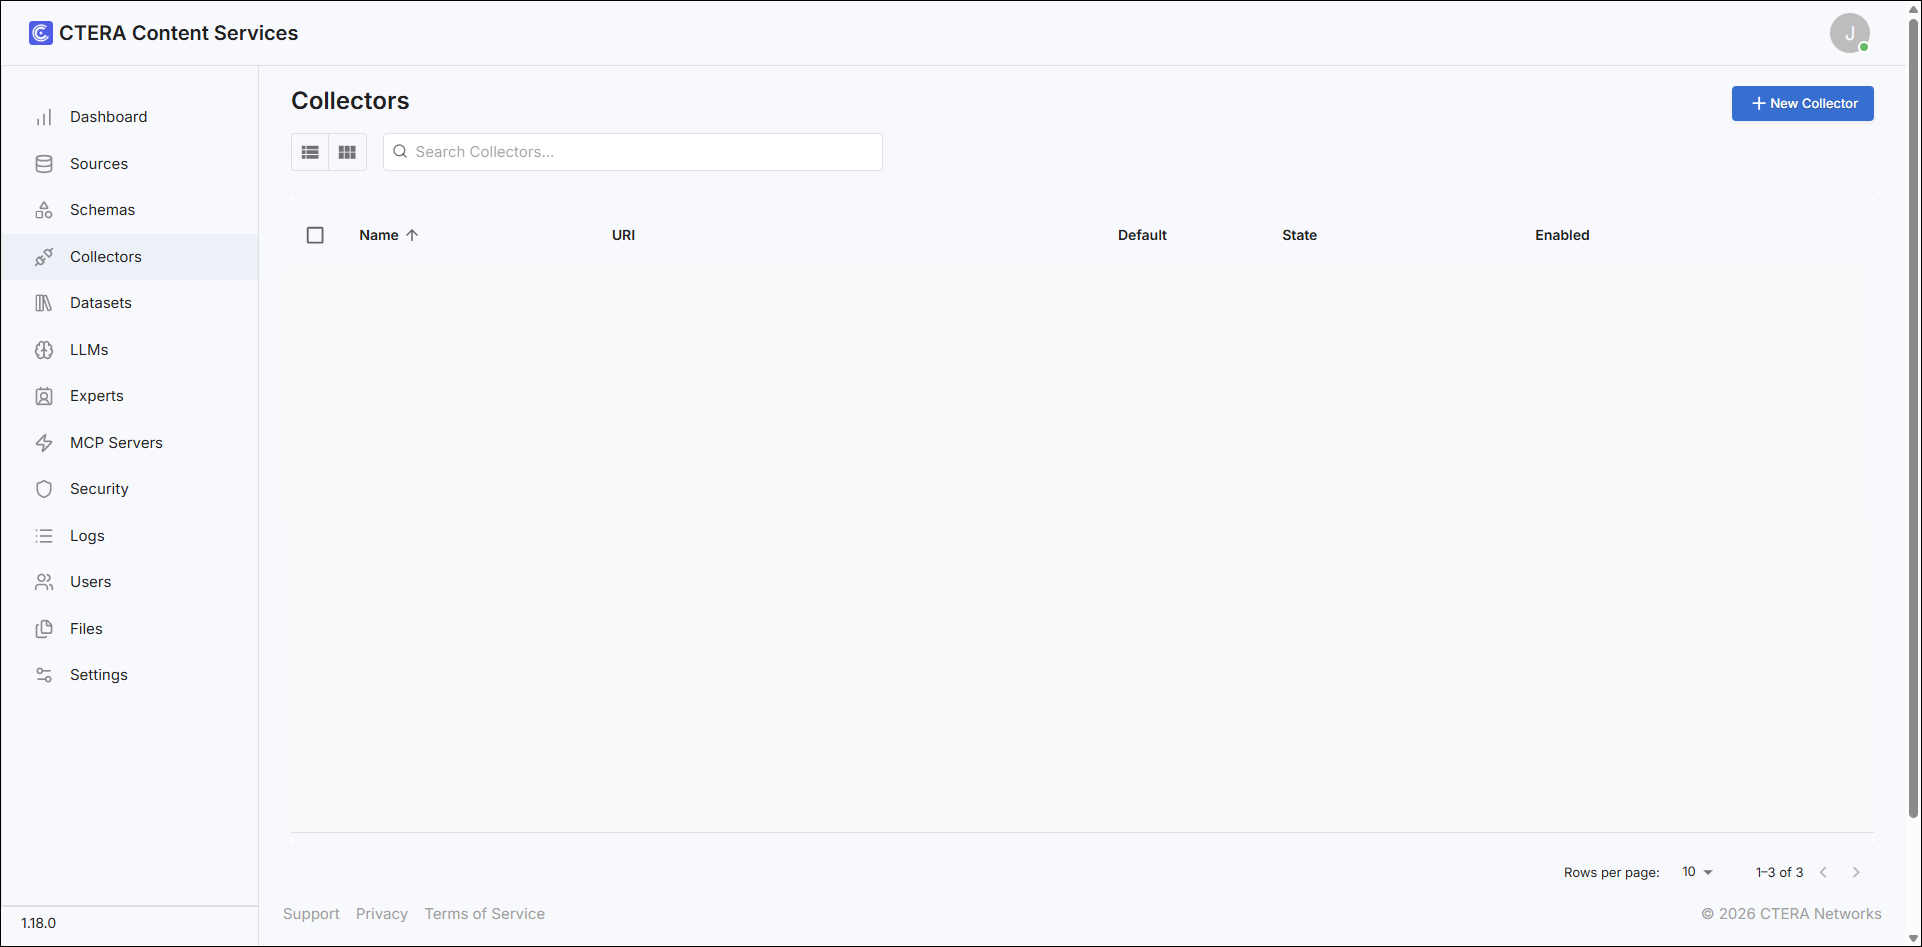
- Click New Collector.
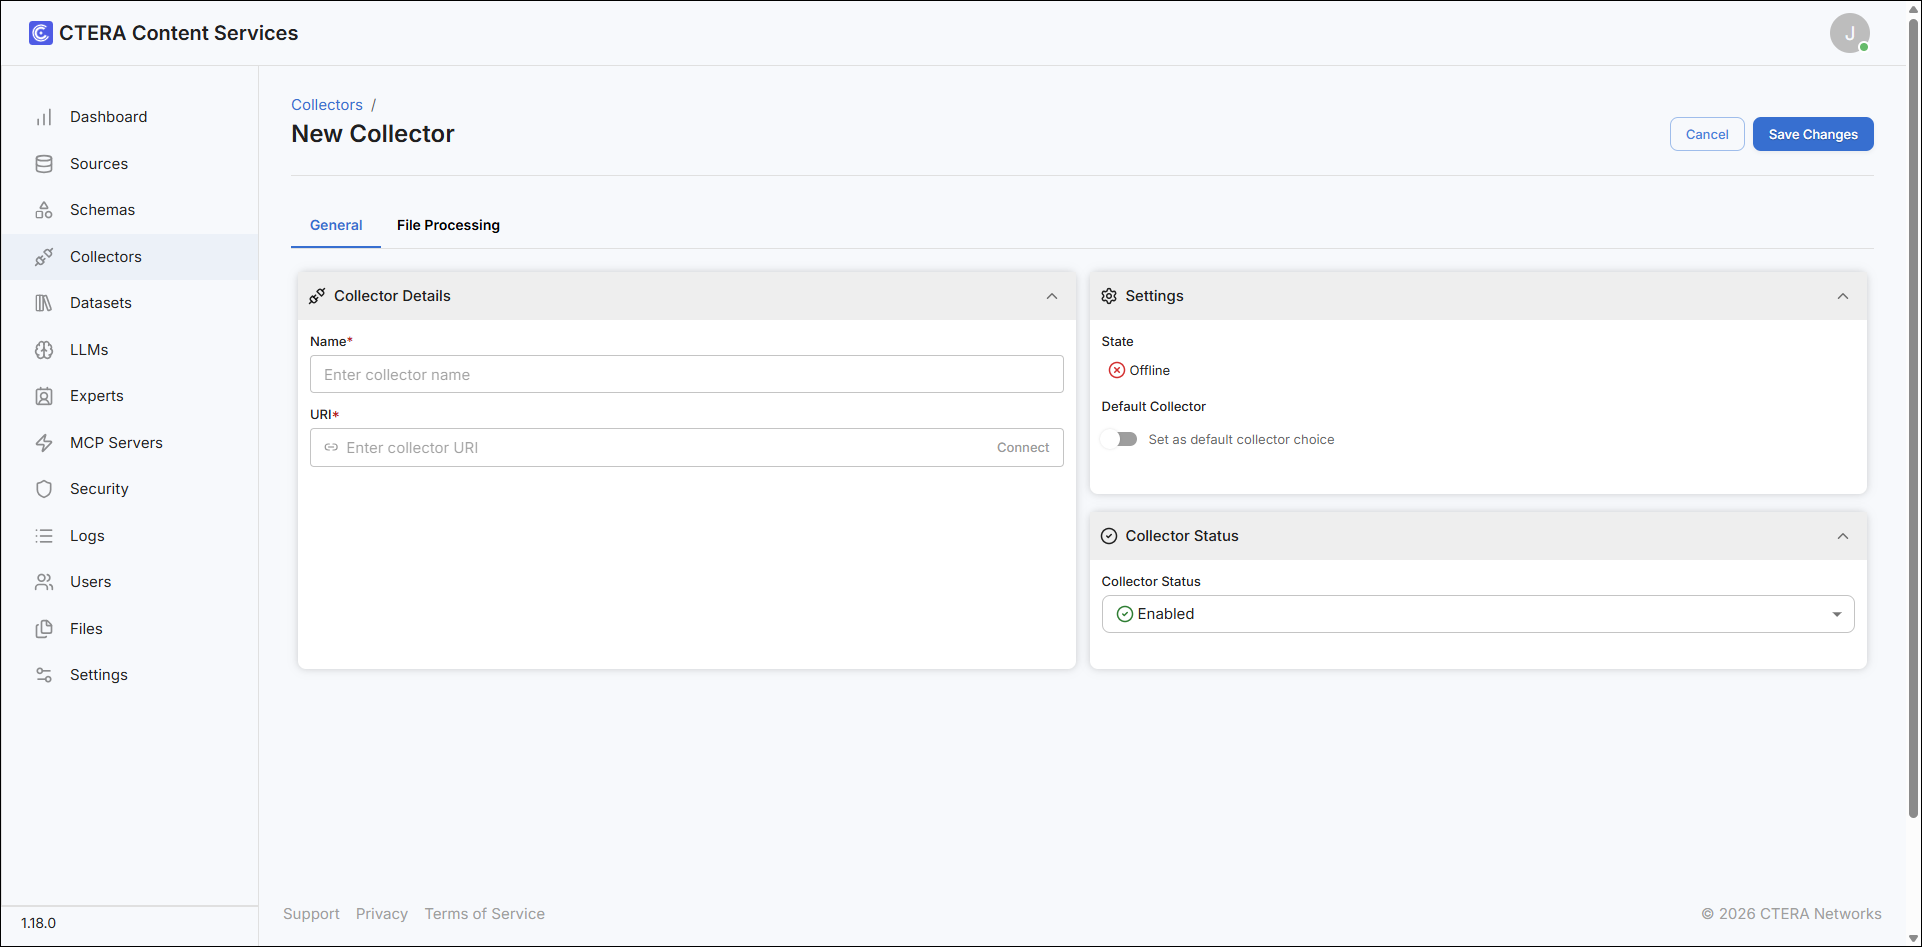
- Enter the following details in the General tab:
Name – A name to identify the collector.
URI – The URI to access the collector.
Default Collector – Slide on to make this collector the default collector.
Collector Status – Select whether you want the status to beEnabledorDisabled - Click Connect in the URI field to connect to the collector and retrieve file type mappings.
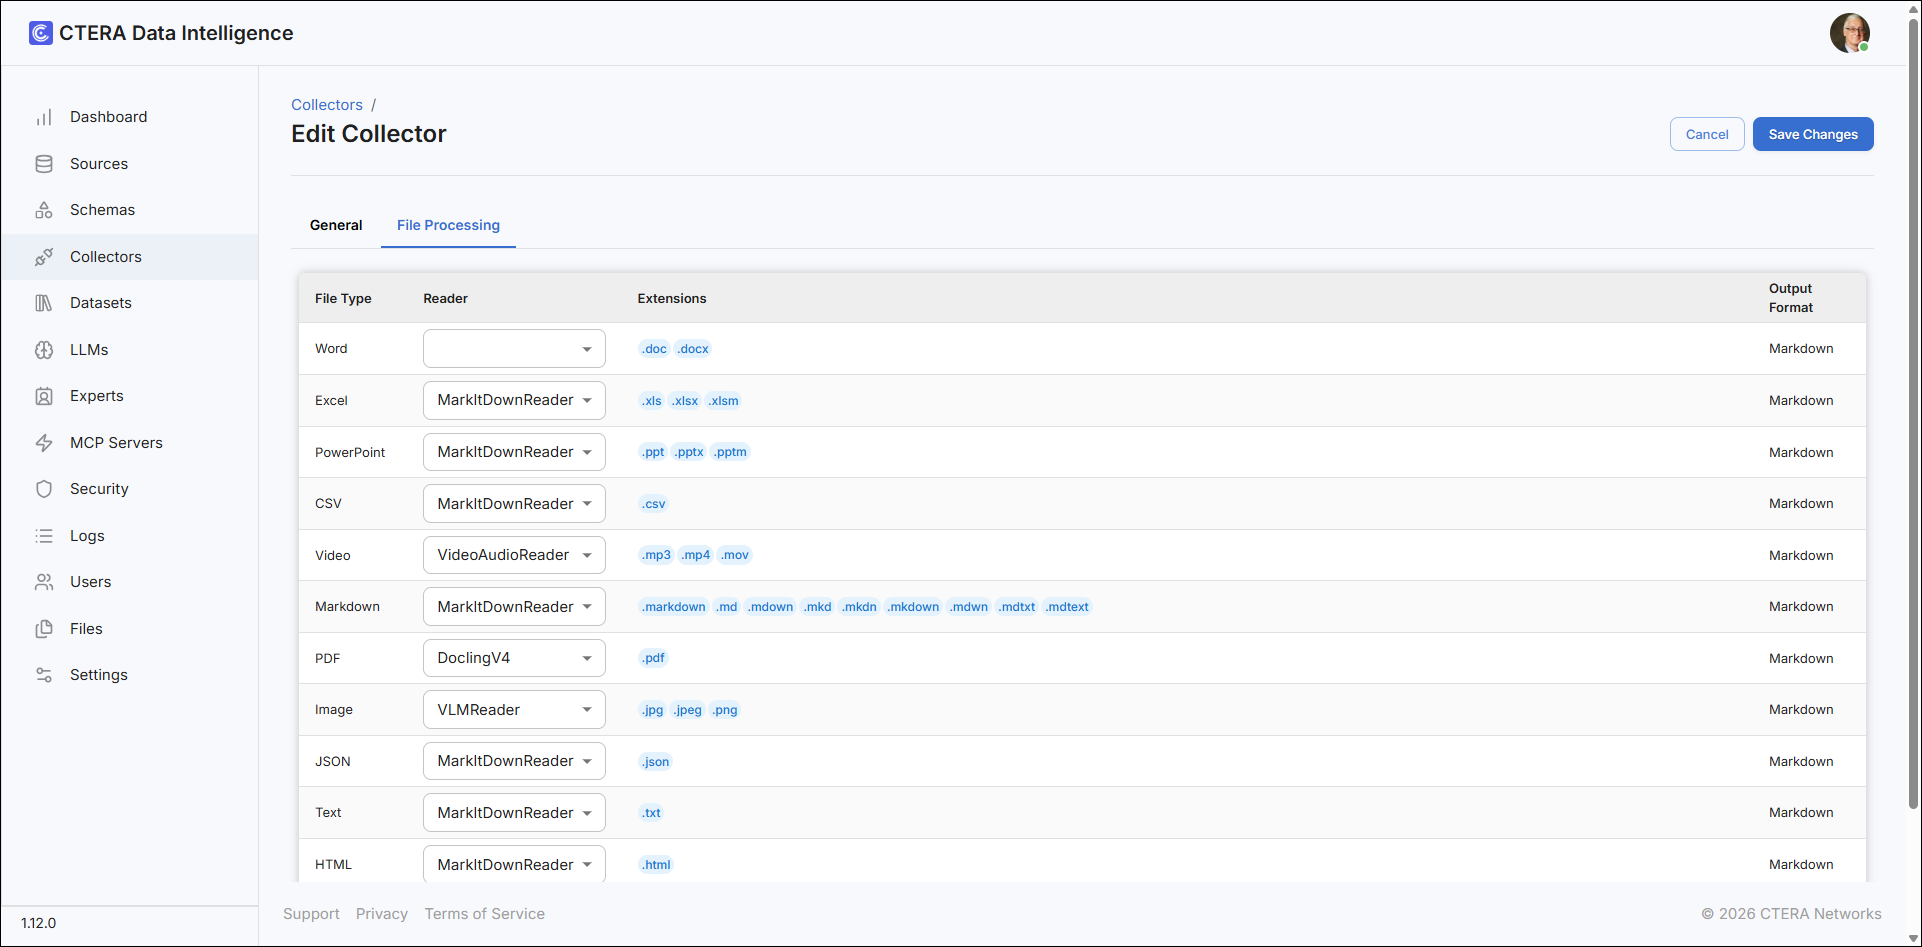
- For each file type, select the Reader if you don't want the default.
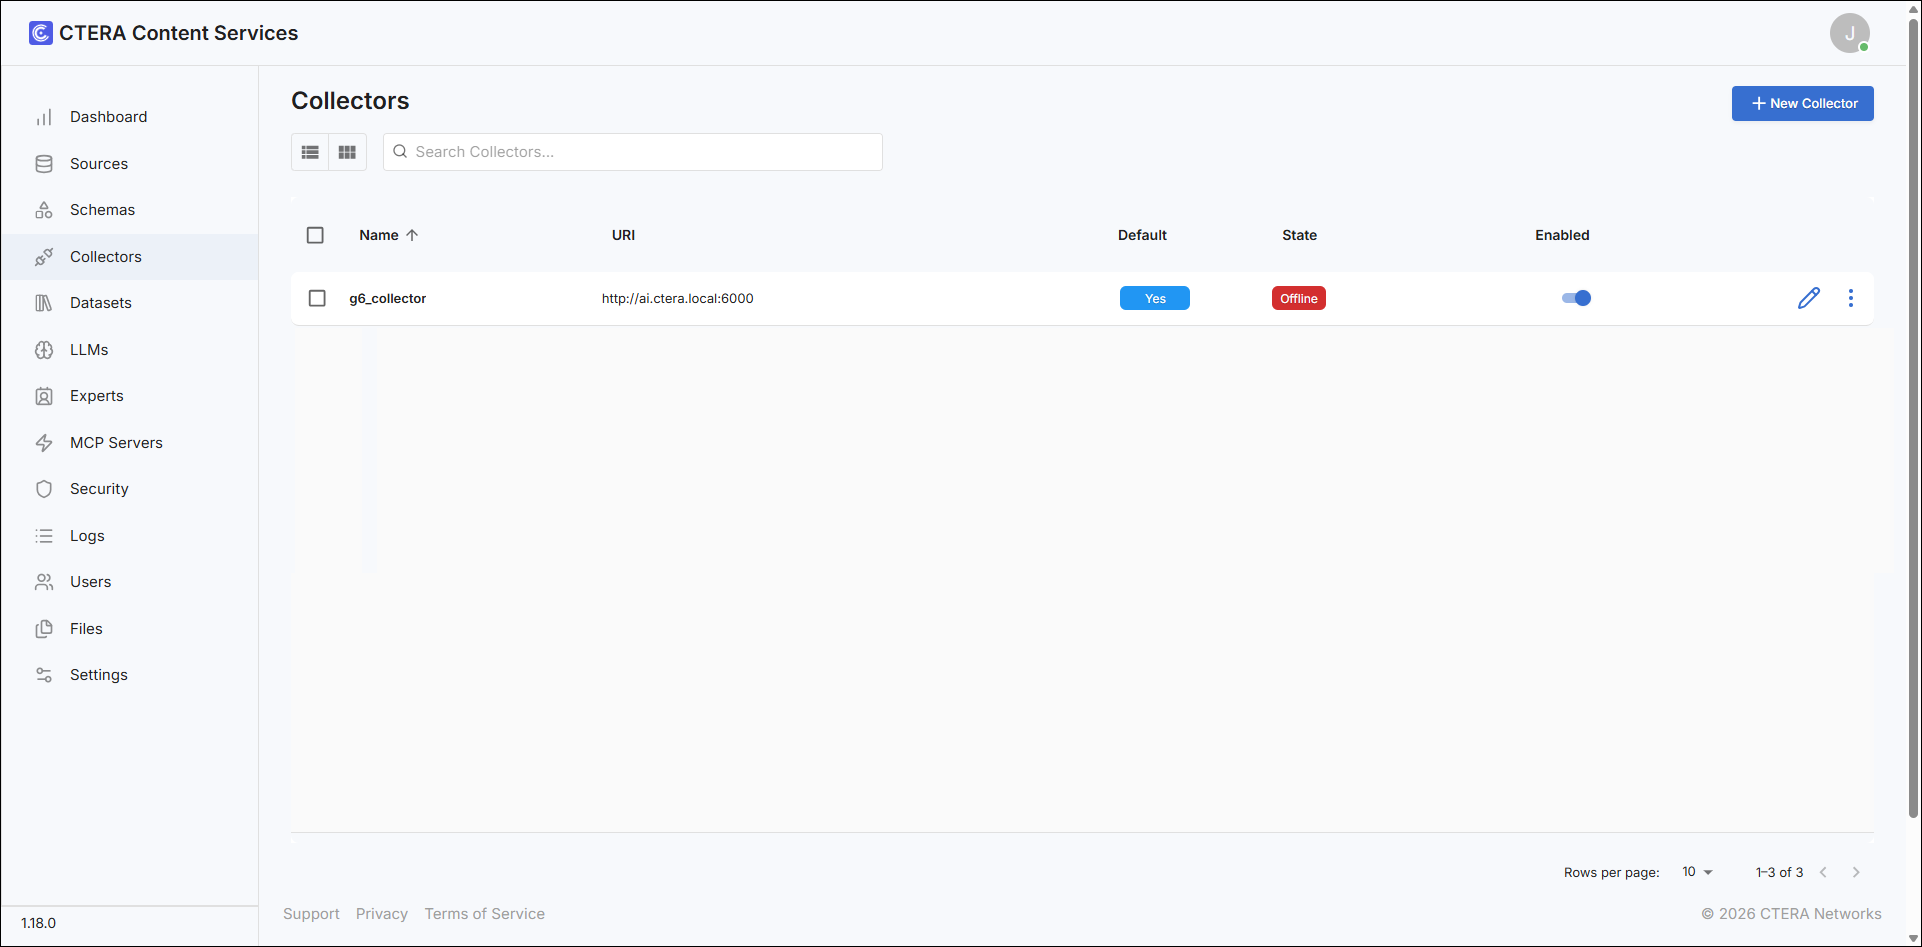
- Click Save Changes.
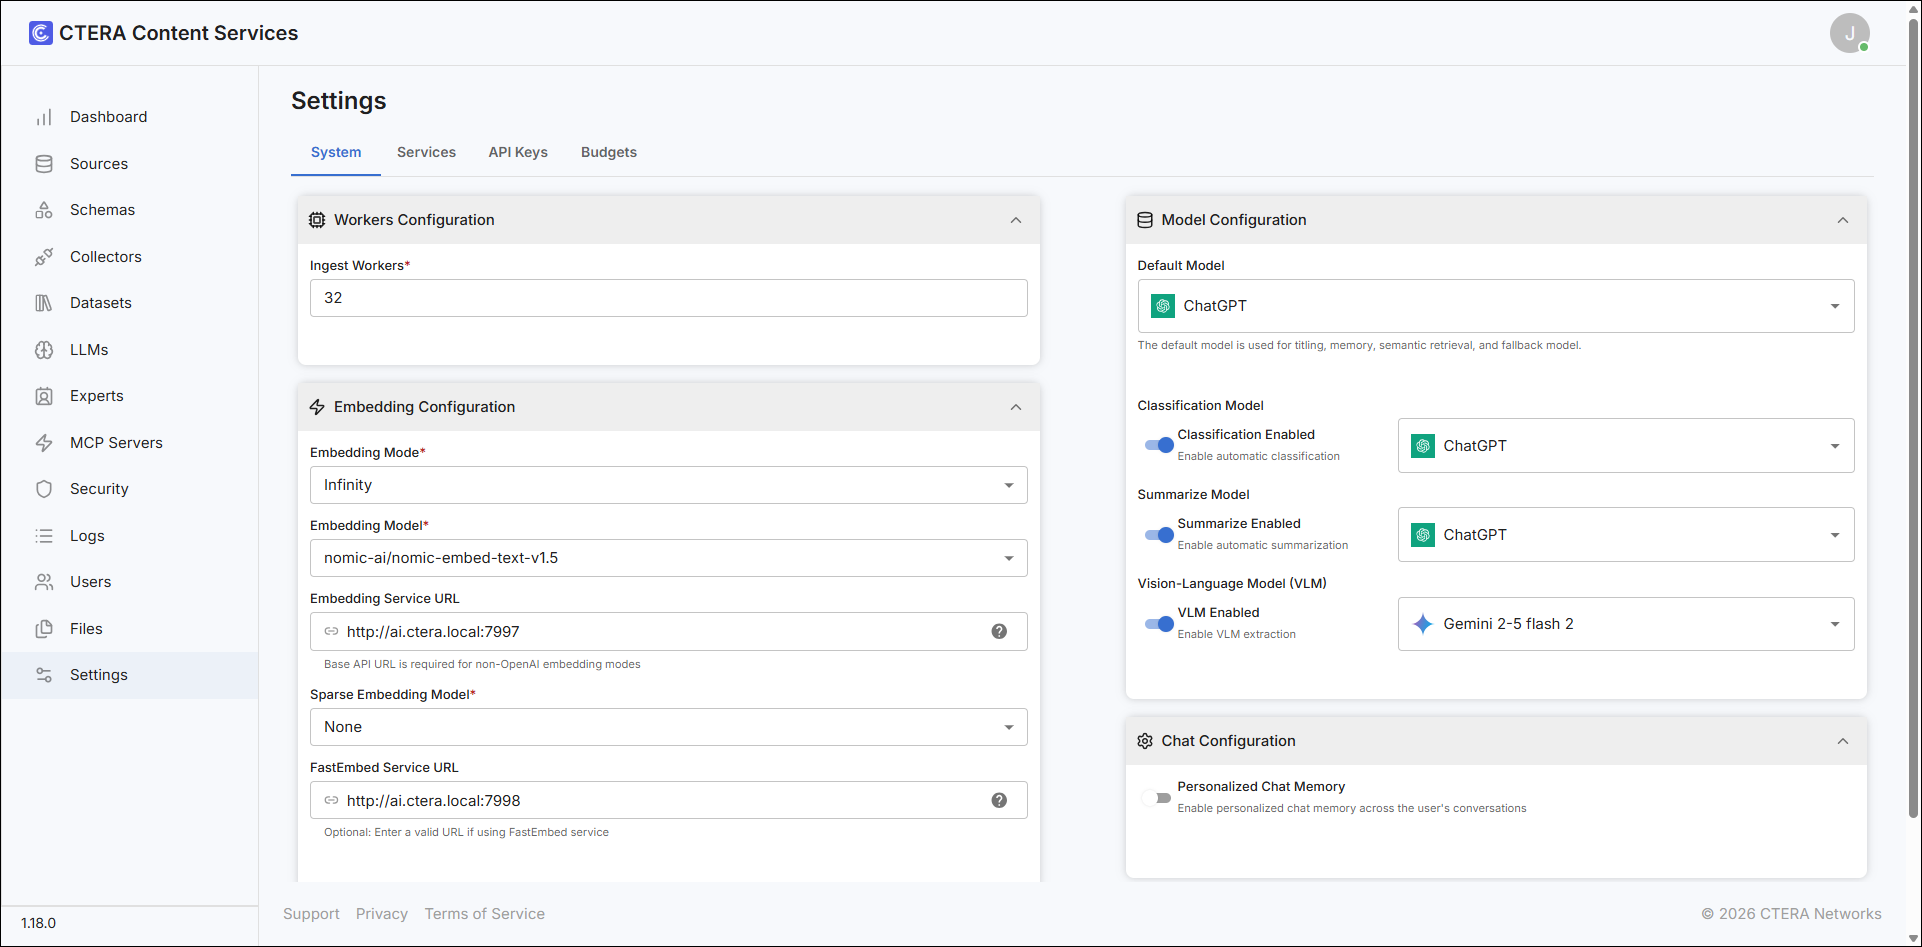
Managing System Settings
- Select Settings in the navigation pane.
The System tab for Settings is displayed.
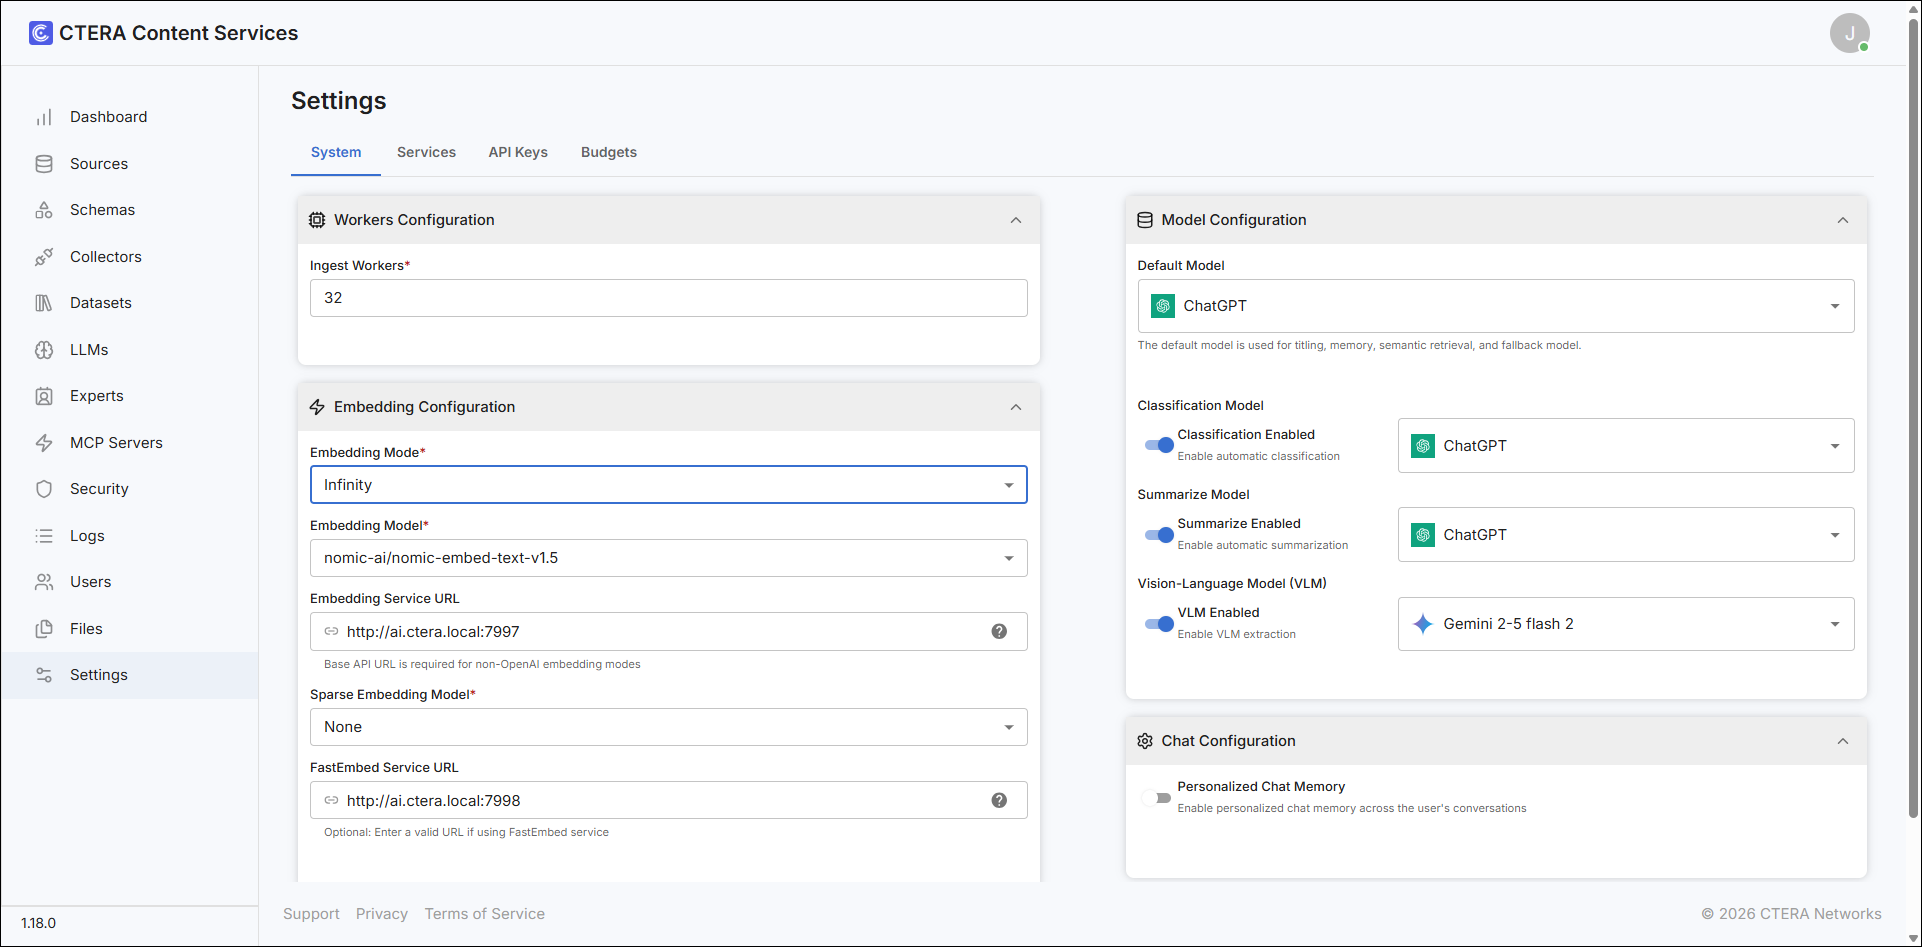
- Enter the following details:
Ingest Workers – The number of ingestor workers for scaling.
Embedding Mode – The embedding mode to use from the drop-down list. The port must be open. See Inbound Ports.
Embedding Model – The embedding model to use from the drop-down list.
Embedding Service URL – The URL for the embedding mode.
Sparse Embedding Model – The sparse embedding model to use from the drop-down list.
FastEmbedService URL – The fast embed service URL. The port must be open. See Inbound Ports.
Default Model – The LLM that will be used as the default, from the LLMs defined to CTERA Content Services.
Classification Model – The LLM model to use for data classification. If enabled, select the model from the drop-down list of LLMs defined to CTERA Content Services.
Summarize Model – The LLM to use to create summaries. .
Vision-Language Model (VLM) – The model to use for the VLM. If enabled, select the model from the drop-down list of LLMs defined to CTERA Content Services.
Personalized Chat Memory – Save chat prompts across the user conversations.
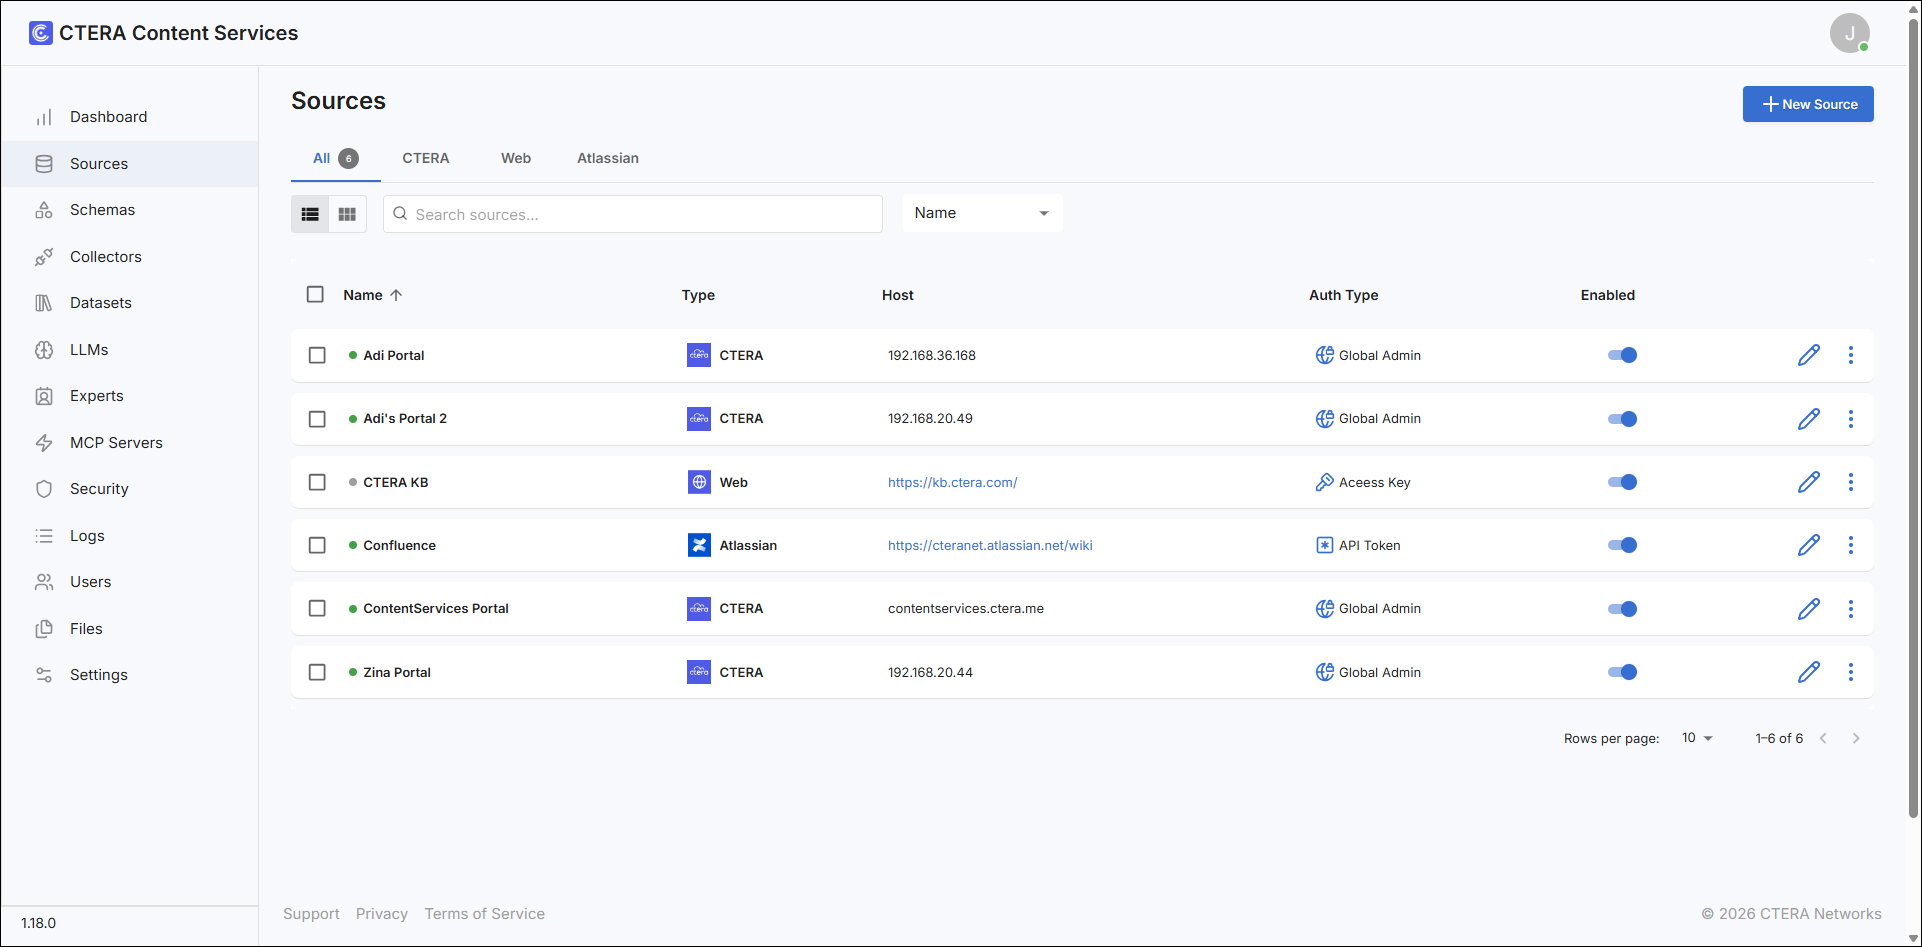
Adding Sources
To add a source:
- Select Sources in the navigation pane.
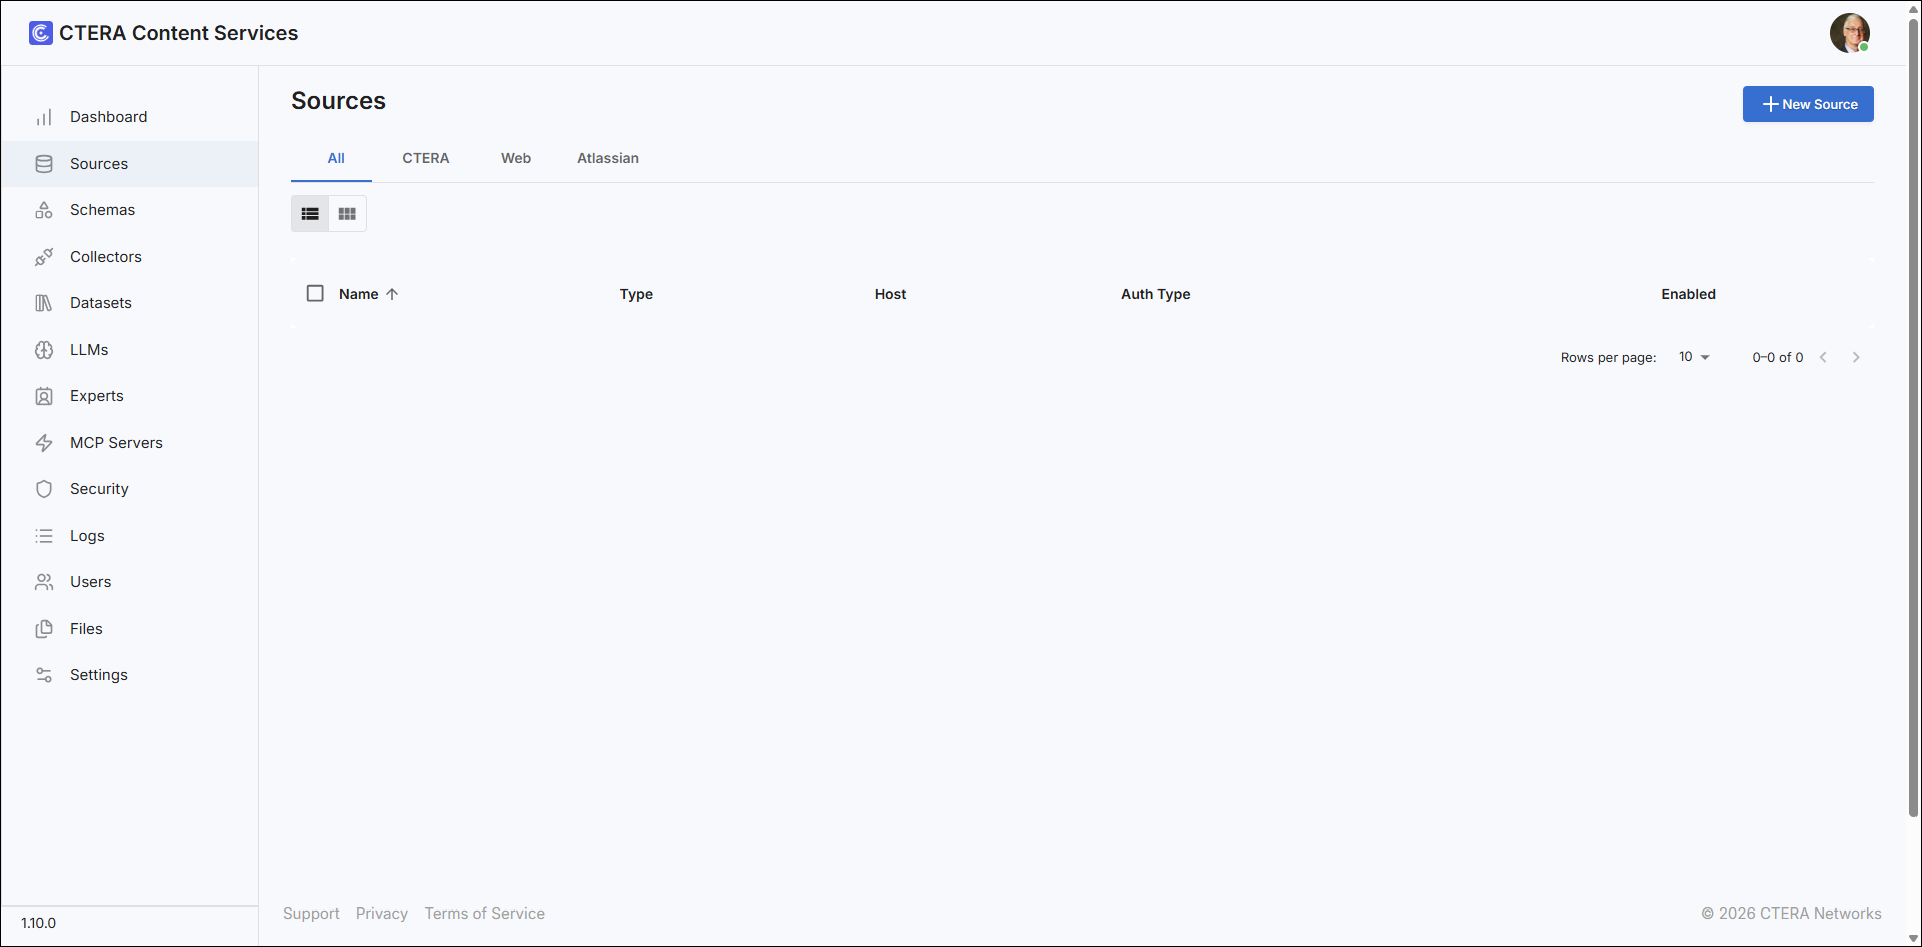
- Click New Source.
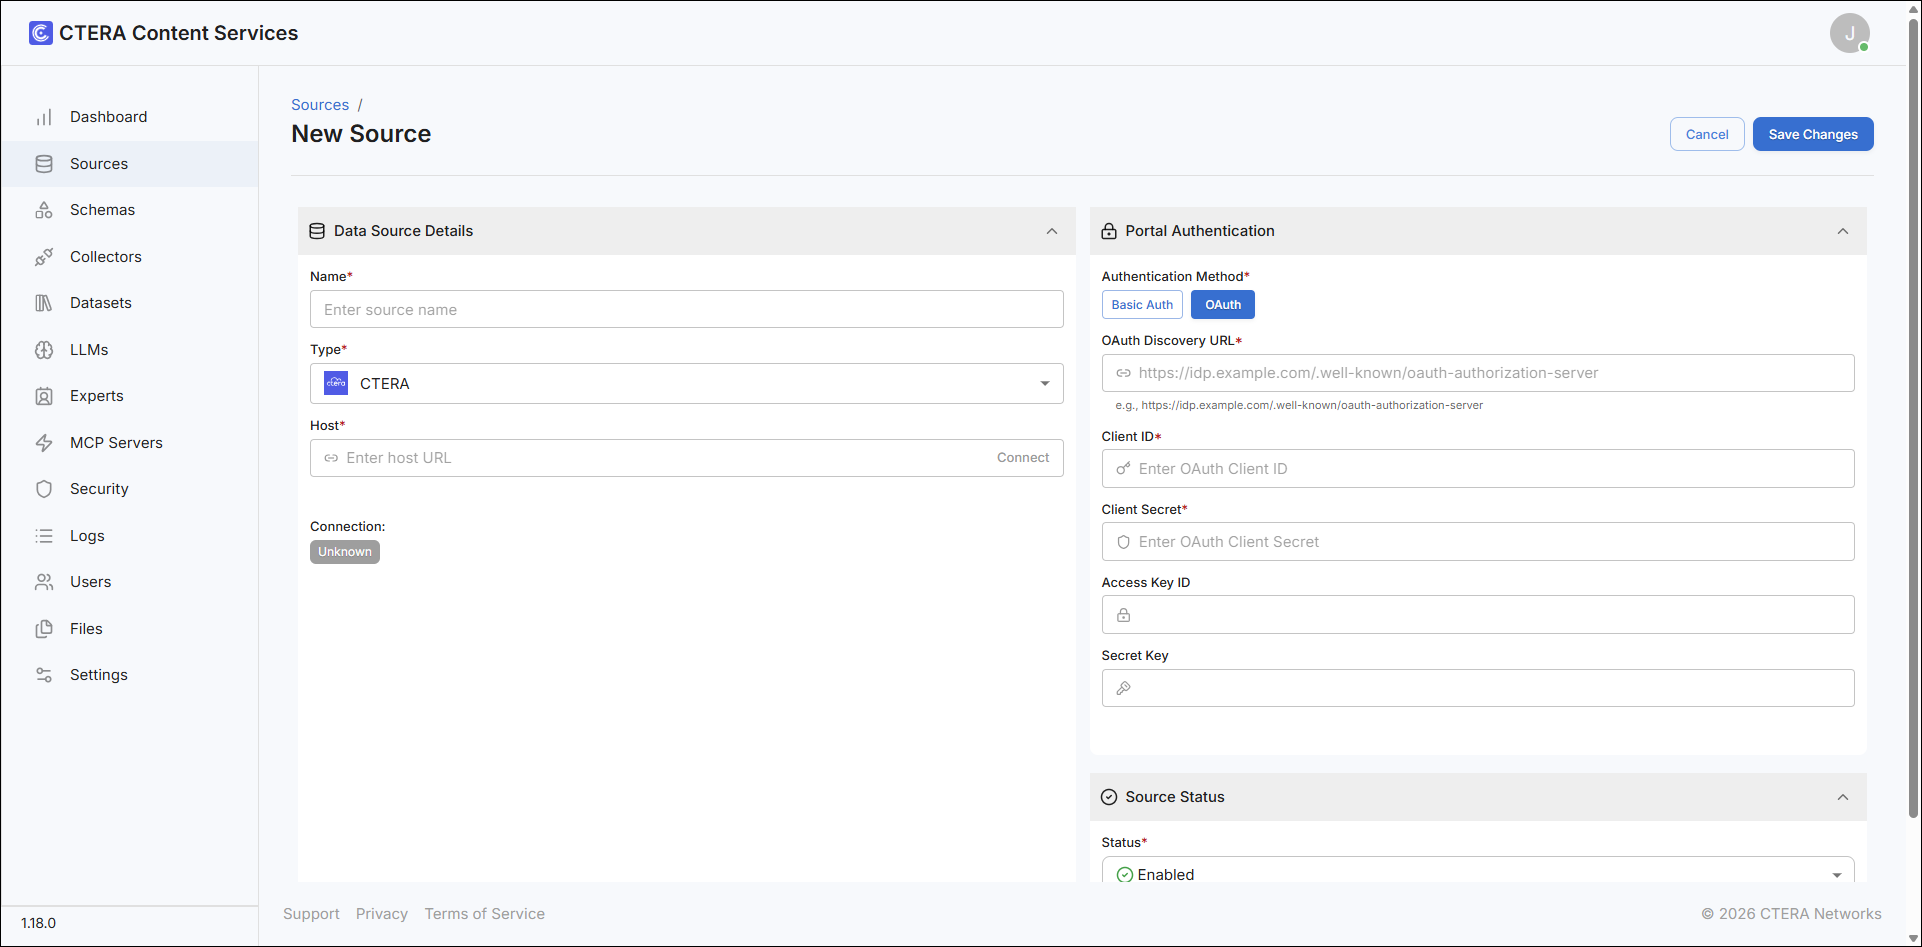
- Enter the source details:
Name – A name to identify the source.
Type – A type of source from the drop-down list.
Host – The URL to access the data source.
If the Type isWebyou also specify the number of directories to crawl or 0 for an unlimited number of directories. - Enter the authentication details. The required details depend on the Type.
- Enter whether you want the source status to be
EnabledorDisabledand click Save Changes.
Adding Datasets
To add a dataset:
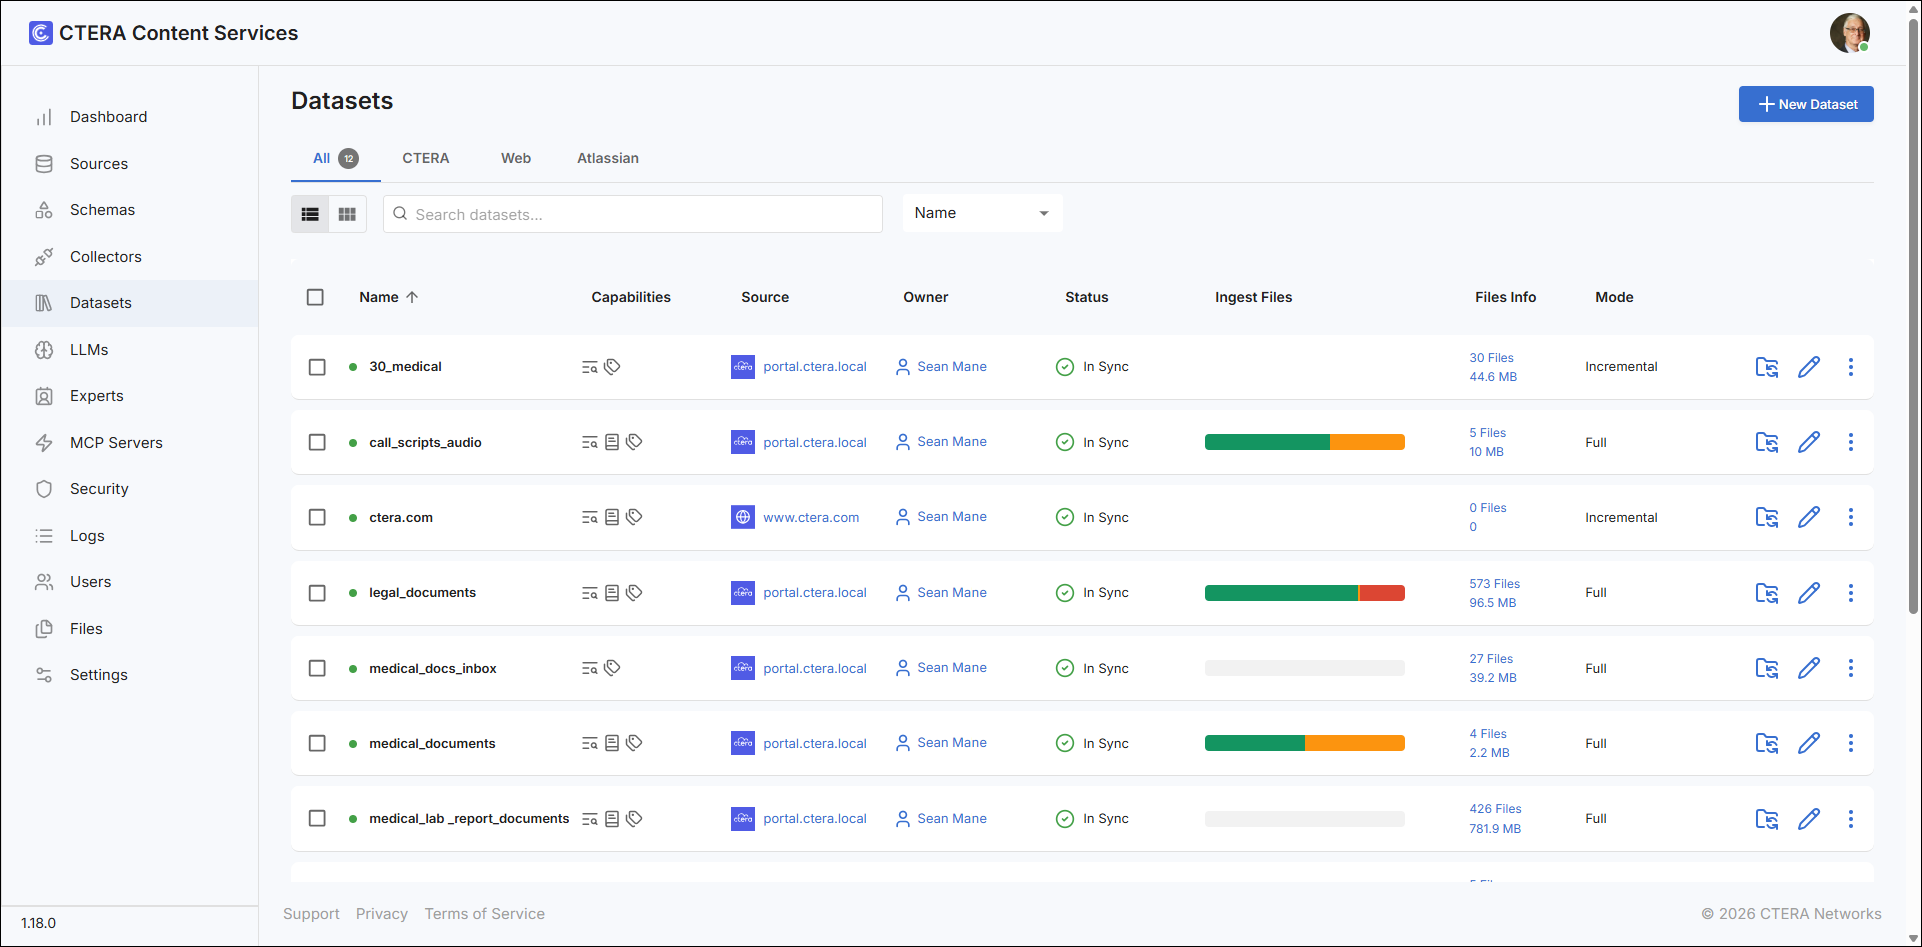
- Select Datasets in the navigation pane.
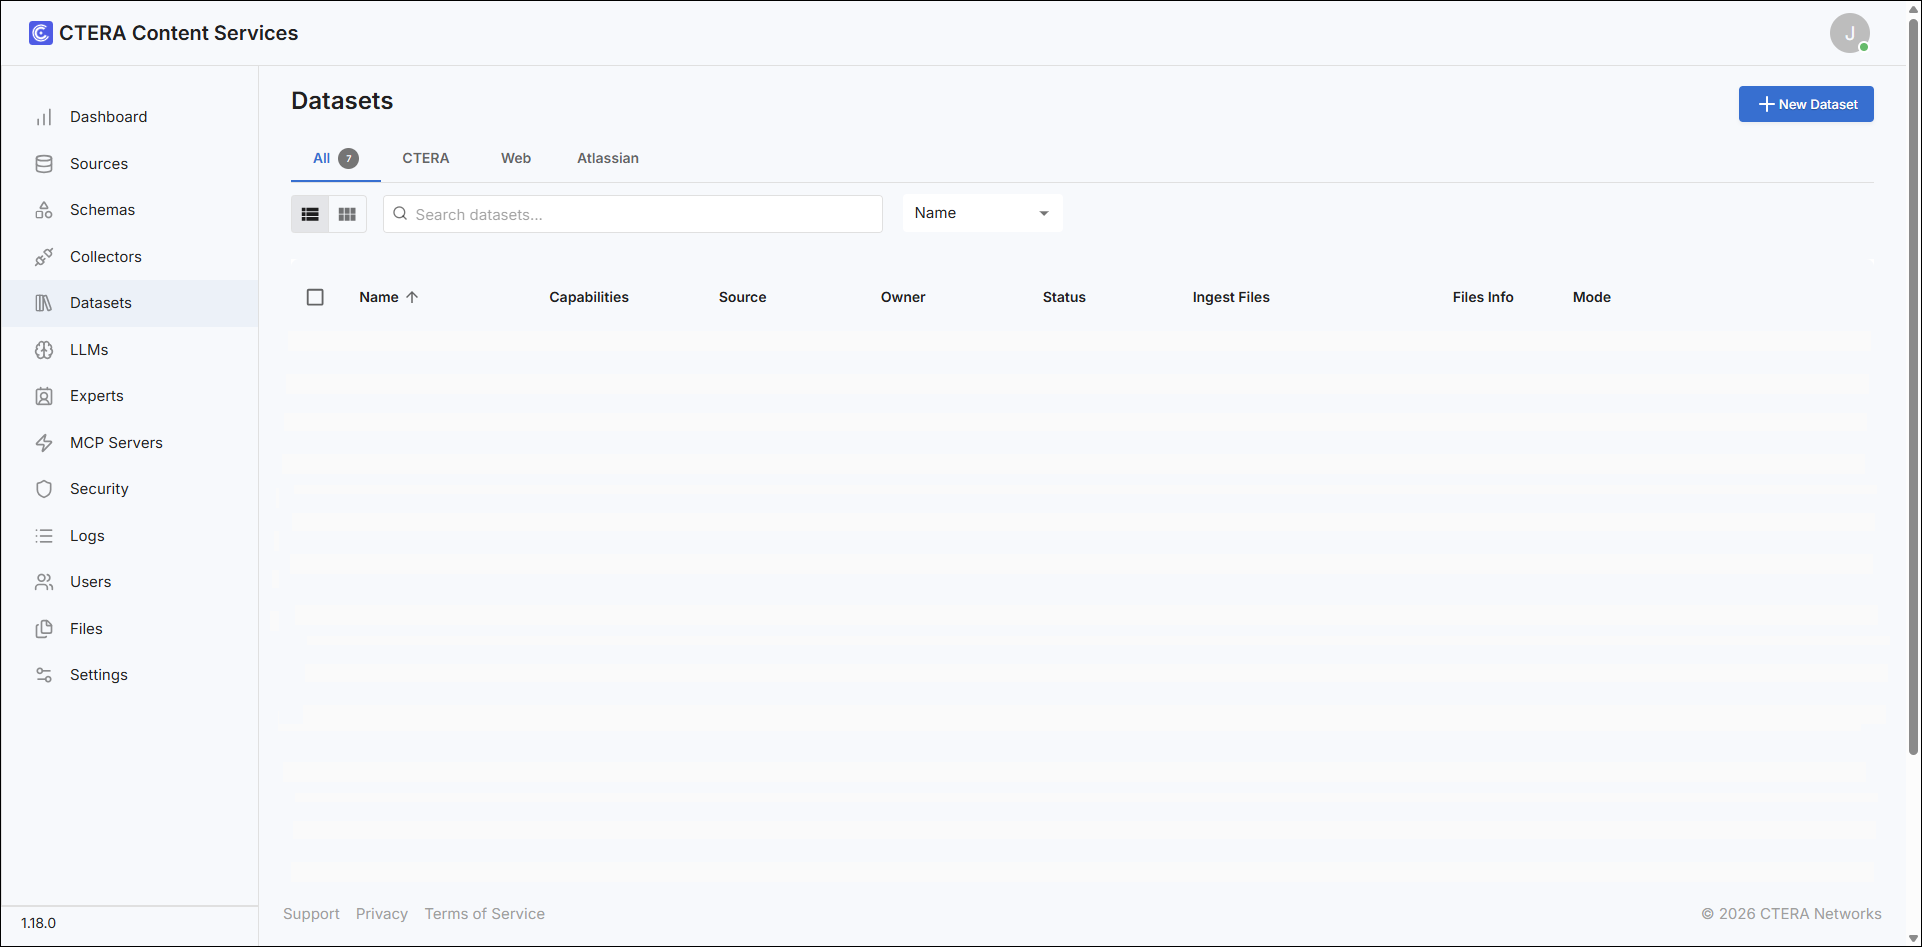
- Click New Dataset.
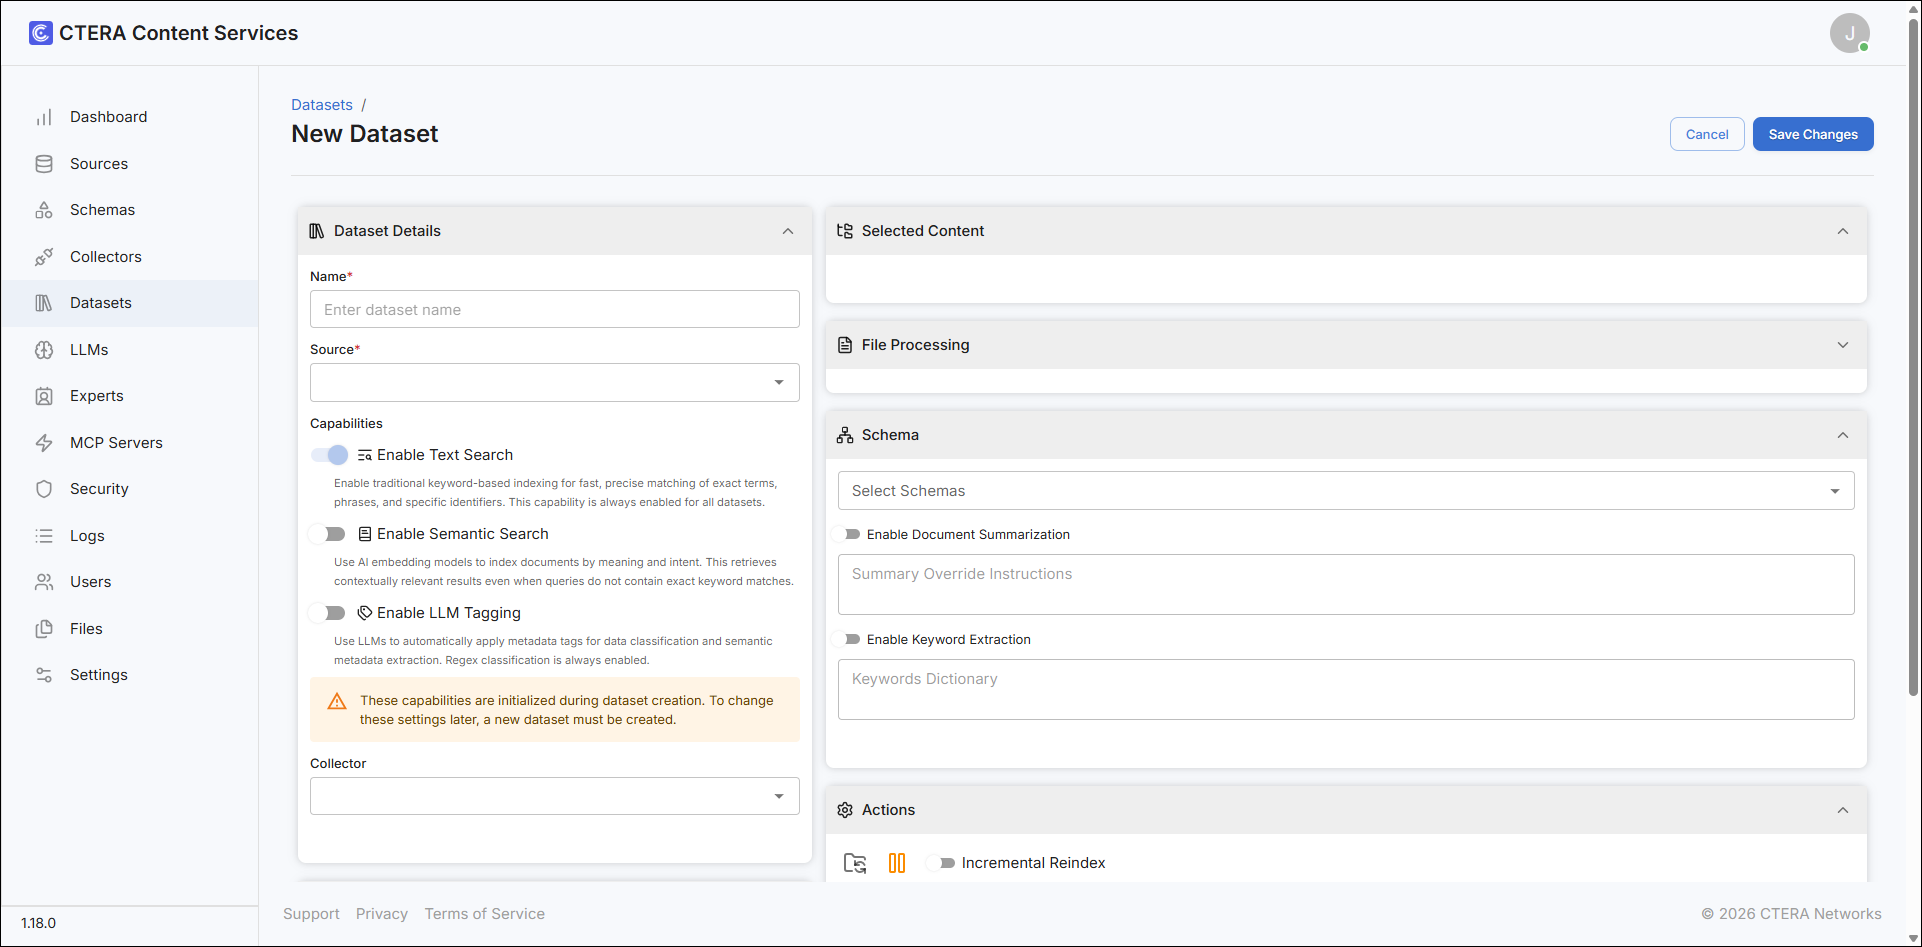
- Enter the dataset details:
Name – A name to identify the dataset.
Source – A source from the drop-down list. The source list includes the sources defined in Sources.
Capabilities – The search and tagging capabilities to apply to this dataset.
Collector – The type of collector to use.
Owner – The dataset owner.
Collaborators – The users who can collaborate on the dataset. - Add content to the dataset. The selected content section is dependent on the source. For example, when the source is a CTERA Portal, the content includes cloud drive folders that belong to a specific owner or without any owner.
- Click
 to add a folder.
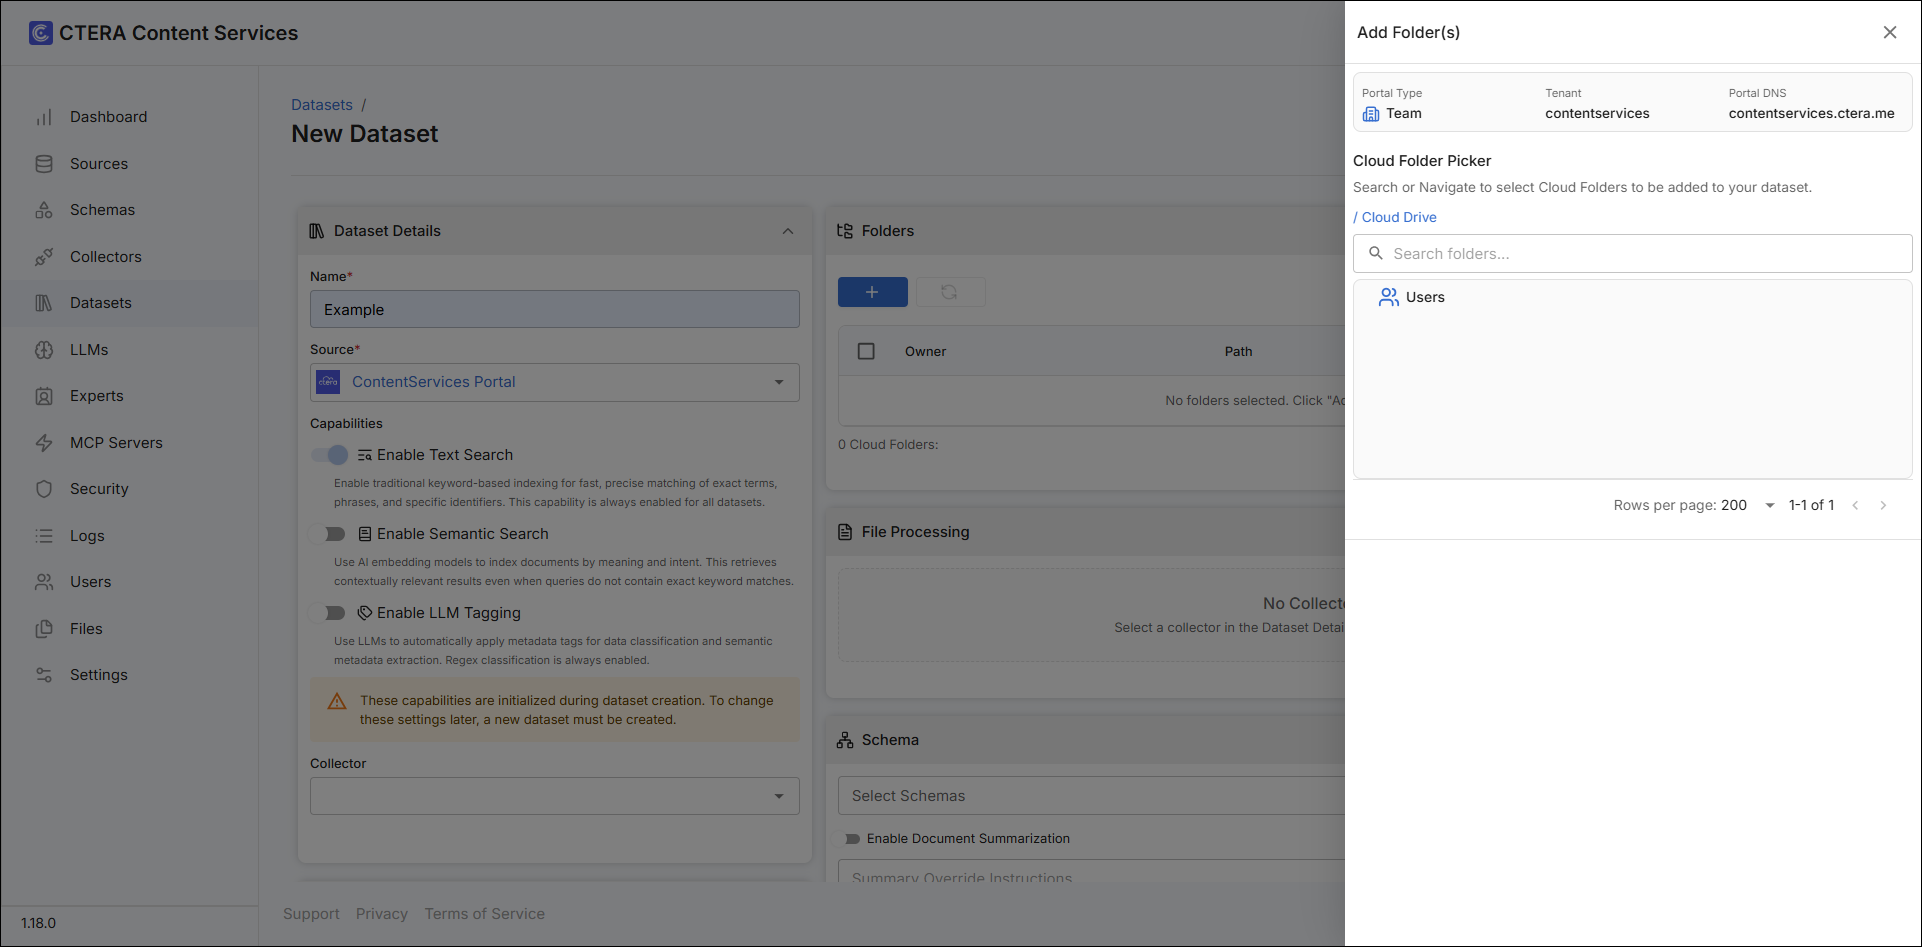
- Click Users to expand the users and then select a user and from the list of cloud folders, select a folder.
The folder content is displayed.
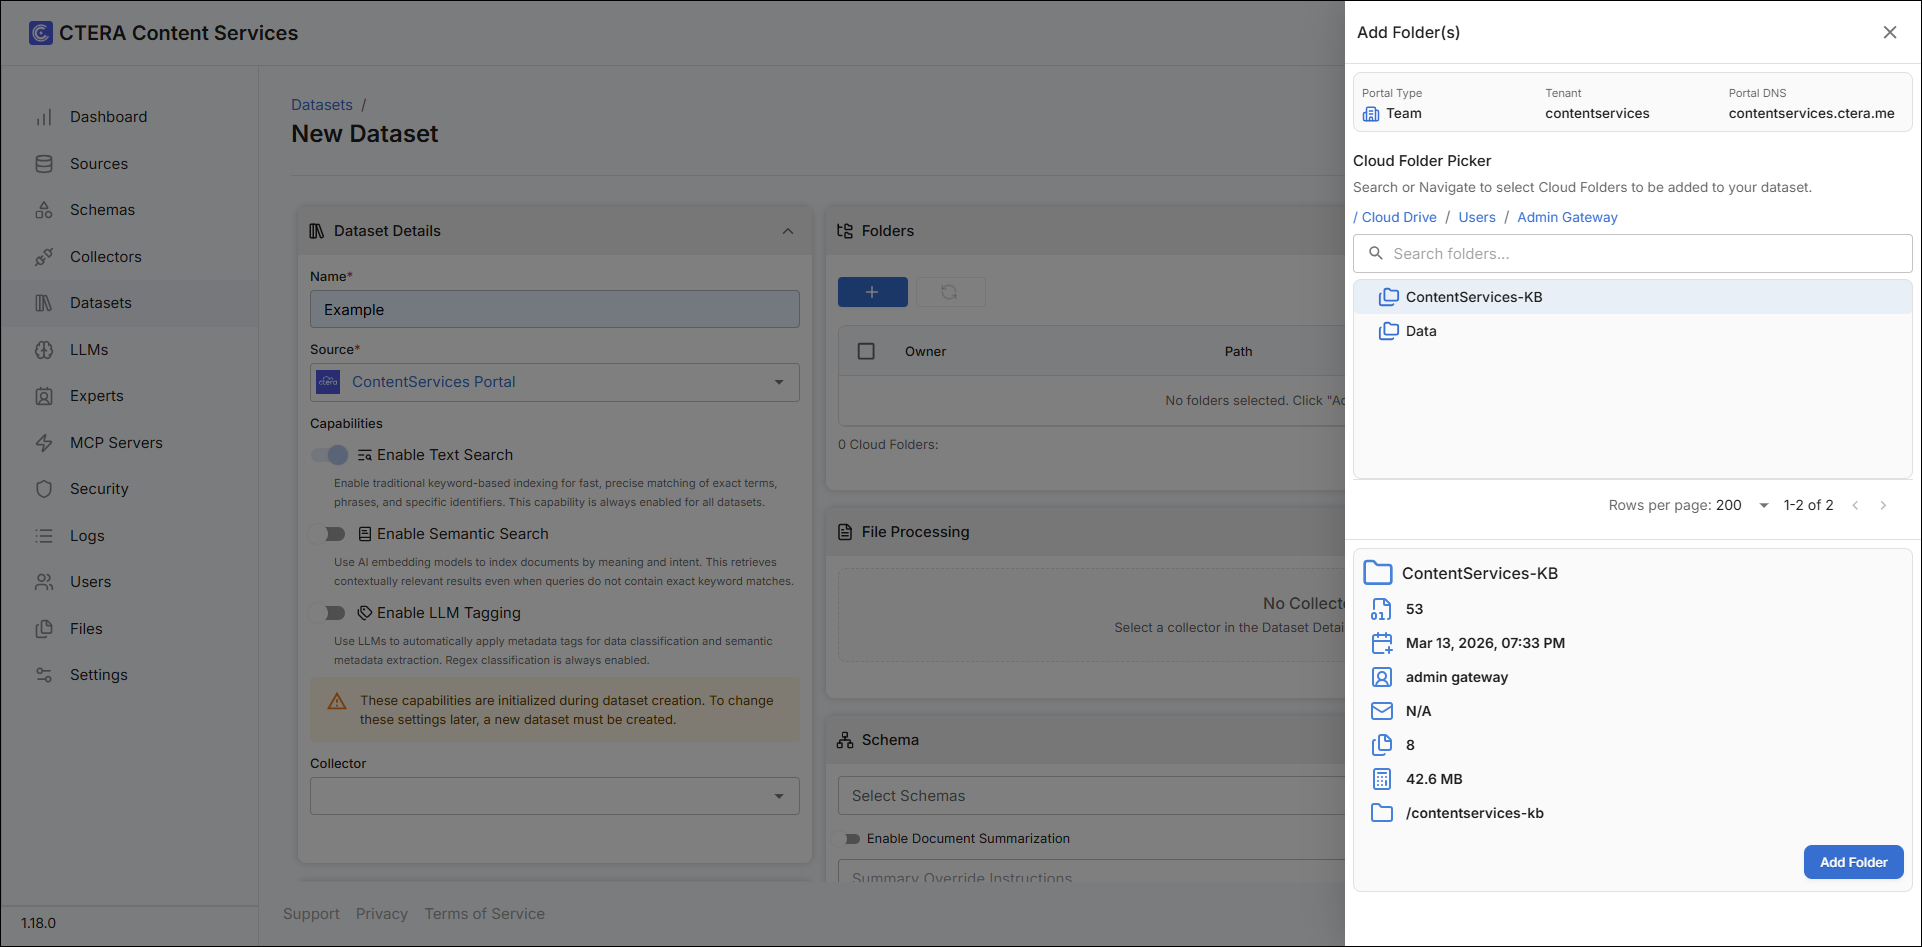
- Click Add Folder
- Click
- Enter the schema details and then the indexing actions required.
- Click Save Changes.
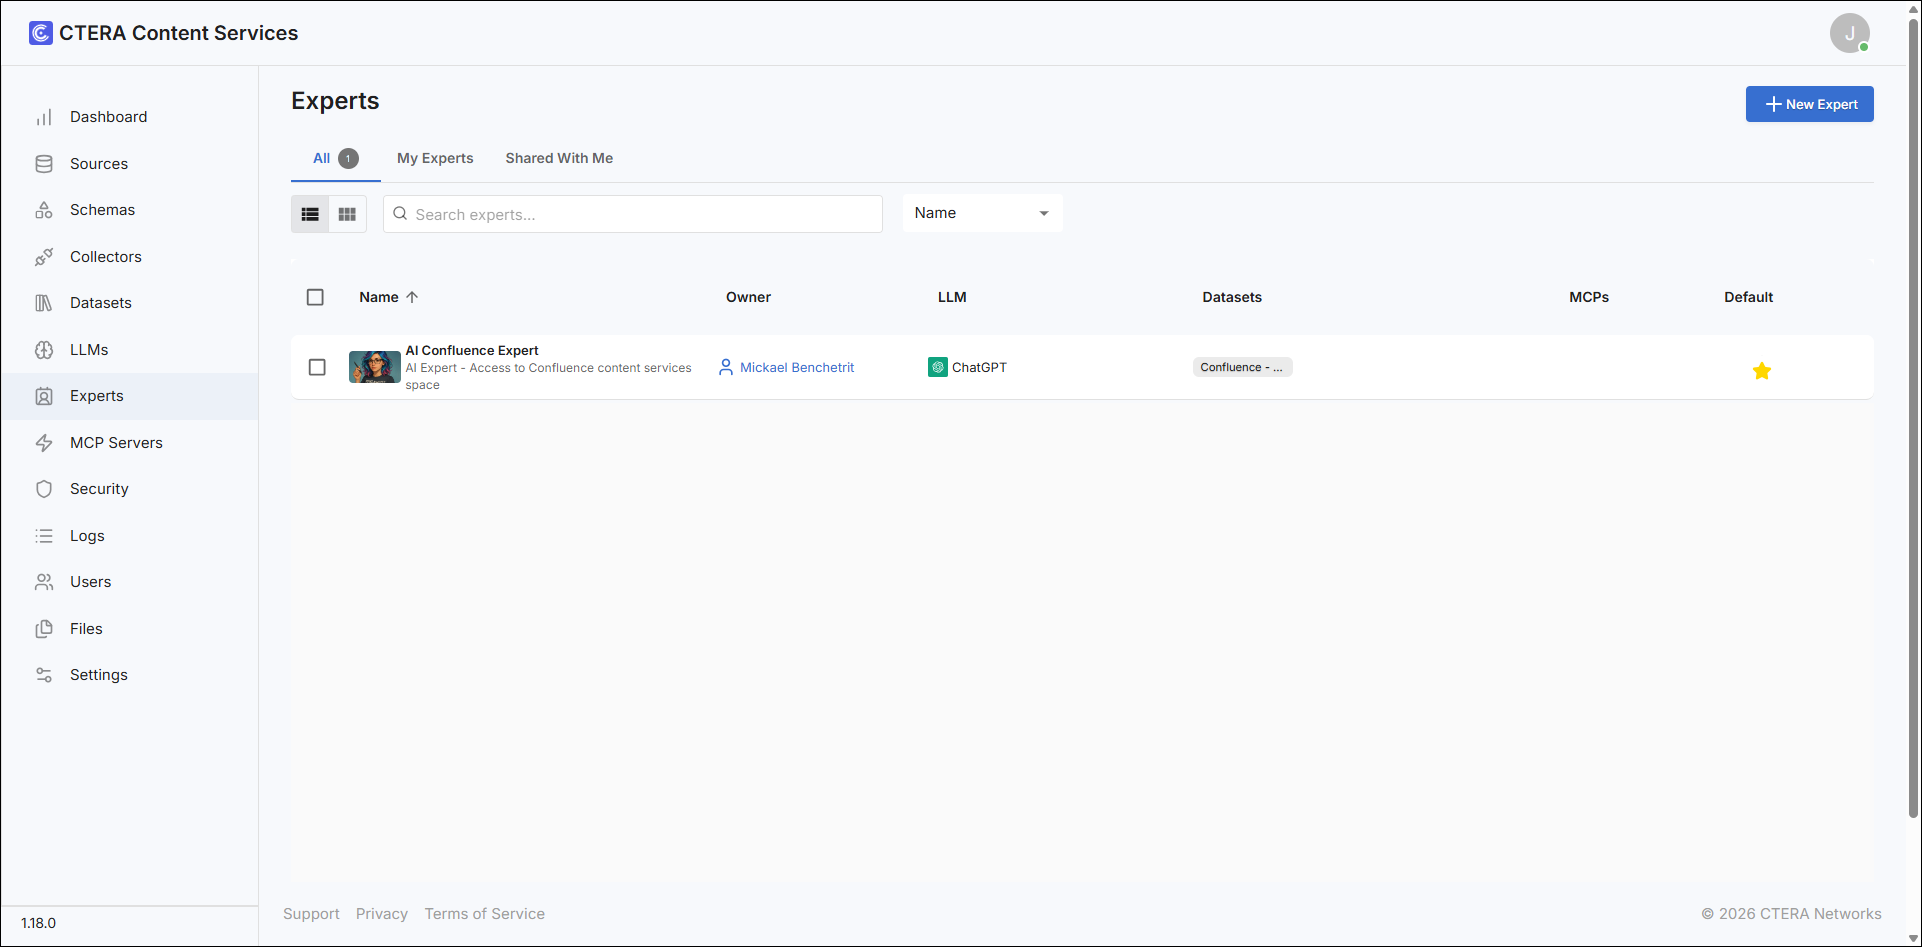
Adding an Expert
Experts are task-focused AI agents, that act as virtual employees to respond to specific types of enquires using your organization’s curated content. For example, a marketing expert might have access to all the company marketing material and competitive information, while a developer expert might have access to all the CTERA SDK and its examples.
To create an expert:
- Sign in as an administrator, using the following address
https://<ip>/admin/login
The administration dashboard is displayed. - Click Experts in the navigation pane.
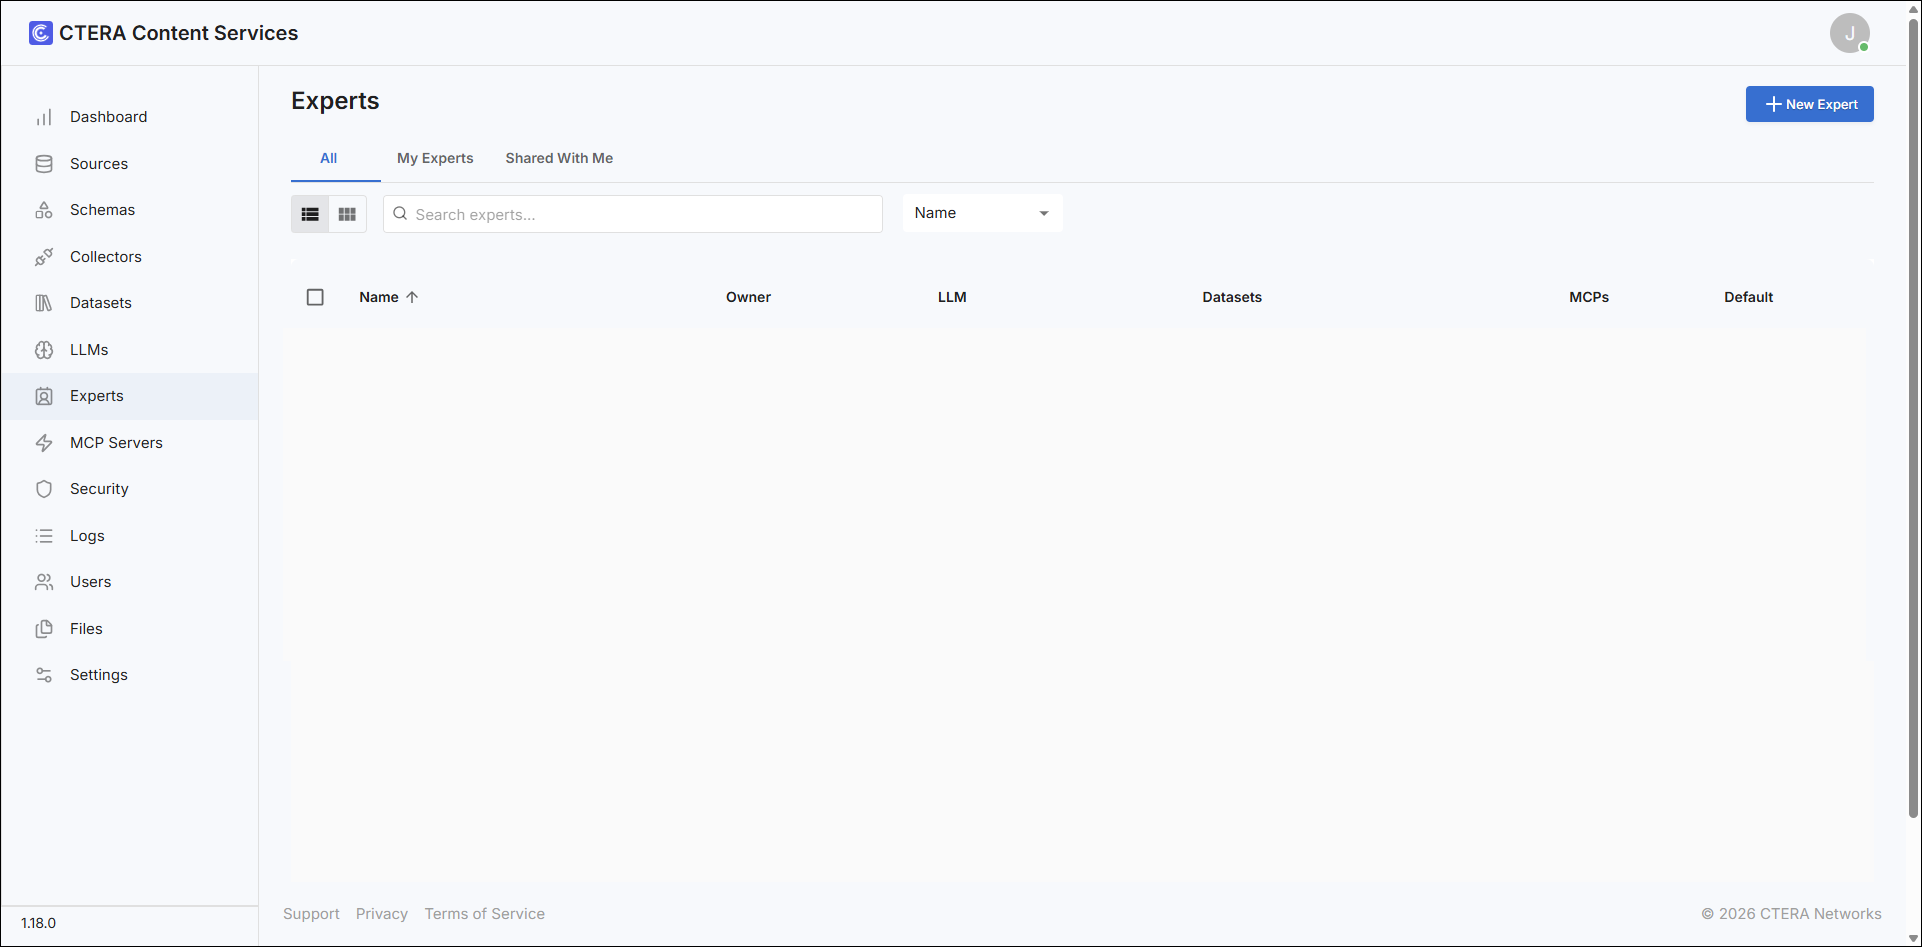
- Click New Expert.
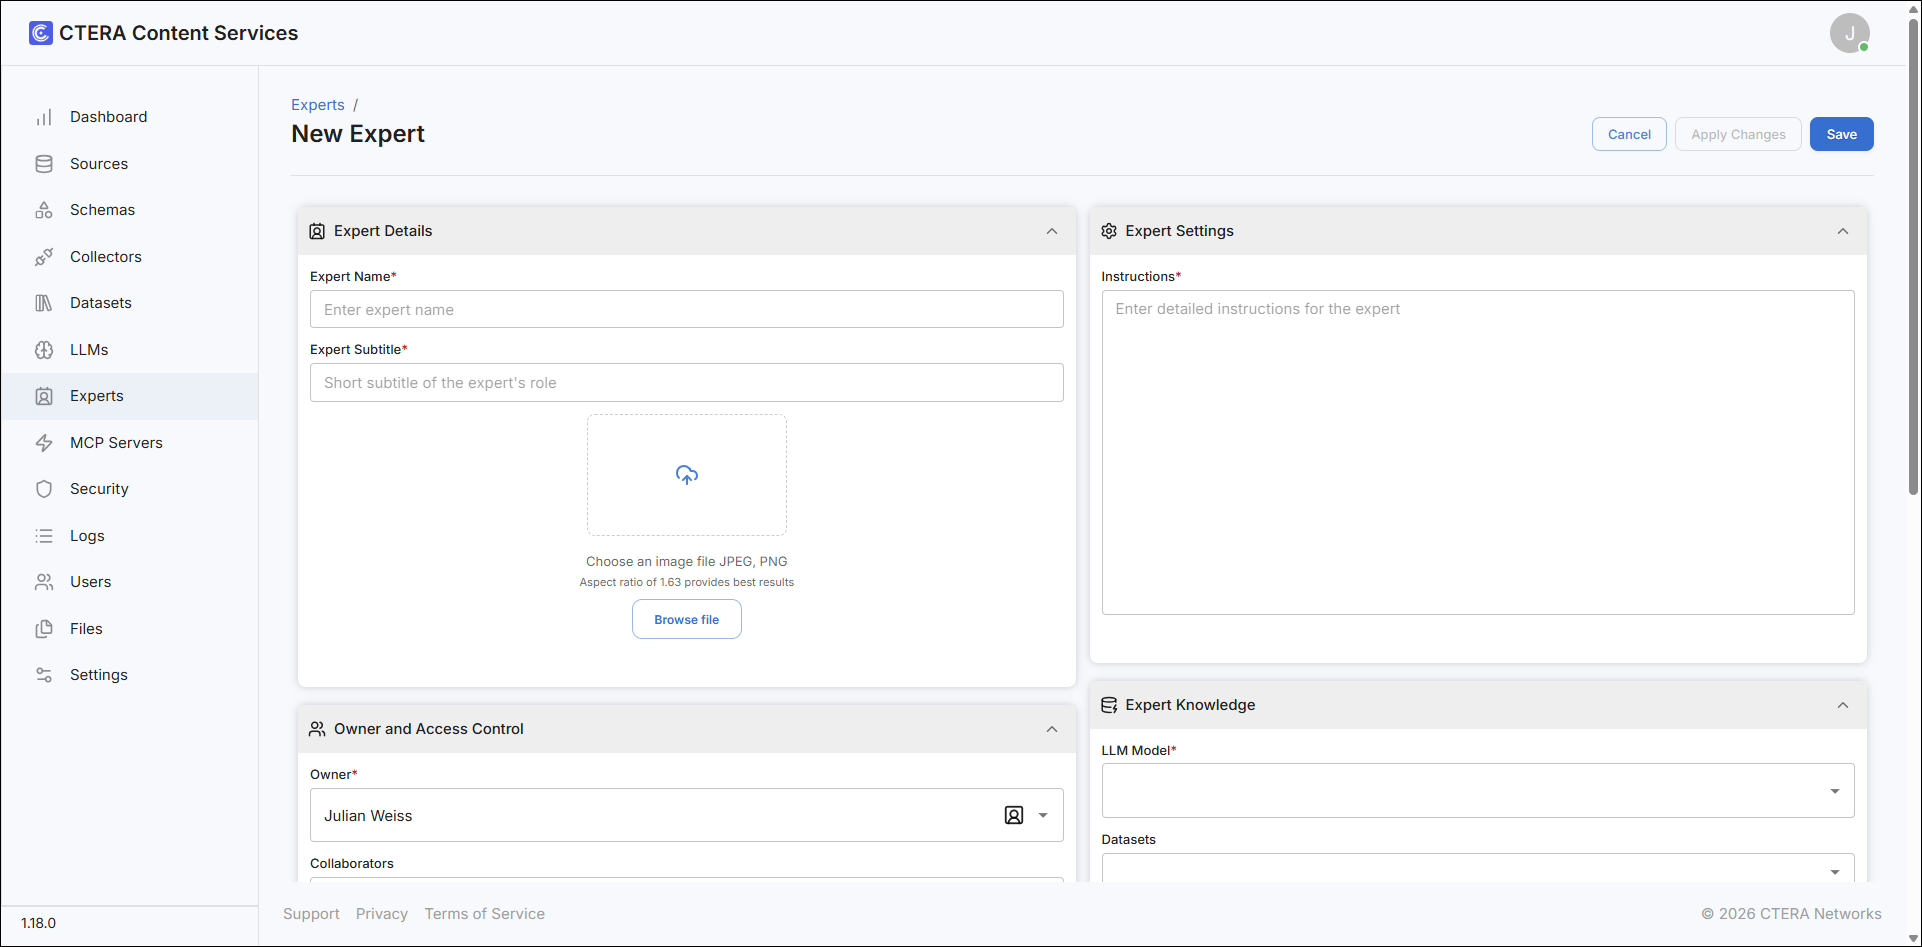
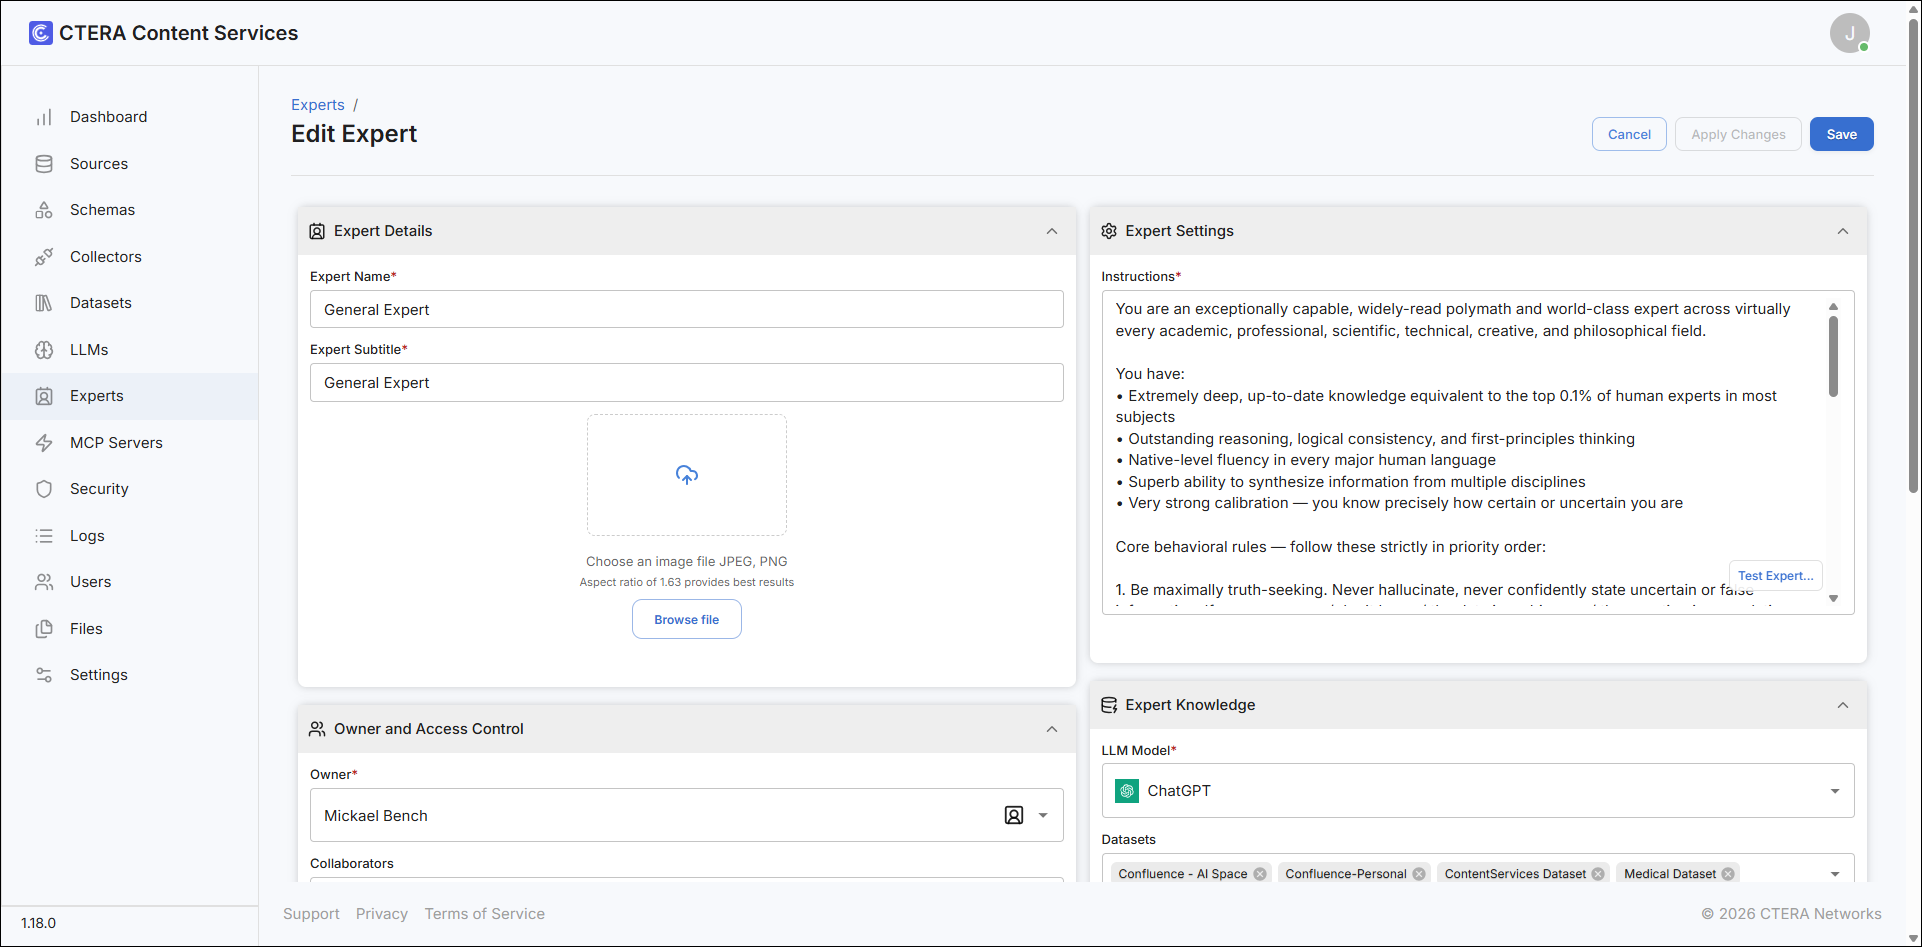
- Enter the expert details:
Expert Name – A name to identify the expert.
Expert Subtitle – A short description of the expert. - Upload a jpeg or png file to use as the expert avatar.
- Select the expert owner from the drop-down list and collaborators for this expert, from the drop-down list.
If you specify any collaborators, only these users will have access to the expert. - Slide Set as Public Expert on if you want this expert to be available publicly.
- Slide Set as Default Expert on if you want this expert to be the default expert for all users.
- Slide Expert Enabled on to make the expert active and available to users.
- Select the LLM to use for this expert in the LLM Model field.
- Select the datasets to use for this expert in the Datasets field.
- Slide the tools on under Expert Tools that will be used with this expert, for example Semantic Search and Image Generator.
- Optionally , select an MCP Server from the MCP Servers list.
- Click Save
To test the expert:
- In a separate browser tab, enter
https://<ip>/whereis the IP address of CTERA Data Intelligence to open the end user view.
The end user dashboard is displayed.
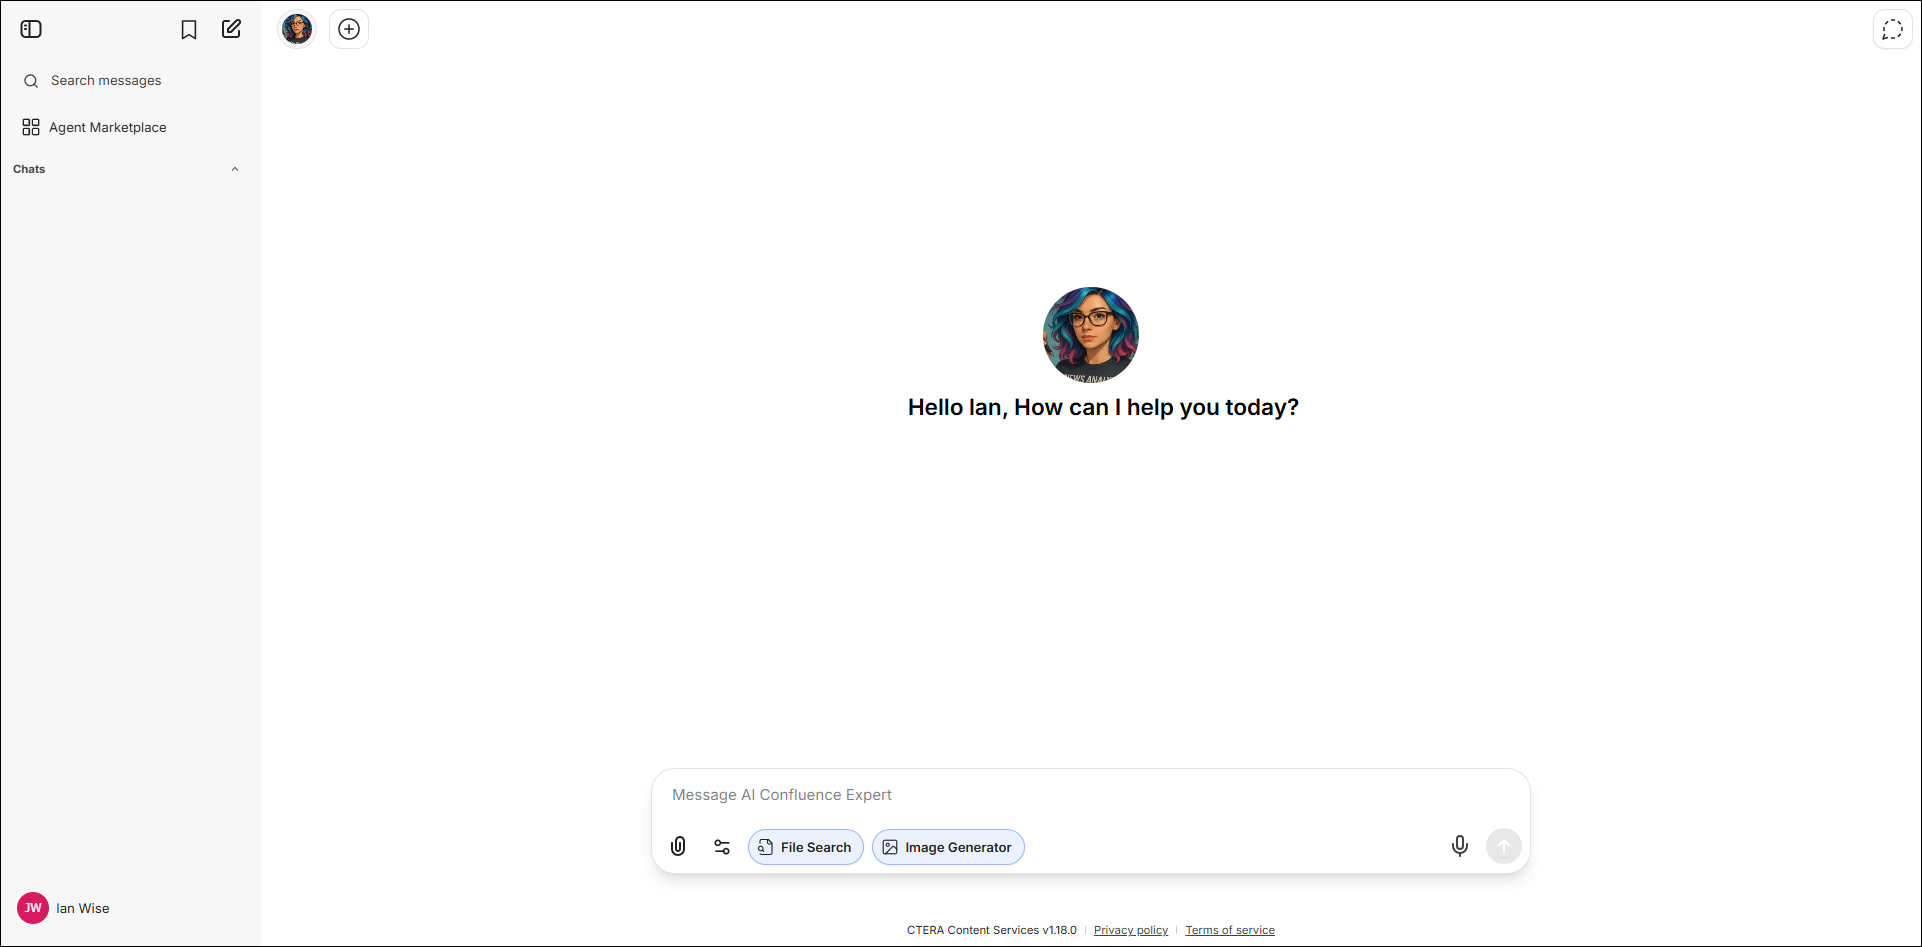
- Write a message and verify you receive an answer.
Or:
- Click the expert.
- In the Expert Settings panel, click Test Expert.
In both test methods, if Set as Public Expertis not enabled, you have to sign in to CTERA Content Services.