Use the following workflow to install CTERA Portal.
- Creating a Portal Instance using a CTERA Portal image from CTERA support.
- Configuring Network Settings.
- Optionally, configure a default gateway.
- Additional Installation Instructions for Customers Without Internet Access.
- For the first server you install, follow the steps in Configuring the Primary Server.
- For any additional servers beside the primary server, install the server as described below and configure it as an additional server, as described in Installing and Configuring Additional CTERA Portal Servers.
- Make sure that you replicate the database, as described in Configuring the CTERA Portal Database for Backup.
- Backup the server as described in Backing Up the CTERA Portal Servers and Storage.
You can use block-storage-level snapshots for backup, but snapshots are periodical in nature, configured to run every few hours. Therefore, you cannot recover the metadata to any point-in-time, and can lose a significant amount of data on failure. Also, many storage systems do not support block-level snapshots and replication, or do not do so efficiently.
Creating a Portal Instance
You install the CTERA Portal via the Proxmox console using the qcow2 image from CTERA.
To install the CTERA Portal Server in Proxmox:
- Log in to the Proxmox console.
The dashboard is displayed. - Select the datacenter node and click Shell.
- Run the following command to create the CTERA Portal image directory in Proxmox:
mkdir /var/lib/vz/images/ctera-portal - Copy the portal qcow2 image to the
/var/lib/vz/images/ctera-portaldirectory.
You can use a tool like WinSCP to copy the file.

- Click Create VM.
The Create: Virtual Machine window is displayed.
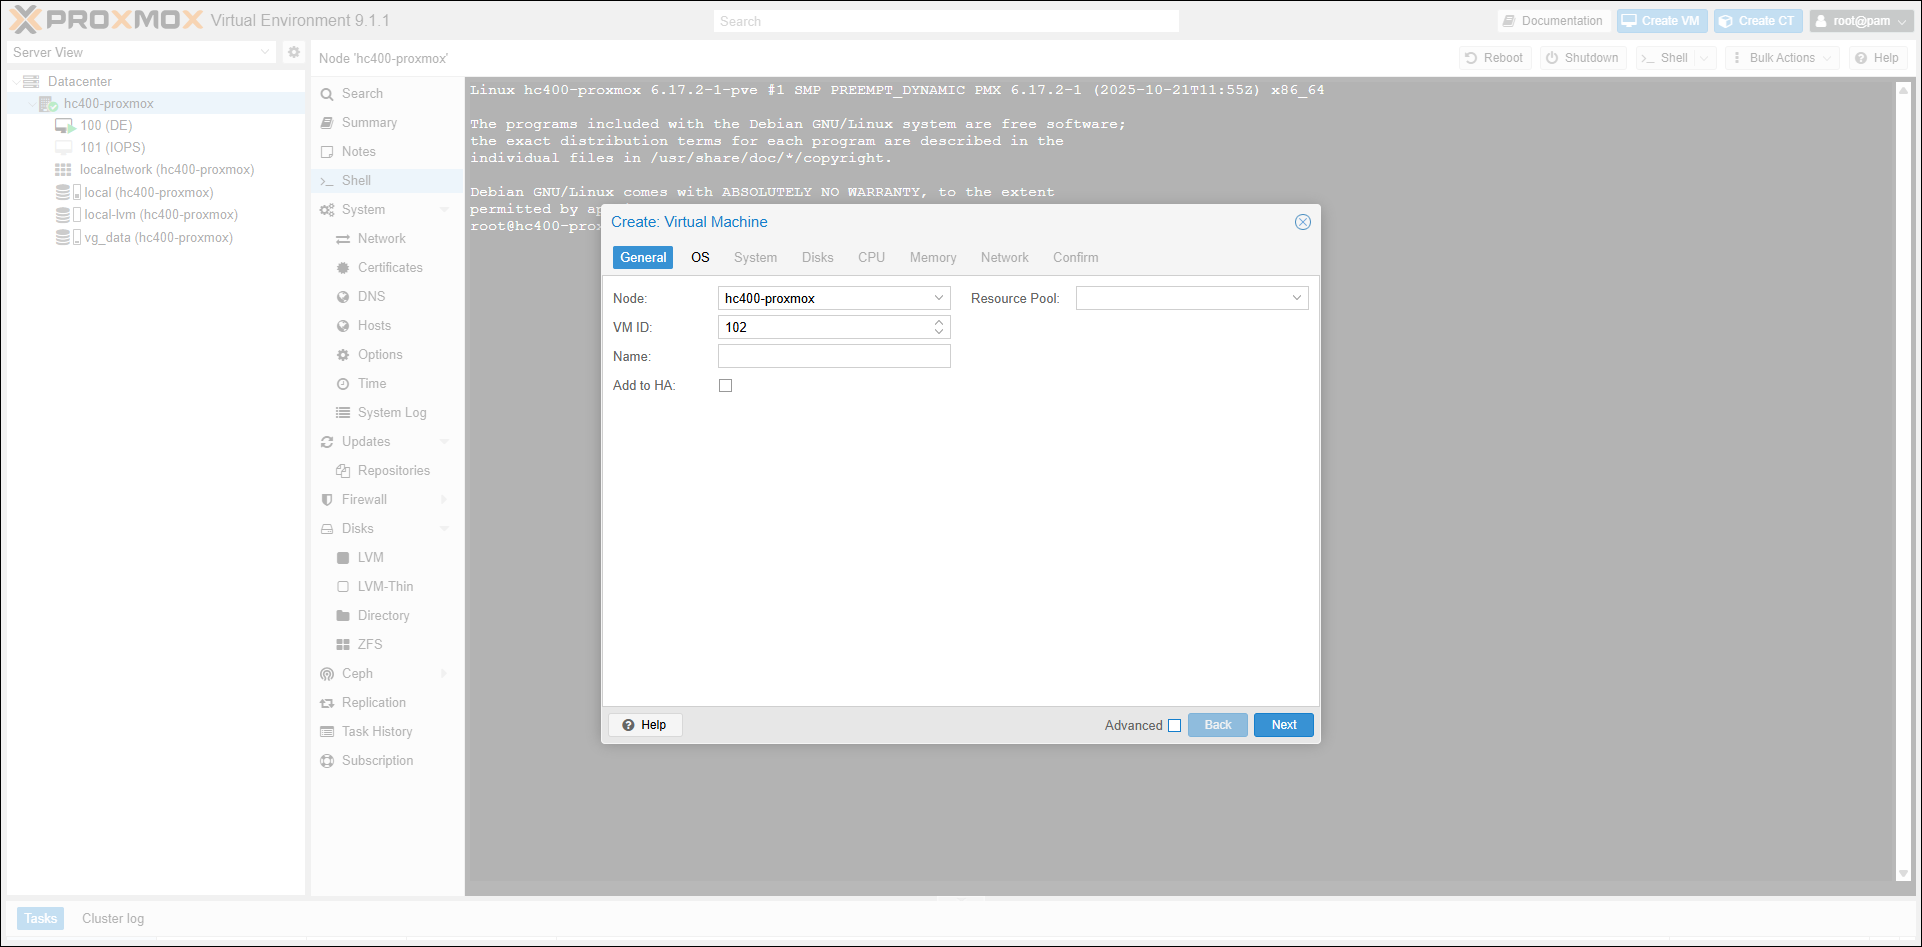
- Enter a unique name to identify this portal server in the Name field and click Next.

- Select the Do not use any media option and click Next until you display the Disks tab.

- Click Add.
SCSI1 is added to the list.
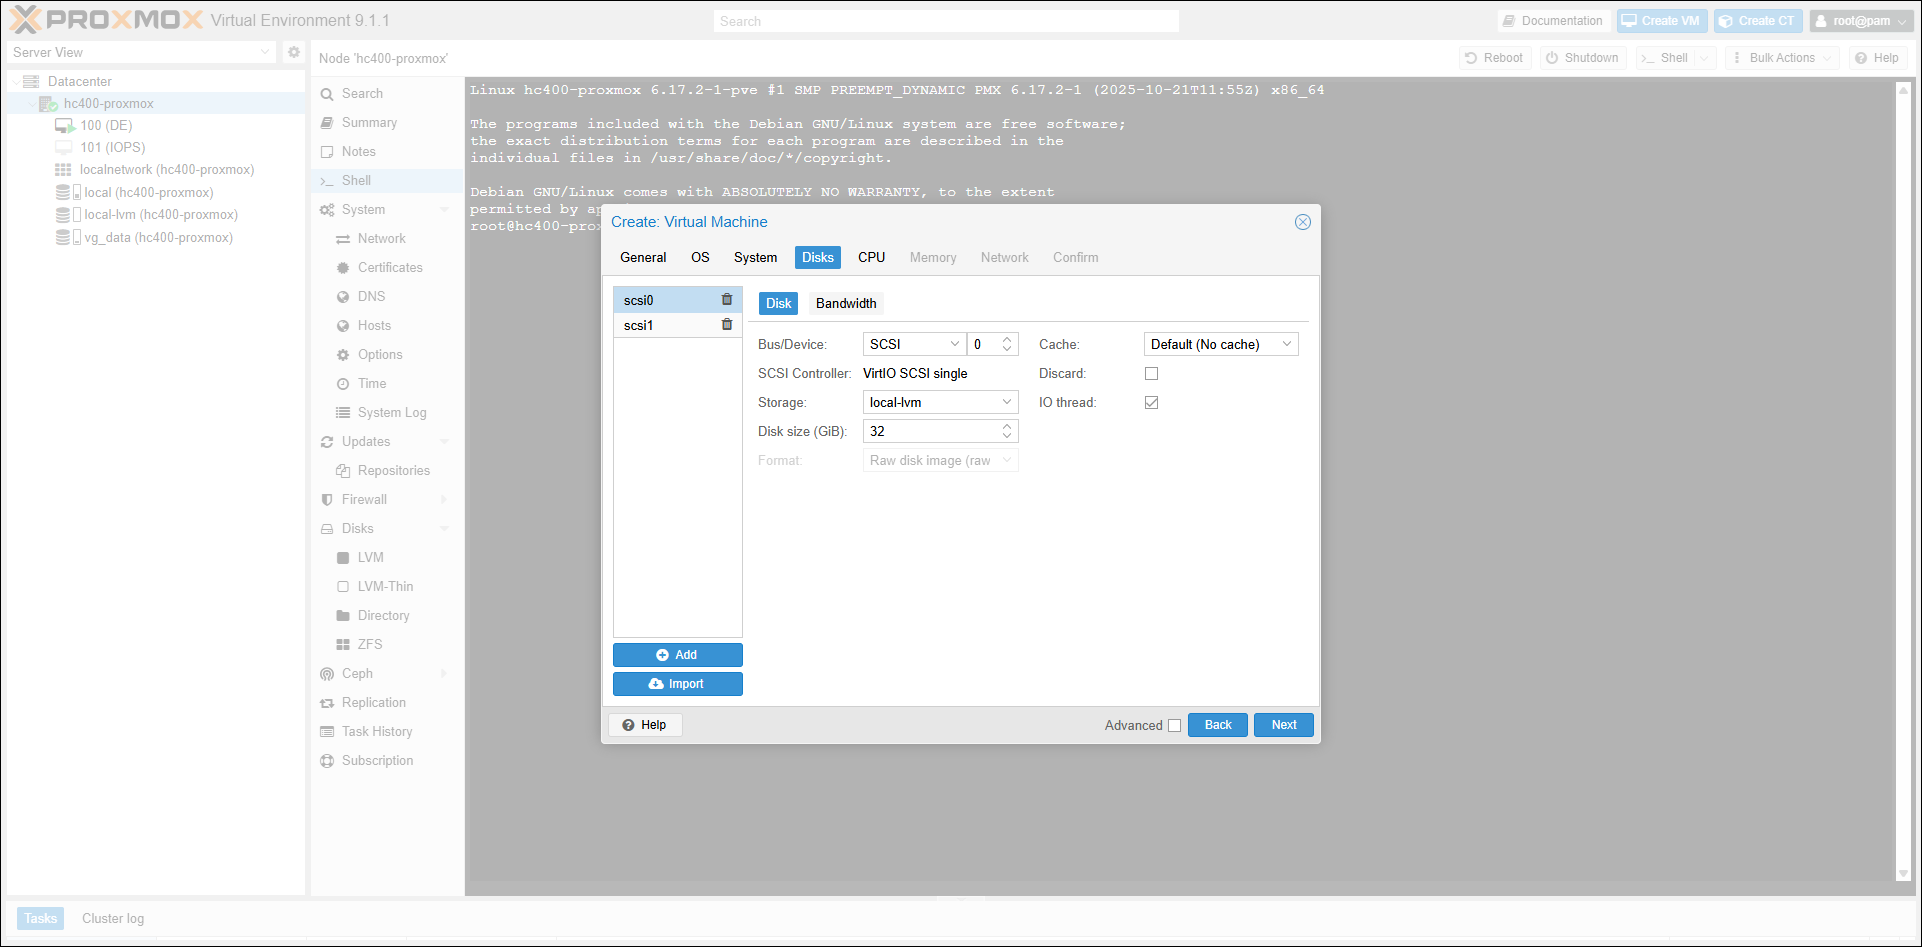
- Select SCSI1 and then select the storage from the Storage list.
- Specify the disk size as specified in Requirements.
- For the primary, database, server and secondary, replication, server:
- Click Add to add the disk to use for the archive pool.
SCSI2 is added to the list. - Select SCSI2 and then select the storage from the Storage list.
- Specify the disk size as specified in Requirements.
- Click Add to add the disk to use for the archive pool.
- Click Next or the CPU tab.
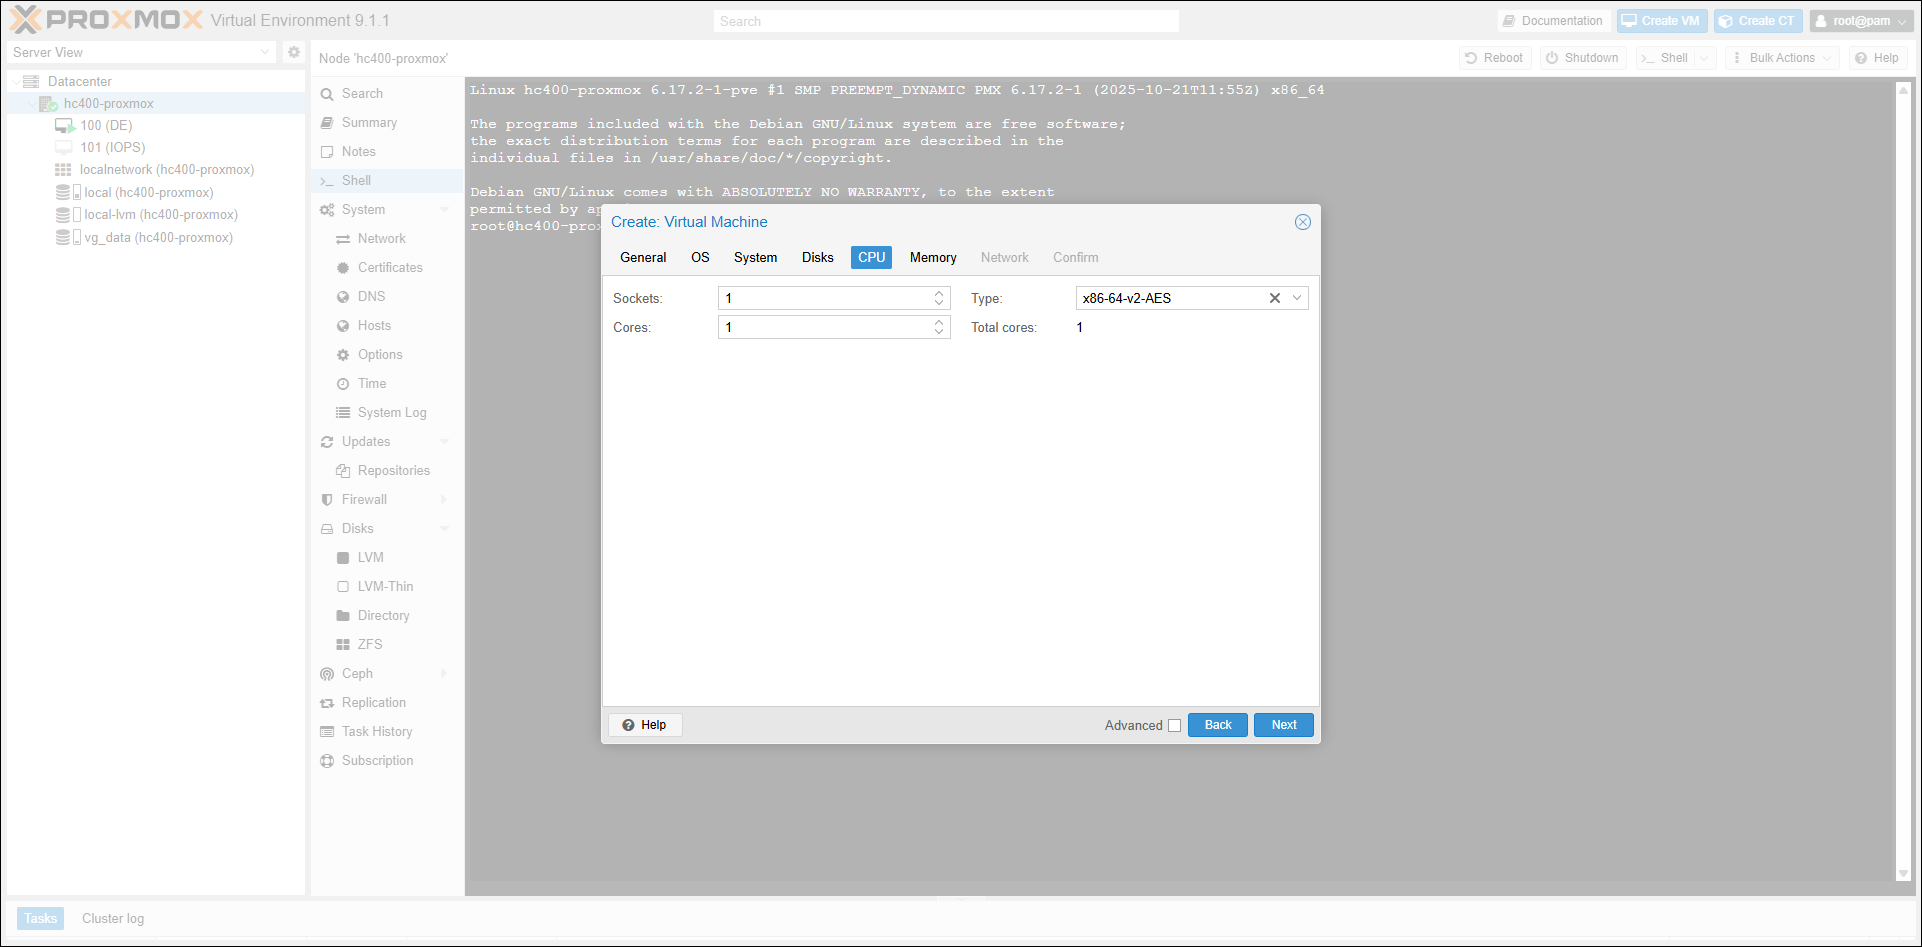
- Specify the number of vCPUs. See General Requirements. The vCPUs is the number you specify for Sockets multiplierd by the number of Cores.
Note
Check Advanced to see the vCPUs.
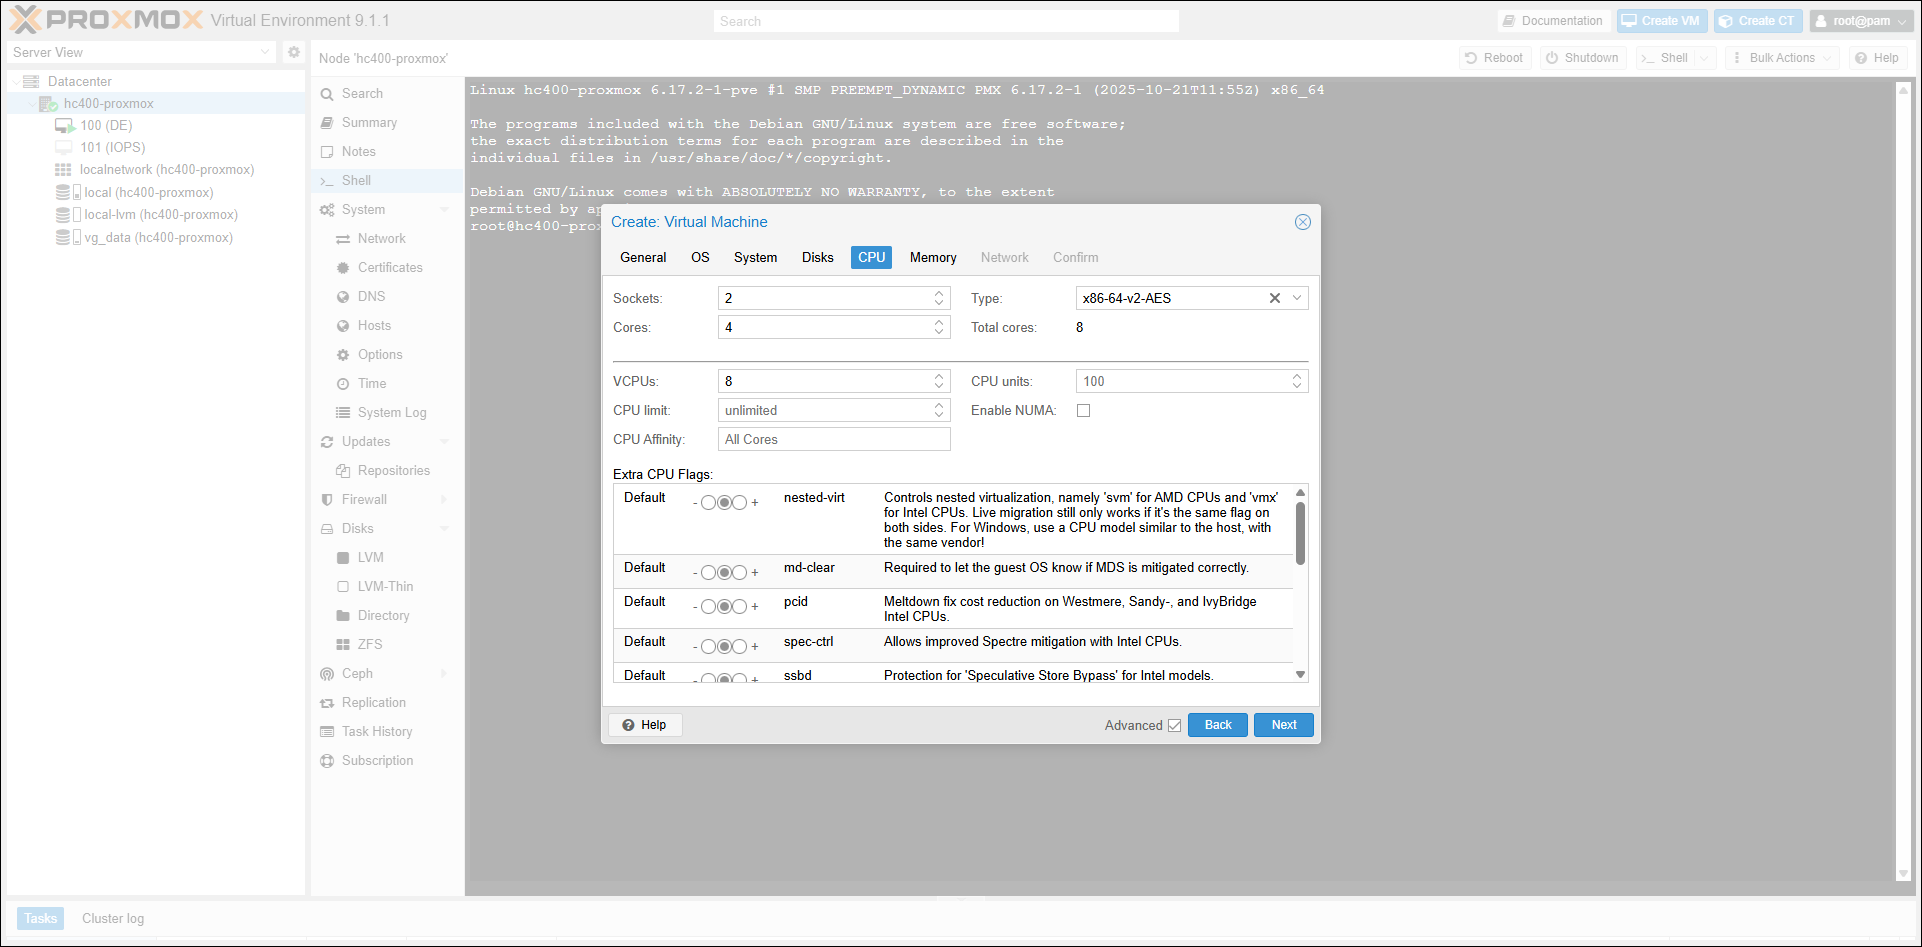
- Click Next.
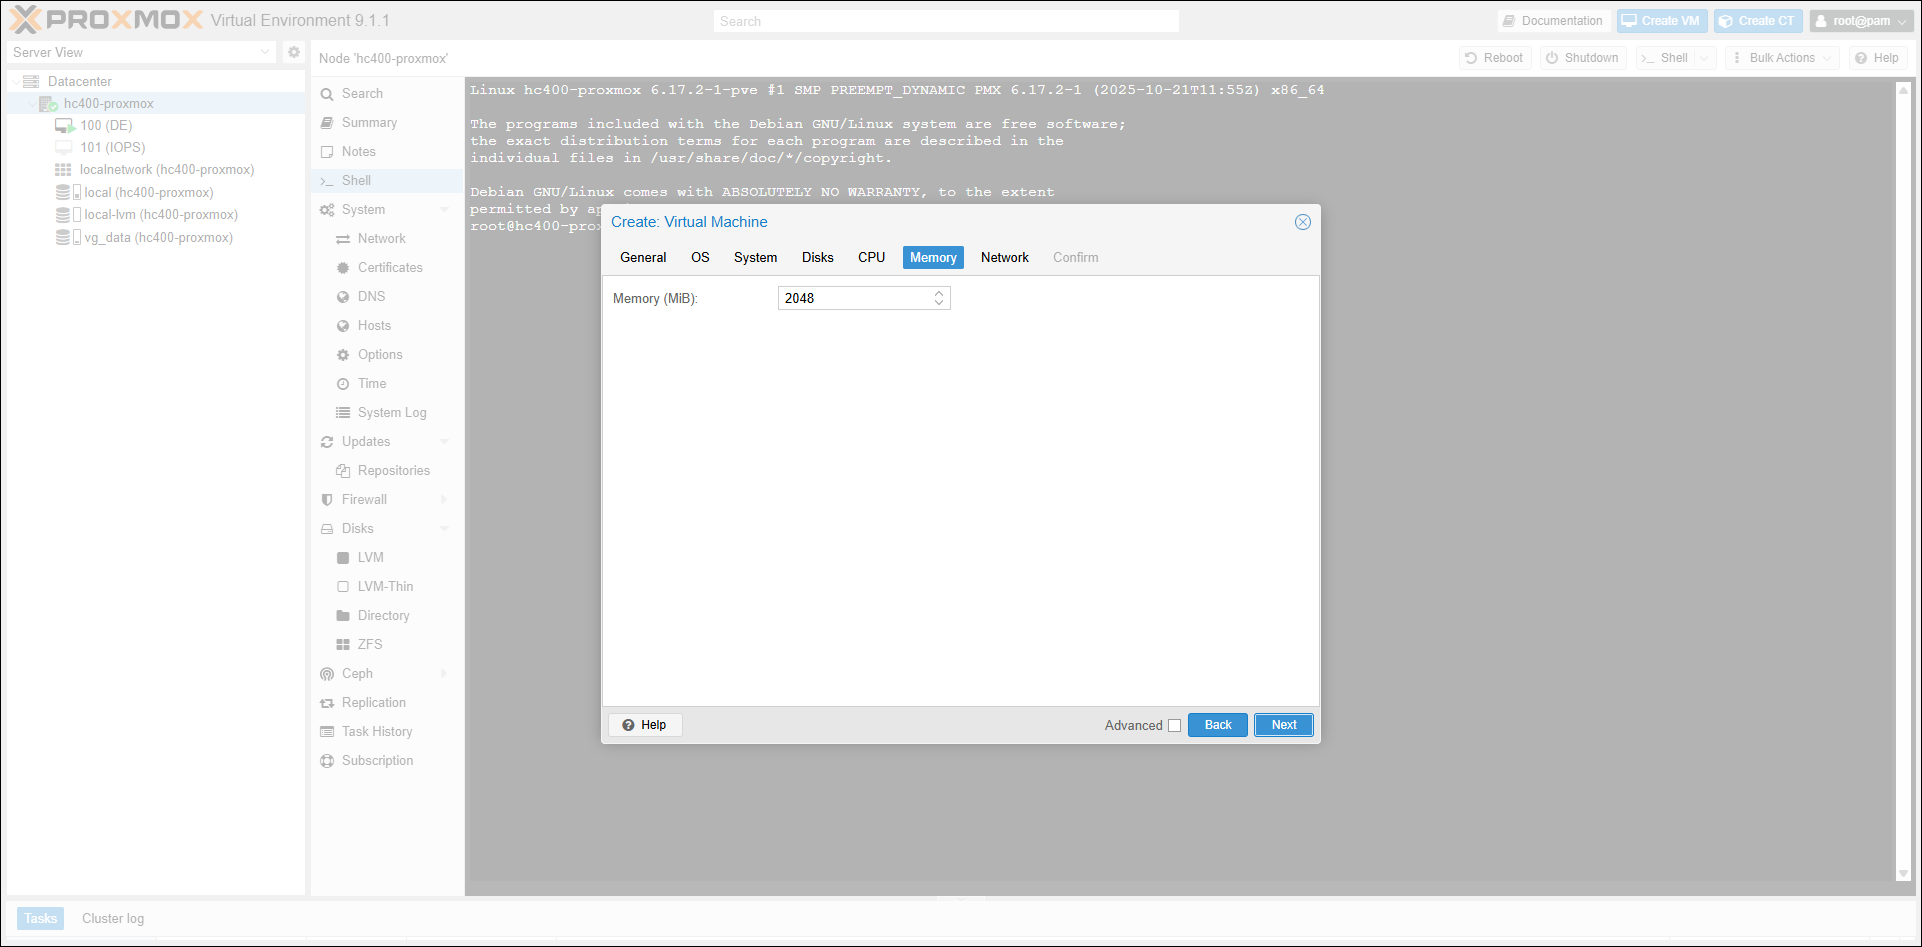
- Enter the RAM amount as specified in Requirements in the Memory (MiB) field and click the Next until you display the Confirm tab.
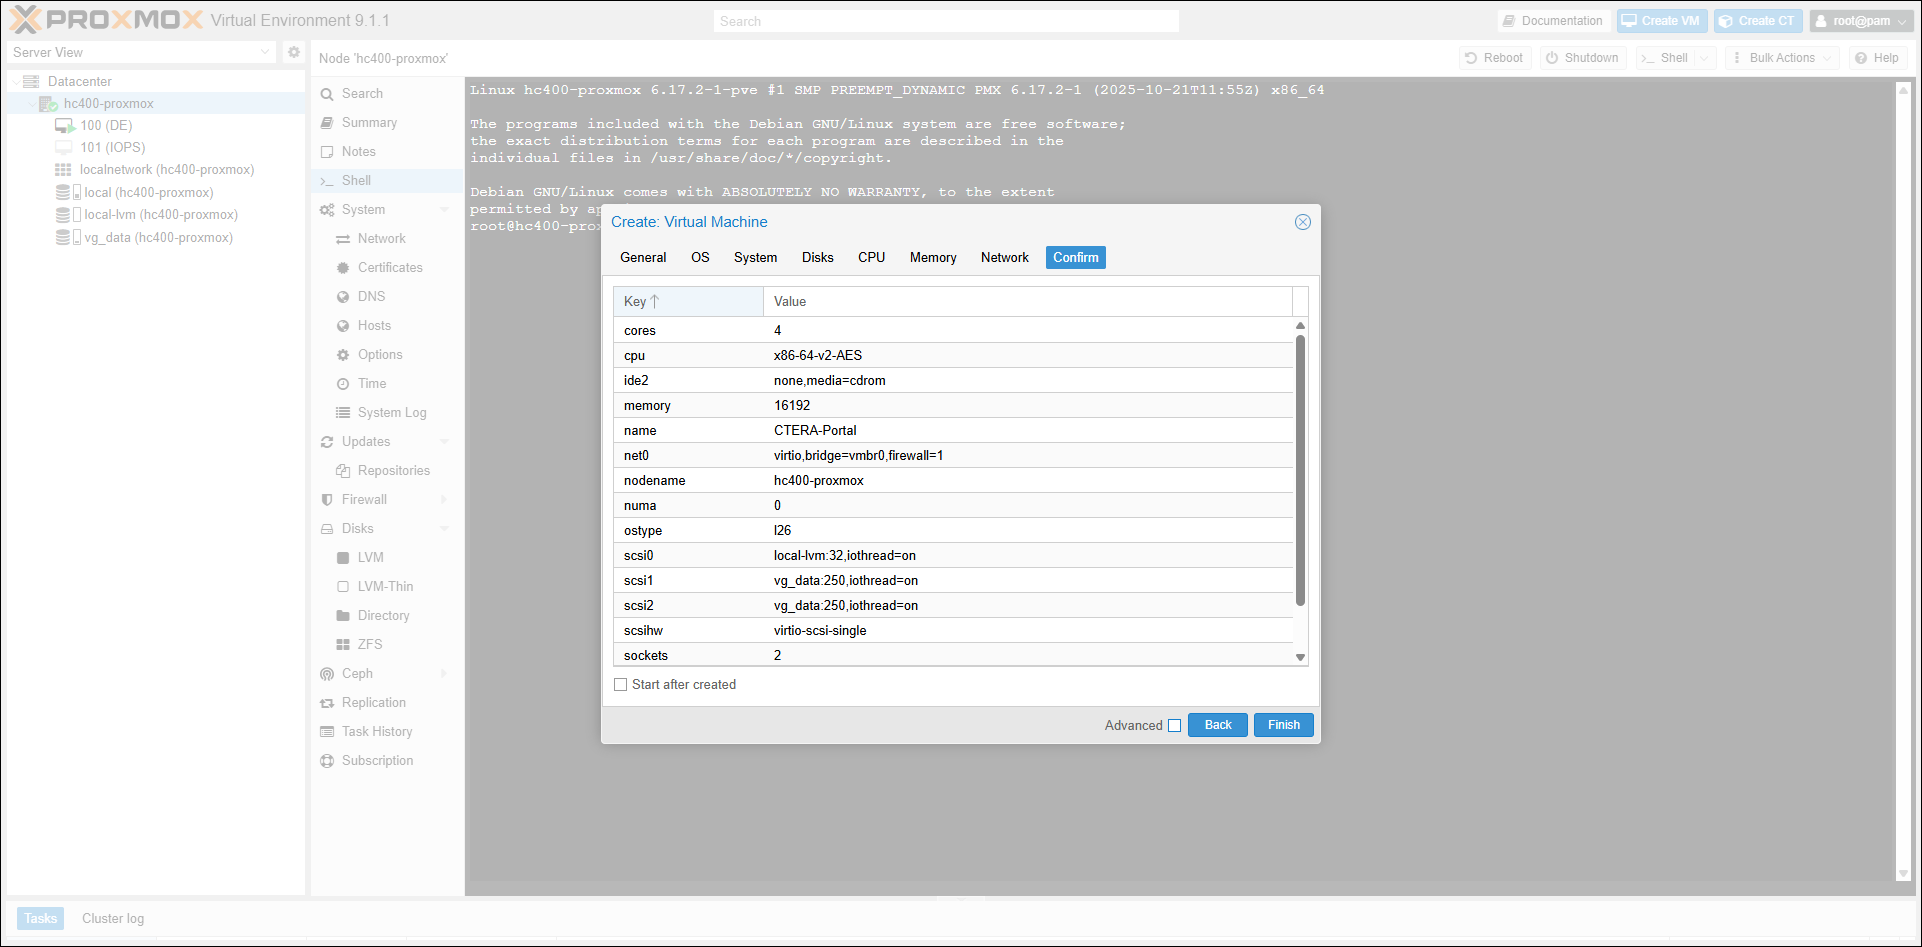
- Review the details and then click Finish.
- Select the datacenter node and click Shell.
- Run the following commands:
Where:qm importdisk vmid /var/lib/vz/images/ctera-portal/file.qcow2 storage qm set vmid --scsihw virtio-scsi-pci --scsi0 storage:vm-vmid-disk-n
vmid is the portal VM id, such as102
file is the CTERA Portal image. For example,Portal_Image_version.qcow2where version is the version number of the portal. The value is case sensitive. That is, for example,Portal_Image-8.3.3300.20.qcow2and notportal_image-8.3.3300.20.qcow2
storage is the name of the storage.
The VM image is overwritten with the portal image.
storage:vm-vmid-disk-nis the disk name specified at the end of theimportdiskcommand. For example, when two disks were added, one for the data pool and one for the archive pool, the disk name is similar tostorage:vm-vmid-disk-2and is similar tostorage:vm-vmid-disk-1when only a data pool disk was added.

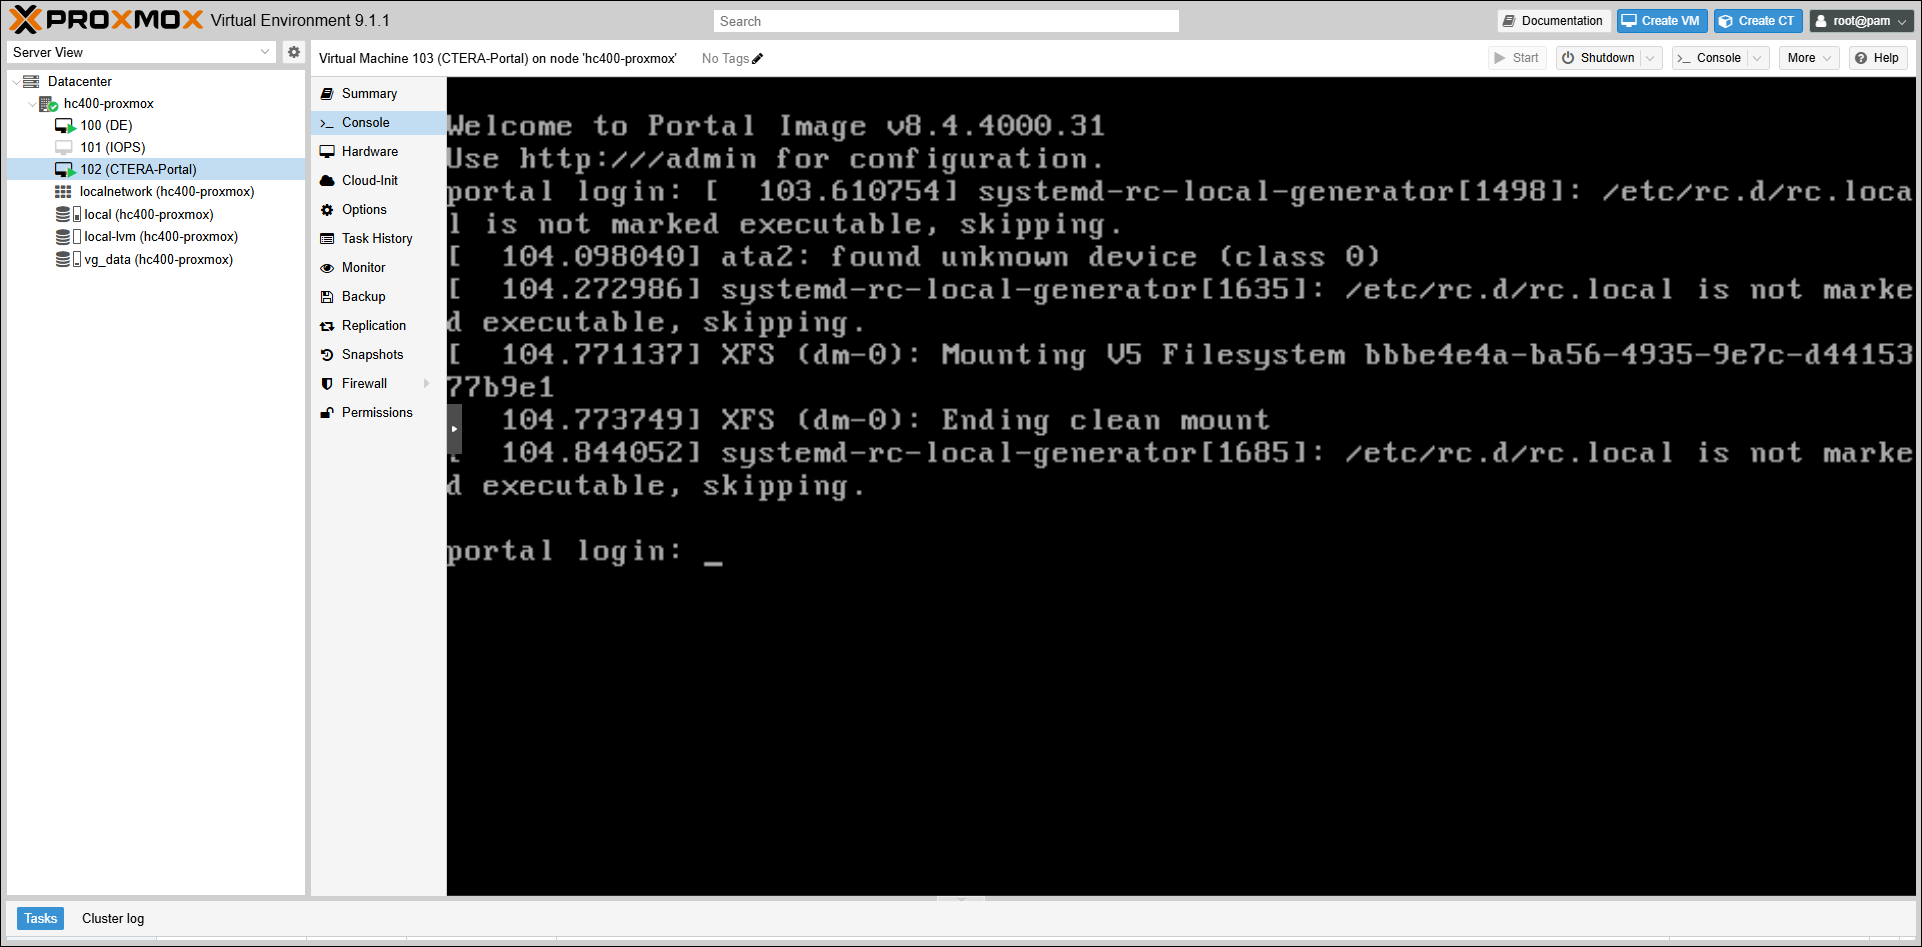
- Right-click the VM in the navigation pane and click Start.
The VM is powered on and the Console option is enabled. - Click Console.
 Note
NoteIf the script to create the data pool does not successfully run, it will start on every boot until it completes. The script has a timeout which means it will exit if the data pool is not created within the timeout after boot time. If the data pool is not created, dockers required by the portal are not loaded to the data pool.
To make sure that the script completed successfully, before continuing, rundocker imagesto check that the docker images are available, including zookeeper, which is the last docker to load to the data pool.
If all the dockers do not load you need to run the script/usr/bin/ctera_firstboot.sh
Also, refer to Troubleshooting the Installation if the script does not complete successfully. - Continue with Logging in to the Server and Creating the Storage.
- If an IP is not assigned, configure network settings before starting the CTERA Portal services in the next step. You must have two NICs defined for the portal, the external NIC and an internal NIC for communication between portal servers in a cluster.
- Start CTERA Portal services, by running the following command:
portal-manage.sh start
Do not start the portal until both the sdconv and envoy dockers have been loaded to the data pool. You can check that these dockers have loaded in /var/log/ctera_firstboot.log or by running docker images
Logging in to the Server and Creating the Storage
You need a data pool on every server. The data pool is created automatically when you first start the virtual machine and dockers loaded on to it.
You need to create a data pool on every server and on the primary database server, and when PostgreSQL streaming replication is required, also on the secondary, replication, server, an archive pool. See Using PostgreSQL Streaming Replication for details about PostgreSQL streaming replication.
To log in to the portal server:
- Log in as the
rootuser using SSH.
The default password isctera321
You are prompted to change the password on your first login.
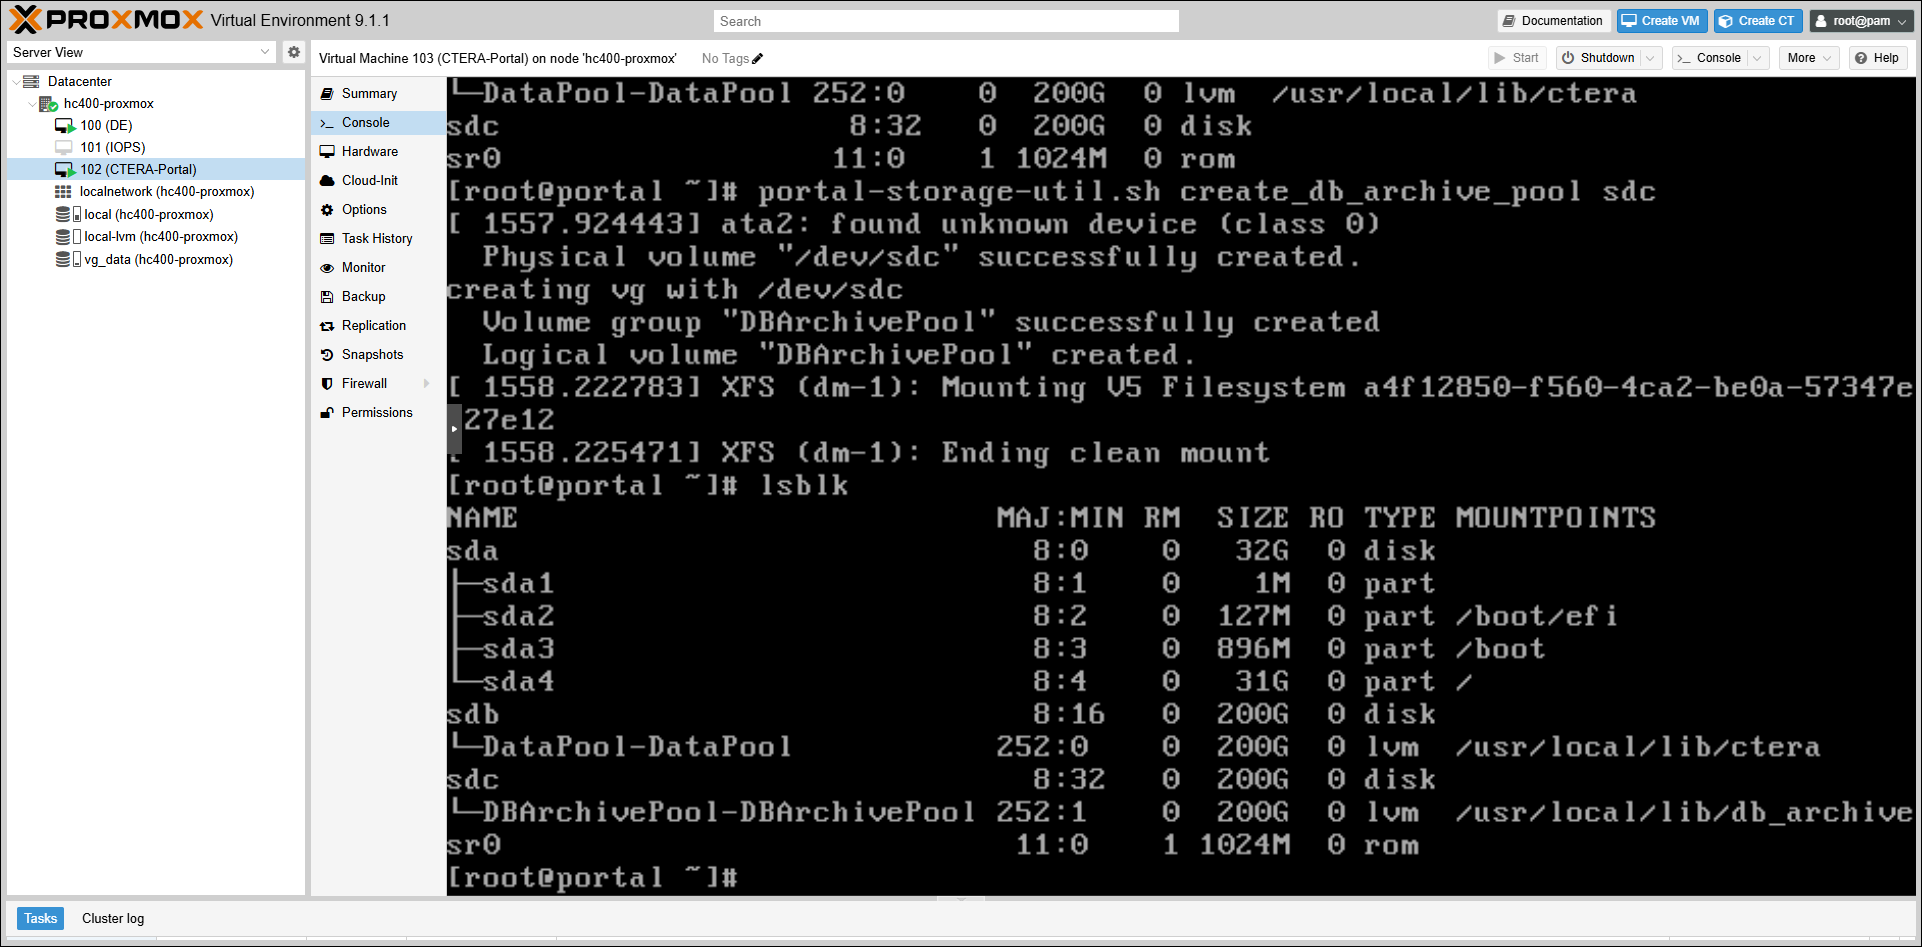
To create the archive pool:
- For the CTERA Portal primary database server and the secondary, replication, server, add a disk to the virtual machine to use as the archive pool.
The minimum archive pool should be 200GB but it should be sized around 2% of the expected global file system size. For more details, see General Requirements.
- Log in as the
rootuser using SSH. - Run
lsblkorfdisk -lto identify the disks to use for the data and archive pools. - Run the following command to create the archive pool:
portal-storage-util.sh create_db_archive_pool Device
Where Device is the Device name of the disk to use for the archive pool.
Troubleshooting the Installation
You can check on the progress of the docker loads in one of the following ways to ensure that all the dockers are loaded: The last docker to load is called zookeeper:
- In
/var/log/ctera_firstboot.log - By running
docker imagesto check that the docker images are available. - By checking if
/var/lib/ctera_firstboot_completedis present with the date and time when the installation was performed.
If all the dockers do not load you need to run the script /usr/bin/ctera_firstboot.sh