A Large Language Model (LLM) is a type of AI deep learning model trained on massive datasets to understand, generate, and summarize text or other content. Based on transformer architectures, LLMs act as next-word predictors for tasks like:
- Text generation, where the LLM is used for creating articles, emails, and creative writing.
- Chatbots, where the LLM is used for conversational AI agents like ChatGPT or Gemini.
- Summarization, where the LLM is used for condensing long documents or meetings into summaries.
- Code Generation, where the LLM is used for writing, debugging, and explaining computer code.
- Translation, where the LLM is used for translating text between languages.
CTERA Content Services is LLM agnostic. You can pick and choose the LLMs to use from a comprehensive list of LLM providers.
The LLMs that you define in CTERA Content Services should be based on the tasks that you want to perform. For example:
- For a summarization expert, you could use Google Gemini, which has a large context window (up to 2M+ tokens), which allows it to "read" entire books or complex codebases in one pass for a single summary.
- For a content creation expert, you could use Mistral AI, which is a high-performance open-source option frequently used for efficient, large-scale text generation.
To add an LLM:
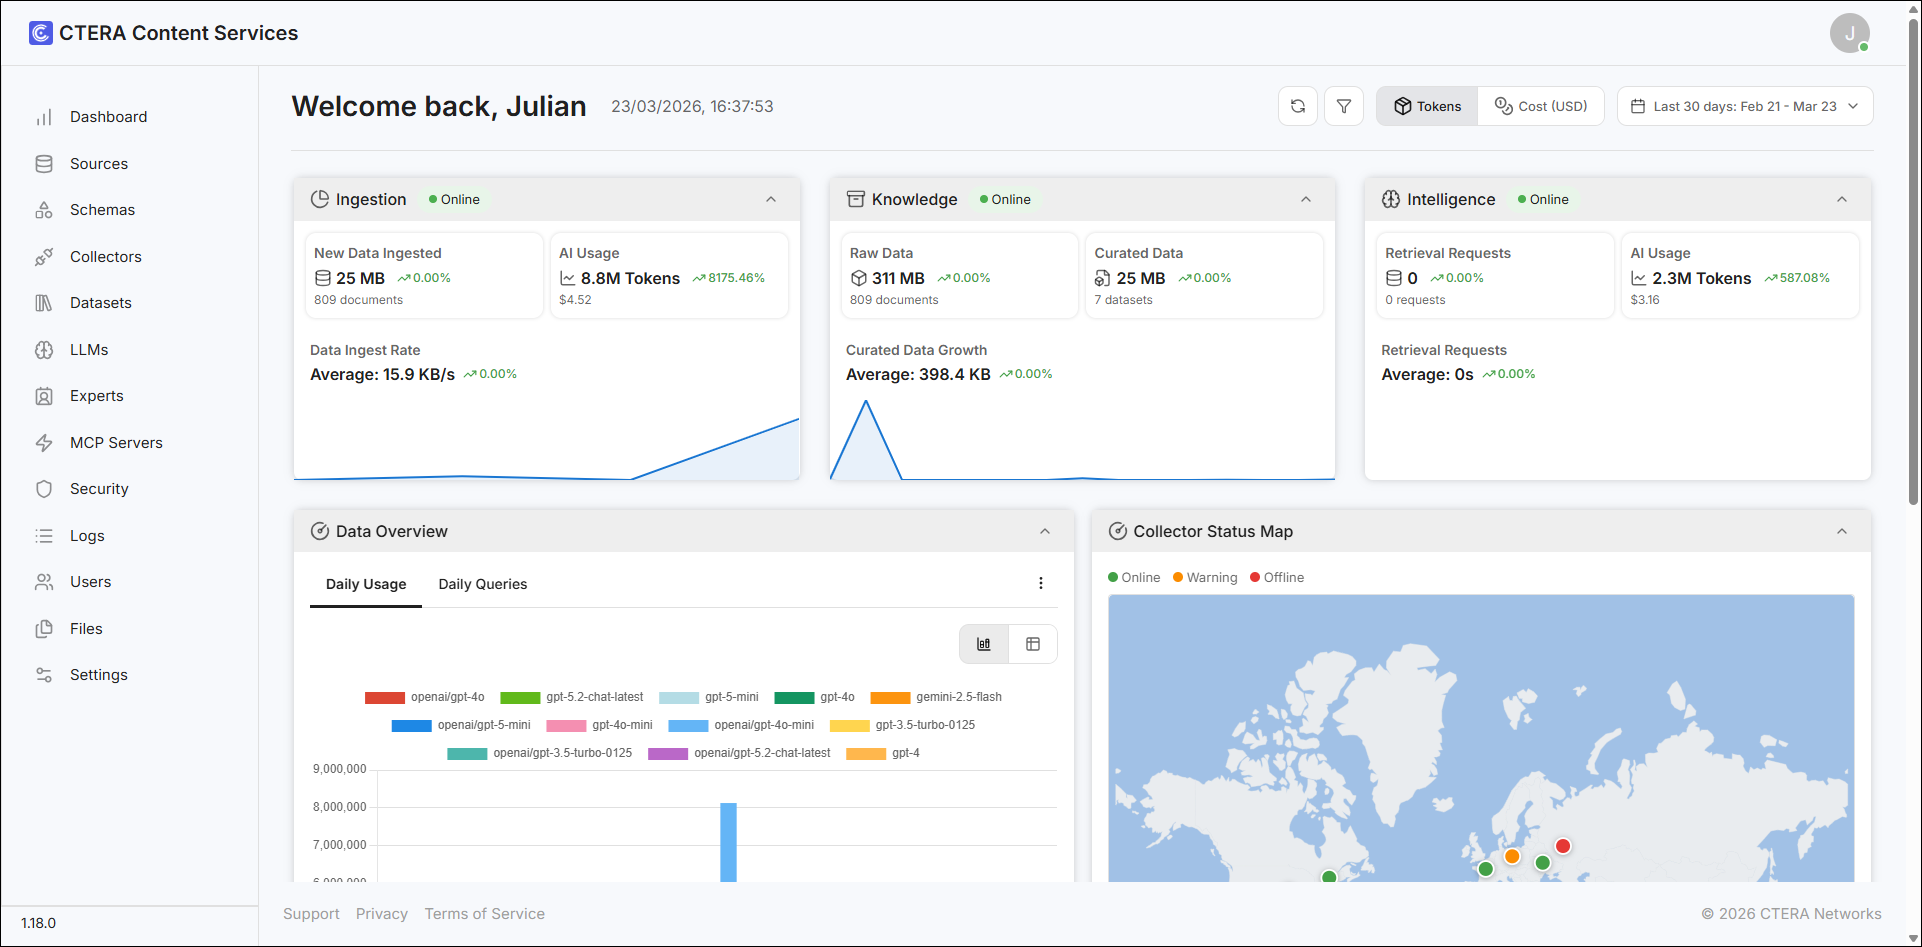
After signing in, the Dashboard page is displayed.
- Select LLMs in the navigation pane.
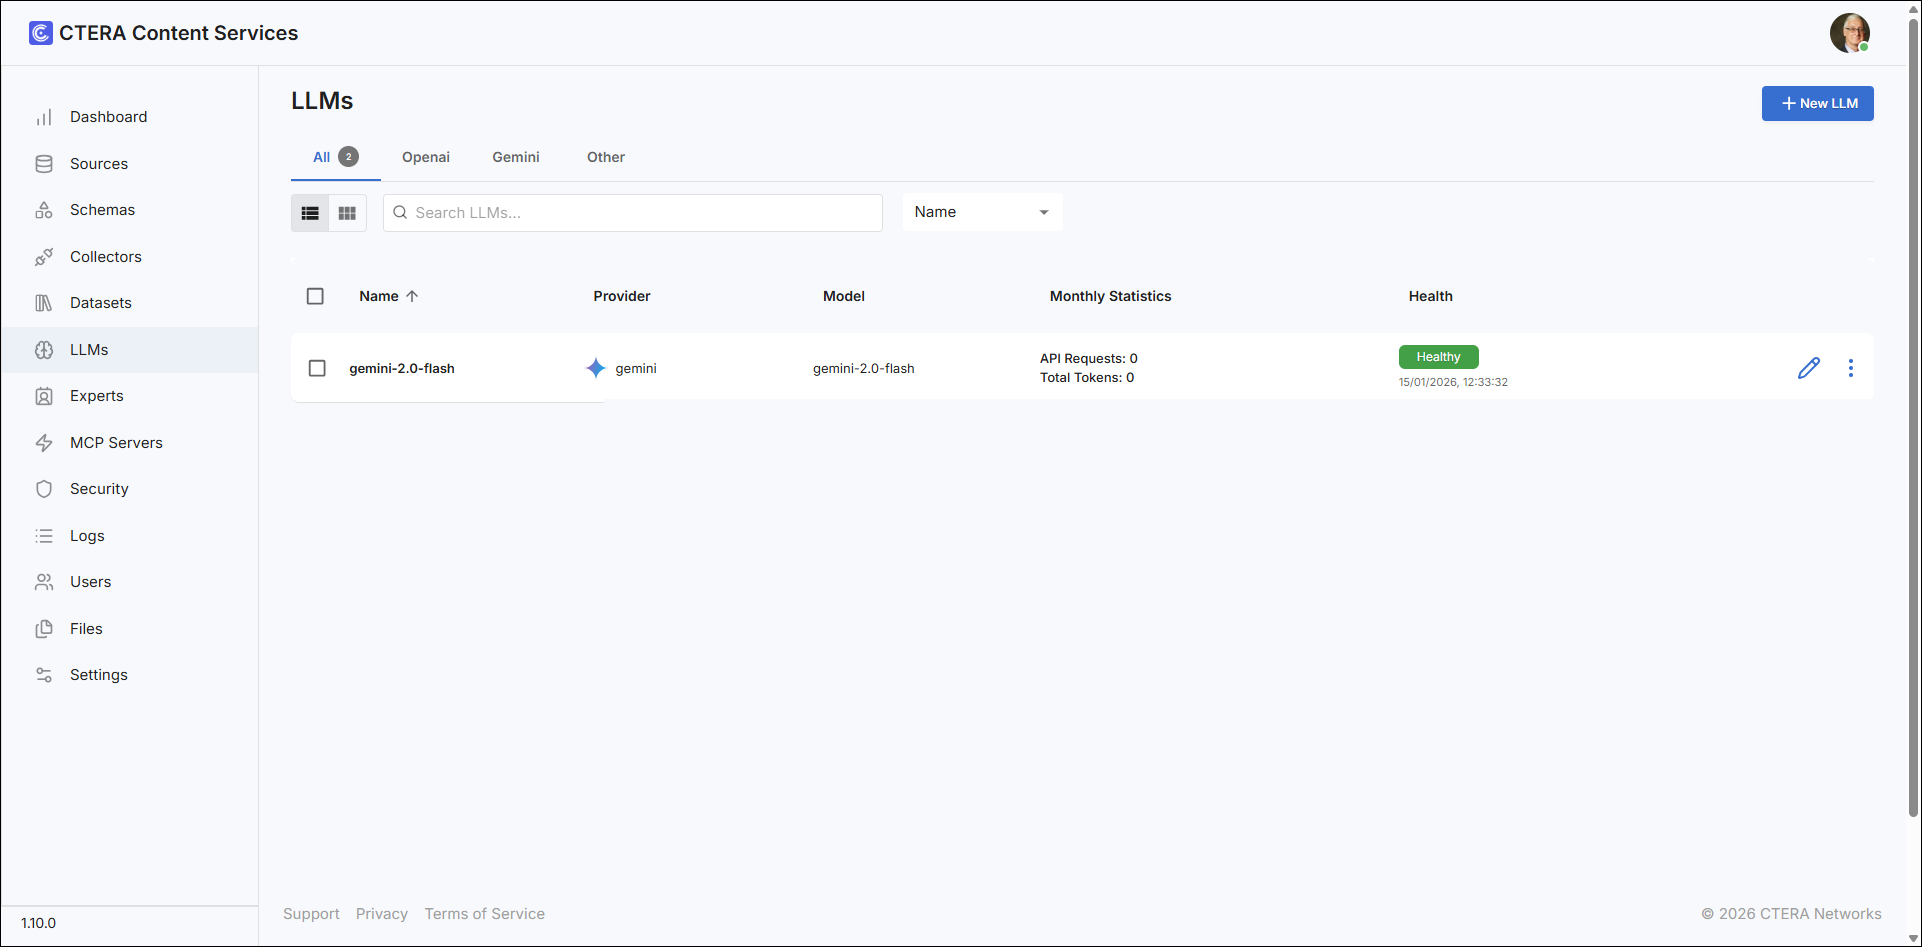
- Click New LLM.
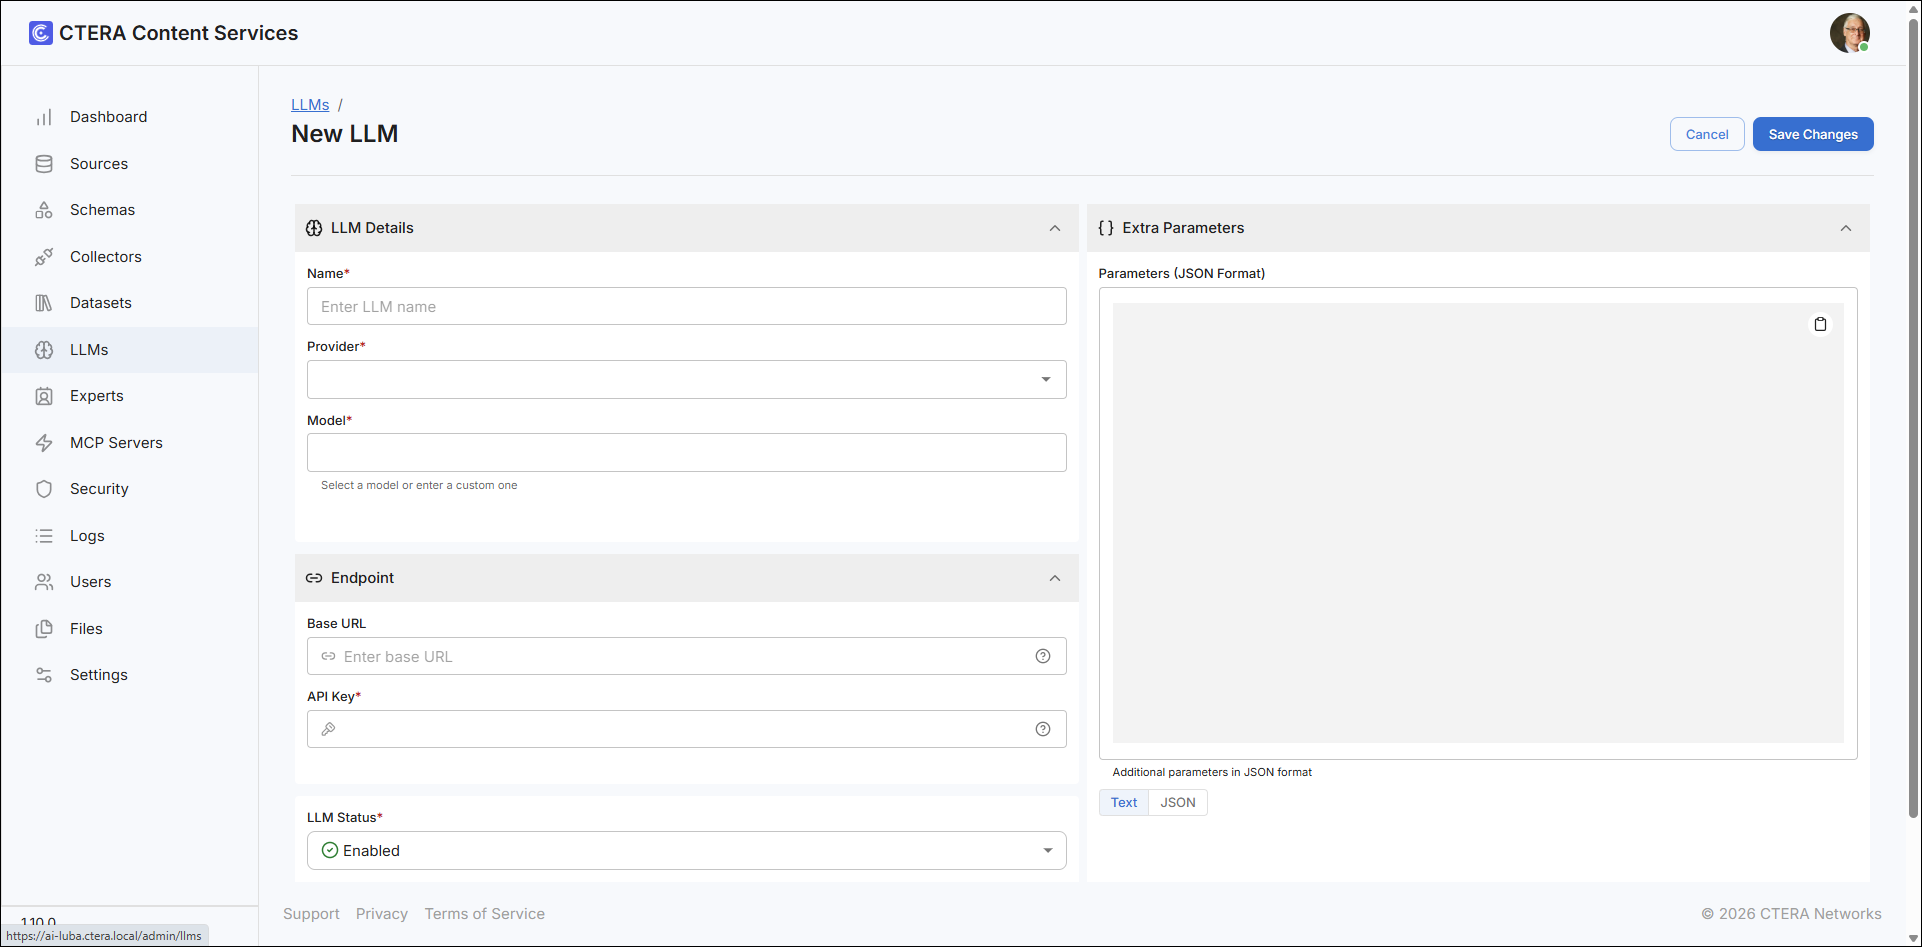
- Under LLM Details, enter the following:
Name – A name for the LLM.
Provider – Select an LLM provider from the list.
Model – Select a model from the list. - Under Endpoint, enter the API Key.
- Click Save Changes.
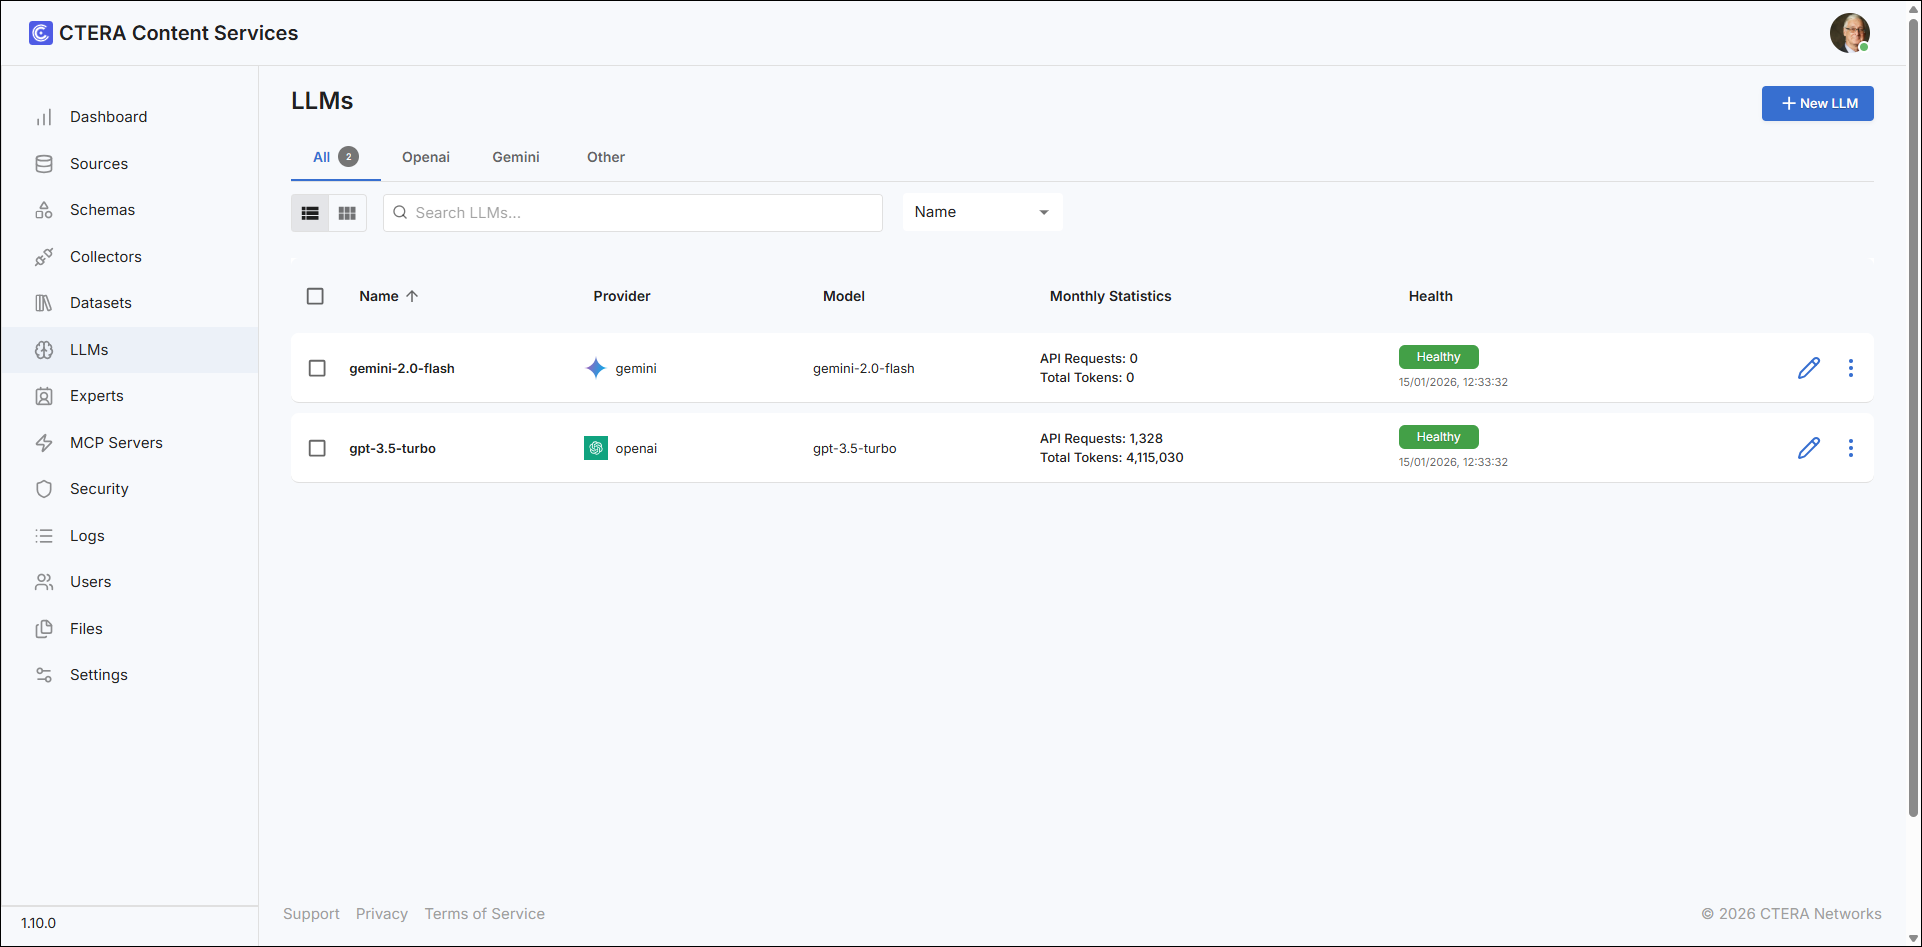
- Add as many LLMs as you need.
To edit an LLM:
- Click LLMs in the navigation pane.
- Click the LLM to edit.
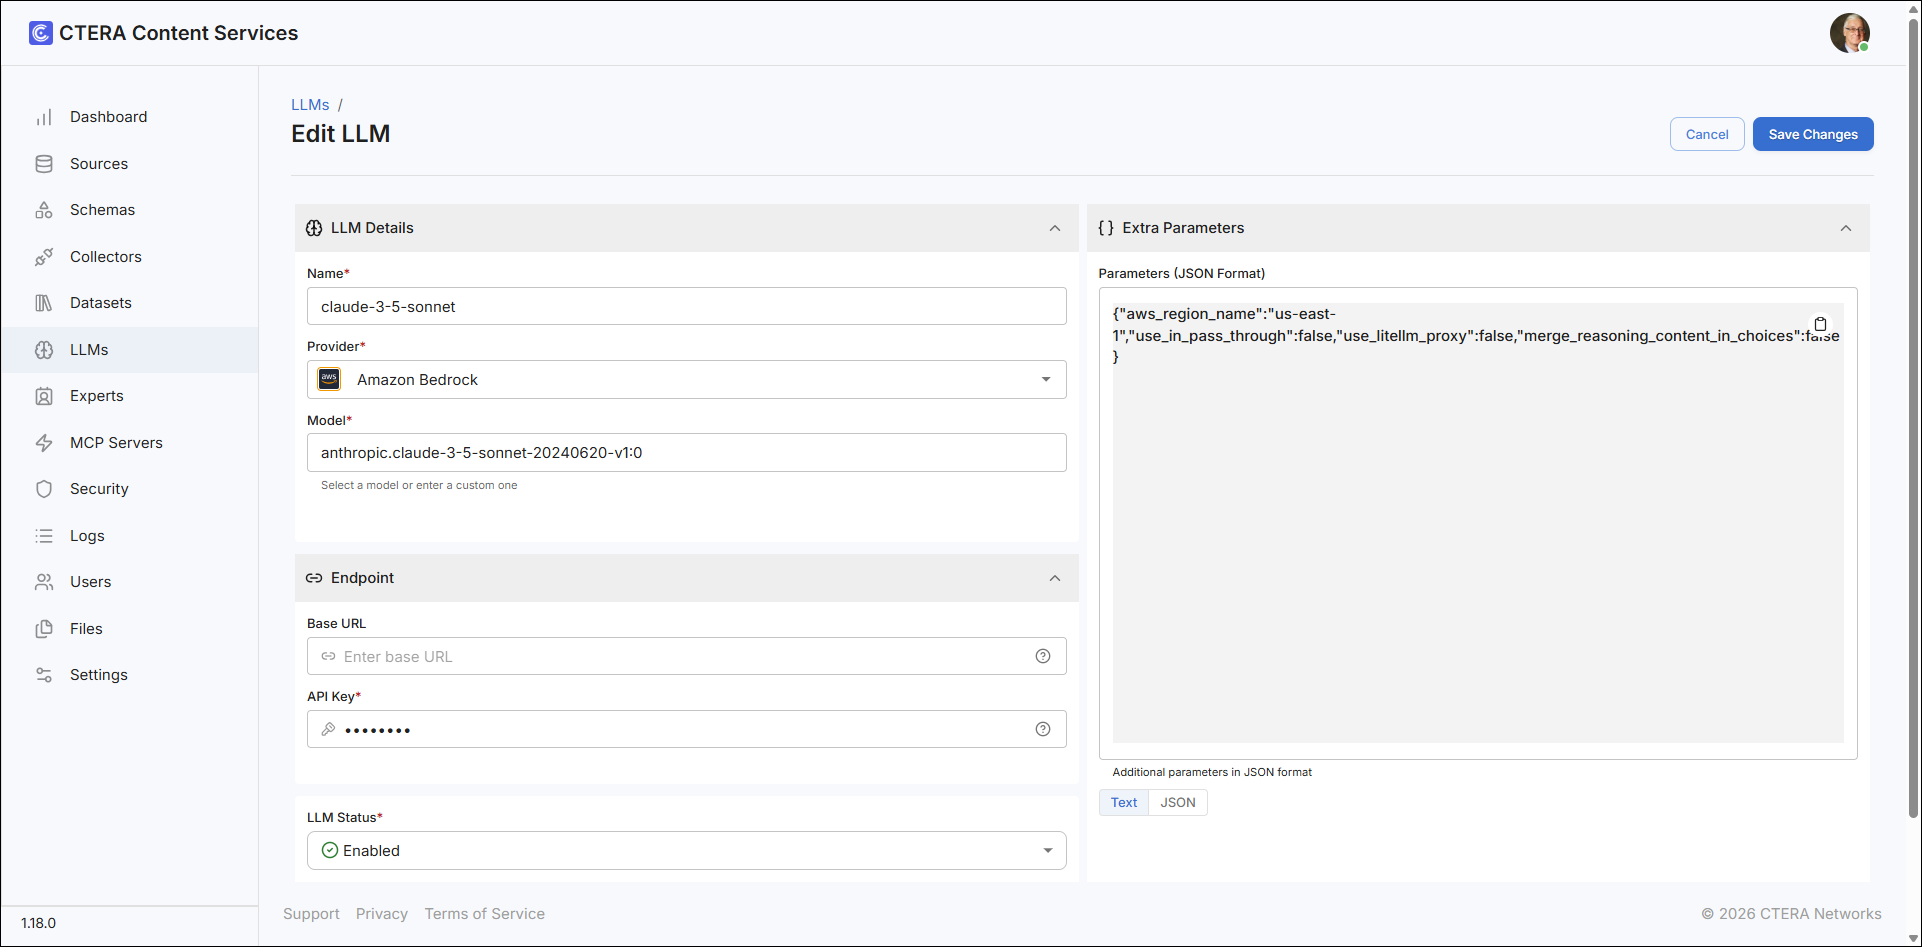
- Make the changes as required.
- Click Save Changes.