The CTERA Messaging service must be enabled to manage subfolder quotas.
You can manage all the subfolder quotas centrally in the Quotas page. The following procedures are all done centrally, in the Quotas page.
Adding a Subfolder Quota
To add a subfolder quota to a cloud drive folder:
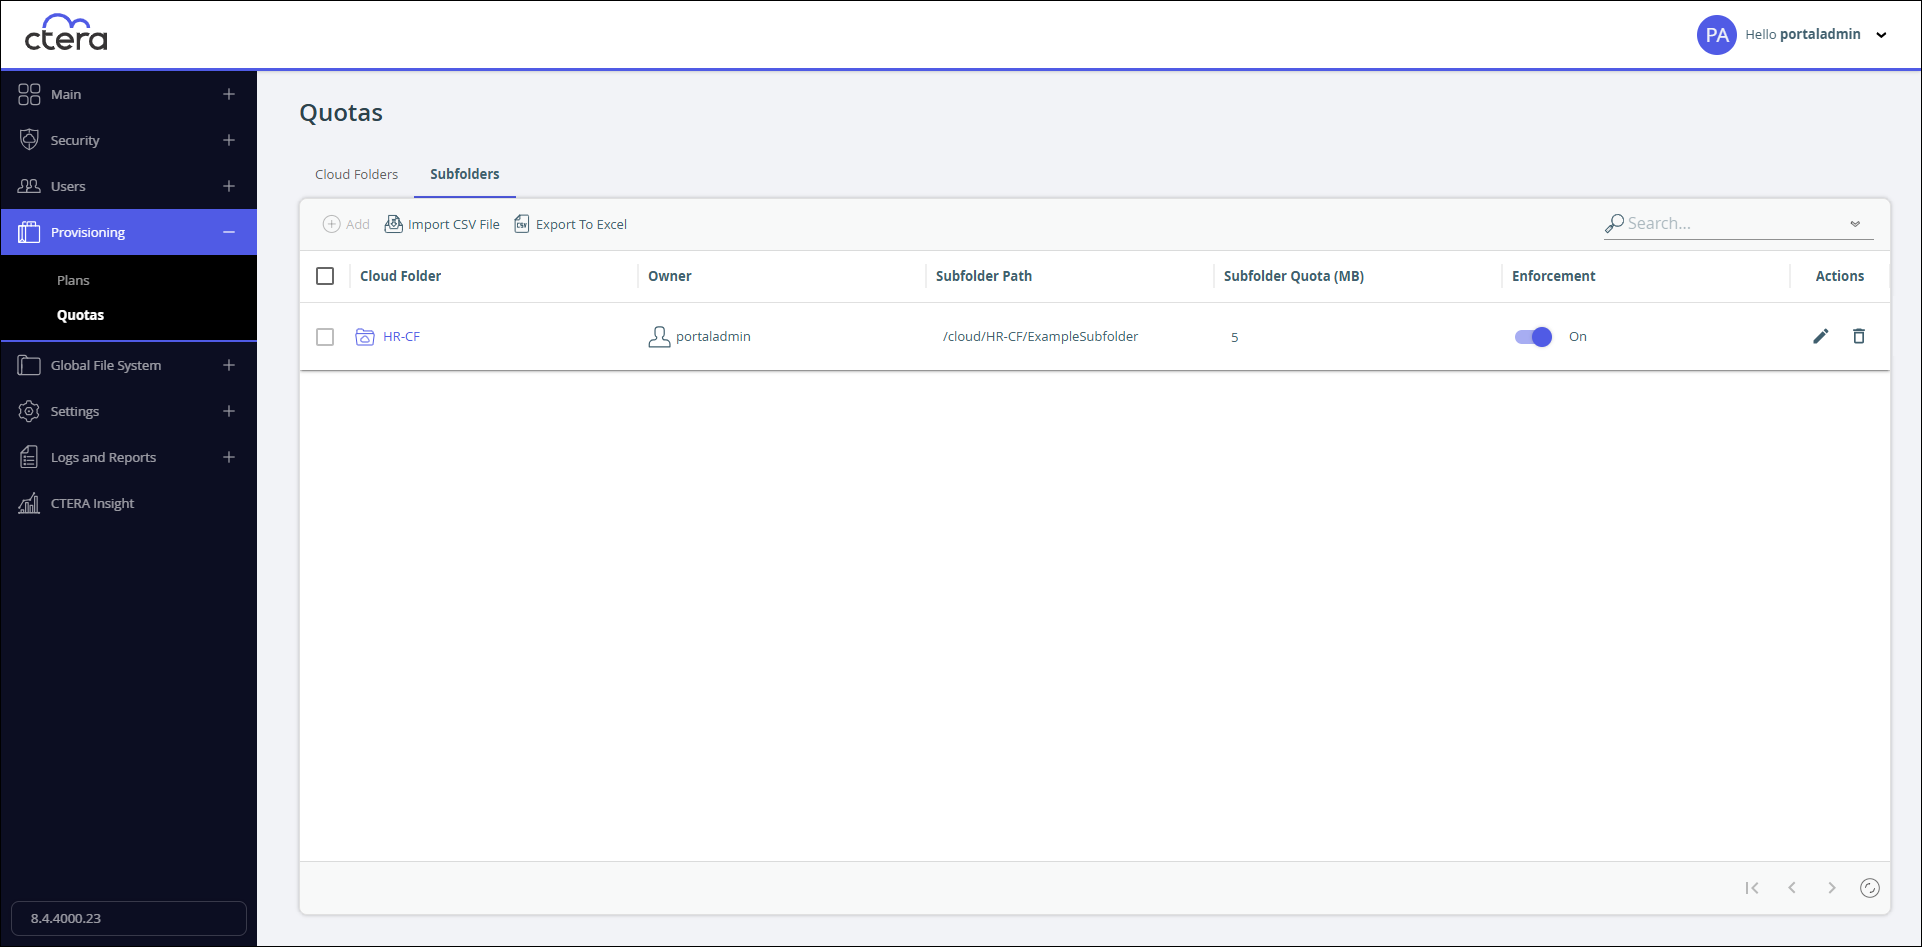
- Select Provisioning > Quotas in the navigation pane.
The Quotas page is displayed.
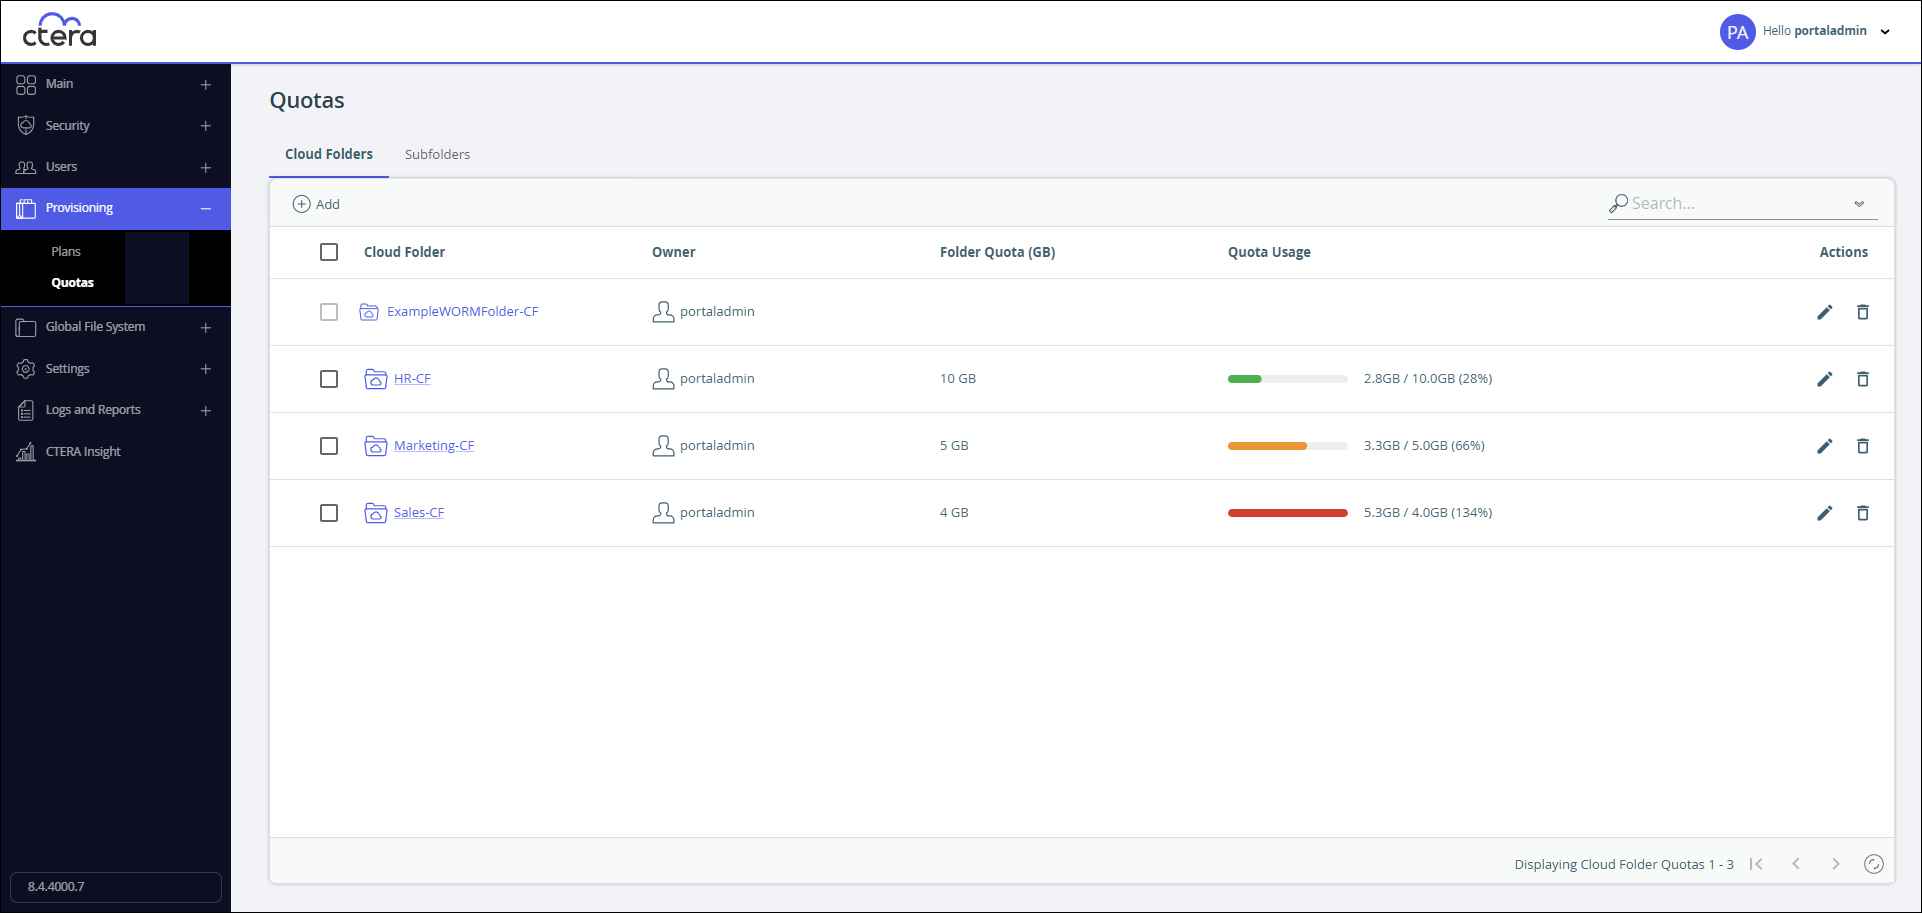
The page is empty if folder quotas have not been set. - Click the Subfolders tab.
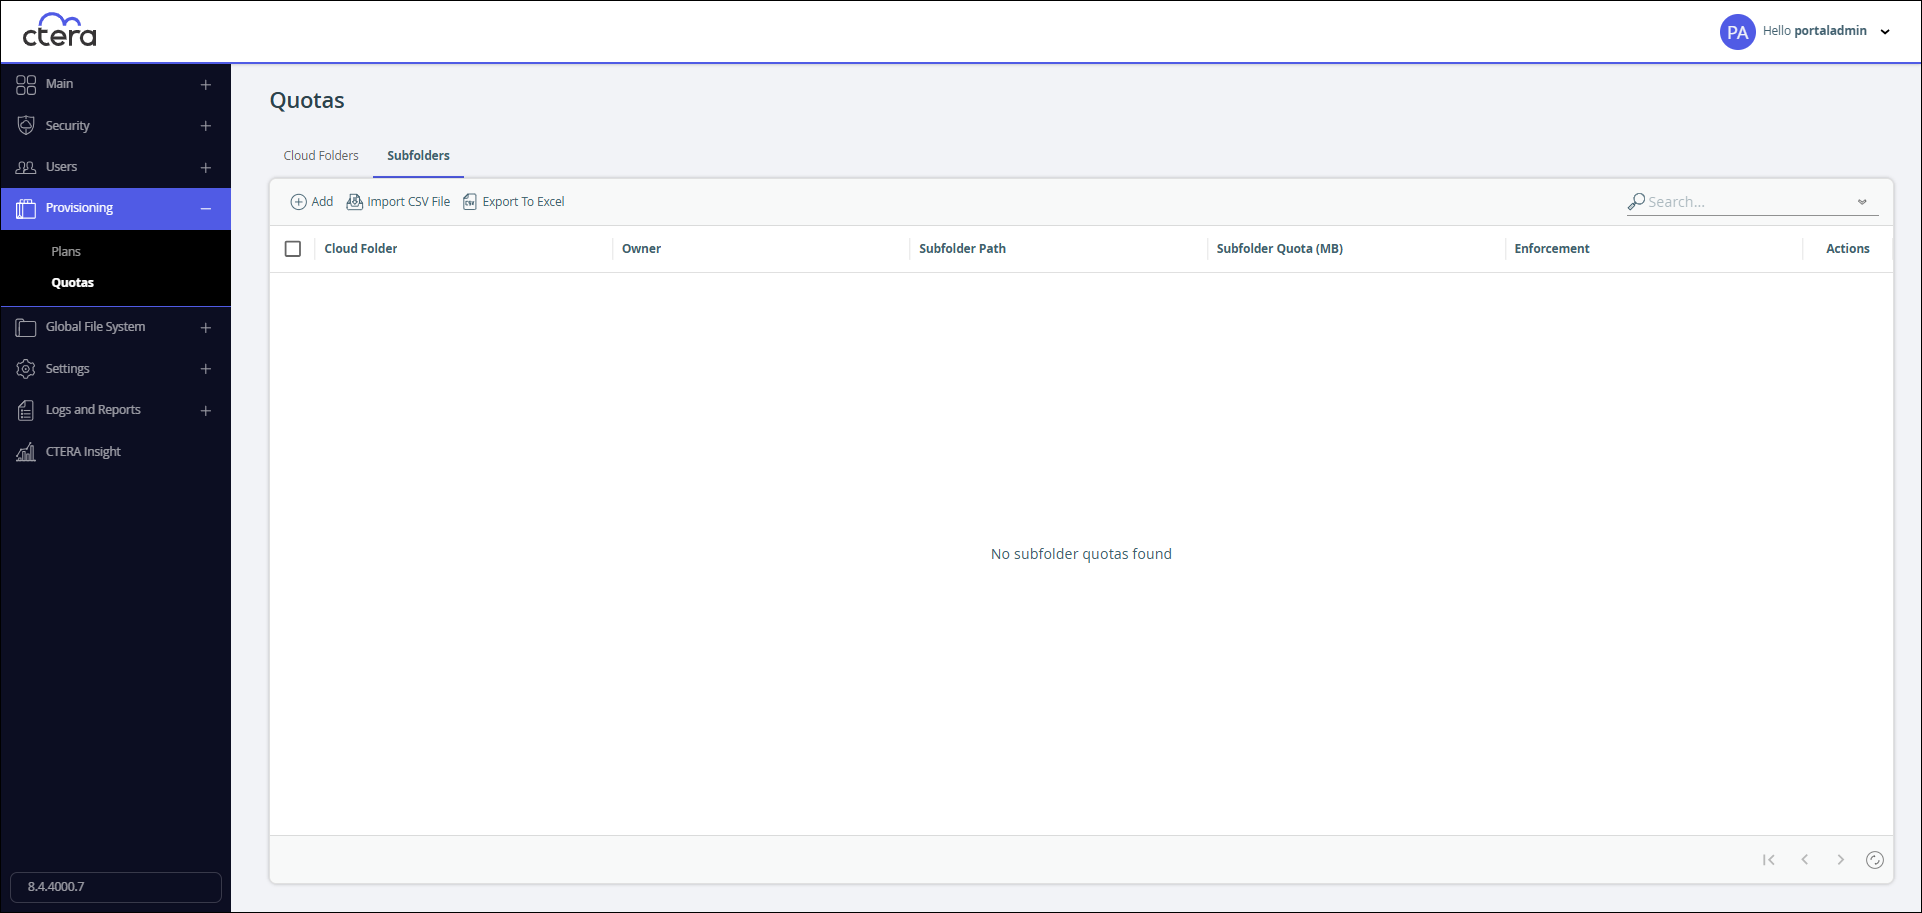
- Click Add.

- Click Set to add the cloud drive folder.
The Select Cloud Folder window is displayed.
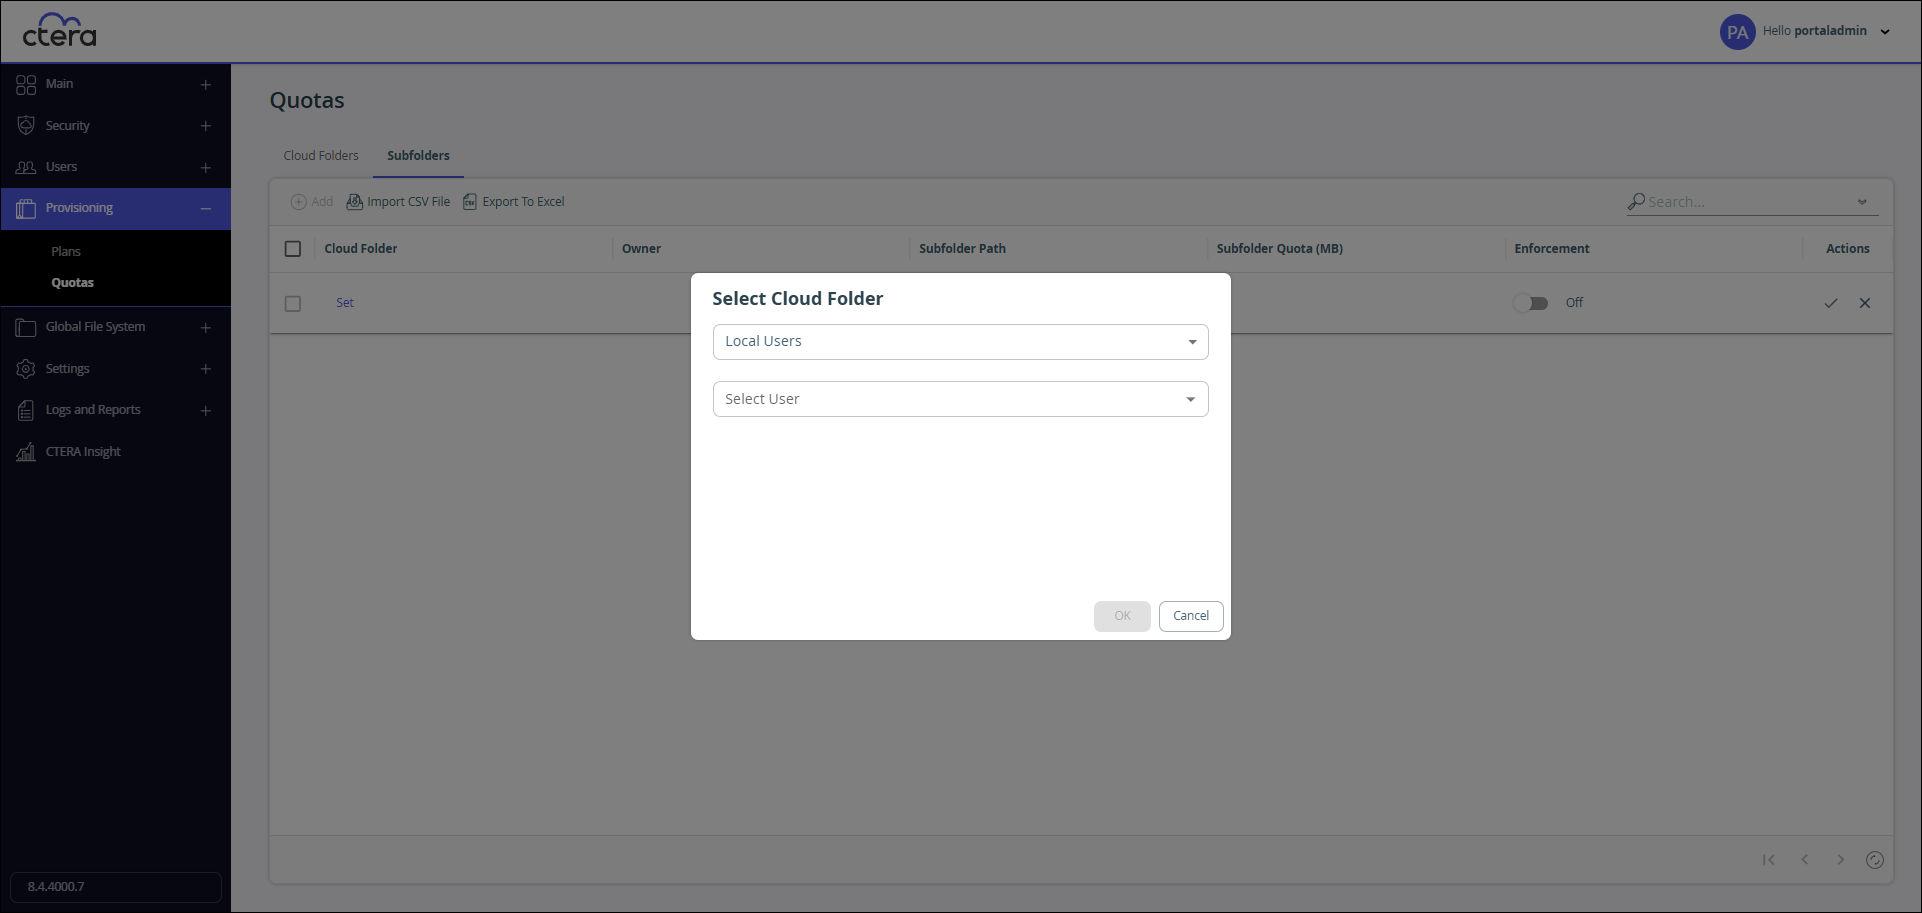
- Select whether the owner is a local user or a directory user and then select the owner from the Select User list.
You can enter characters to help search for the required owner.
The Select Cloud Folder field is displayed.

The list of cloud drive folders displayed in the Select Cloud Folder field are all the cloud drive folders for the owner.
This list of cloud drive folders in the list are all the cloud drive folders for the owner. - Select the cloud folder that is the parent of the subfolder you want to set a quota for.
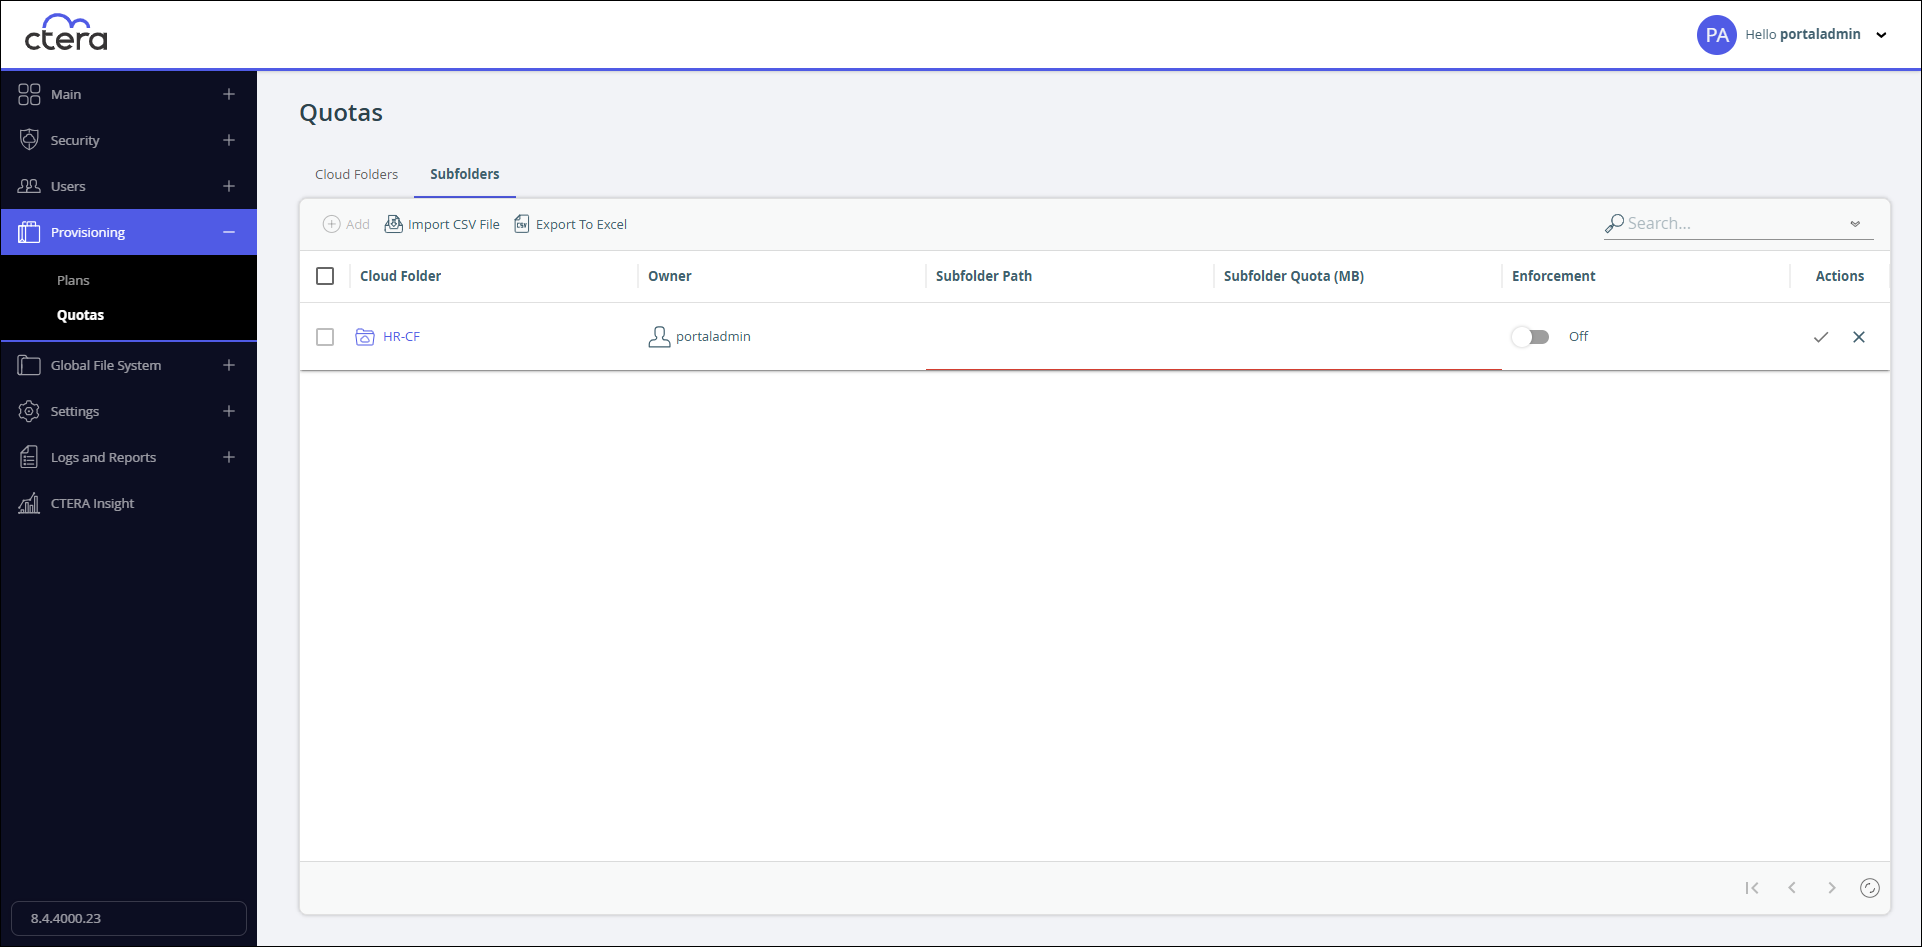
- Click in the Subfolder Path column to specify the path to the subfolder.
The subfolder path is the path after the cloud drive folder, starting with a forward slash (/), and is case sensitive. - Click in the Subfolder Quota (MB) column to specify the quota.
- Slide Enforcement on to enforce the quota.

- Click
 to confirm the quota for that subfolder.
Adding Multiple Subfolder Quotas
To add multiple subfolders via a CSV file:
- Select Provisioning > Quotas in the navigation pane.
The Quotas page is displayed.
The page is empty if folder quotas have not been set. - Click the Subfolders tab.
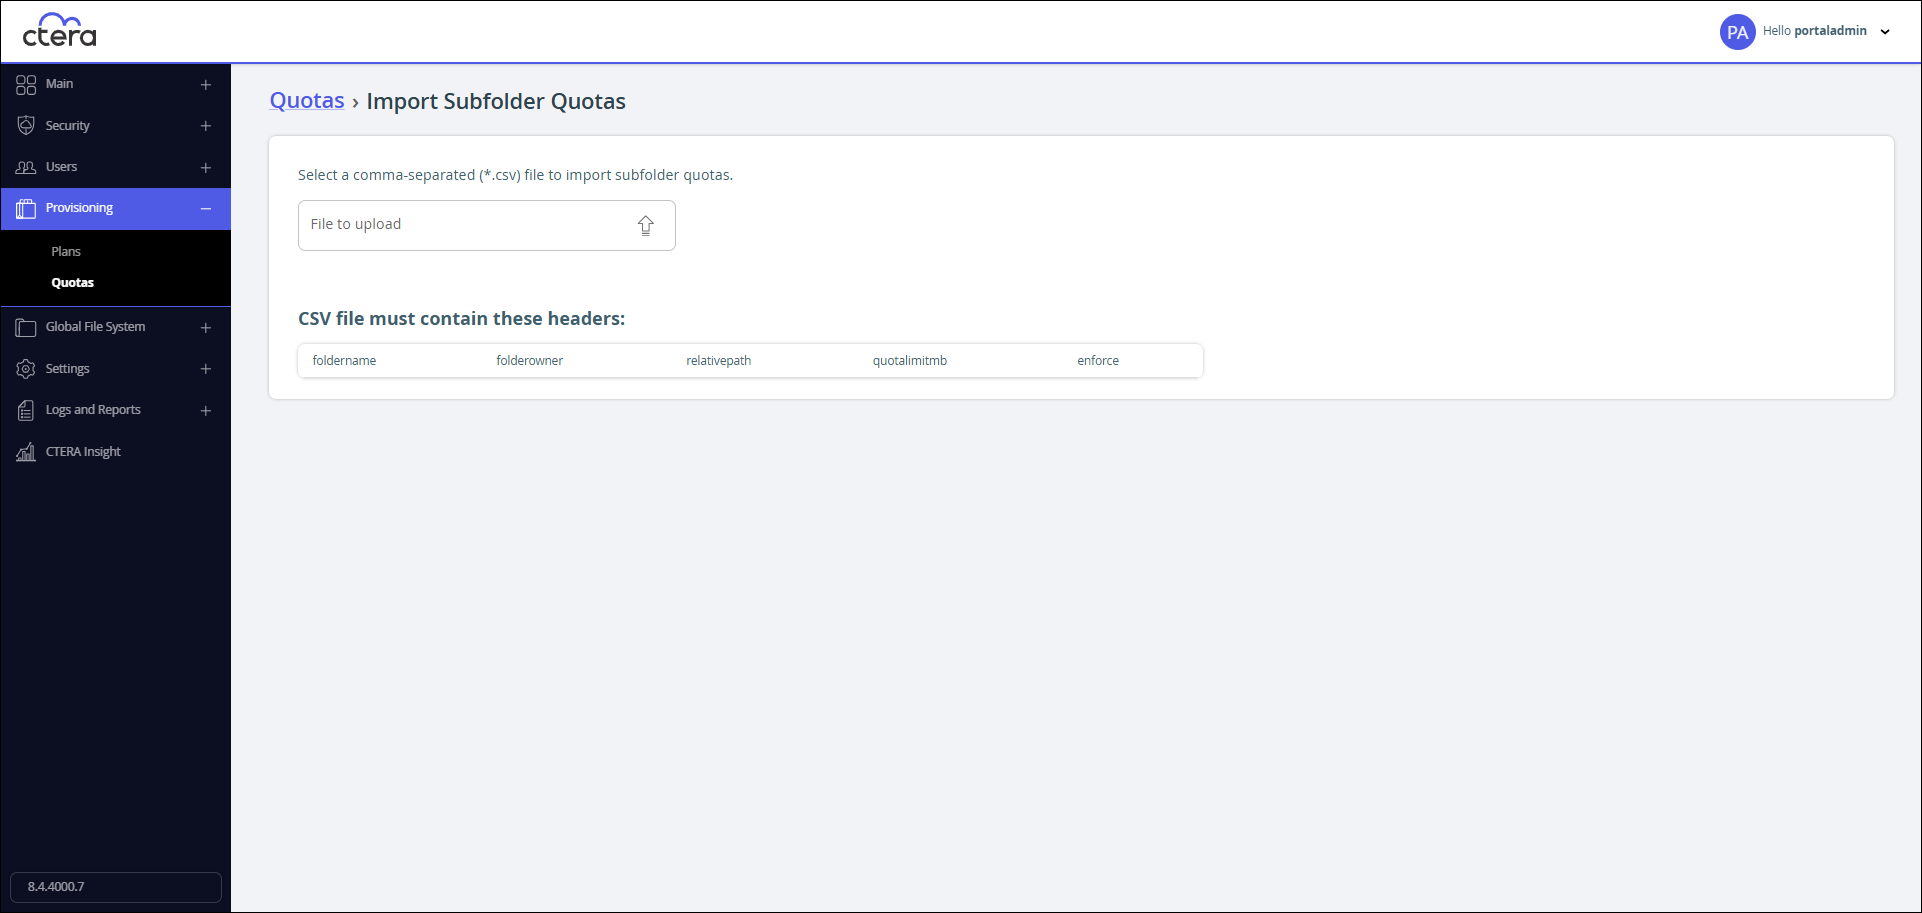
- Click Import CSV File to upload an CSV file with a list of subfolders and quotas to apply.
The Import Subfolder Quotas page is displayed.
- Click
 and select the CSV file to upload.
 - Click Open.
The CSV file includes:
foldername – The cloud folder name.
folderowner – The folder owner.
relativepath – The subfolder path. The path is the path after the cloud drive folder starting with a forward slash (/) and is case sensitive.
quotalimitmb – The subfolder quota.
enforce – Whether the quota should be enforced or not.
Editing a Subfolder Quota
To edit a folder quota for a cloud drive folder:
- Select Provisioning > Quotas in the navigation pane.
The Quotas page is displayed.
The page is empty if folder quotas have not been set. - Click the Subfolders tab.
- Either double-click in the Subfolder Quota (MB) column for the subfolder quota you want to change or click
 and then click in the Subfolder Quota (MB) column for that subfolder.
 - Edit the quota.
- Either double-click in the Enforcement column for the subfolder quota you want to change or click and then click in the Enforcement column for that subfolder.
- Slide on or off the Enforcement policy, as required.
- Click to confirm the changes.
Removing a Subfolder Quota
To remove a quota for a subfolder:
- Select Provisioning > Quotas in the navigation pane.
The Quotas page is displayed.
The page is empty if folder quotas have not been set. - Click the Subfolders tab.
- For a single quota:
- Select the cloud folder row.
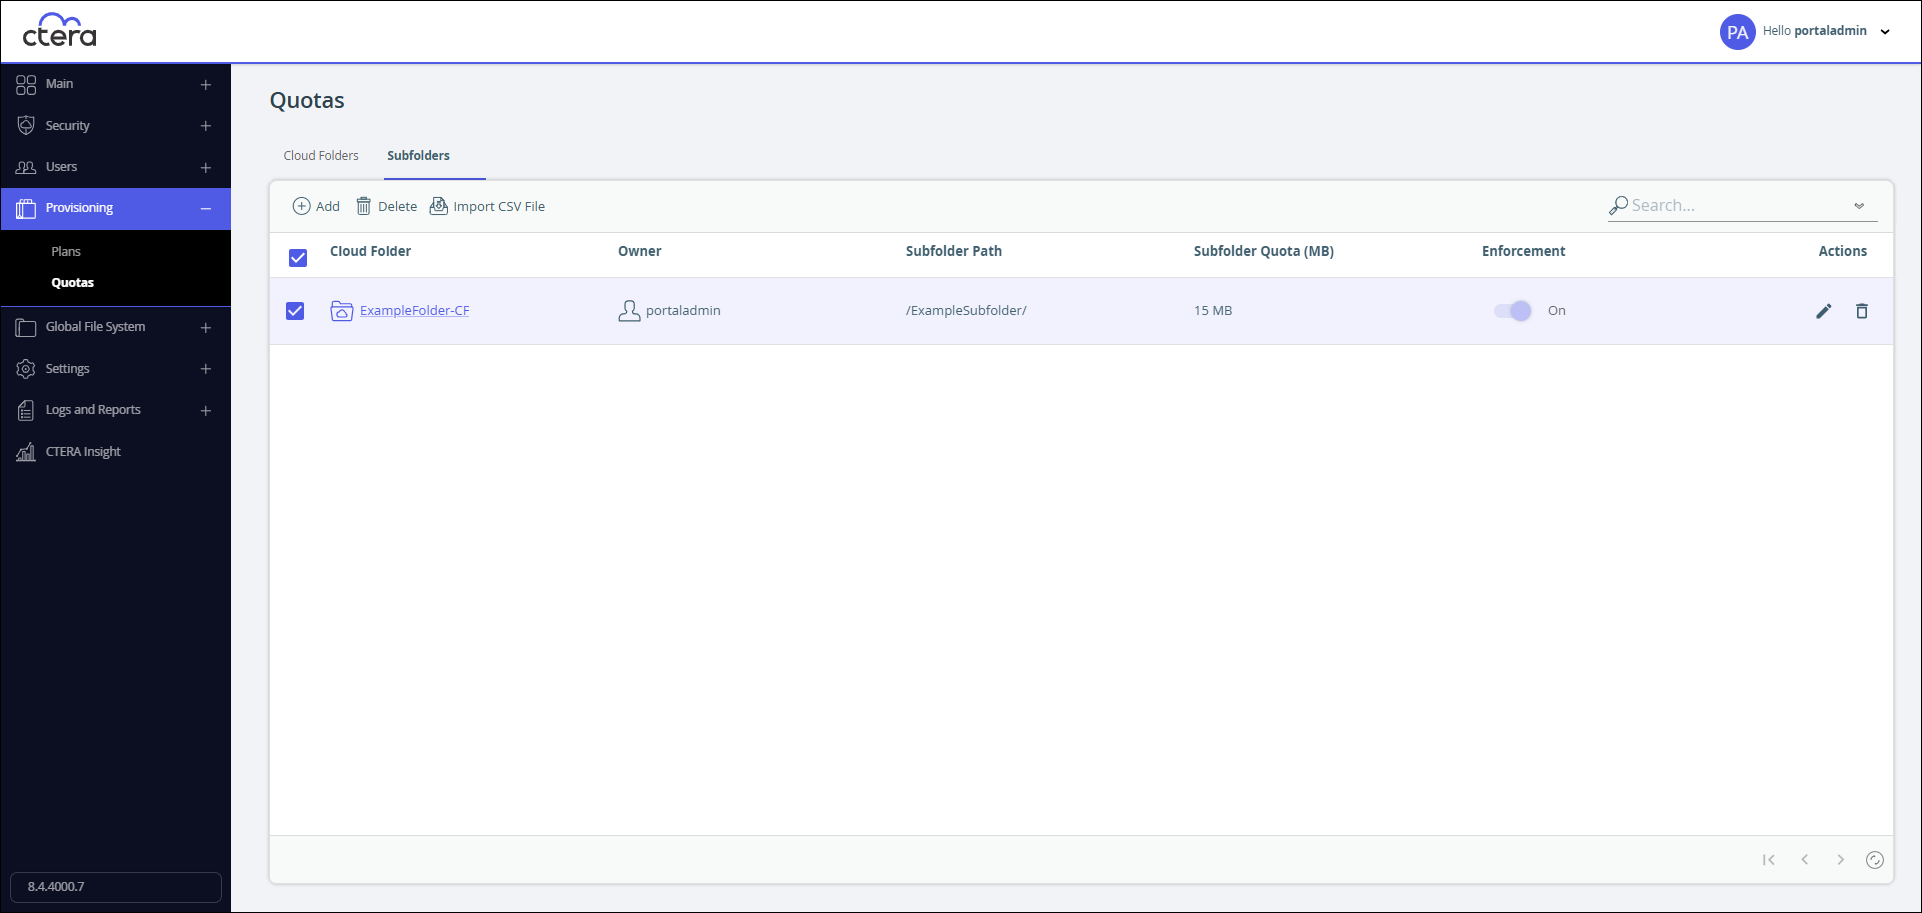
- Either click Delete or click
 .
.
A Confirm window is displayed. - Click Delete in the confirmation window to confirm removing the quota.
- Select the cloud folder row.
- For multiple quotas:
- Select the cloud folder rows.
- Click Delete.
A Confirm window is displayed. - Click Delete in the confirmation window to confirm removing the quota.