You set up SAML single sign-on support in Azure and gather the information you need to connect the CTERA Portal to Microsoft Entra ID (Azure Active Directory).
Note
Microsoft changes the look and feel of Azure from time to time. The following procedure and screens might have changed but the basic procedure is the same.
To get the SAML single sign-on information:
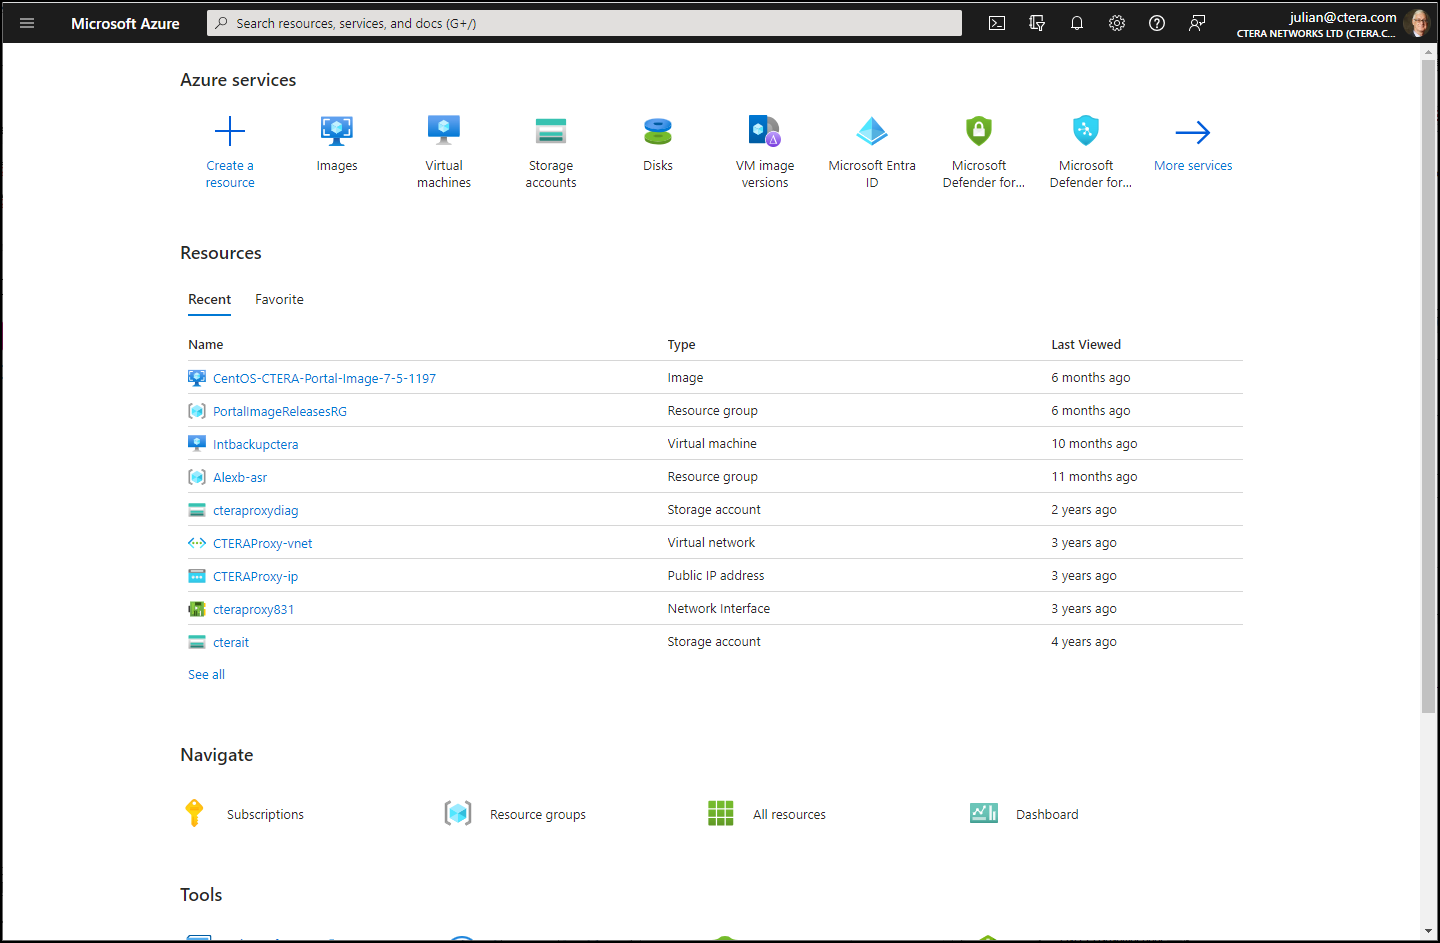
- Login to Azure as the administrator.
The home page is displayed.

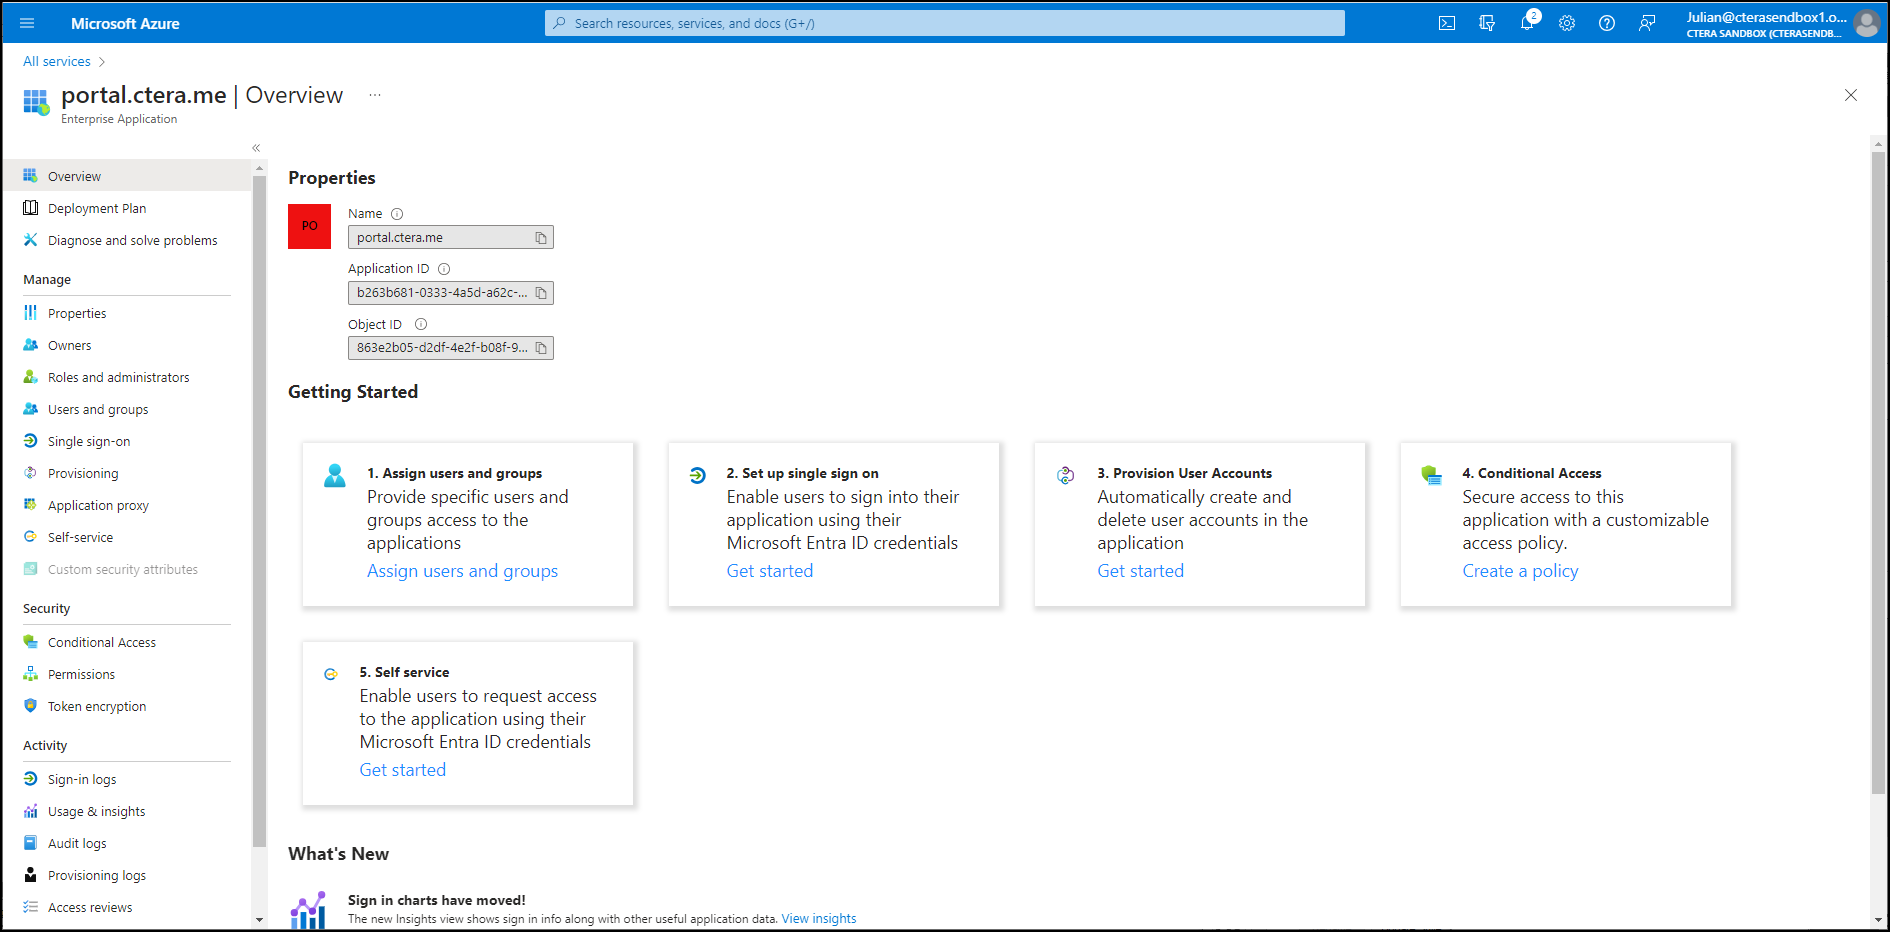
- Access the Microsoft Entra ID service.
The Overview page is displayed. - Scroll down and under Quick actions click Add enterprise application.
The Browse Microsoft Entra ID Gallery page is displayed.

- Click the Create your own application tab.
The Create your own application blade is displayed.

- Enter the DNS name for the portal in the What's the name of your app box and click Create.

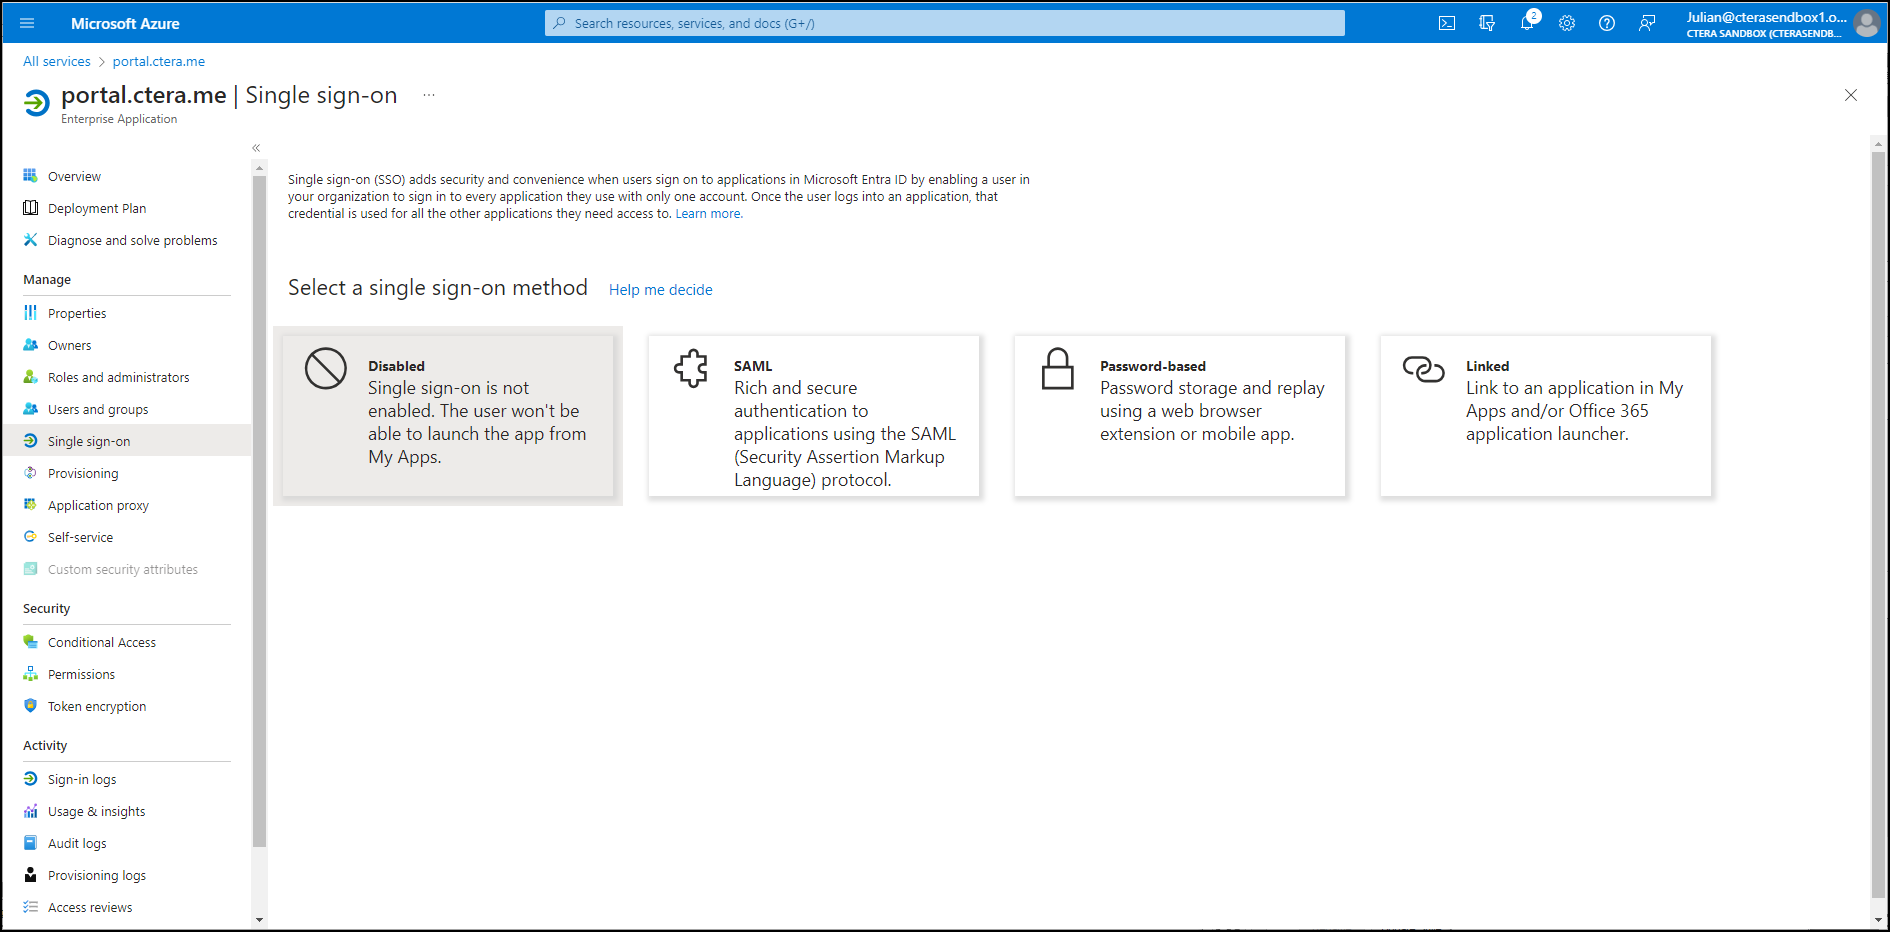
- In the navigation pane, click Single sign-on or click 2. Set up single sign on.

- Click SAML
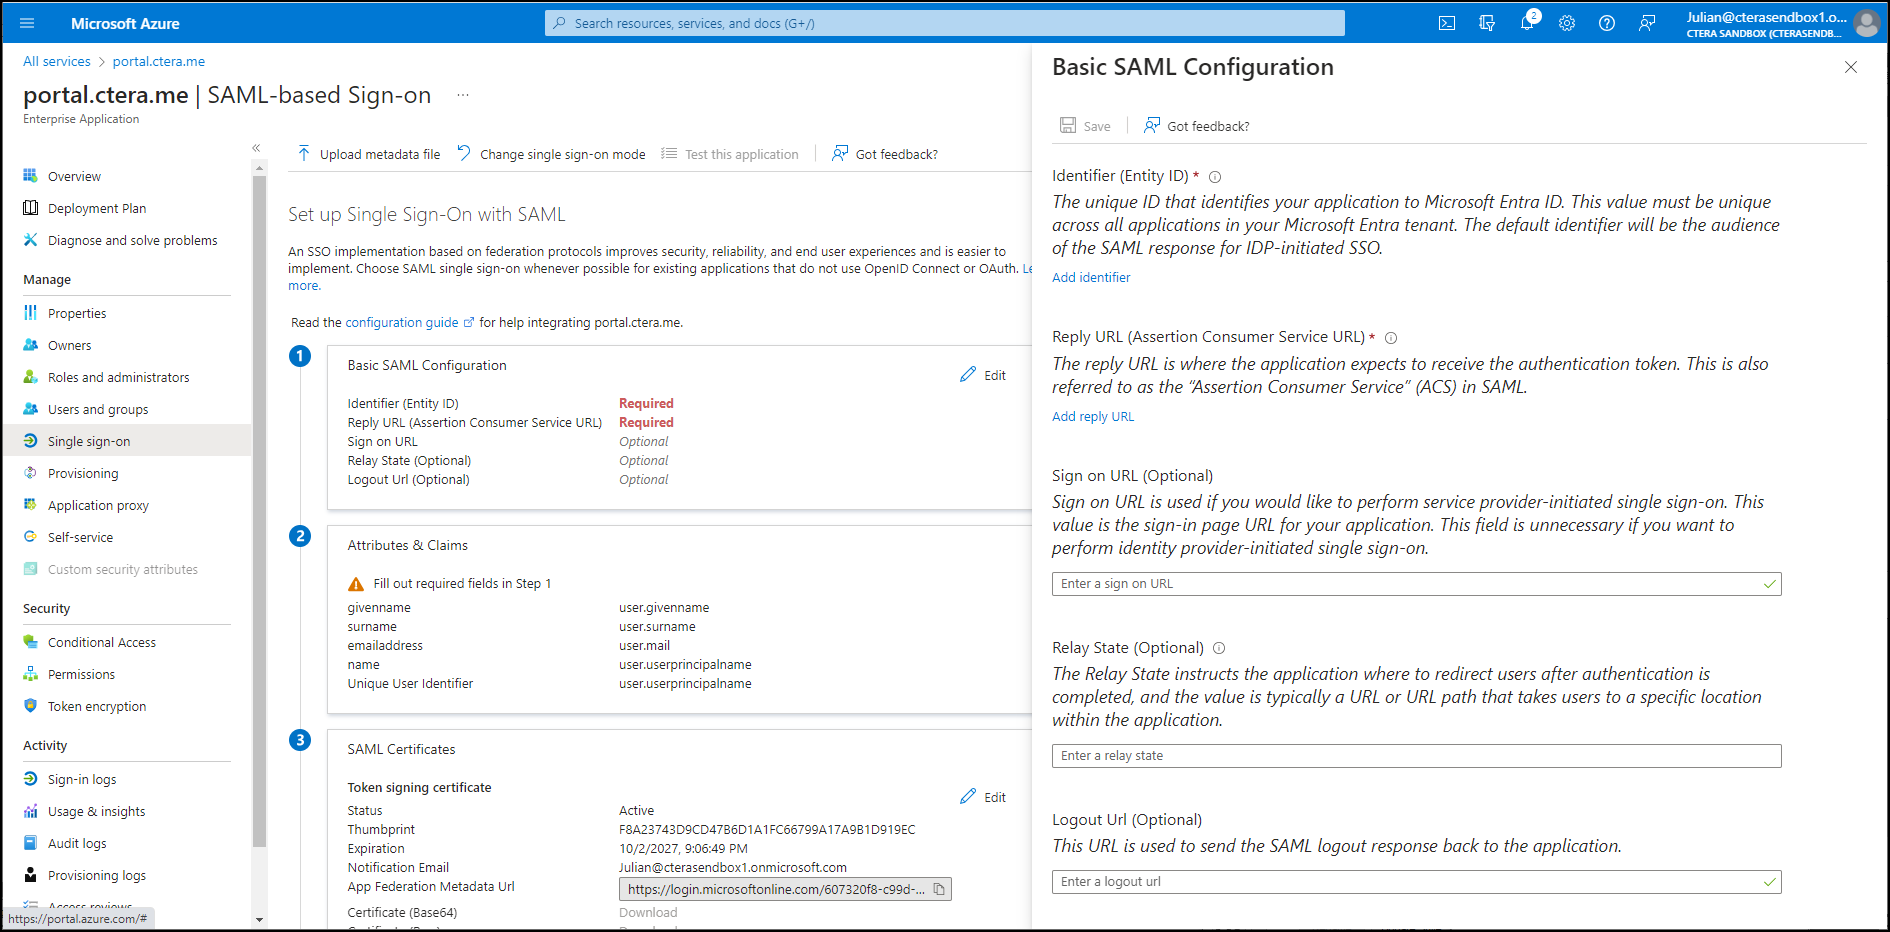
The SAML-based Sign-on page is displayed.

- Click the pen icon to edit the Basic SAML Configuration.
Tthe Basic SAML Configuration blade is displayed.

- Set the Identifier (Entity ID) to something that uniquely identify the set up. For example,
ctera-azureAD
You use this value in the CTERA Portal Entity ID/Issuer ID field, in the procedure To configure SAML single sign-on, described in Defining SAML SSO in the CTERA Portal, when setting up SAML in the portal. - Enter the URL to access the portal login in the Reply URL (Assertion Consumer Service URL) box:
http://<portal>.<DNS_Suffix>/ServicesPortal/samlwhere <portal> is the name of the portal and <DNS_Suffix> is the DNS suffix for the CTERA Portal installation. - Click Save.
- Click Download for the Certificate (Base64).
- Optionally, edit Attributes & Claims.