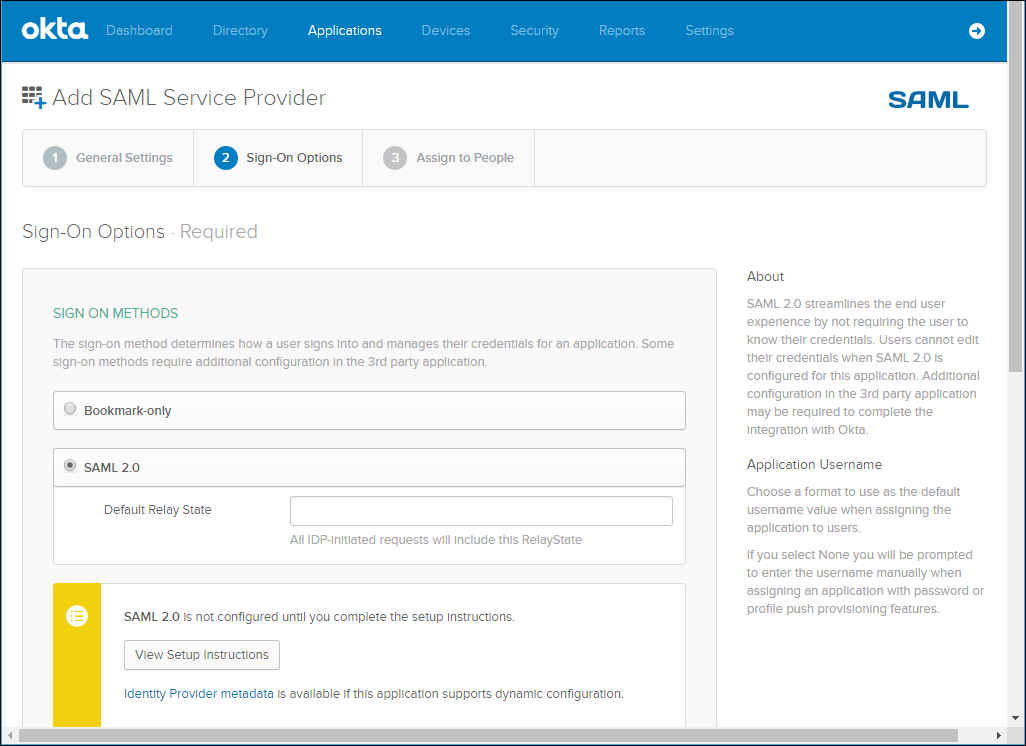
You set up SAML single sign-on support in Okta using the SAML Service Provider application. You then gather the information you need to connect the CTERA Portal to Okta.
To get the SAML single sign-on information:
- Login to Okta as the account administrator.
- Select Applications from the top menu and then click Add Application.
- Select SAML Service Provider from the list of applications.
- Change the Application label to the name you want to be displayed, for example CTERA, and click Next.

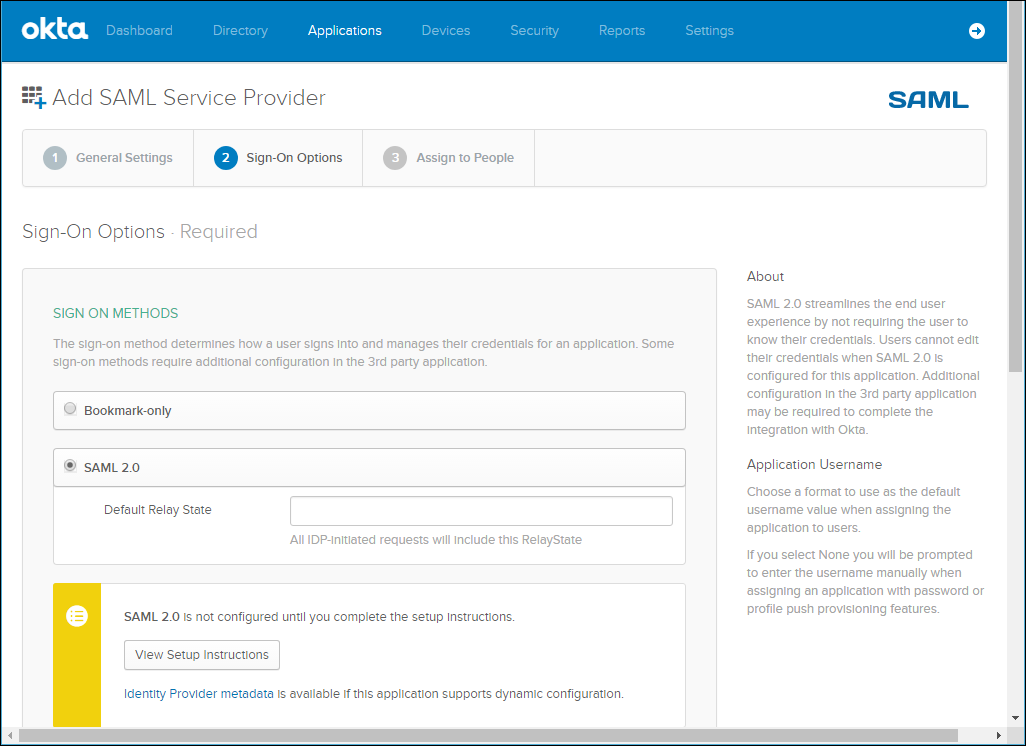
- In Sign-On Options, click Identity Provider metadata and download the certificate.
You upload this certificate after converting it to a .pem format, when setting up SAML in the CTERA Portal. - Set the Assertion Consumer Service URL and the Service Provider Entity Id.
The Assertion Consumer Service URL is the URL where SAML responses are posted, as follows: https://fully_qualified_domain_name/ServicesPortal/saml.
For example,https://myportal.example.com/ServicesPortal/saml
You use the Service Provider Entity Id in the CTERA Portal Entity ID/Issuer ID field when setting up SAML in the portal. - Continue to set up the application, as described in Okta documentation.
- Select the application and click the General tab.

- Scroll down to the App Embed Link section. You use the EMBED LINK value in the CTERA Portal Sign-in page URL field when setting up SAML in the portal.
- By default, Okta has a sign-out page. You can specify your own sign-out page in Okta, under Settings > Customization, which you can use as the Log-out page URL when setting up SAML in the portal.