Use the following workflow to install CTERA Portal.
- Creating a Portal Instance using a CTERA Portal image from CTERA support.
- Configuring Network Settings.
- Optionally, configure a default gateway.
- Additional Installation Instructions for Customers Without Internet Access.
- For the first server you install, follow the steps in Configuring the Primary Server.
- For any additional servers beside the primary server, install the server as described below and configure it as an additional server, as described in Installing and Configuring Additional CTERA Portal Servers.
- Make sure that you replicate the database, as described in Configuring the CTERA Portal Database for Backup.
- Backup the server as described in Backing Up the CTERA Portal Servers and Storage.
You can use block-storage-level snapshots for backup, but snapshots are periodical in nature, configured to run every few hours. Therefore, you cannot recover the metadata to any point-in-time, and can lose a significant amount of data on failure. Also, many storage systems do not support block-level snapshots and replication, or do not do so efficiently.
Creating a Portal Instance
You install the CTERA Portal on Nutanix AHV via the Nutanix Prism Central console using the qcow2 image from CTERA.
To install the CTERA Portal Server in Nutanix:
- Log in to the Nutanix Prism Central console.

The dashboard is displayed.
- Click Home > Settings in the top bar.
The Settings page is displayed.
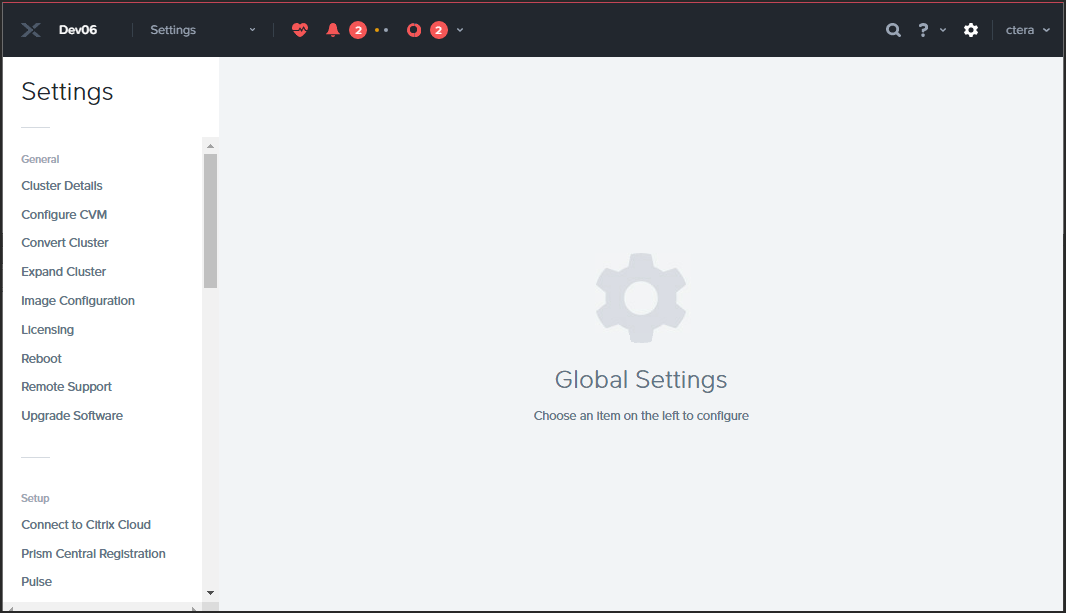
- Click Image Configuration in the navigation pane.
The Image Configuration page is displayed.
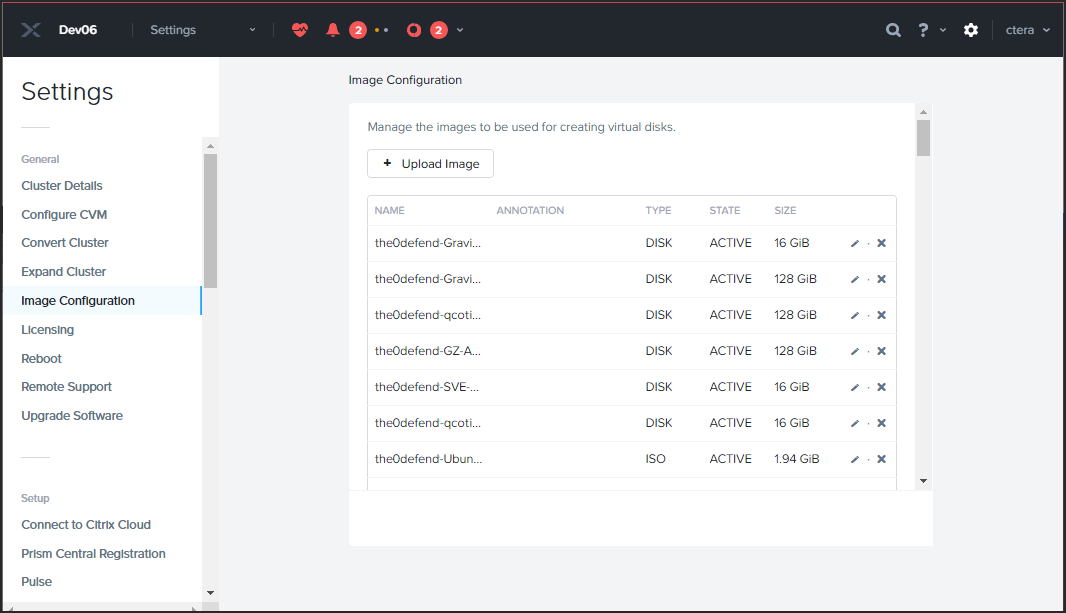
- Click Upload Image.
The Create Image window is displayed.
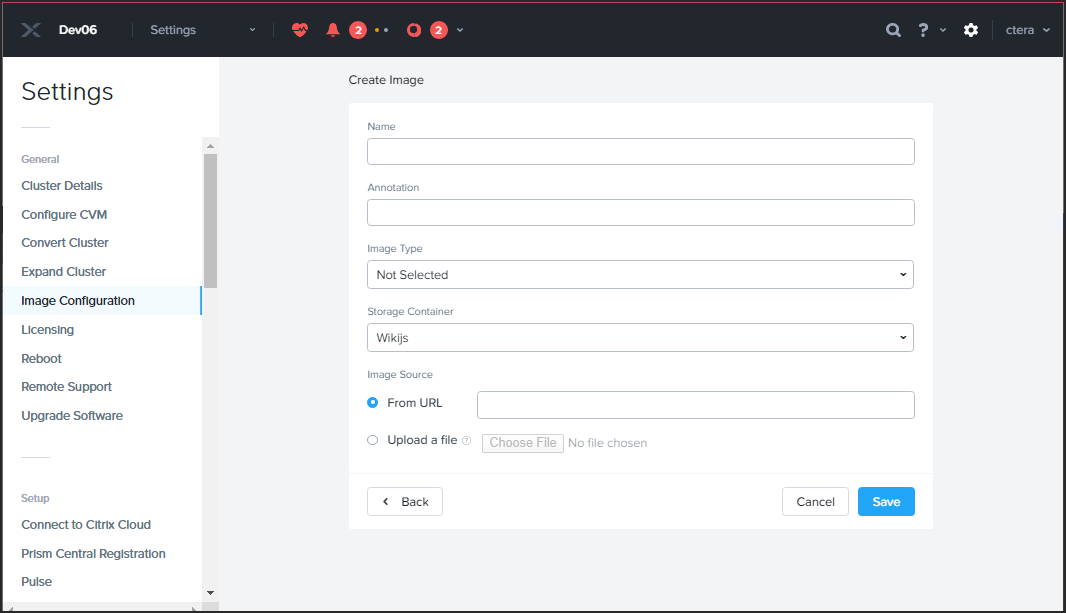
- Specify the details for the portal image.
Name – A unique name to identify the image.
Annotation – An optional description of the image.
Image Type– Set to DISK.
Storage Container – Select the storage container. - Choose the Upload a file option and browse to the qcow2 image file from CTERA support.
- Click Save.
The progress of the image creation is displayed in the page under the top bar.

- Click Settings > VM in the top bar.
The VM page is displayed. - If necessary, change the view from Overview to Table, to list all the VMs.
- Click Create VM.
The Create VM window is displayed.
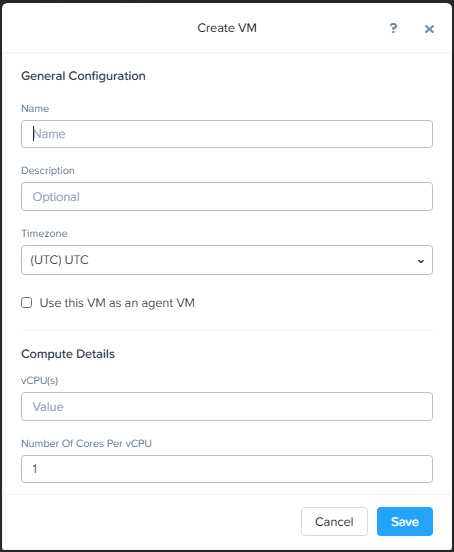
- Specify the details for the VM.
Name – A unique name to identify the portal.
Description – An optional description of the portal.
Timezone – The timezone for the VM. The default is the local timezone.
Use this VM as an agent VM – Leave unchecked.
vCPU(s) – The number of vCPUs. See General Requirements.
Number Of Cores Per vCPU – The number of cores per vCPU. Leave the default value. - Scroll down to complete the details for the VM.
Memory – The memory usage. See General Requirements.
Disks – Add a disk.- Click Add New Disk.
The Add Disk window is displayed.

- Specify the details for the disk.
Type – The type of disk. Select DISK.
Operation – Select the Clone from Image Service from the drop-down list.- Image – Select the CTERA portal image from the drop-down list.
- Leave the other fields with the default values and click Add.
- Click Add New Disk.
- Under Boot Configuration, choose the Legacy BIOS option and select the added disk to be the boot device in the Set Boot Priority text box.
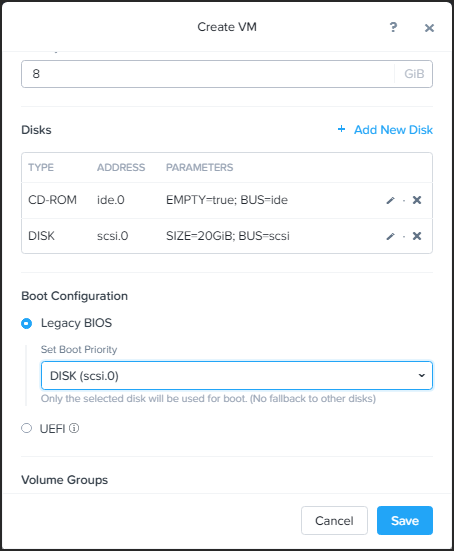
- Add a second disk for the portal database data.
- Click Add New Disk.
The Add Disk window is displayed.

- Specify the details for the disk.
Type – The type of disk. Select DISK.
Operation – Select the **Allocate from Storage Container **from the drop-down list.
Storage Container – Select the storage container from the drop-down list.
Size (GiB) – The disk size. The disk requirement is 100GB. Prior to going to production, contact CTERA support to evaluate whether the attached drive's performance meets CTERA's main database performance requirements. - Leave the other fields with the default values and click Add.
- Click Add New Disk.
- Optionally, follow your site best practices to ensure optimal performance of the VM on the cluster, in cases of node failure.
The Set VM Host Affinity window is displayed.- Under VM Host Affinity, click Set Affinity to enable the VM to another host in the cluster.
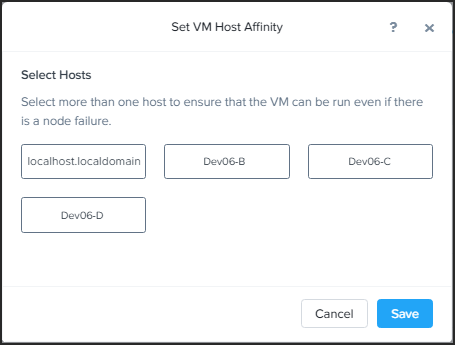
- Select the hosts under which the VM will run in the case of a node failure.
- Click Save.
- Under VM Host Affinity, click Set Affinity to enable the VM to another host in the cluster.
- Click Save.
The VM is created. - From the list of virtual machines (Table view), select the new virtual machine and scroll down to display details of the VM.
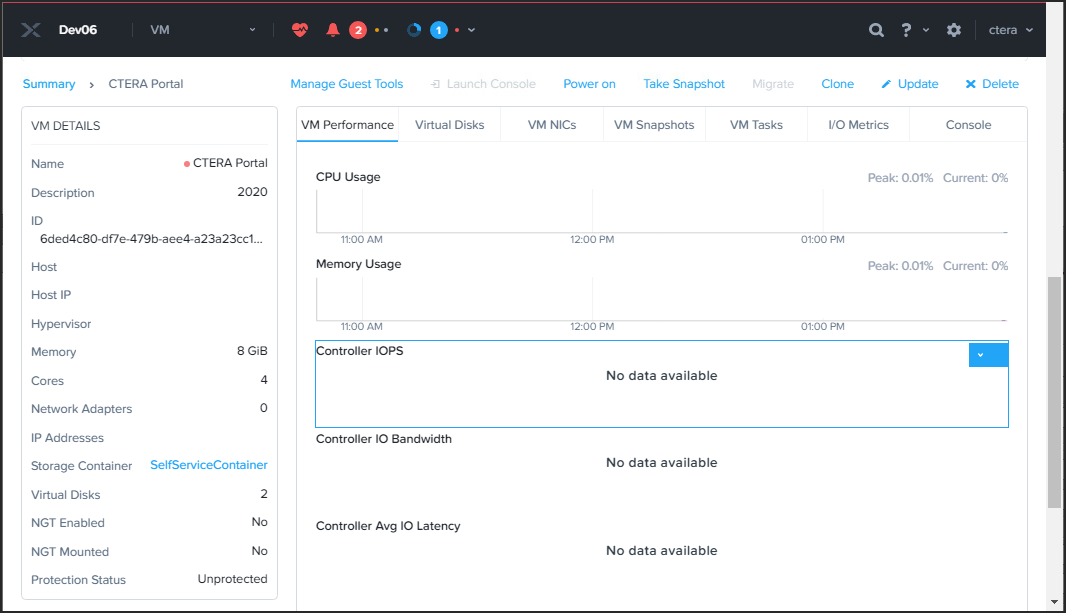
- Click Power On.
The VM is powered on and the Launch Console option is enabled.NoteIf the script to create the data pool does not successfully run, it will start on every boot until it completes. The script has a timeout which means it will exit if the data pool is not created within the timeout after boot time. If the data pool is not created, dockers required by the portal are not loaded to the data pool.
To make sure that the script completed successfully, before continuing, rundocker imagesto check that the docker images are available, including zookeeper, which is the last docker to load to the data pool.
If all the dockers do not load you need to run the script/usr/bin/ctera_firstboot.sh
Also, refer to Troubleshooting the Installation if the script does not complete successfully. - Continue with Logging in to the Server and Creating the Storage.
- If an IP is not assigned, configure network settings before starting the CTERA Portal services in the next step.
- Start CTERA Portal services, by running the following command:
portal-manage.sh start
Do not start the portal until both the sdconv and envoy dockers have been loaded to the data pool. You can check that these dockers have loaded in /var/log/ctera_firstboot.log or by running docker images
Logging in to the Server and Creating the Storage
You need a data pool on every server. The data pool is created automatically when you first start the virtual machine and dockers loaded on to it.
You need to create a data pool on every server and on the primary database server, and when PostgreSQL streaming replication is required, also on the secondary, replication, server, an archive pool. See Using PostgreSQL Streaming Replication for details about PostgreSQL streaming replication.
To log in to the portal server:
- Log in as the
rootuser using SSH.
The default password isctera321
You are prompted to change the password on your first login.
To create the archive pool:
- For the CTERA Portal primary database server and the secondary, replication, server, add a disk to the virtual machine to use as the archive pool.
The minimum archive pool should be 200GB but it should be sized around 2% of the expected global file system size. For more details, see General Requirements.
- Log in as the
rootuser using SSH. - Run
lsblkorfdisk -lto identify the disks to use for the data and archive pools. - Run the following command to create the archive pool:
portal-storage-util.sh create_db_archive_pool Device
Where Device is the Device name of the disk to use for the archive pool.
Troubleshooting the Installation
You can check on the progress of the docker loads in one of the following ways to ensure that all the dockers are loaded: The last docker to load is called zookeeper:
- In
/var/log/ctera_firstboot.log - By running
docker imagesto check that the docker images are available. - By checking if
/var/lib/ctera_firstboot_completedis present with the date and time when the installation was performed.
If all the dockers do not load you need to run the script /usr/bin/ctera_firstboot.sh