Use the following workflow to install CTERA Portal.
- Creating a Portal Instance.
- Optionally, configure a default gateway.
- For the first server you install, follow the steps in Configuring the Primary Server.
- For any additional servers beside the primary server, install the server as described below and configure it as an additional server, as described in Installing and Configuring Additional CTERA Portal Servers.
- Make sure that you replicate the database, as described in Configuring the CTERA Portal Database for Backup.
- Backup the server as described in Backing Up the CTERA Portal Servers and Storage.
Creating a Portal Instance
The CTERA Portal instance is created using the Microsoft Azure Marketplace.
To install a CTERA Portal in Azure not using the Azure Marketplace version, see Install a CTERA Portal in Azure Not Using the Azure Marketplace Version.
To create the CTERA Portal in Azure:
- Log in to your Azure portal and access Marketplace.
- Search for
ctera
The CTERA product offerings are displayed.
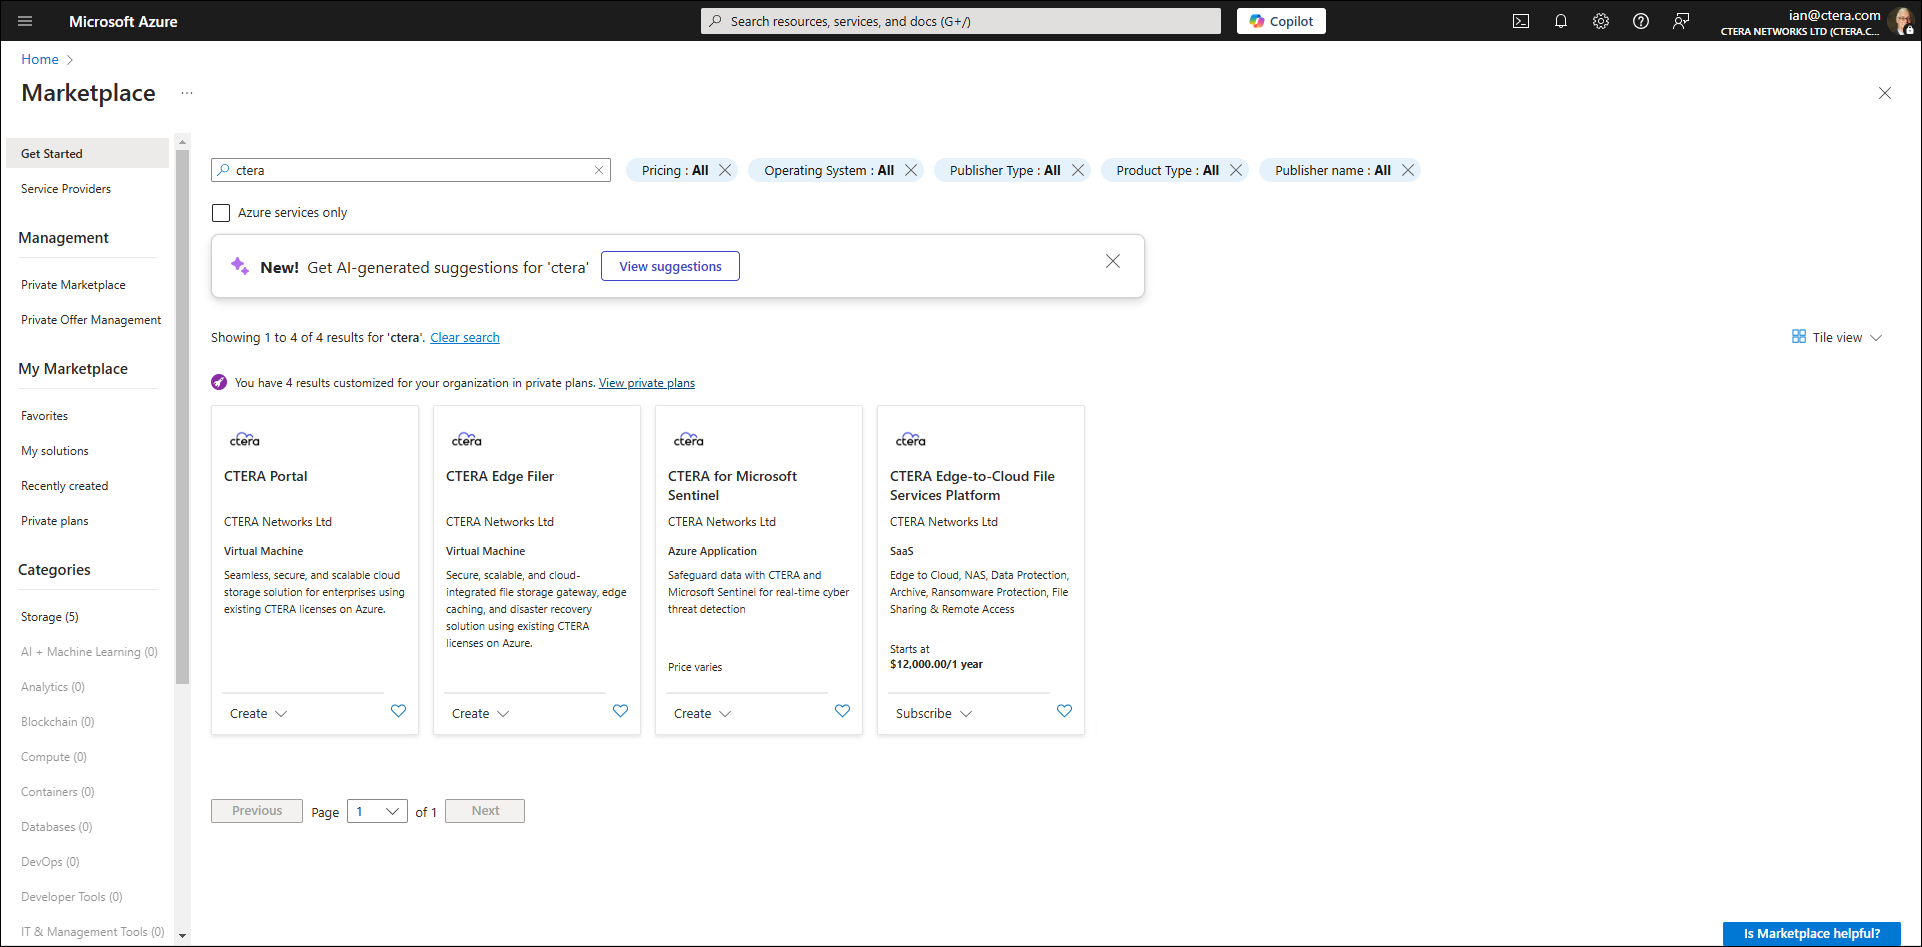
- Click Create for the CTERA Portal product and then click CTERA Portal in the popup.
The Create a virtual machine window is displayed.
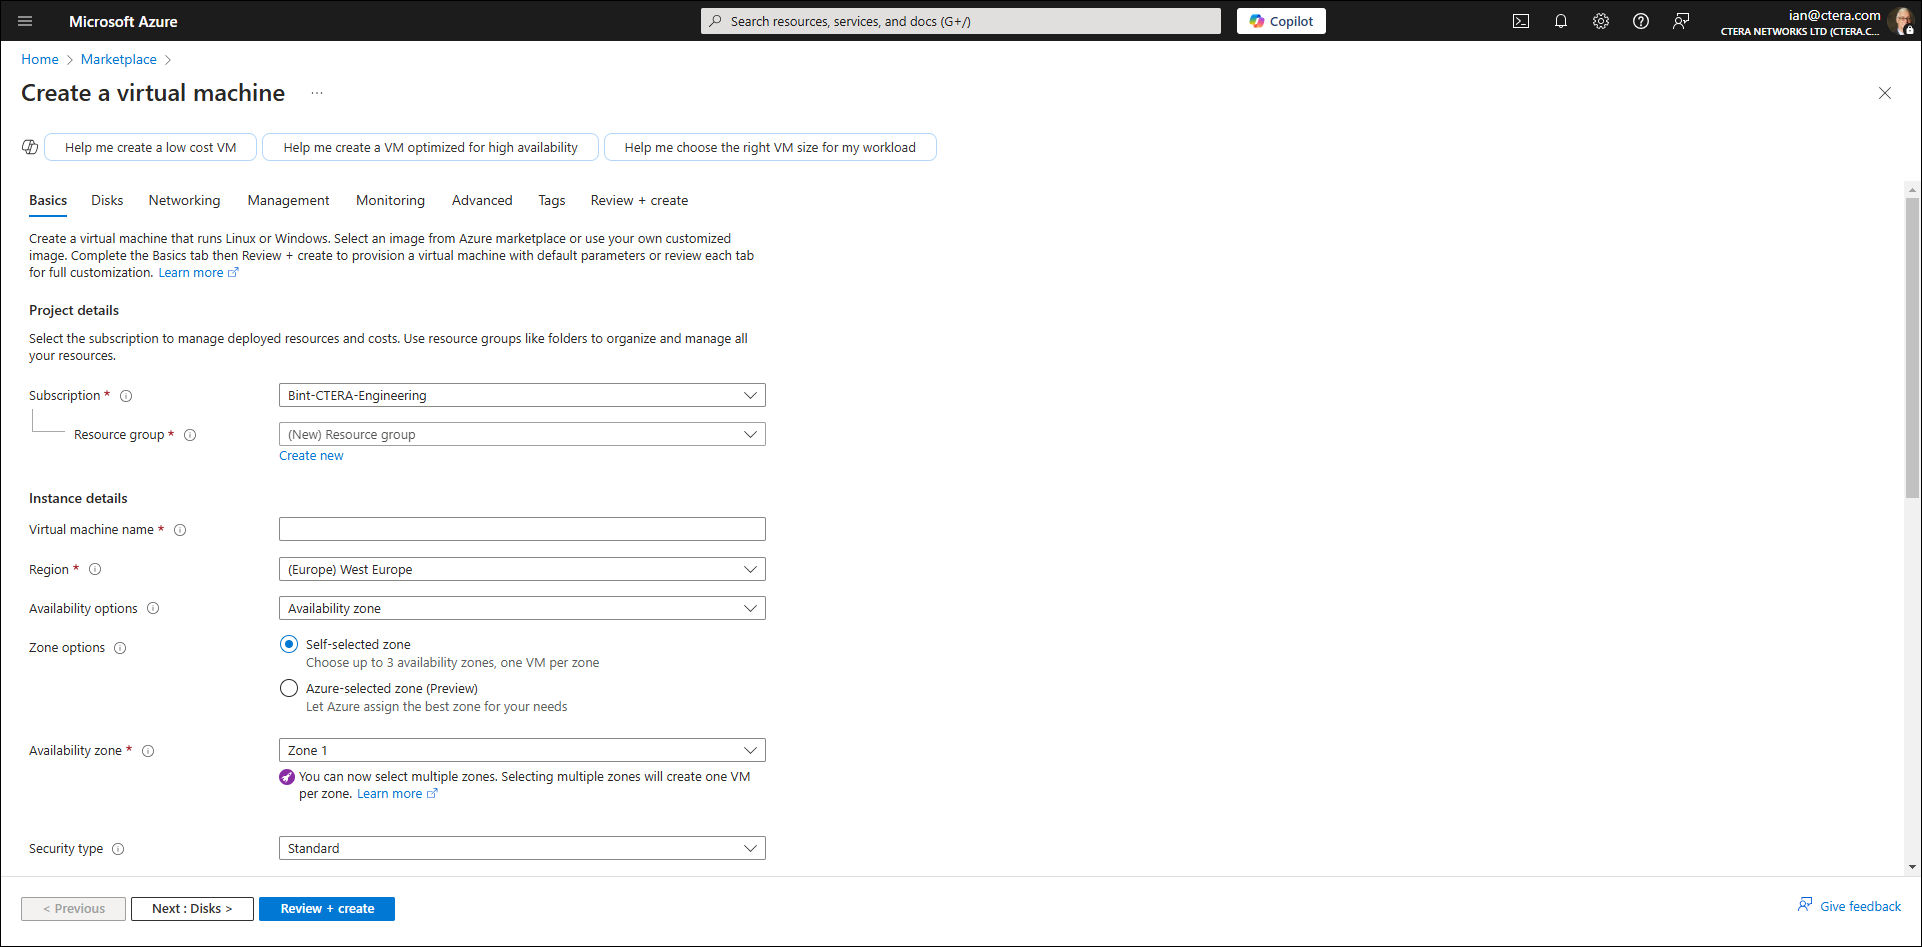
- Enter the following in the Basics tab for the virtual machine.
Virtual machine name – A name to uniquely identify the virtual machine. - Optionally, enter the following:
Resource group – The resource group to be used. The resource group must use premium storage. If you do not enter a resource group, one is automatically created.
Region – The region to host the virtual machine.
CTERA recommends leaving the other values with their defaults. - Click the Disks tab, or click Next: Disks.
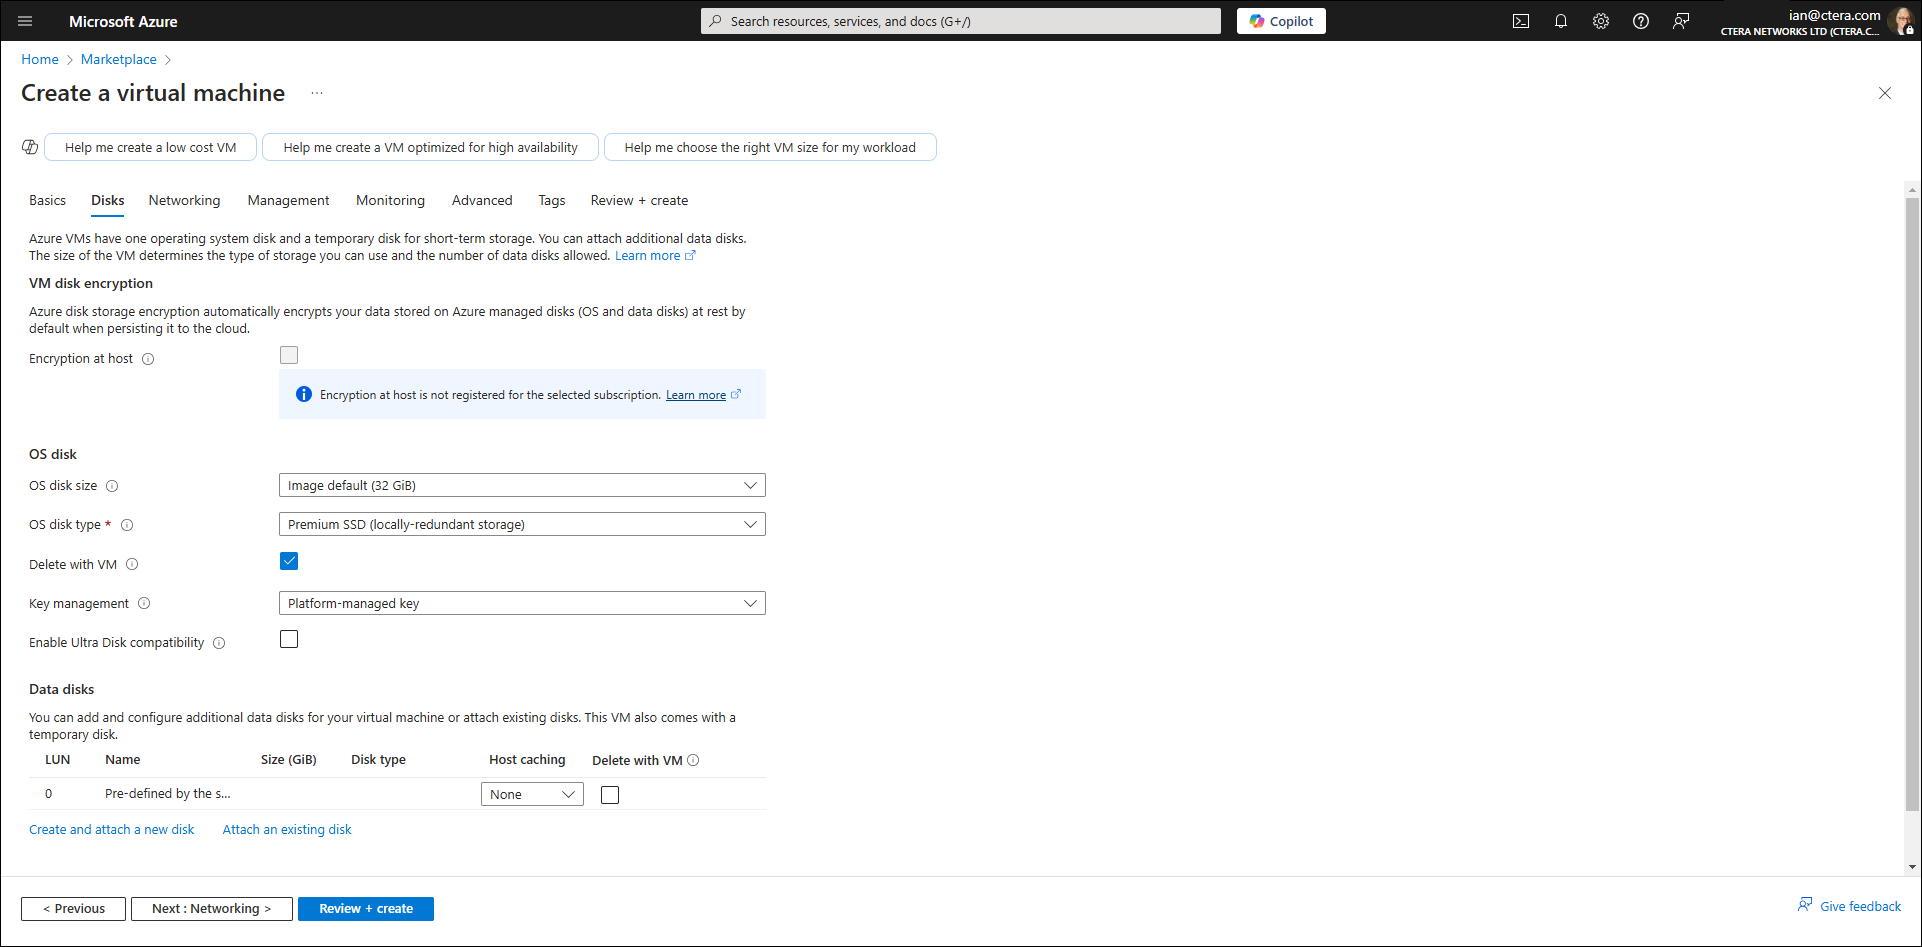
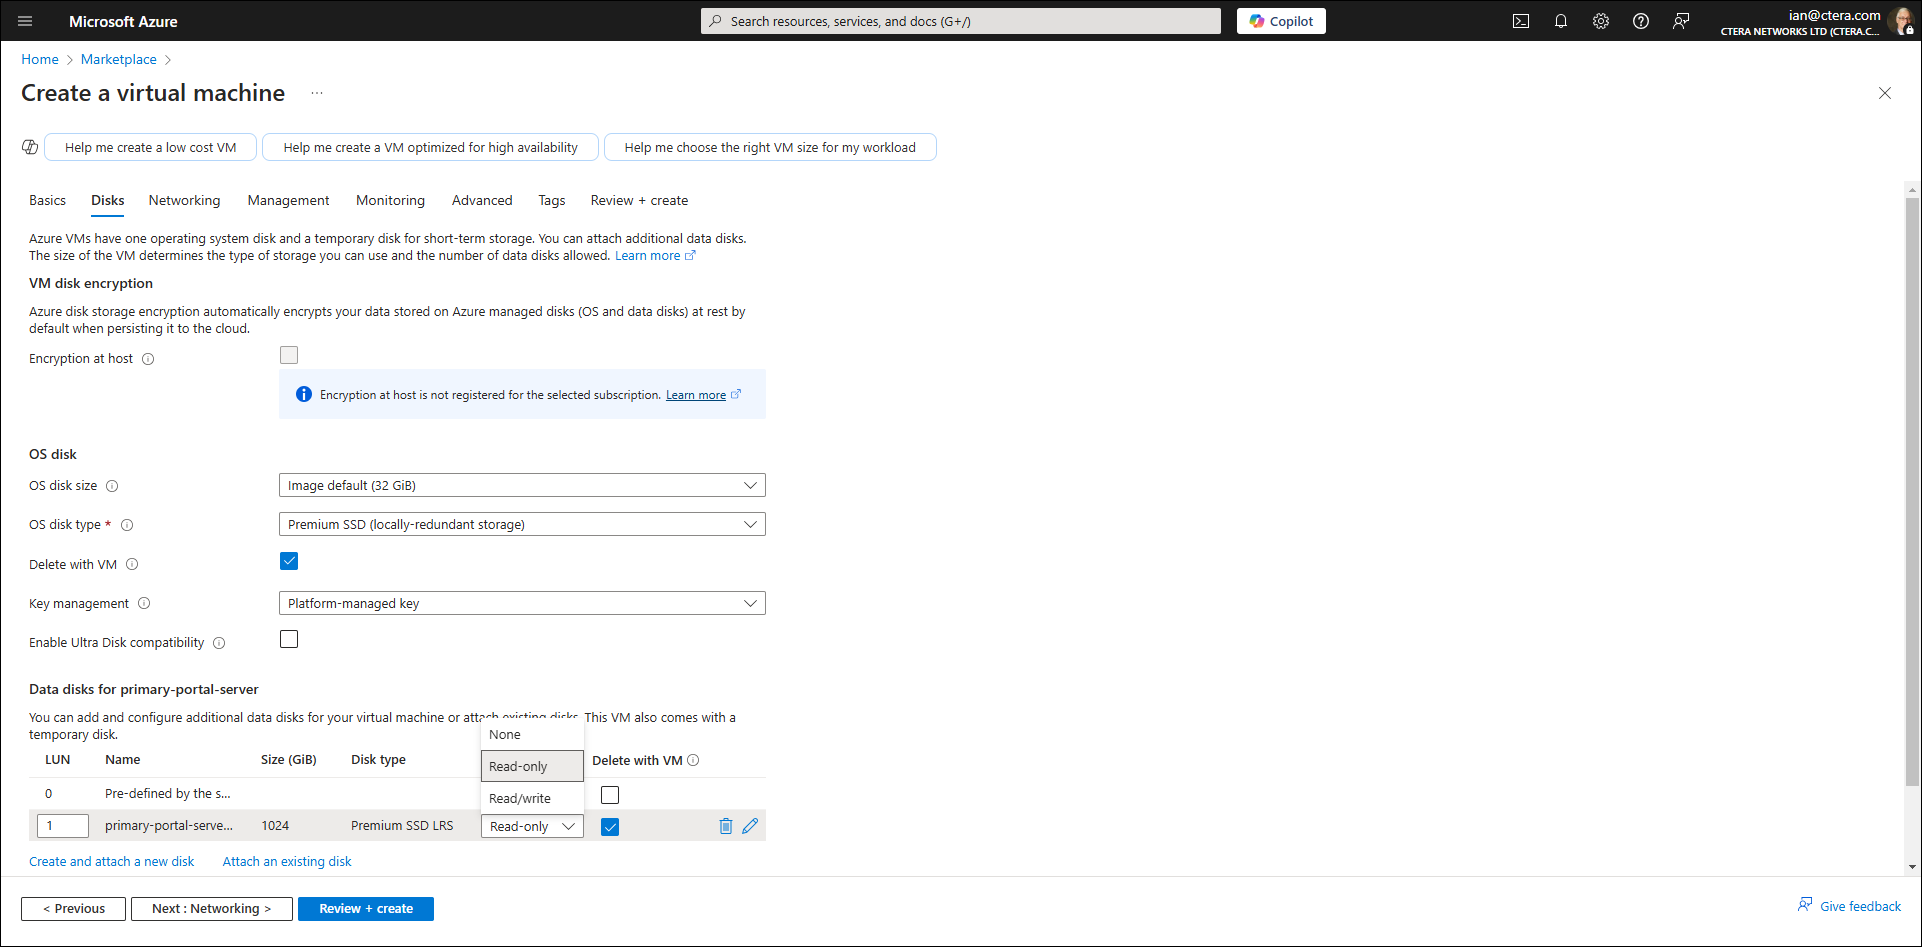
- Under Data disks, click Create and attach a new disk.
The Create a new disk window is displayed.
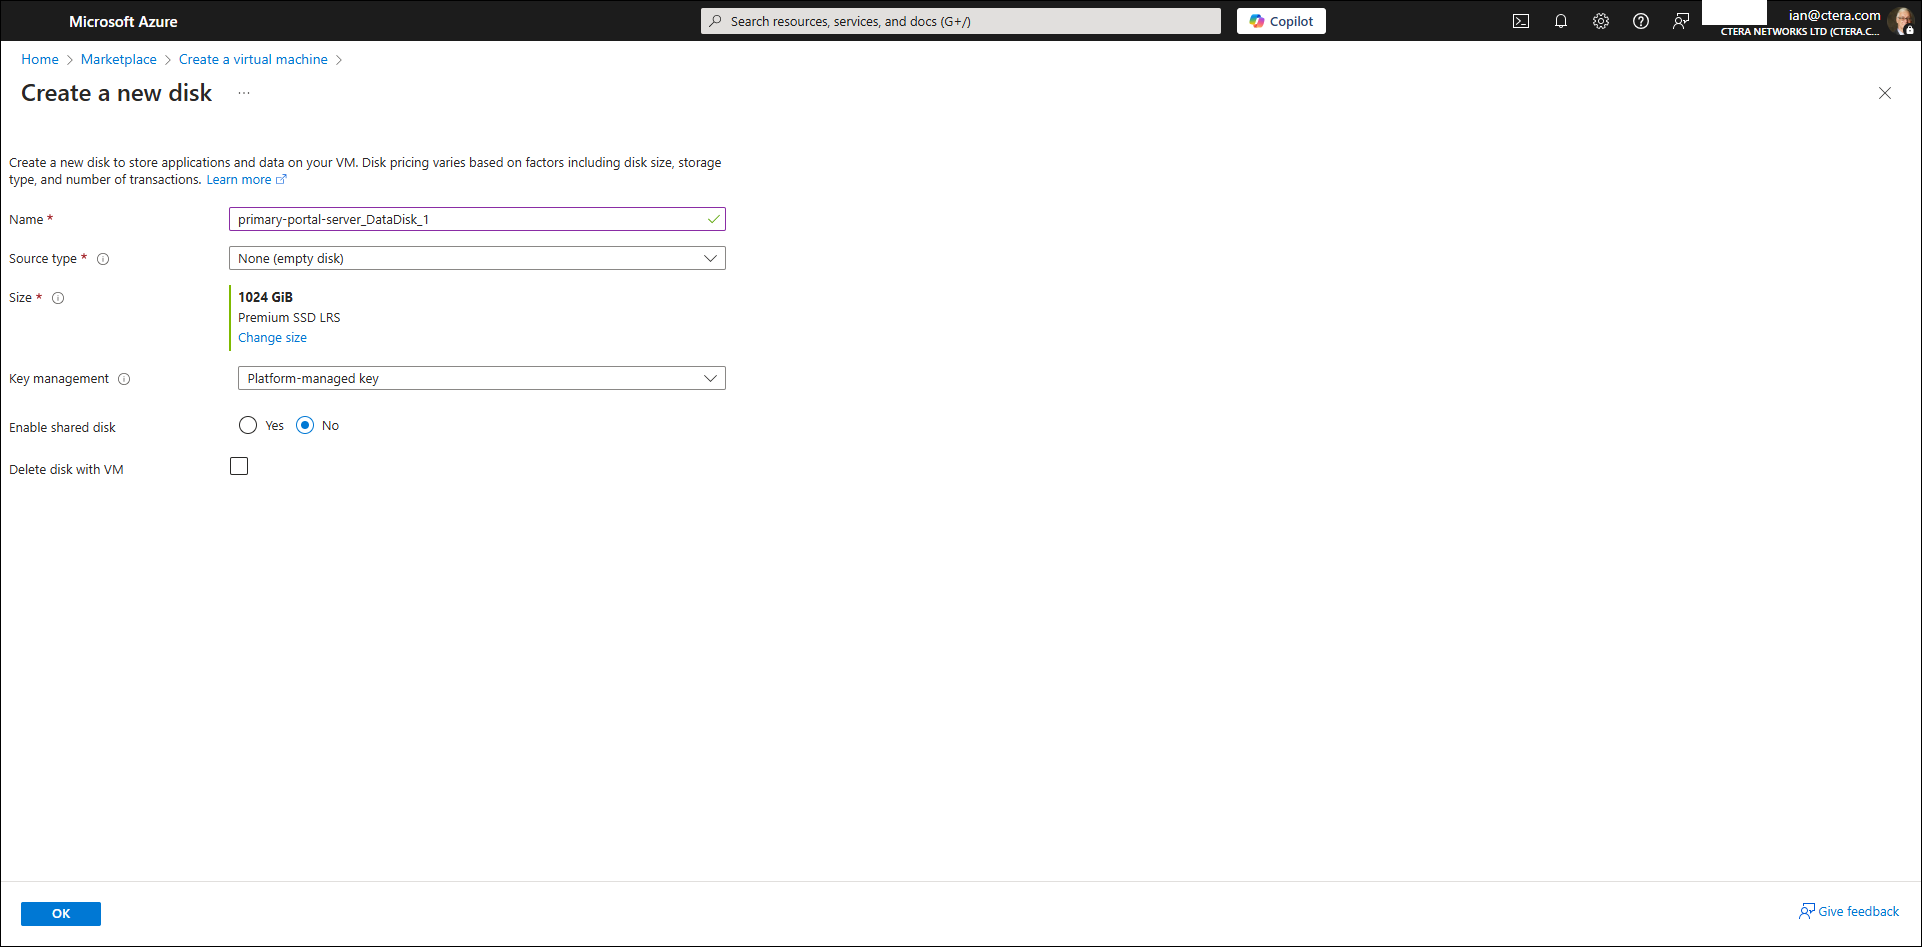
- If you need to change the amount of storage from the default, 1024 GiB, click Change size and enter the size of the disk in the Custom disk size (GiB) field. CTERA recommends storage of at least 1% of the Portal Global Name Space.
- Click OK.
- Click OK.
- Set Host caching to
None. Setting it toRead/writecan cause issues during periods of heavy writes, mainly during portal upgrades.
- Click the Review + Create tab, or click Review + Create.Note
This procedure uses the defaults set by CTERA. Configuration details, such as network requirements, can be changed as required.
- Review the virtual machine details and after the virtual machine details have been validated, click Create.
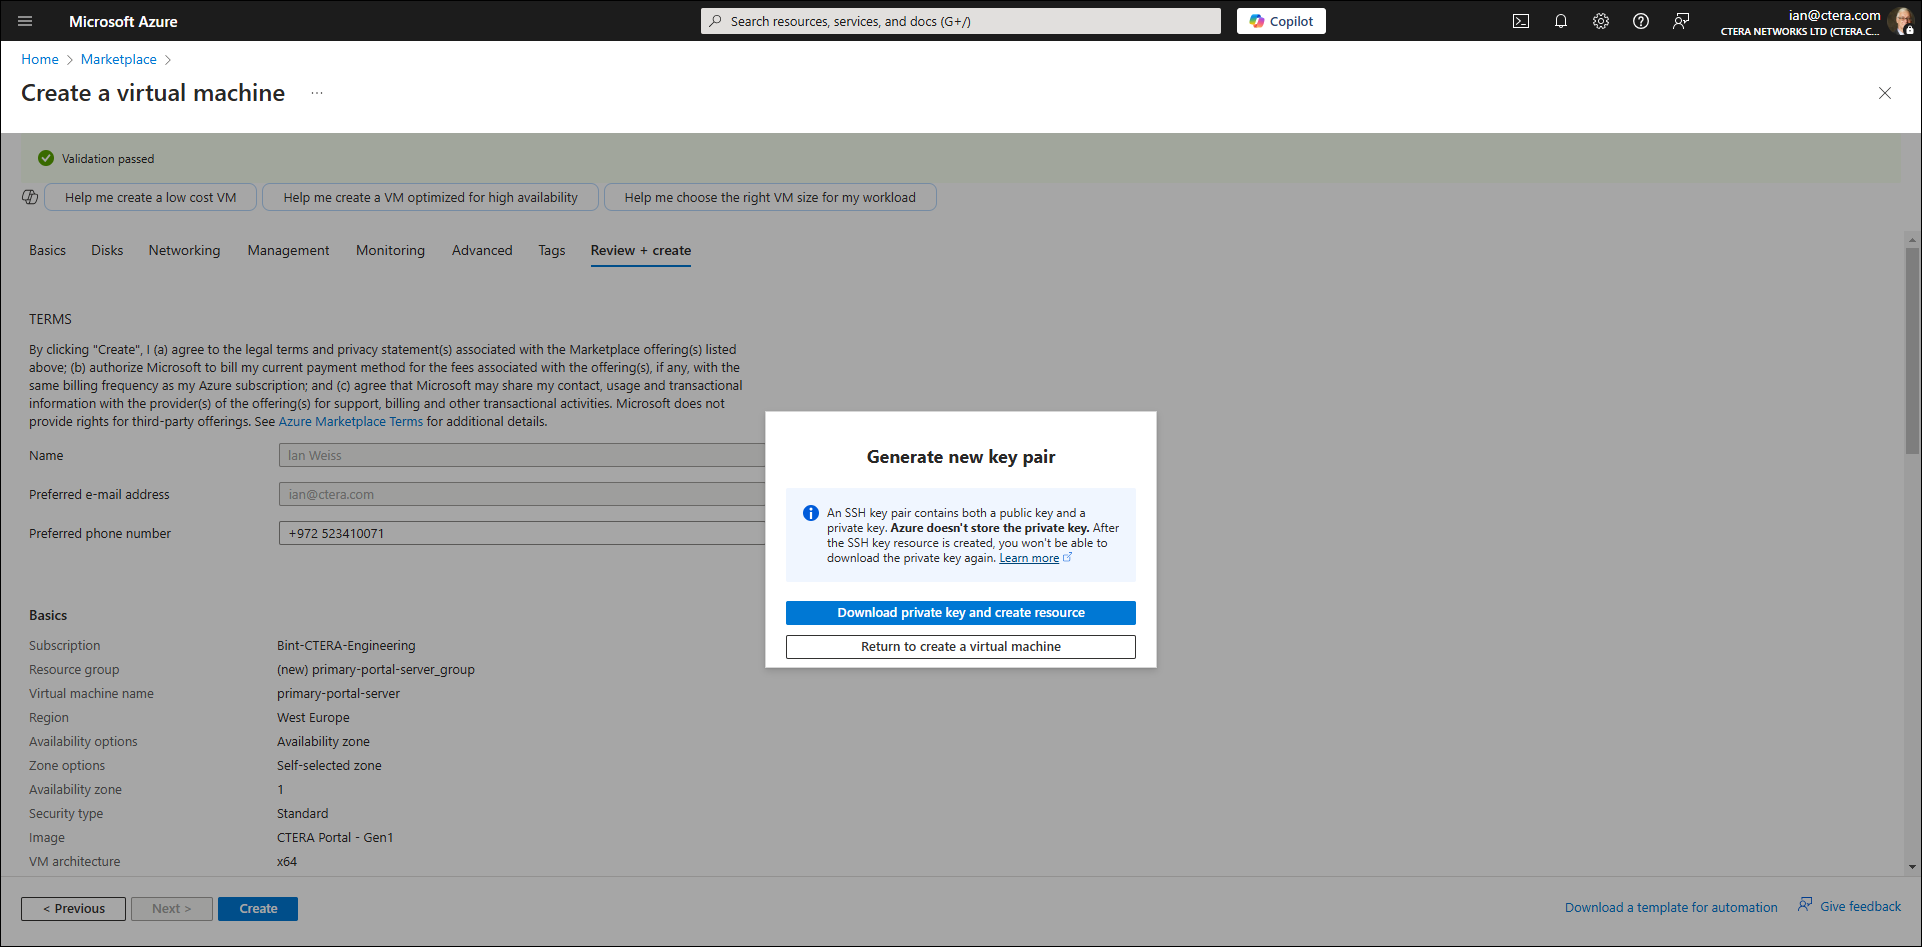
- Download the private key and create the resource and then click Return to create a virtual machine.
The machine starts to be deployed.
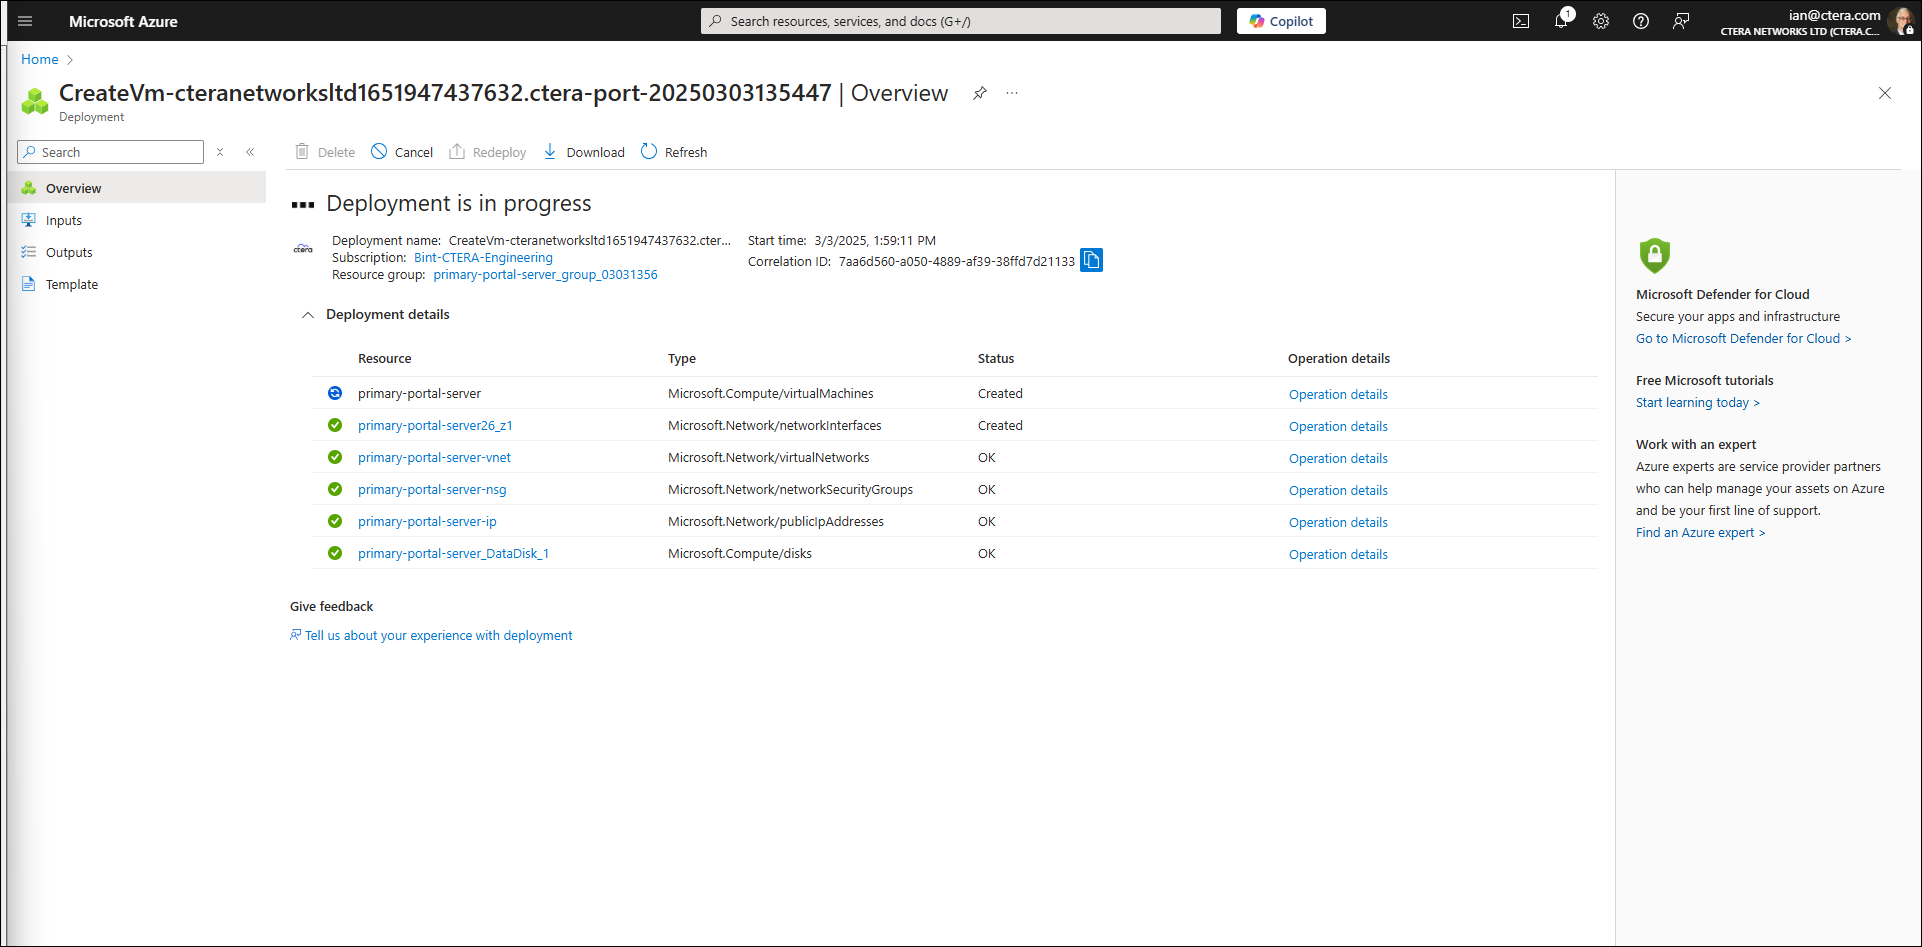
Deploying the machine can take a few minutes.
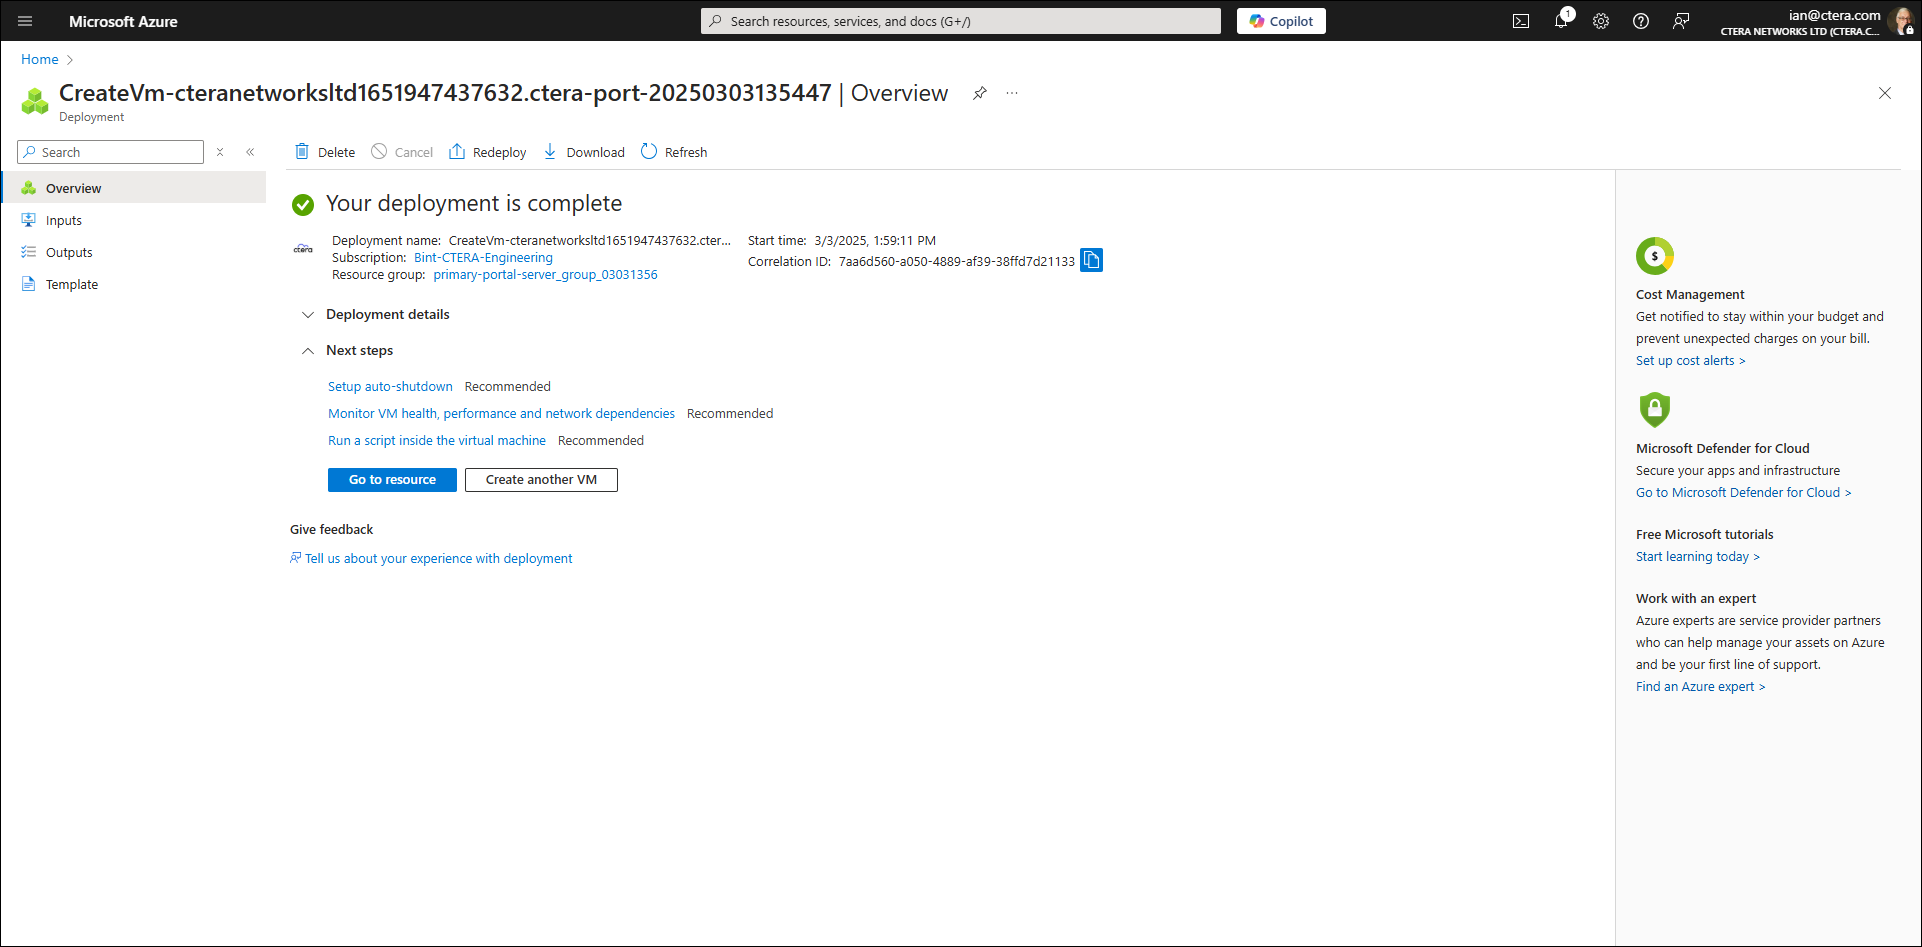
The machine is started automatically. When the server first starts up, a data pool is automatically created from the disk you added. - Click Go to resource to display the portal details.
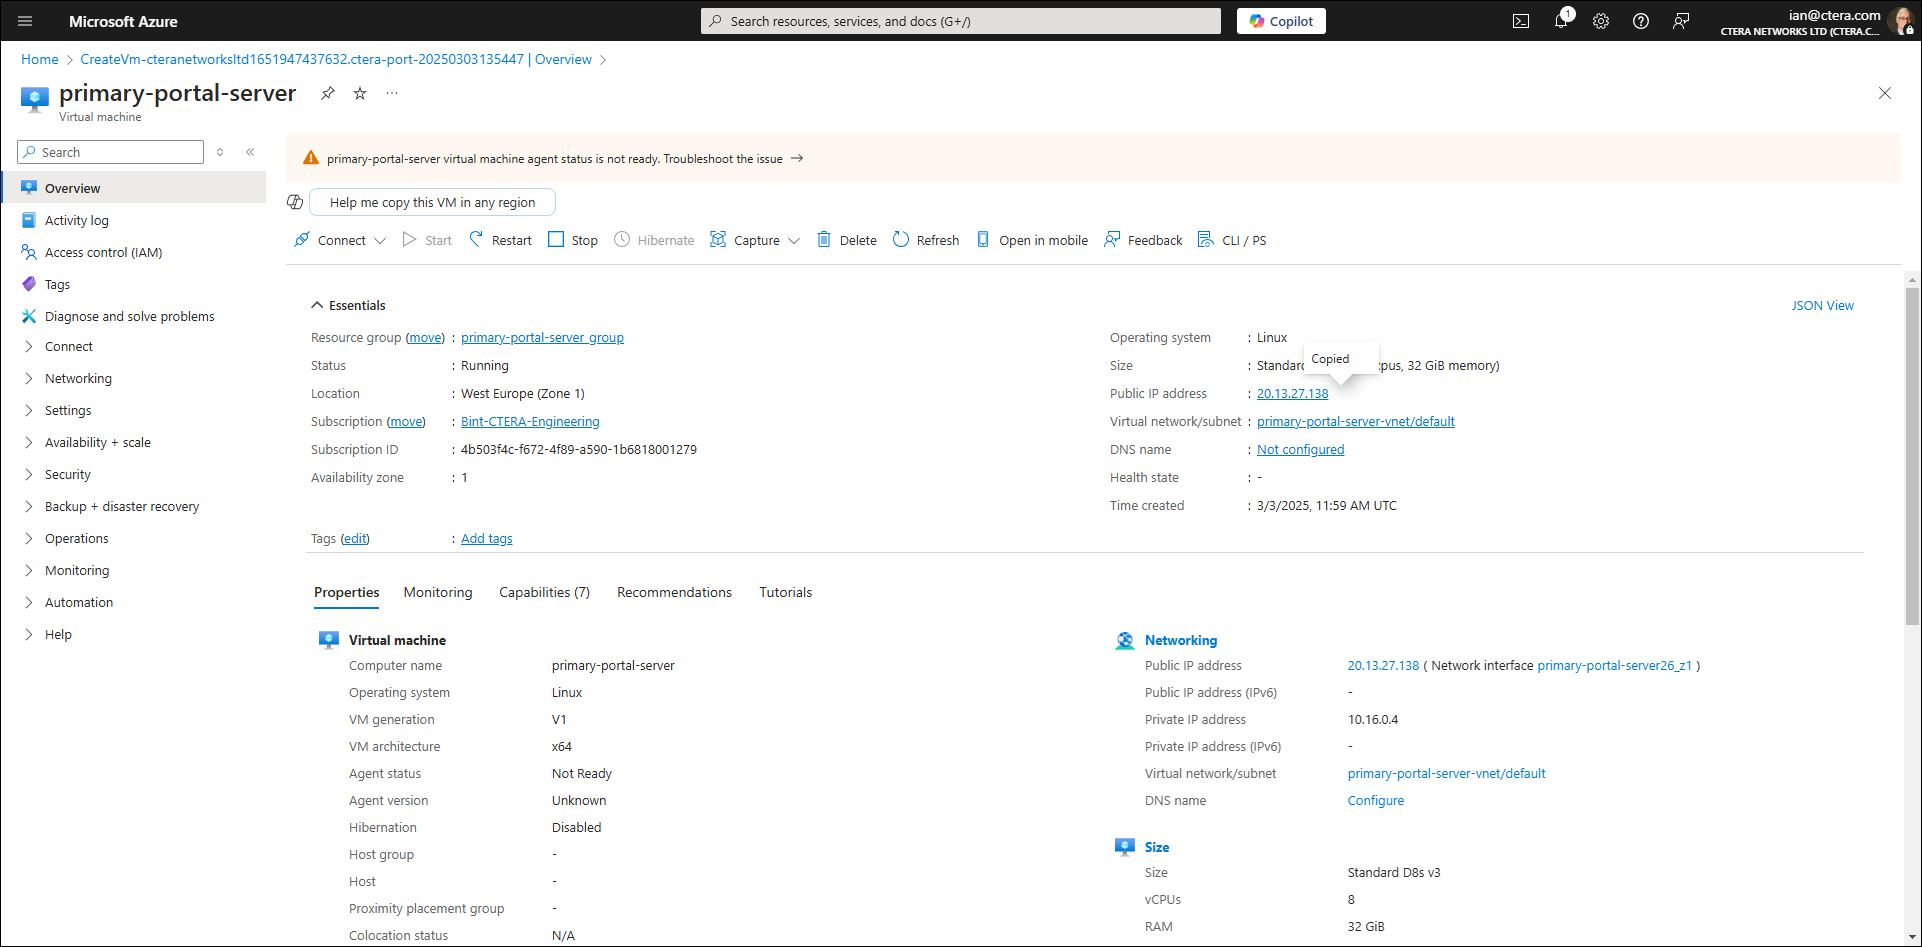
The warning that the virtual machine agent status is a Microsoft Azure warning that can be ignored.
- Note the Public IP address.
This is the IP address that you'll use to access and set up the portal primary server, described in Configuring the Primary Server, and additional servers described in Installing and Configuring Additional CTERA Portal Servers. - For the primary database server and secondary, replication, server, wait a few minutes for
ctera_firstboot.shto create the data pool and then in the navigation pane click Settings > Disks.
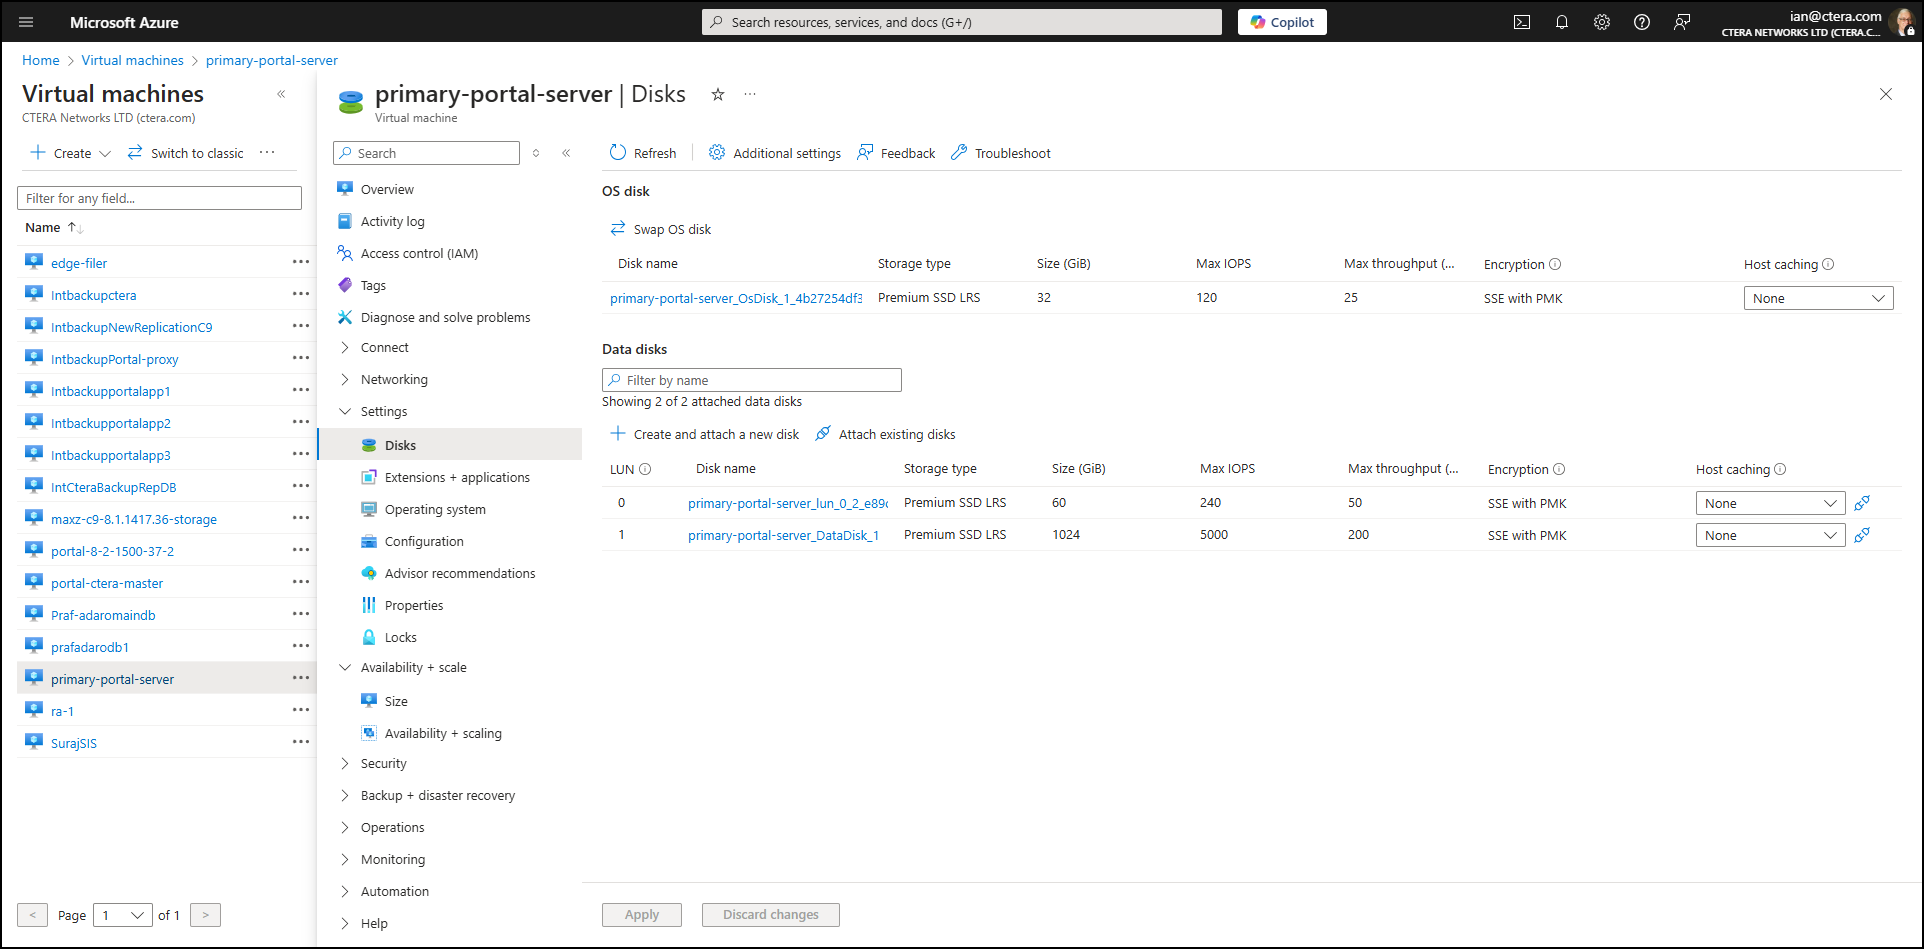
- Click Create and attach a new disk.

- Enter a name for the disk, such as
archive-diskand enter the size of the disk. Change the Storage type to aStandard HDDand Host caching toNoneand other values for this disk as required.NoteThe minimum archive pool should be 200GB but it should be sized around 2% of the expected global file system size or twice the size of the data pool.
Setting Host caching toRead/writecan cause issues during periods of heavy writes, mainly during portal upgrades. - Click Apply.
- Log in as
root, using SSH or through the console (Help > Serial console).
The default password isctera321
You are prompted to change the password on your first login.NoteIf the script to create the data pool does not successfully run, it will start on every boot until it completes. The script has a timeout which means it will exit if the data pool is not created within the timeout after boot time. If the data pool is not created, dockers required by the portal are not loaded to the data pool.
To make sure that the script completed successfully, before continuing, rundocker imagesto check that the docker images are available, including zookeeper, which is the last docker to load to the data pool.
If all the dockers do not load you need to run the script/usr/bin/ctera_firstboot.sh
Also, refer to Troubleshooting the Installation if the script does not complete successfully. - For the primary database server and the secondary, replication database server, continue with Creating the Archive Pool.
- Upgrade the portal server image and software to include the latest patch releases, as described in Upgrading the Portal Image and Software.
Before changing the IP address for the portal server instance you must wait until all the portal services, such as Nomad and Consul, have loaded. Loading the portal services take at least 5 minutes.
If you changed the IP address after the installation but before the full deployment of portal services like Nomad and Consul, run portal-manage.sh resetdb before initializing the portal or joining it to an existing portal cluster.
Create the Archive Storage
You need to create an archive pool on the primary database server, and when PostgreSQL streaming replication is required, also on the secondary, replication database, server. See Using PostgreSQL Streaming Replication for details about PostgreSQL streaming replication.
To create the archive pool:
- Log in as
root, using SSH or through the console. - Run
lsblkorfdisk -lto identify the disks to use for the archive pool. - Run the following command to create the archive pool:
portal-storage-util.sh create_db_archive_pool Device
where Device is the device name of the disk to use for the archive pool.
For example:portal-storage-util.sh create_db_archive_pool sdd
This command creates both a logical volume and an LVM volume group using the specified device. Therefore, multiple disks can be specified if desired. For example: `portal-storage-util.sh create_db_archive_pool sdd sde sdf'
Troubleshooting the Installation
You can check on the progress of the docker loads in one of the following ways to ensure that all the dockers are loaded: The last docker to load is called zookeeper:
- In
/var/log/ctera_firstboot.log - By running
docker imagesto check that the docker images are available. - By checking if
/var/lib/ctera_firstboot_completedis present with the date and time when the installation was performed.
If all the dockers do not load you need to run the script /usr/bin/ctera_firstboot.sh
Microsoft Defender reports issues when deploying a portal in Azure.