Before setting up the CTERA Edge Filer, the CTERA Portal administrator has to configure the CTERA Portal to which the CTERA Edge Filer will connect.
To configure the CTERA Portal:
- Sign in to the CTERA Portal as a team portal administrator.
- In a Web browser open
http://<virtualportal_name>.<DNS_Suffix>/ServicesPortal.
where,<virtualportal_name>is the name of the portal, and<DNS_Suffix>is the DNS suffix for the CTERA Portal installation.
This opens the interface to the portal.If the CTERA Portal is set to redirect HTTP requests to HTTPS, CTERA Portal redirects the browser to the HTTPS page. It is also possible to set the HTTPS access port to be different from the standard 443. In this case, the address is:
https://<virtualportal_name>.<DNS_Suffix>:<HTTPS_port>/ServicesPortal, where<HTTPS_port>is a customized port.
For example, to connect to Acme’s administration CTERA Portal using HTTPS port 2222, use the following address:https://acme.ctera.com:2222/ServicesPortal.
 Note
NoteIf SAML Single Sign-on (SSO) is enabled, you are redirected to the SAML identity provider's login page. If CAC, Common Access Card, is implemented at the site, the login page is skipped if the card access is authorized.
- Enter your administrator user name and password and click SIGN IN. If you are redirected to an identity provider's login page, enter your credentials there. The identity provider processes your authentication.
The end user interface is displayed.
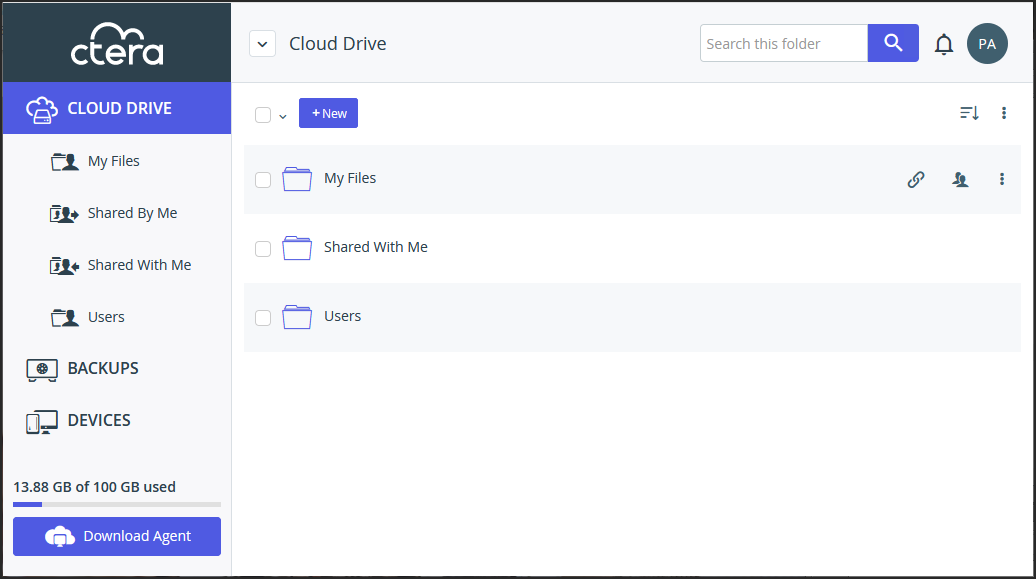
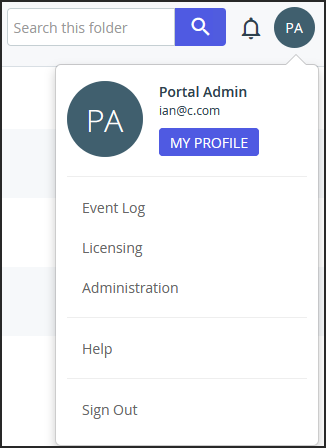
- To access the full administrator interface, click the avatar at the top right, or your initials, if you have not configured an avatar, and select Administration.
The administration interface opens in a new tab.
- In a Web browser open
- Create a designated user as an owner of the cloud folders and data. CTERA recommends creating the owner as a local service account with administrator read/write privileges and not a real user. This account must have read and write administrator permissions to enable syncing folders between the CTERA Edge Filer and the CTERA Portal global file system.
Once the data is uploaded to the CTERA Portal global file system there is an owner for the data who can get elevated rights.- Select Users > Users in the navigation pane.
The Users page is displayed. - Click New User.
- Complete the following fields in the Profile option.
Username – A name for the user's CTERA Portal account.
Email – An email address.
First Name – A first name for the service account.
Last Name – A last name for the service account.
Role – Select Read/Write Administrator.
Password/Retype Password – A password for the account. - Click Save.
- Select Users > Users in the navigation pane.
- Select Settings > Control Panel and then under the User Settings tab select User Roles.
The Roles options are displayed. - Click Read/Write Administrator and make sure that Access End User Folders is granted.
- If portal zones are enabled, create a zone that includes the folders that you will want the edge filer to have access to.
Portal zones are enabled by default from portal version 8.3.3300.x. After setting up the edge filer, must be defined in a portal zone.
8.4.x – Adding, Editing, or Deleting Zones.
8.3.x – Adding, Editing, or Deleting Zones.
When using CTERA Migrate to migrate the shares from a legacy system, cloud drive folders are created automatically on the portal under root cloud drive folders. When not using CTERA Migrate, first set up folder groups on the portal and then create the root cloud drive folders. Under these root cloud drive folders, create a subfolder for each share that you want to sync with the edge filer.