Download CTERA Cache Assist on the macOS computers that connect to a CTERA Edge Filer that is configures in Caching mode. You download CTERA Cache Assist from https://www.ctera.com/technology/ctera-macassist/.
You only need to download and install CTERA Cache Assist (also referred to as MacAssist) once. After installing CTERA Cache Assist, you are automatically prompted to update it when a new version is released by CTERA.
To install CTERA Cache Assist:
This procedure assumes the default, that the ability to open anywhere is not displayed in System Settings > Privacy & Security. For older versions of macOS, the option is available by default.
- Close System Settings if it is open.
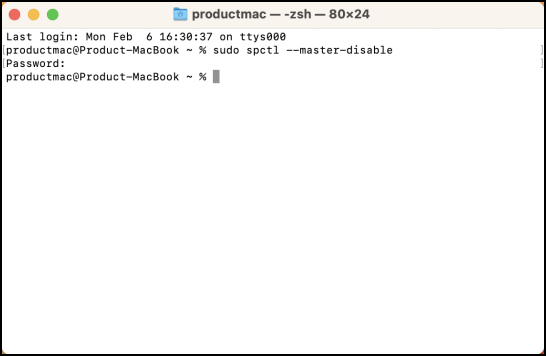
- Open the Terminal application.
- Enter the following command:
sudo spctl --master-disable - Press Return and enter the administrator password and press Return.
- Click System Settings and in the menu click Privacy & Security.
The following window is displayed.
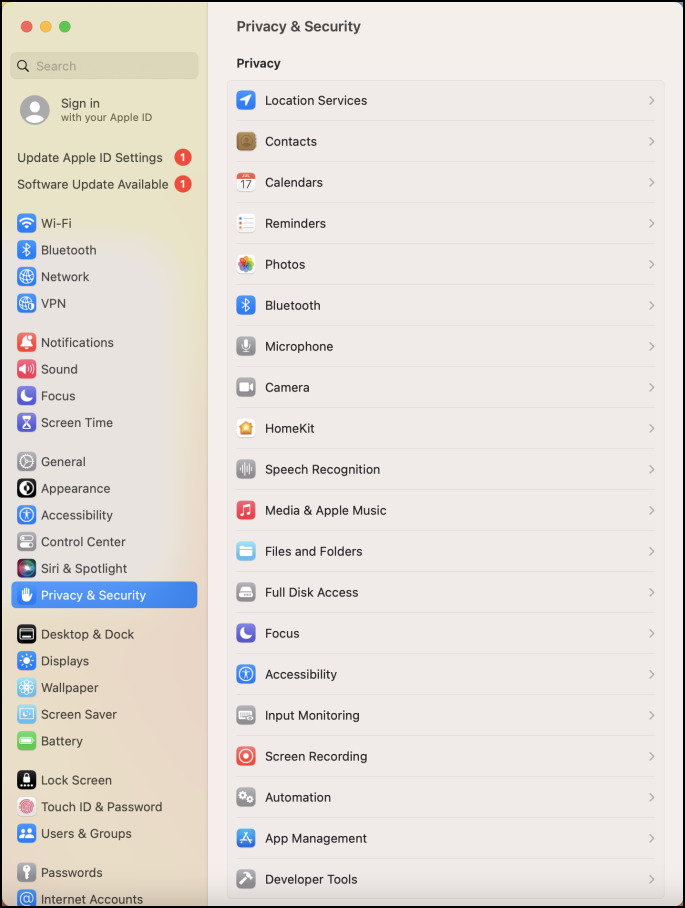
- Scroll down to the Security section and make sure Anywhere is selected for the Allow application download from option.
- In Finder, under Downloads double-click the CTERACacheAssist_Vx.x.pkg download.Note
If you do not have permission to open an application from anywhere, the following warning is displayed.

Click OK to exit the installation and follow the opening steps of this procedure to enable the installation. - The Install CTERACacheAssist_Vx.x window is displayed.
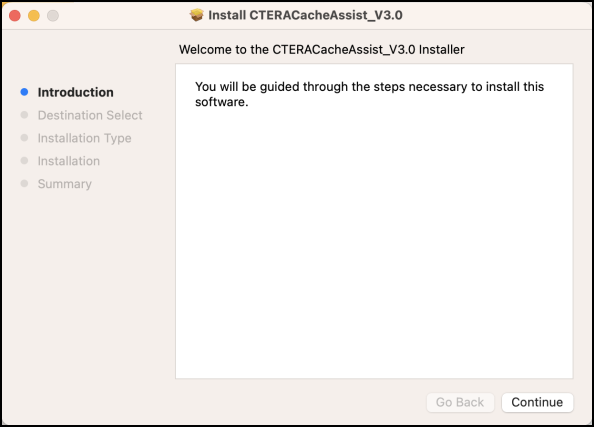
- Click Continue and go through the installation wizard.
- In the Installation Type step. either click Install, which is recommended by CTERA, or click Change Install Location to install on a location that is not the default.
If you want to change the install location, after clicking Change Install Location, select the destination you want and click Continue and then click Install, or if a password is requested, click Install software.
- In the Installation Type step. either click Install, which is recommended by CTERA, or click Change Install Location to install on a location that is not the default.
- Click Close to finish the installation and at the prompt either click Keep, to keep the installer or Move to Trash to free up the space used by the installer.
- In Finder, select Applications and then double-click CTERA Cache Assist from the list of the applications.
The CTERA Cache Assist window is displayed.
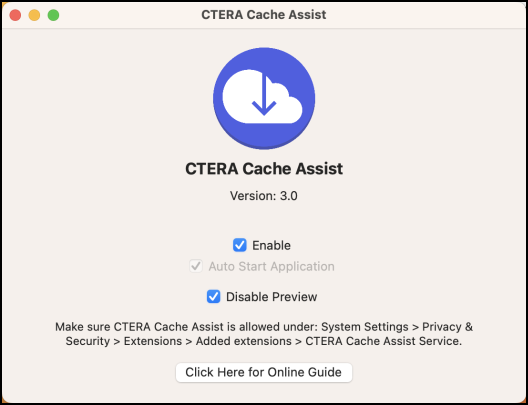
- Make sure Enable is checked to be able to use CTERA Cache Assist.Note
A property list (plist) can be used to control enabling and disabling the CacheAssist agent by an administrator without user intervention. If for any reason you need to control when CTERA Cache Assist is enabled or disabled, you can do this by changing the CAEnabled property in the plist file by running the following command to disable CTERA Cache Assist:
defaults write D6PHDN9EA4.group.ctera.CacheAssist CAEnabled 0and re-enable CTERA Cache Assist with the following command:defaults write D6PHDN9EA4.group.ctera.CacheAssist CAEnabled 1.To see the current status, run the following command:
defaults D6PHDN9EA4.group.ctera.CacheAssist CAEnabled. When CAEnabled is1, CTERA Cache Assist is enabled. When it is0, CTERA Cache Assist is disabled. - Optionally, click Disable Preview. For details about this feature, see Disabling Previews of Stub Files.