Download CTERA Drive Connect from CTERA. The download is free from the download center.
Windows
- Install CTERA Drive Connect on a Windows platform by double-clicking the downloaded file to run the installation wizard.
- Follow the installation wizard instructions.
macOS
- Install CTERA Drive Connect on a macOS platform by moving the application package to the Applications directory on your computer.
- In Finder, double-click the package to run the installation wizard.
- Follow the installation wizard instructions.
If prompted, enter your password and click Install Software.
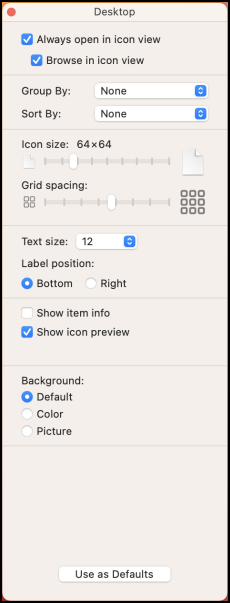
- In Finder select Desktop and then choose View > Show View Options from the menu bar.
 Notes
NotesIf Desktop is not displayed, in Finder Settings > Sidebar check the Desktop option.
The display can be different, dependent on your version and starting point.
- Clear the Show icon preview option.
Depending on your Mac version, clearing Show icon preview also disables Calculate all sizes. - Click Use as Defaults and close the window.