End users can request to use storage from the team CTERA Portal quota, from the CTERA Portal administrator, instead of from their own quota.
You can specify that requests from specific groups, or even from all users, can only be handled by specific administrators.
The user can only request a team project if Allow users to request team projects with independent quota is enabled in the virtual portal settings for the team portal, described in Team Portal Settings.
By default, portal administrators defined as Read/Write Administrators with the Manage Cloud Folders role checked and can accept or reject the request, as described in Customizing Administrator Roles.
For details about an end user requesting a team project, see Collaborating on Content Without Using Your Storage Quota (Team Projects).
To limit which administrators can approve requests for specific users:
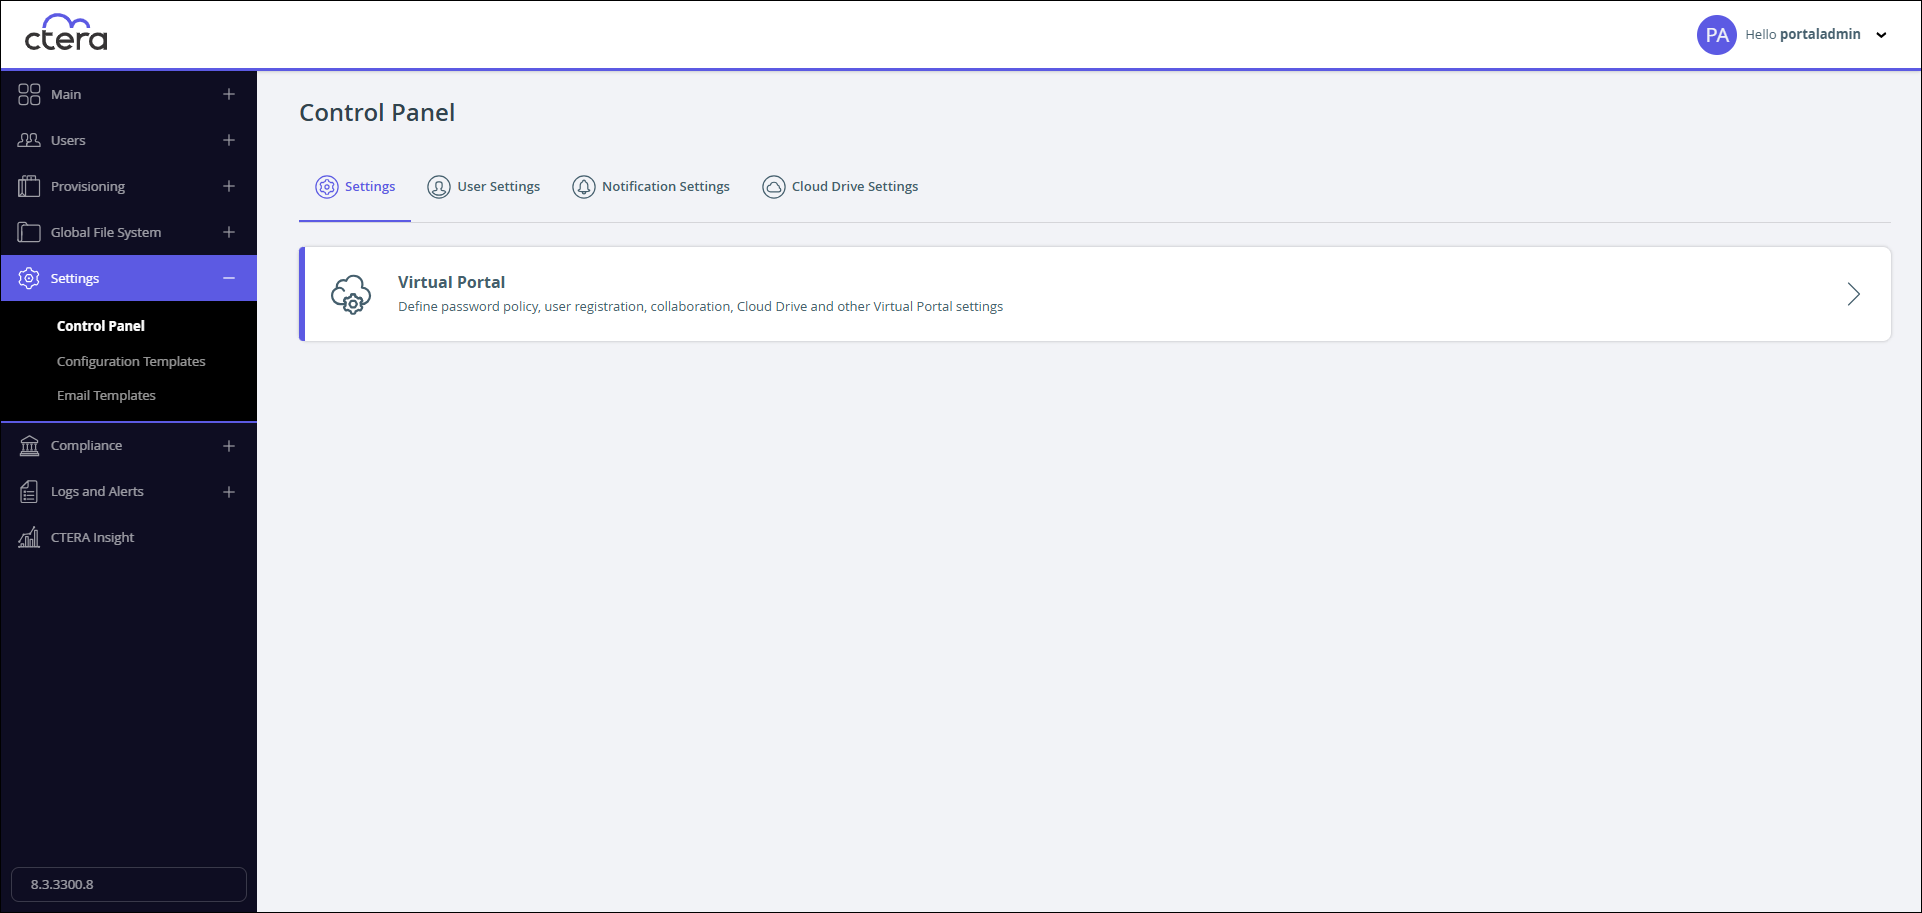
- Select Settings > Control Panel in the navigation pane.
The Control Panel page is displayed.
- Select Team Project Approval Policy under Cloud Drive Settings.
The Project Approval Policy page is displayed.
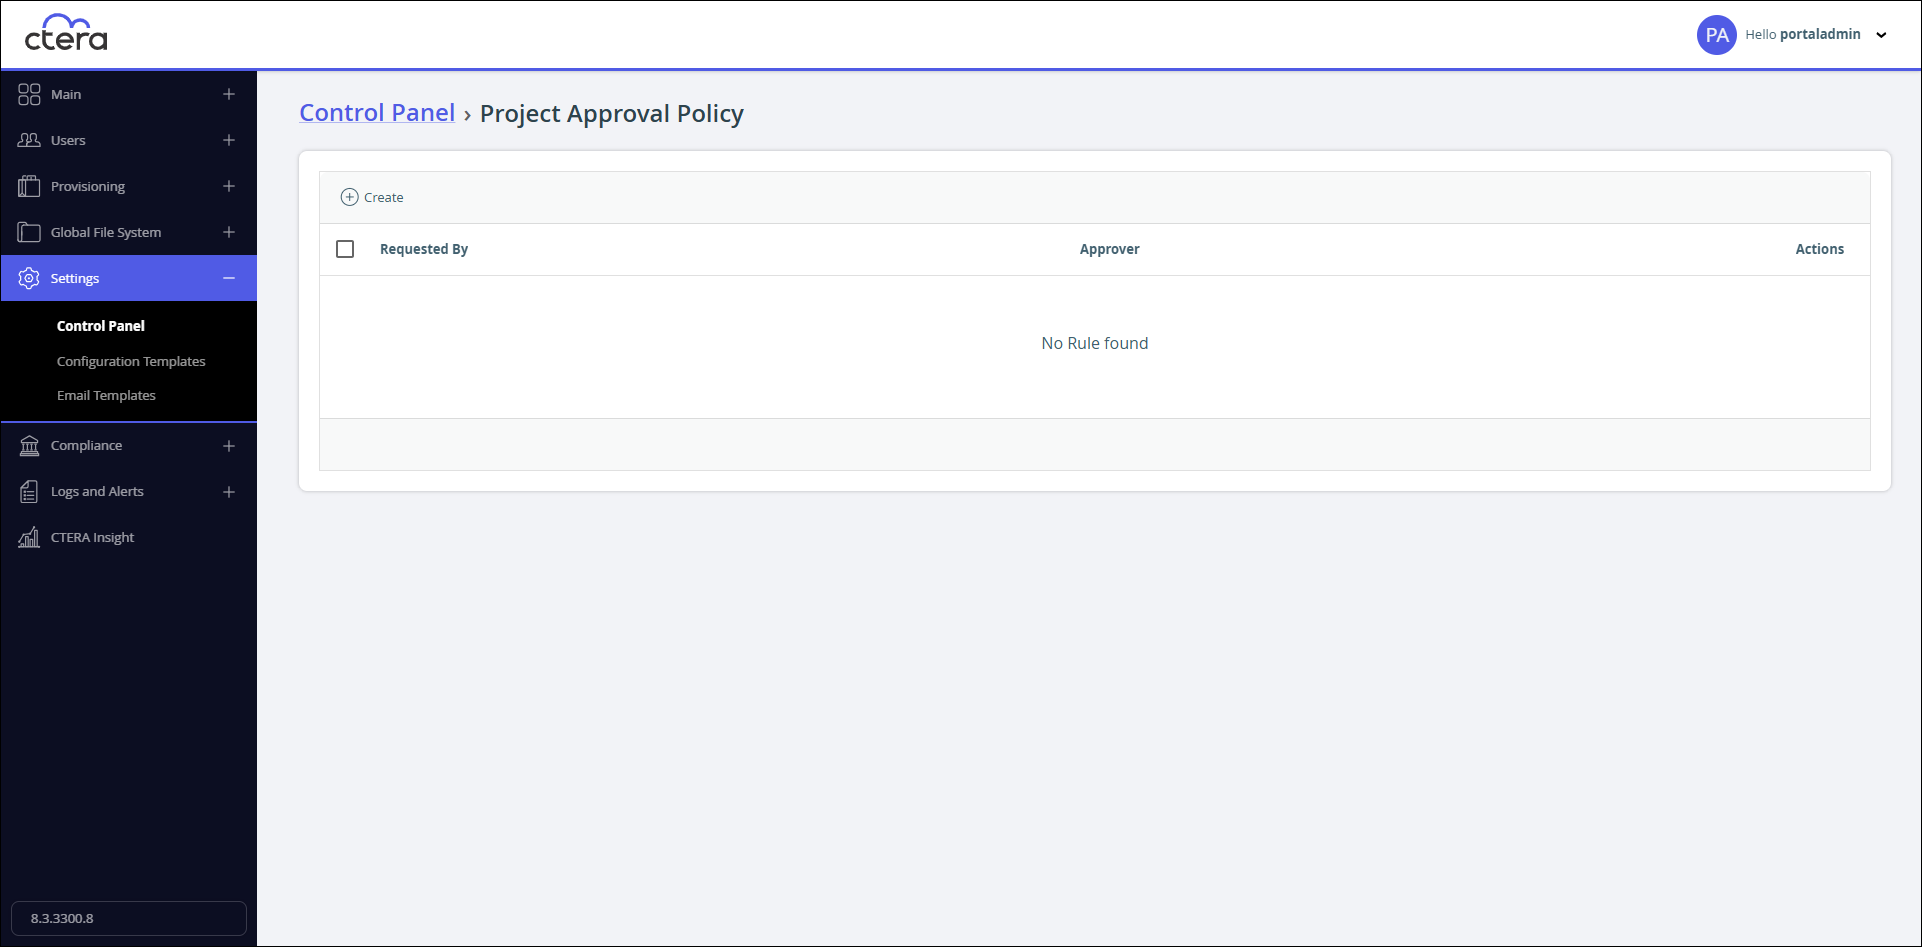
- Click Create to add a new policy.
- Click
Setin the Requested By field .
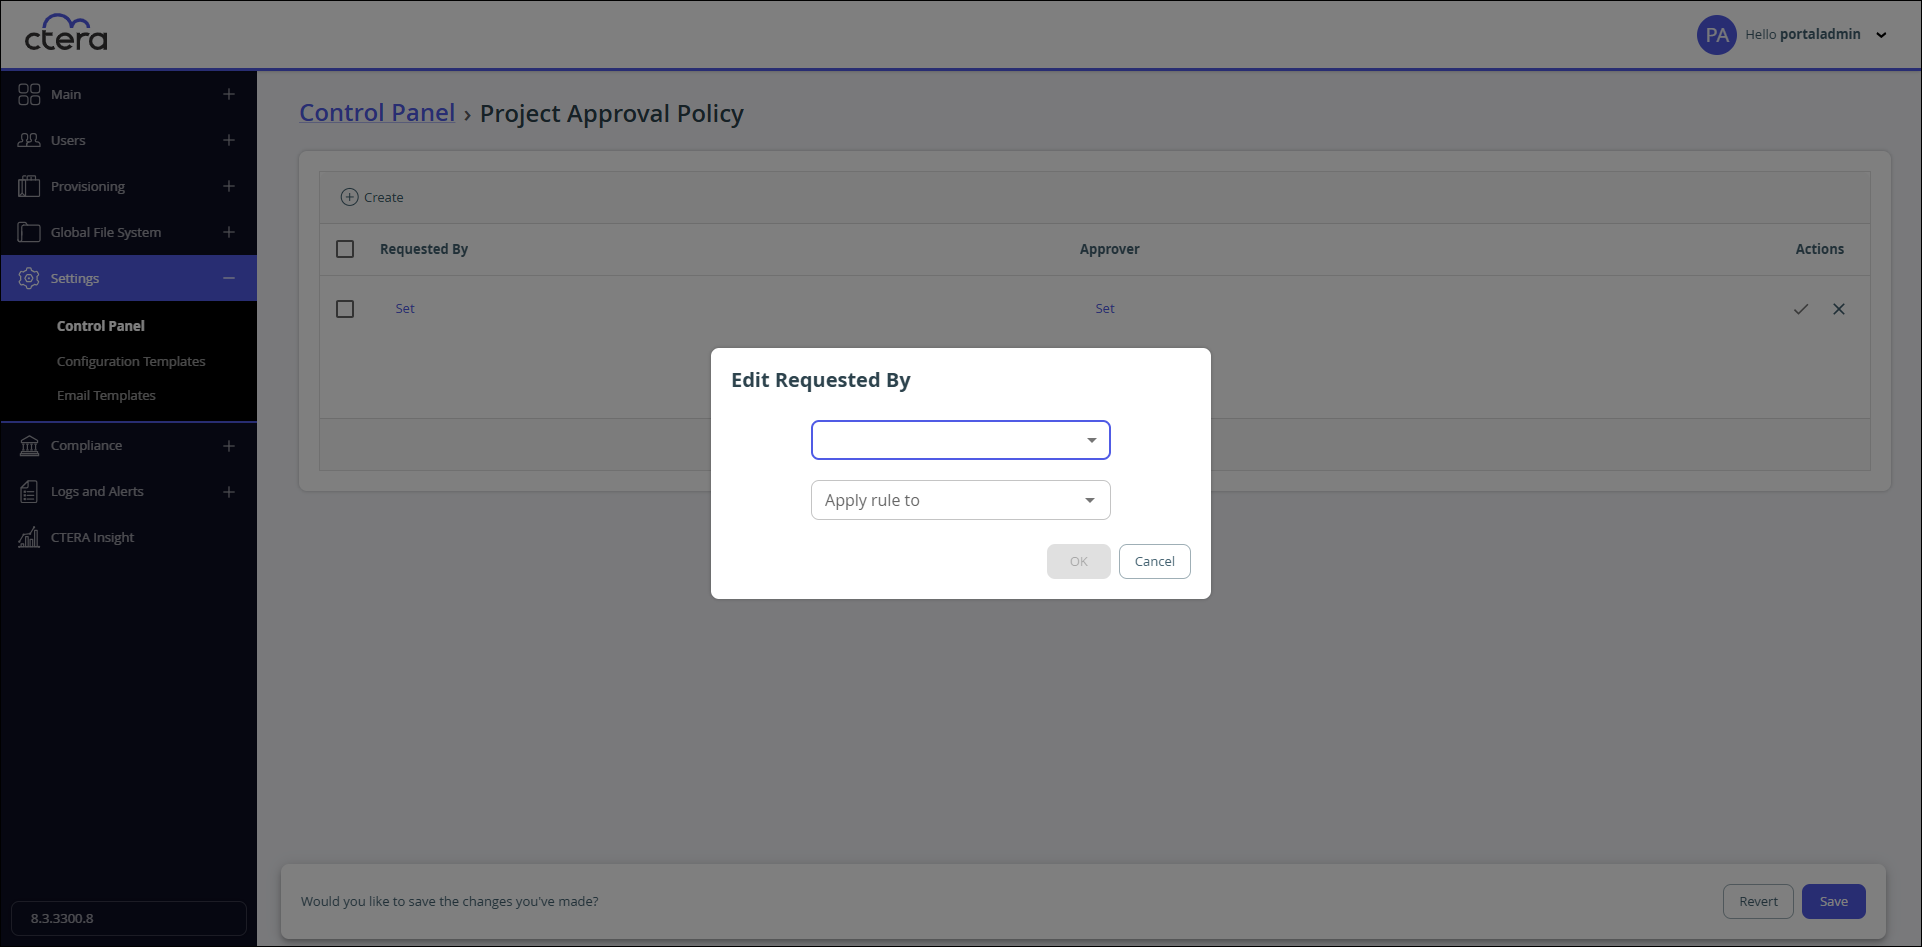
- If you select
All Usersthe policy is for all users, otherwise, if you selectLocal Groupsor the Active Directory Groups, you can apply the policy to all users in a specified group. - Click OK.
- If you select
- Click
Setin the Approver field and .- If you select
Local Usersor the Active Directory Users, the policy is for specific users, otherwise, if you selectLocal Groupsor the Active Directory Groups, you can apply the rule to all users in a specified group.NoteThe approver can be a local administrator or an Active Directory administrator or group of administrators. The approver must have a valid email and if it is an Active Directory group, the group must be mail-enabled.
- Click OK.
- If you select
- Click
 in the Actions column to create the policy.
 - Click Save.