Files that have been identified as a threat to the system are placed in quarantine and removed from their source location. These files are also not synced to the CTERA Portal.
An administrator is alerted when a file is quarantined. The administrator can check the list of quarantined files and either delete files permanently or restore them, either to the original location or to a different location. Quarantined files are only displayed when antivirus has been enabled. If the signature for the file has not changed, it will immediately be added back to quarantine, but a file that an updated DAT file recognizes as not being a virus, can be restored.
Viewing Quarantined Files
To view quarantined files:
- In the Configuration view, select Security > Antivirus in the navigation pane.
The Antivirus page is displayed, with any quarantined files in the Quarantine list.
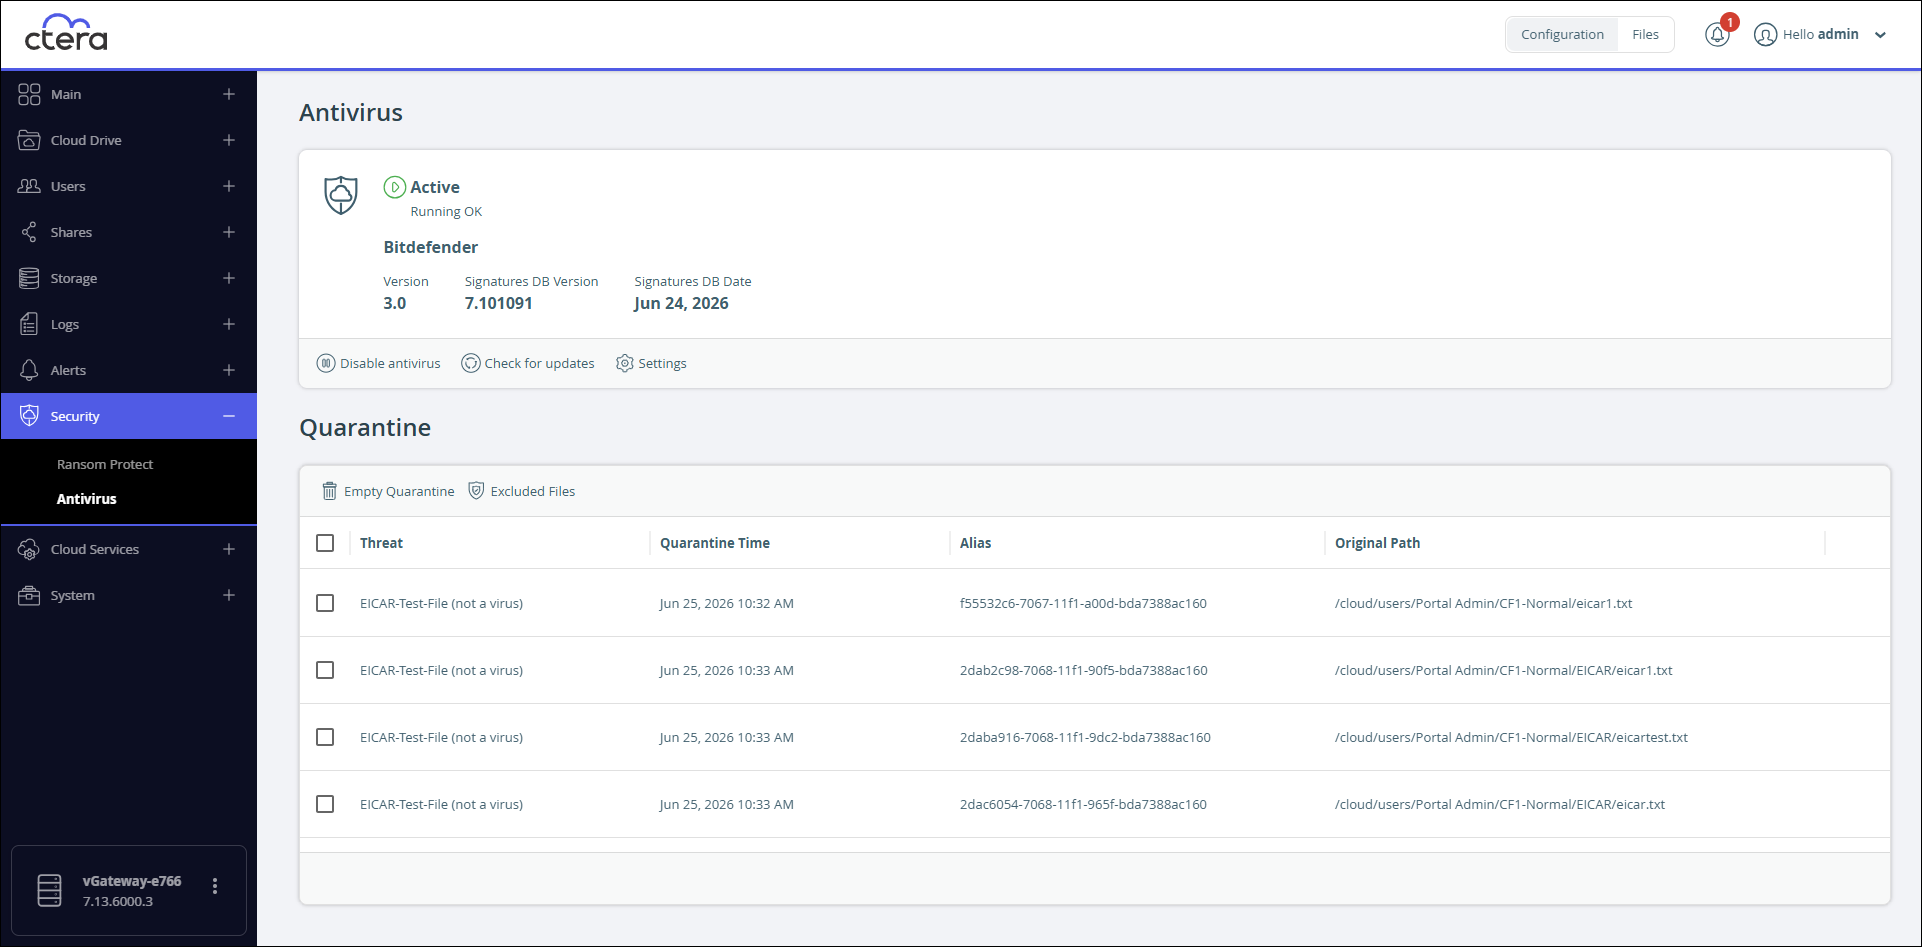
Each quarantined file is displayed with the following information:
Threat – The name of the threat.
Quarantine Time – The time the file was accessed and then moved to quarantine.
Alias – The virus alias recognized by the DAT file.
Original Path – The name and location of the file before it was quarantined.
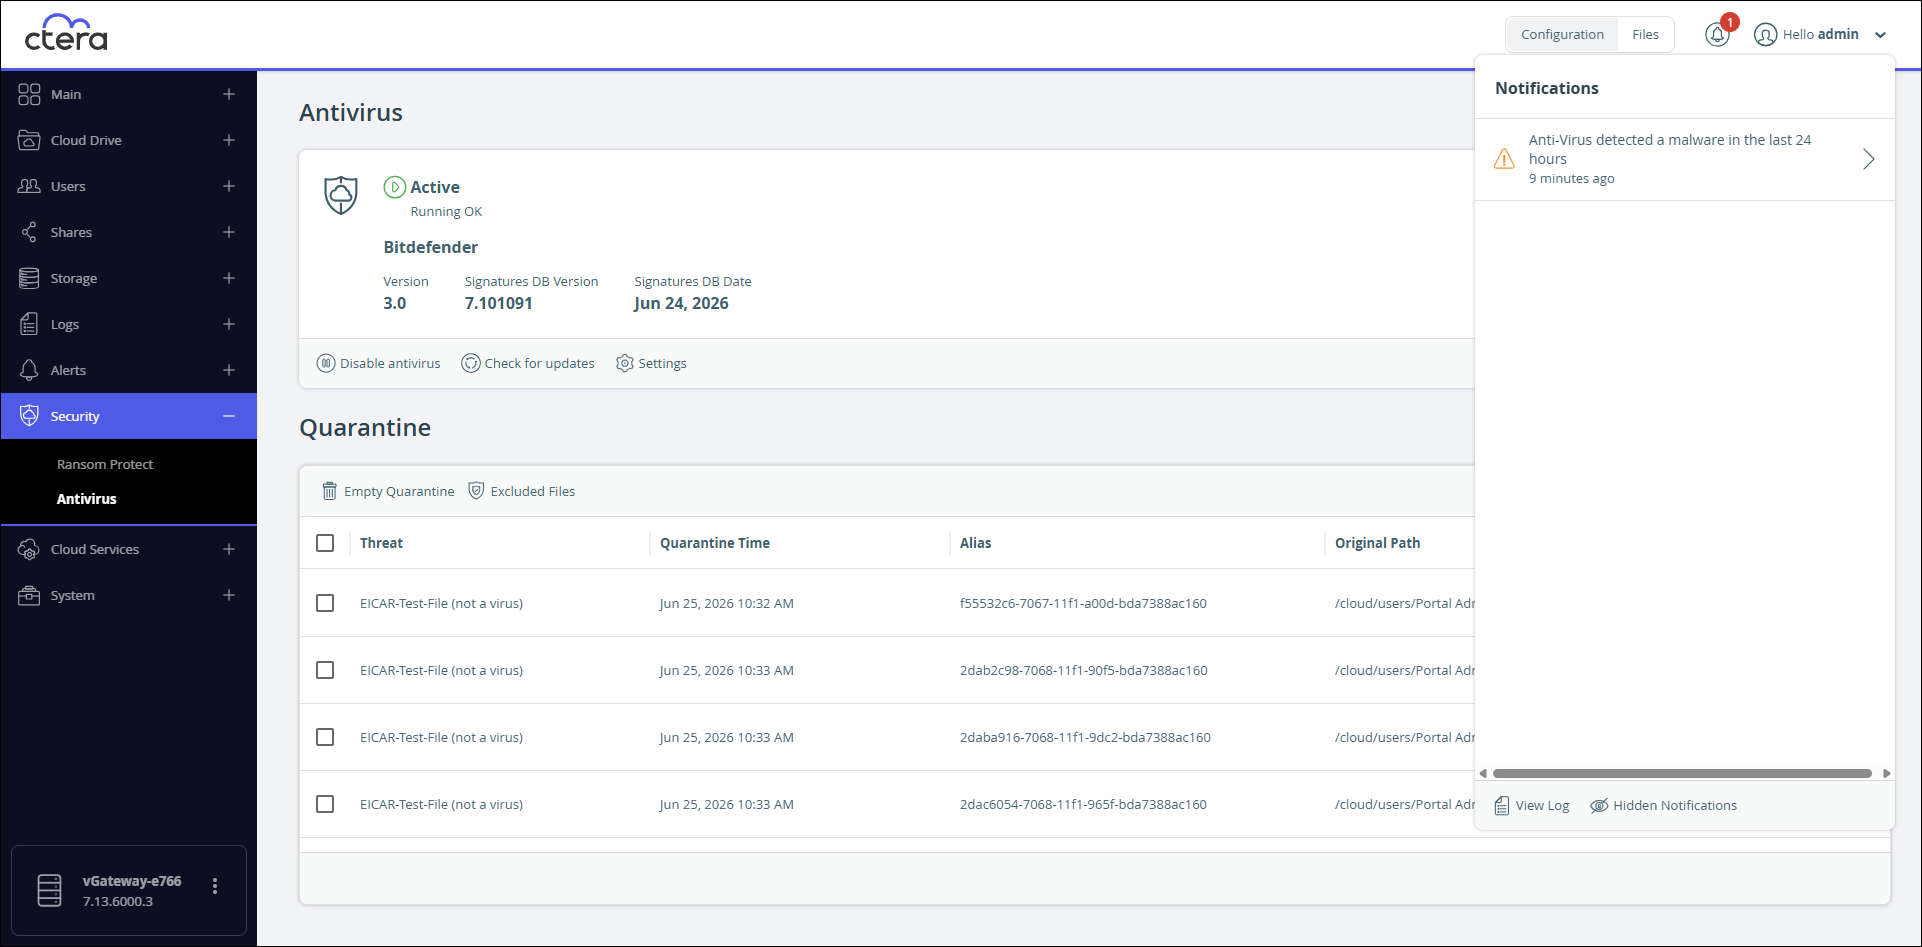
An notification is also issued.
Excluding Paths From Antivirus Scanning
You can exclude specific files from being scanned for viruses so that the files will not be flagged and quarantined again after they are restored.
To exclude files from antivirus scanning:
- Select the files to exclude and click
 Exclude.
 - Click Confirm.
The files are added to the list of excluded files and when restored will not be requarantined.
You can manage the files that have been excluded from antivirus scanning.
To manage excluded files:
-
When no quarantined files are selected, click
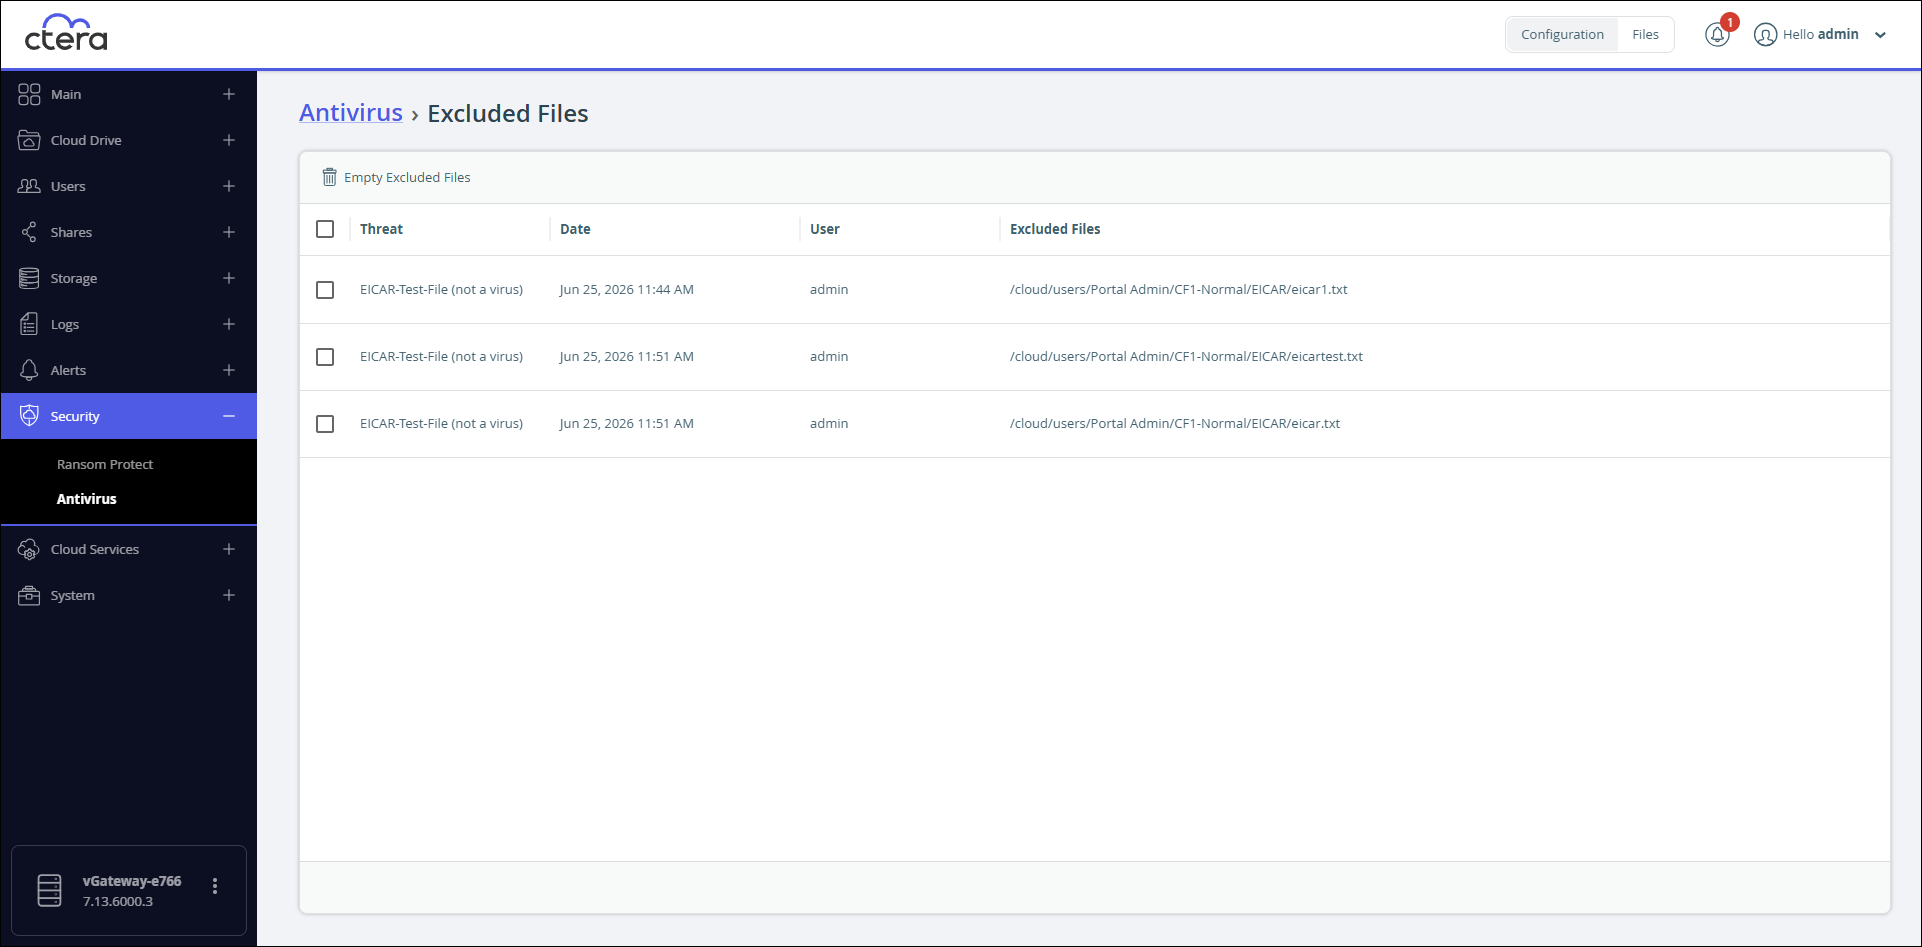
Excluded Files.
The Excluded Files page is displayed:
-
To empty the excluded files list of all the excluded files:
- Without selecting any of the excluded files, click
 Empty Excluded Files.
 - Click Confirm.
All the files are no longer excluded from antivirus scanning.
- Without selecting any of the excluded files, click
-
Select the files to remove from the list of excluded files:
- Without selecting any of the excluded files, click Delete.
- Click Confirm.
The selected files are no longer excluded from antivirus scanning.
- Without selecting any of the excluded files, click
Deleting Files From Quarantine
To empty the quarantine of all files:
- Without selecting any of the quarantined files, click Empty Quarantine.
- Click Confirm.
All the quarantined files are permanently deleted.
To select one or more quarantined files to permanently delete:
- Select the files to delete and click Delete.
- Click Confirm.
The quarantined files are permanently deleted.
Restoring a File From Quarantine
Files in quarantine can be restored one at a time, either to the original location or to a new location.
To restore a quarantined file:
- Select the file to restore and click
 Restore.
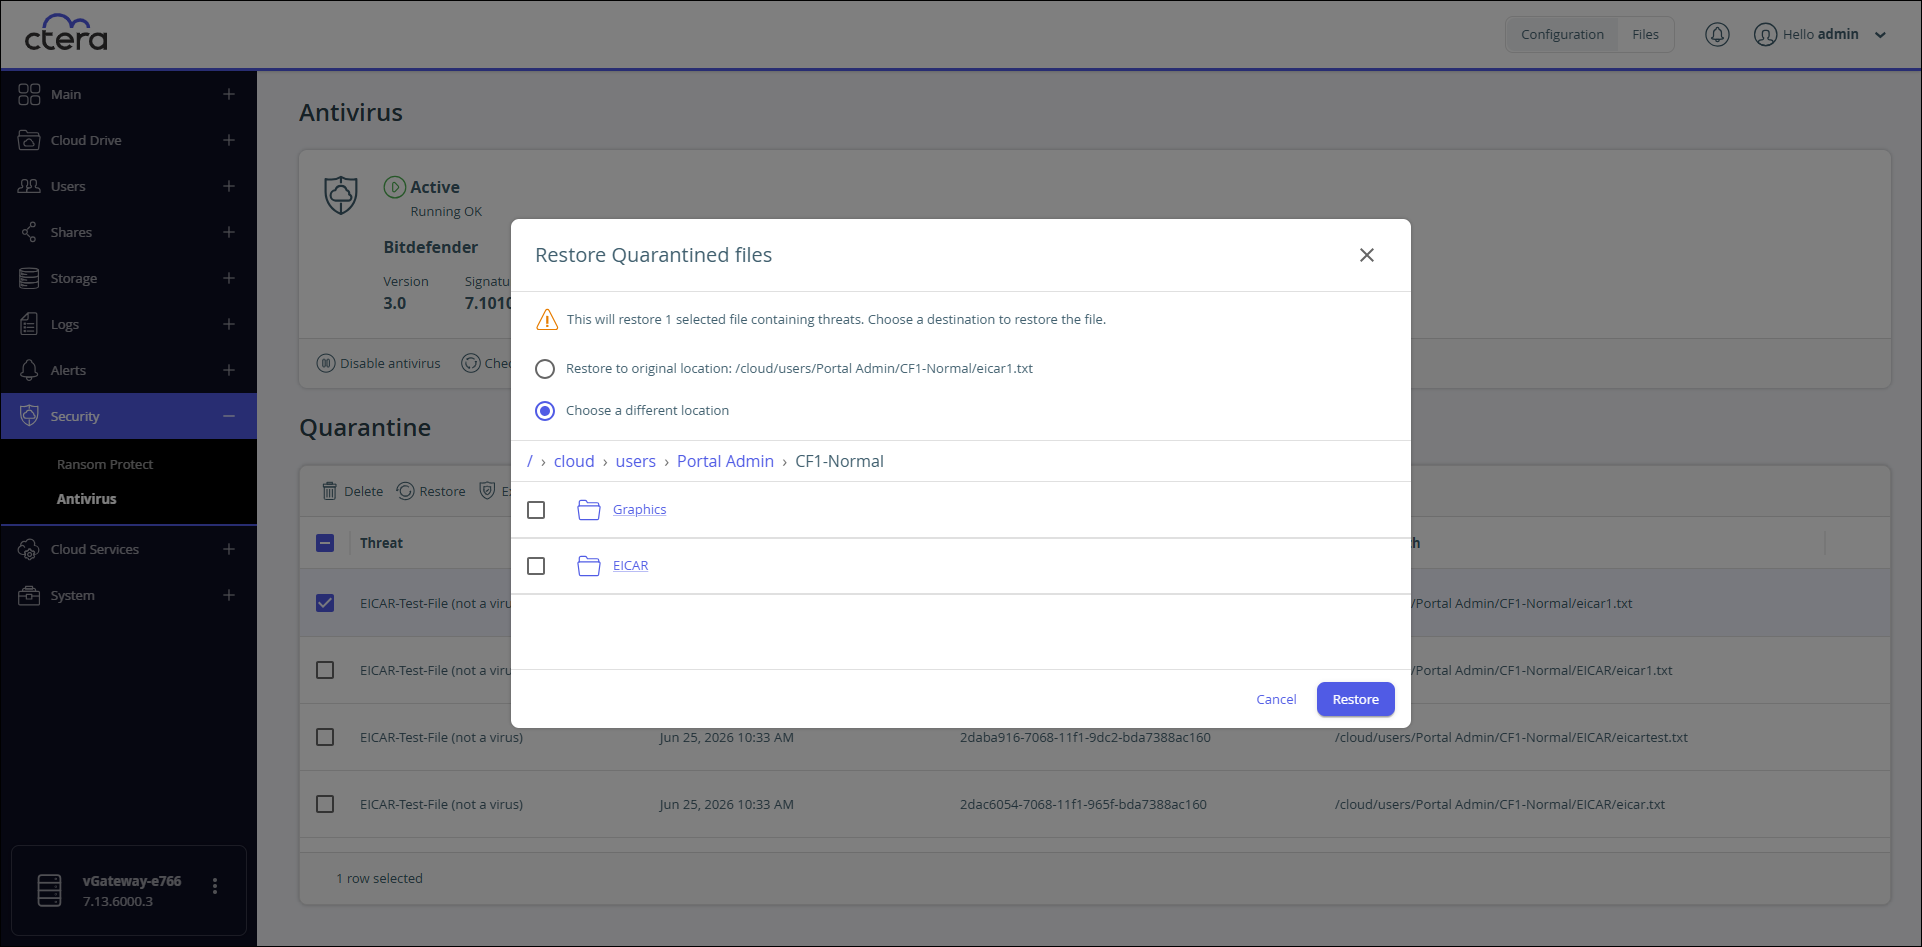
The Restore Quarantined files window is displayed.
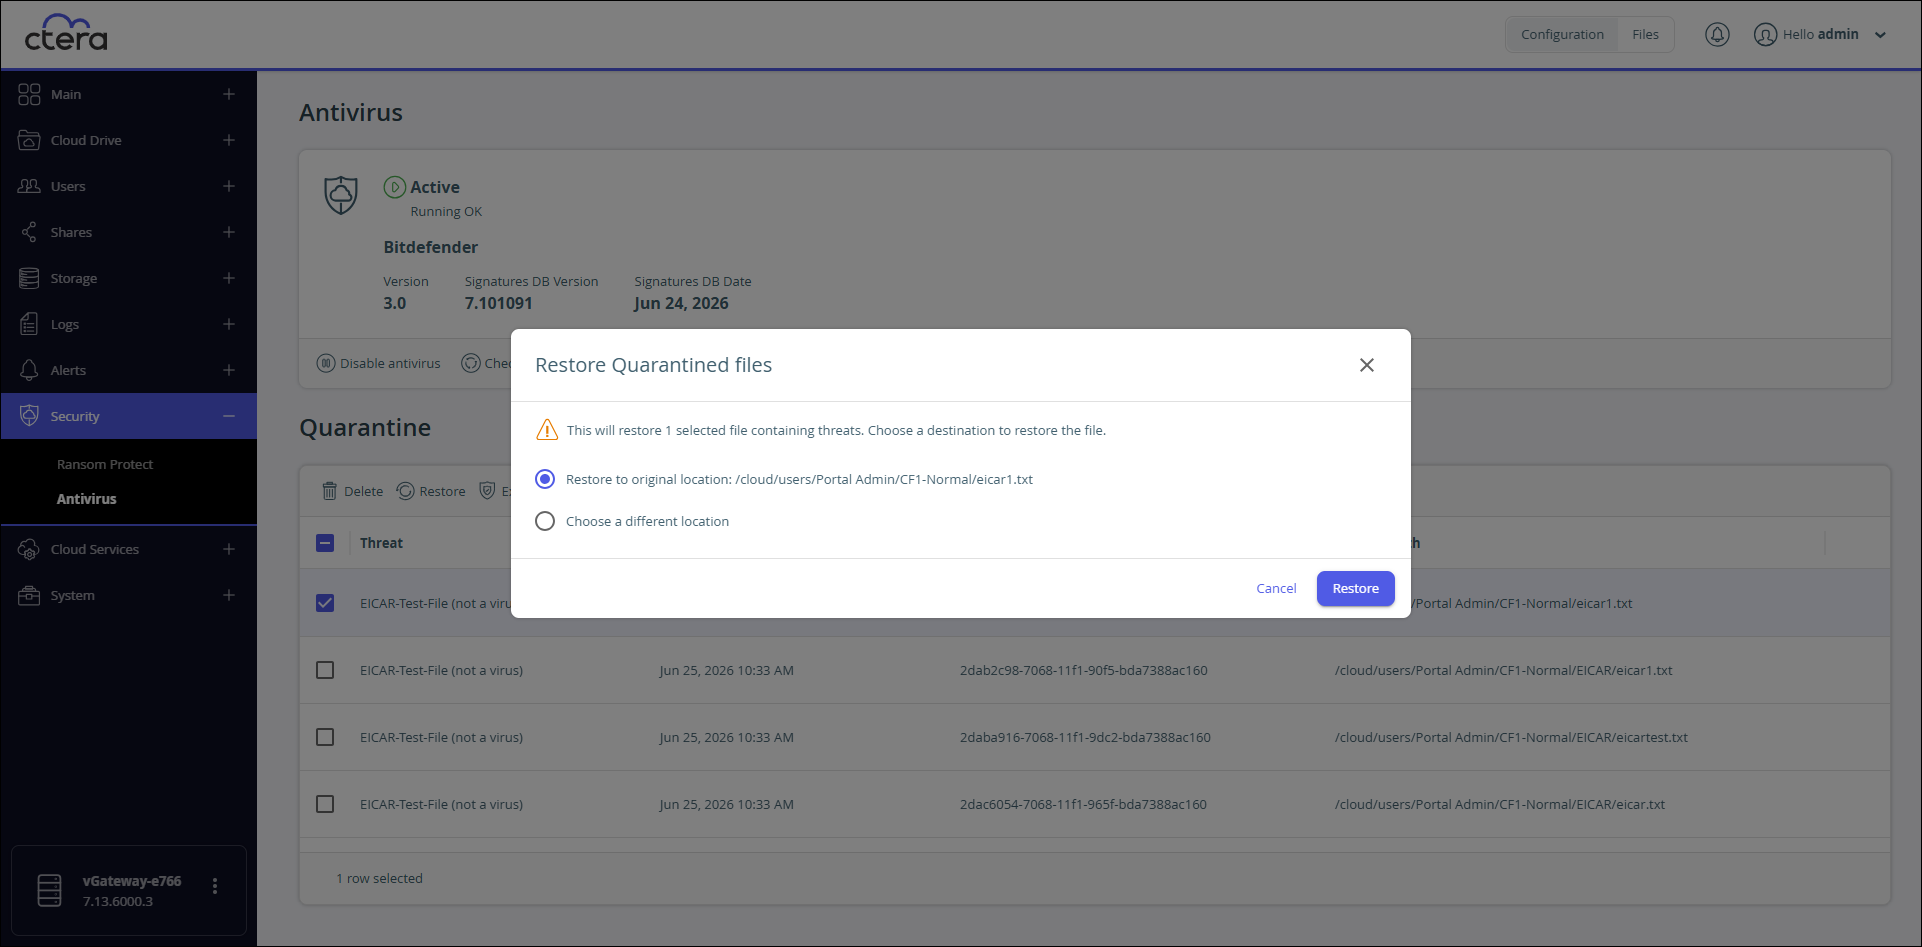
- Select Restore to original location or Choose a different location.
- If you selected Restore to original location, click Restore.
- If you selected Choose a different location, drill-down the tree and select the new location and click Restore.
- Click Confirm.
The quarantined file is restored, either to the original location or to the new location. If the signature for the file has not changed, it will immediately be added back to quarantine.
Downloading Files From Quarantine
To select one or more quarantined files to download:
- Select the files to download and click
 Download.
The quarantined files are downloaded to the local computer as a zip file, even if only one file was downloaded.