The following outlines what the security officer responsible for Microsoft Entra ID must do.
- Log in to your Azure portal and access Microsoft Entra ID.
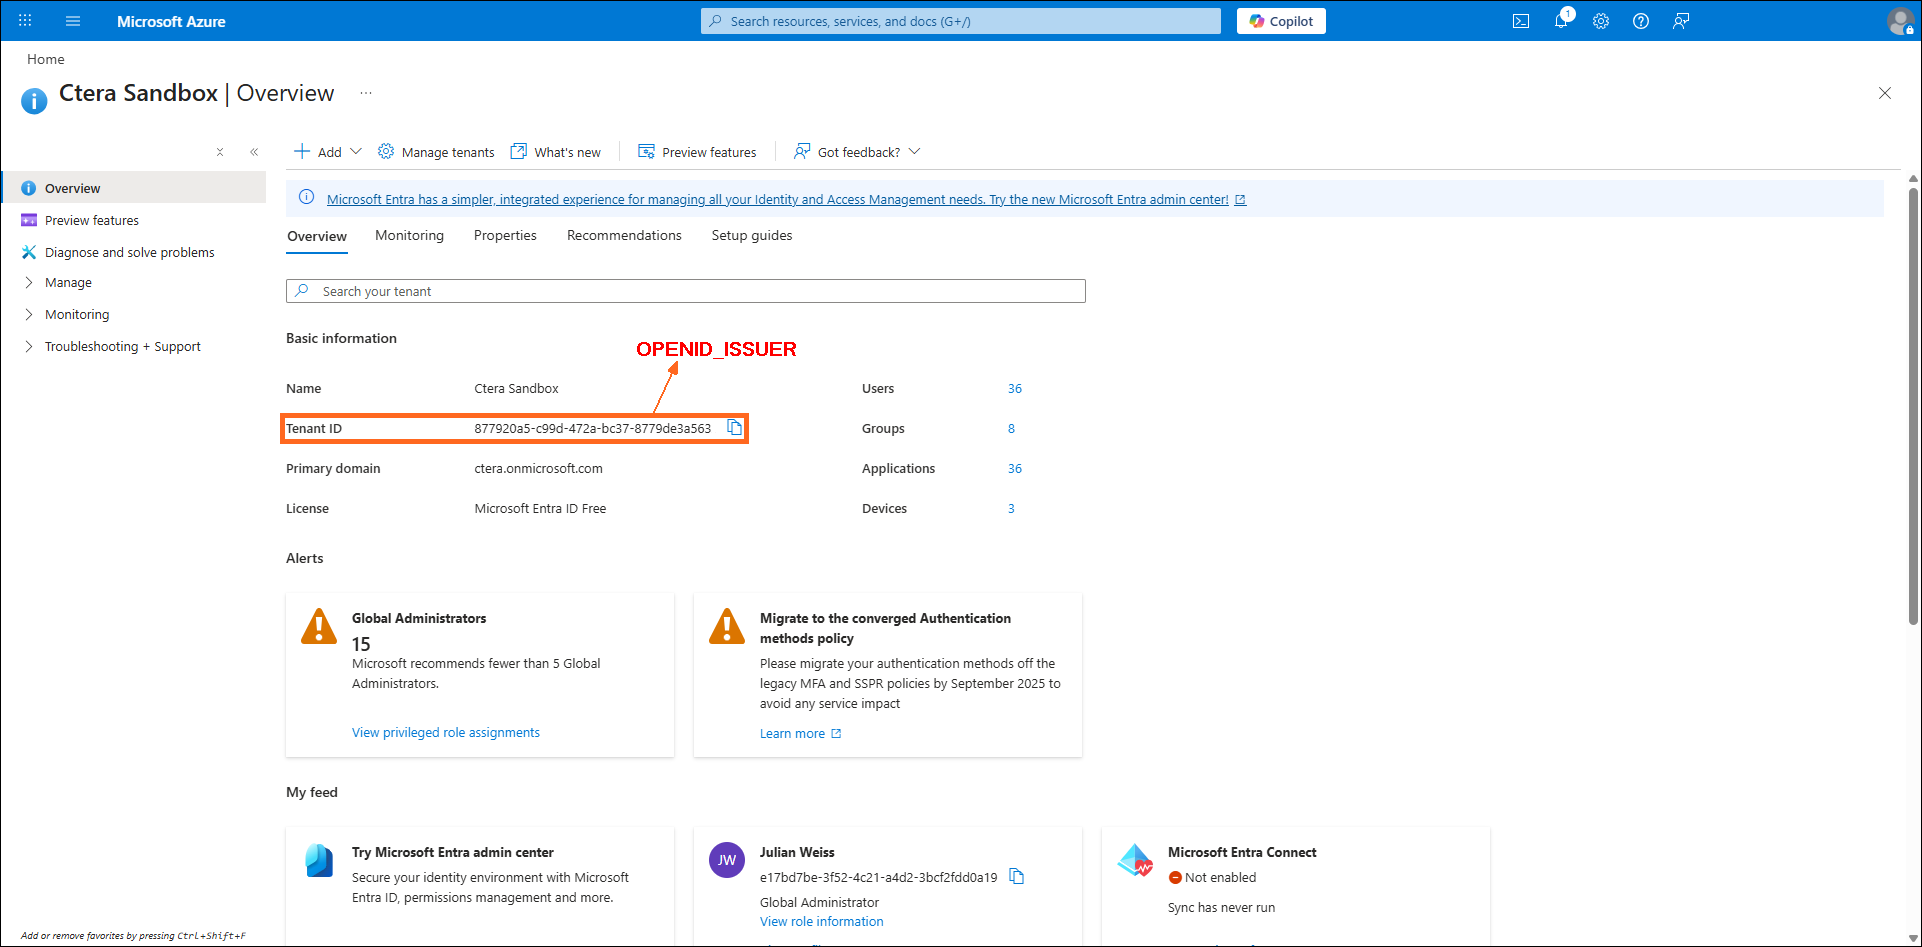
- Note the Tenant ID value which is used later for the OPENID_ISSUER value.
- Click Add > Enterprise Application.
The Browse Microsoft Entra Gallery screen is displayed.
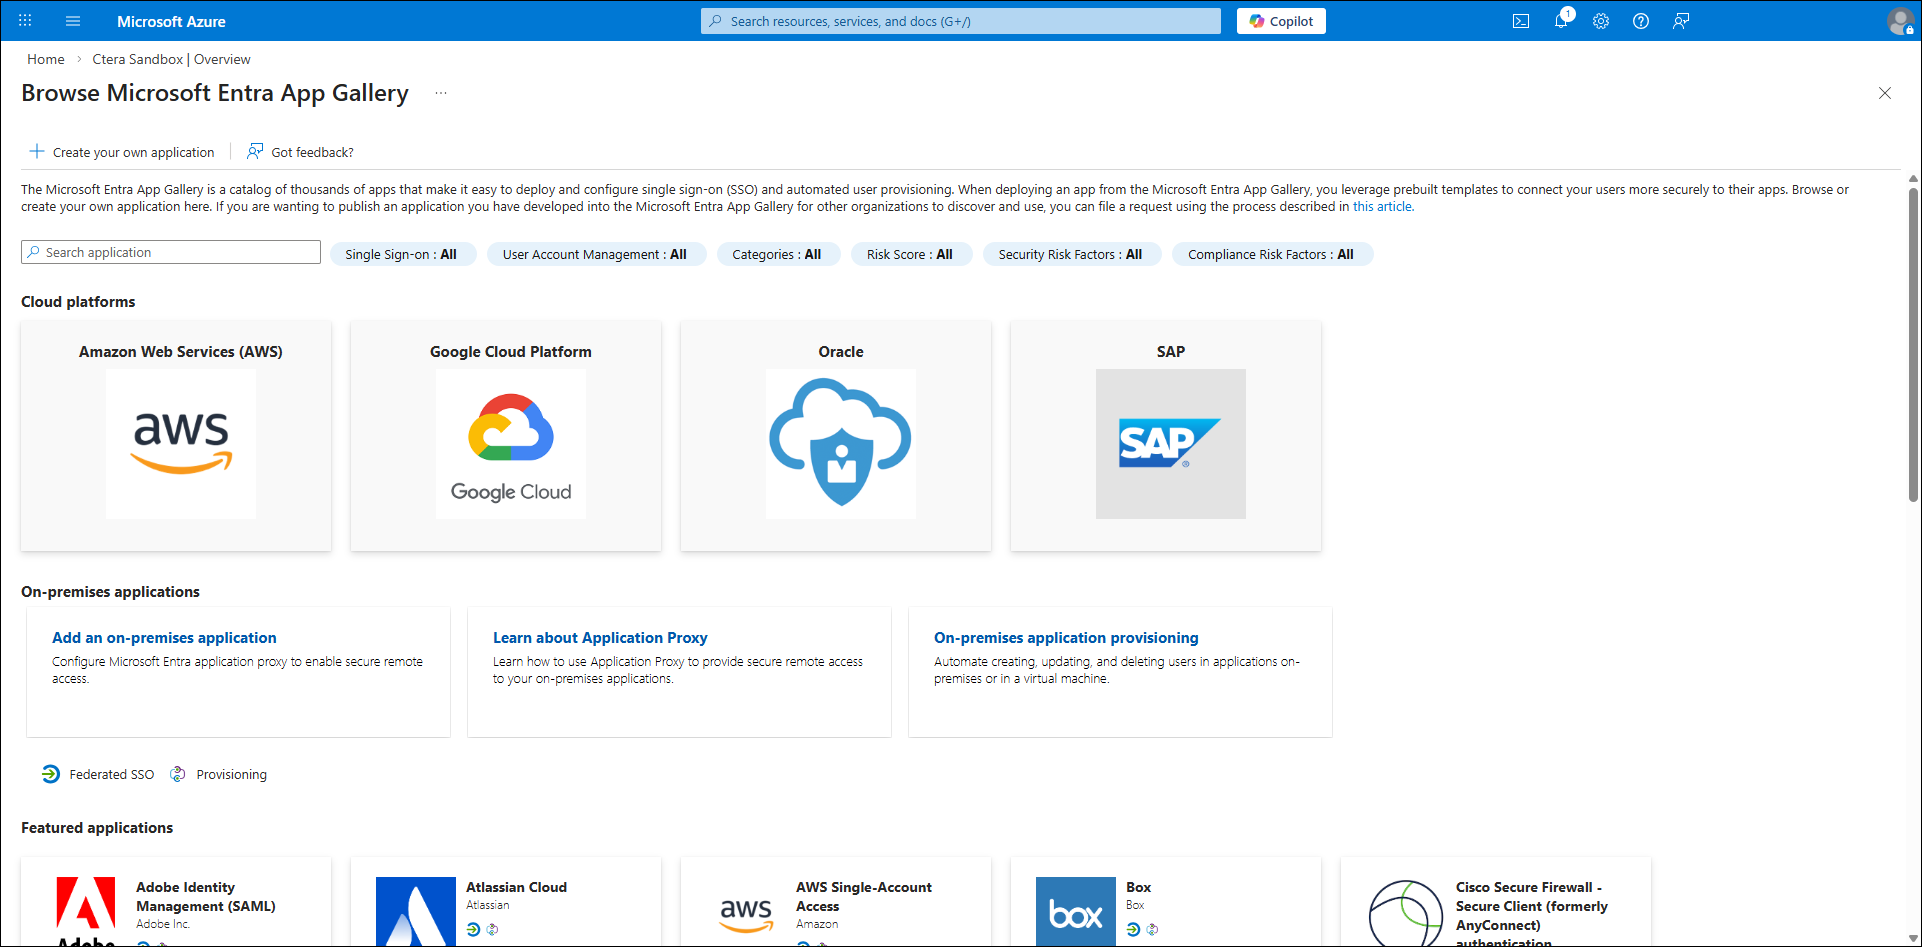
- Click Create your own application.
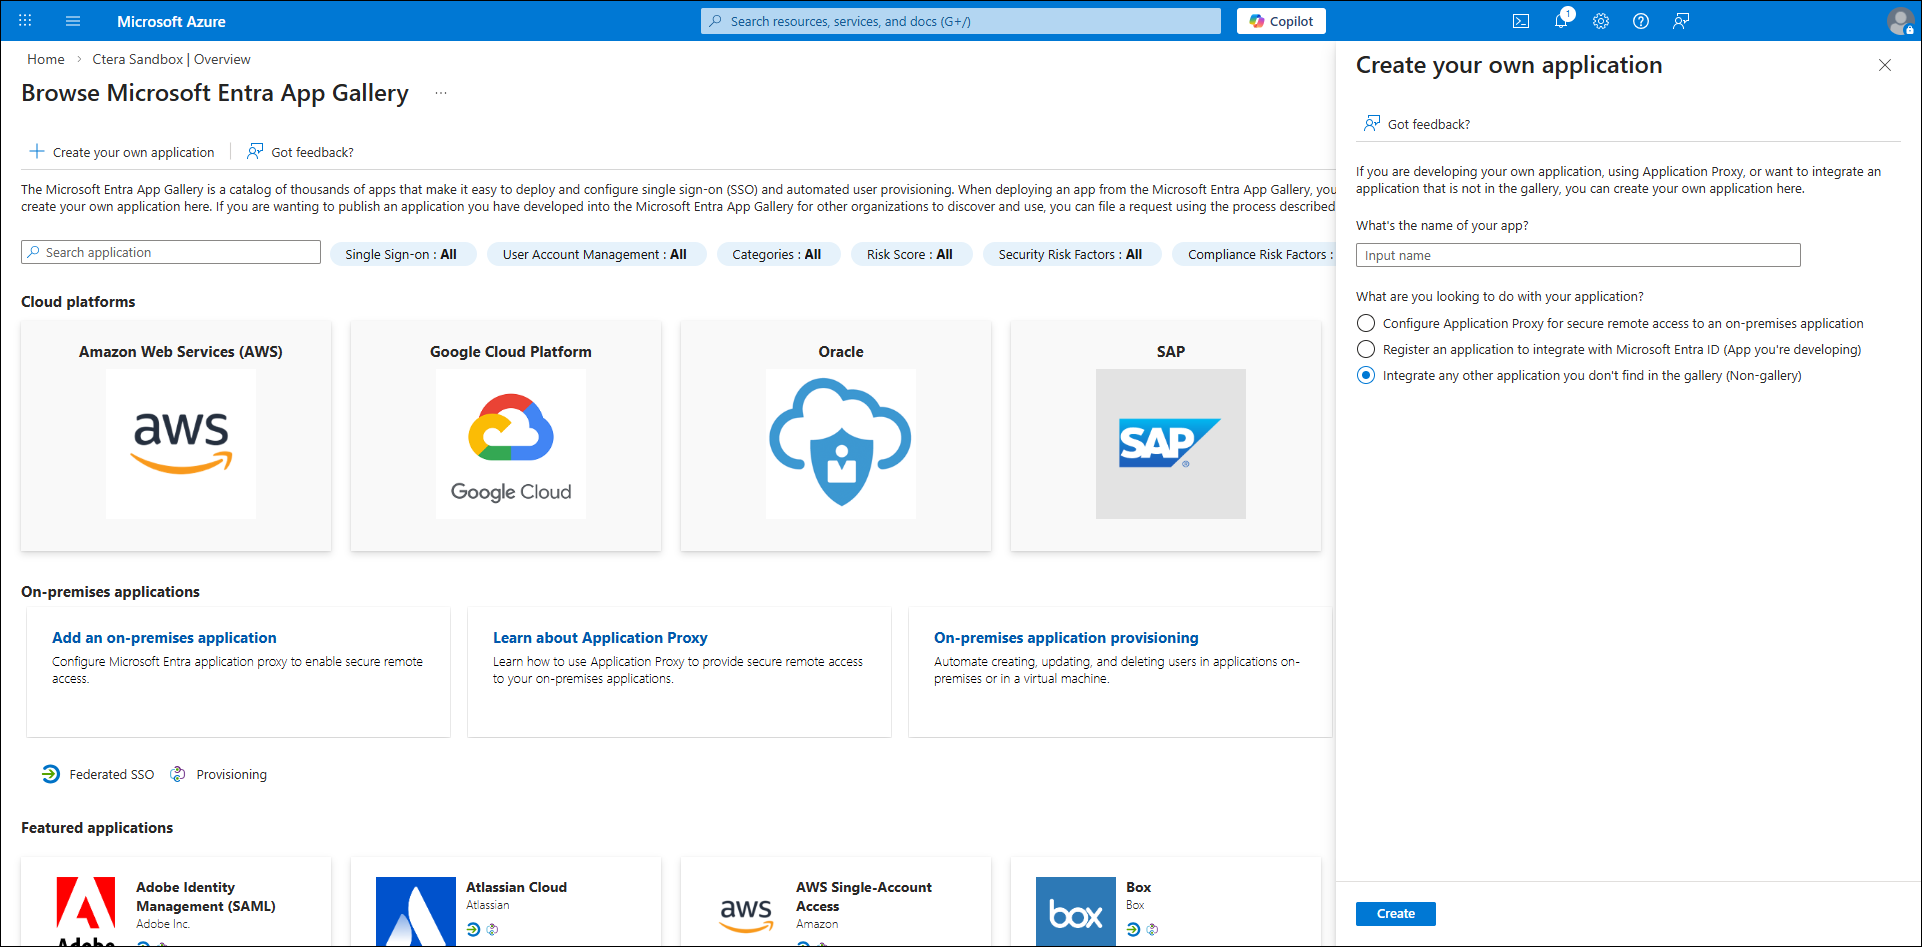
- Enter a name for the application. For example,
example-cs - Select Integrate any other application you don't find in the gallery (Non-gallery).
- Click Create.
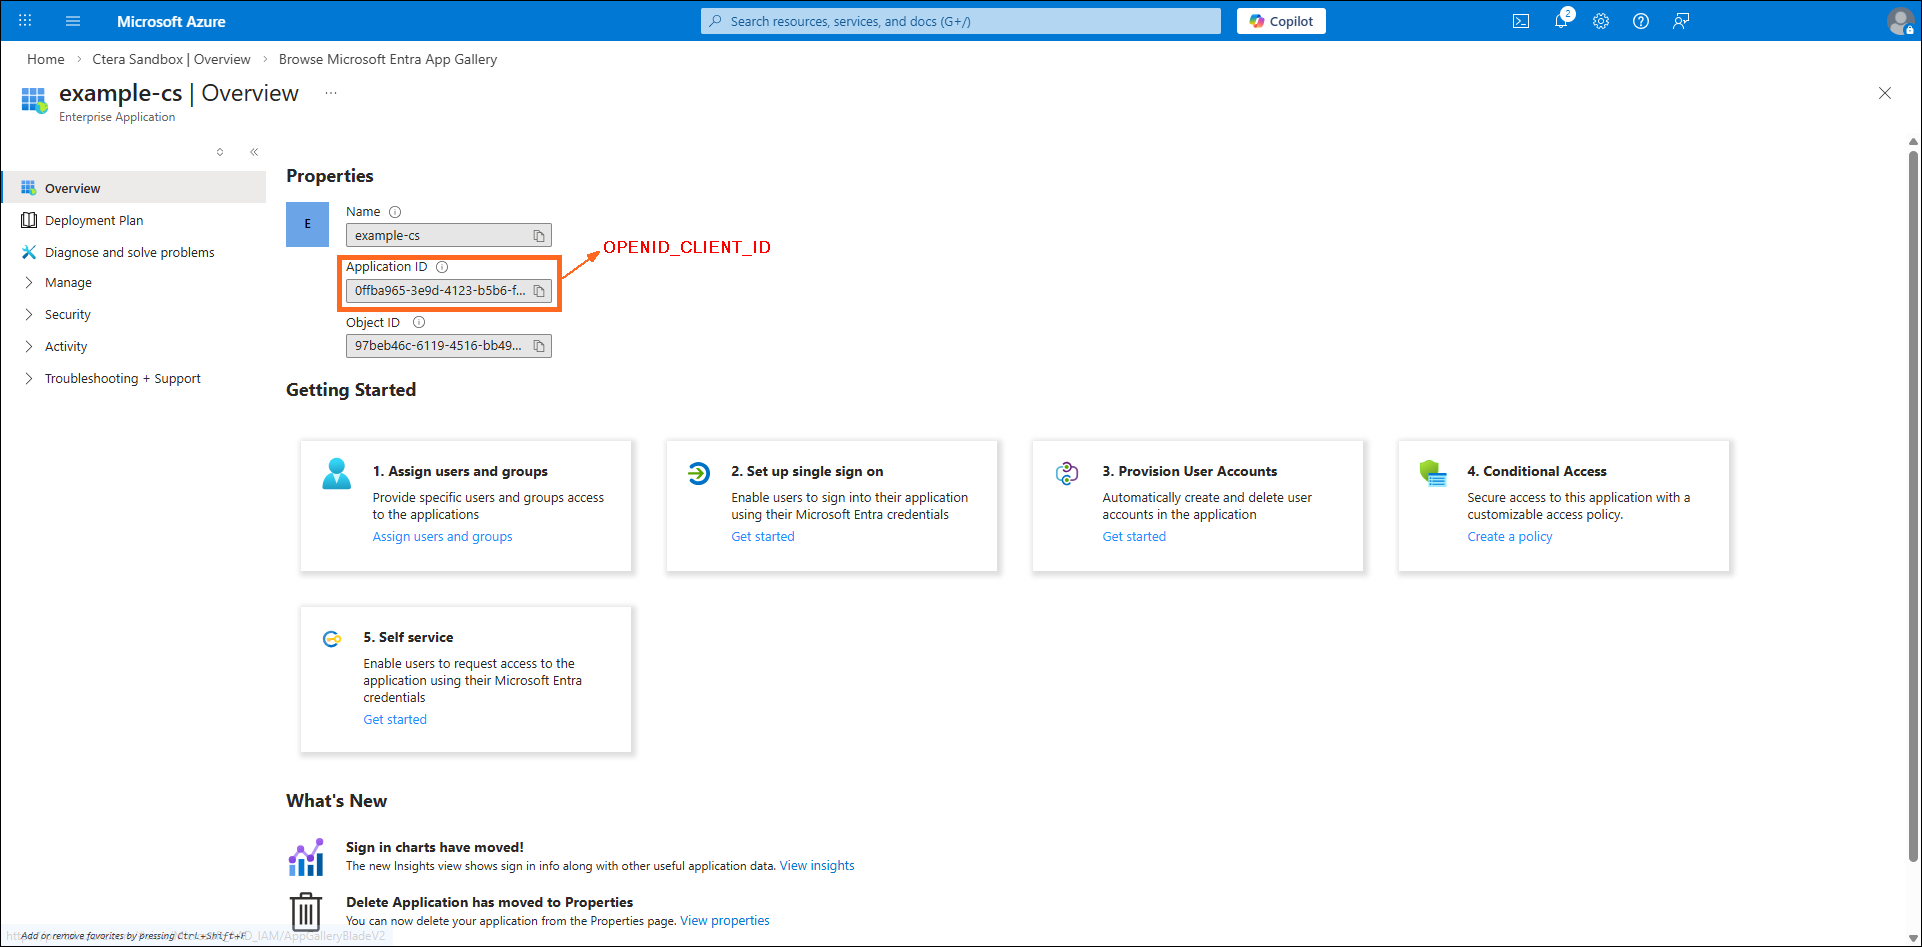
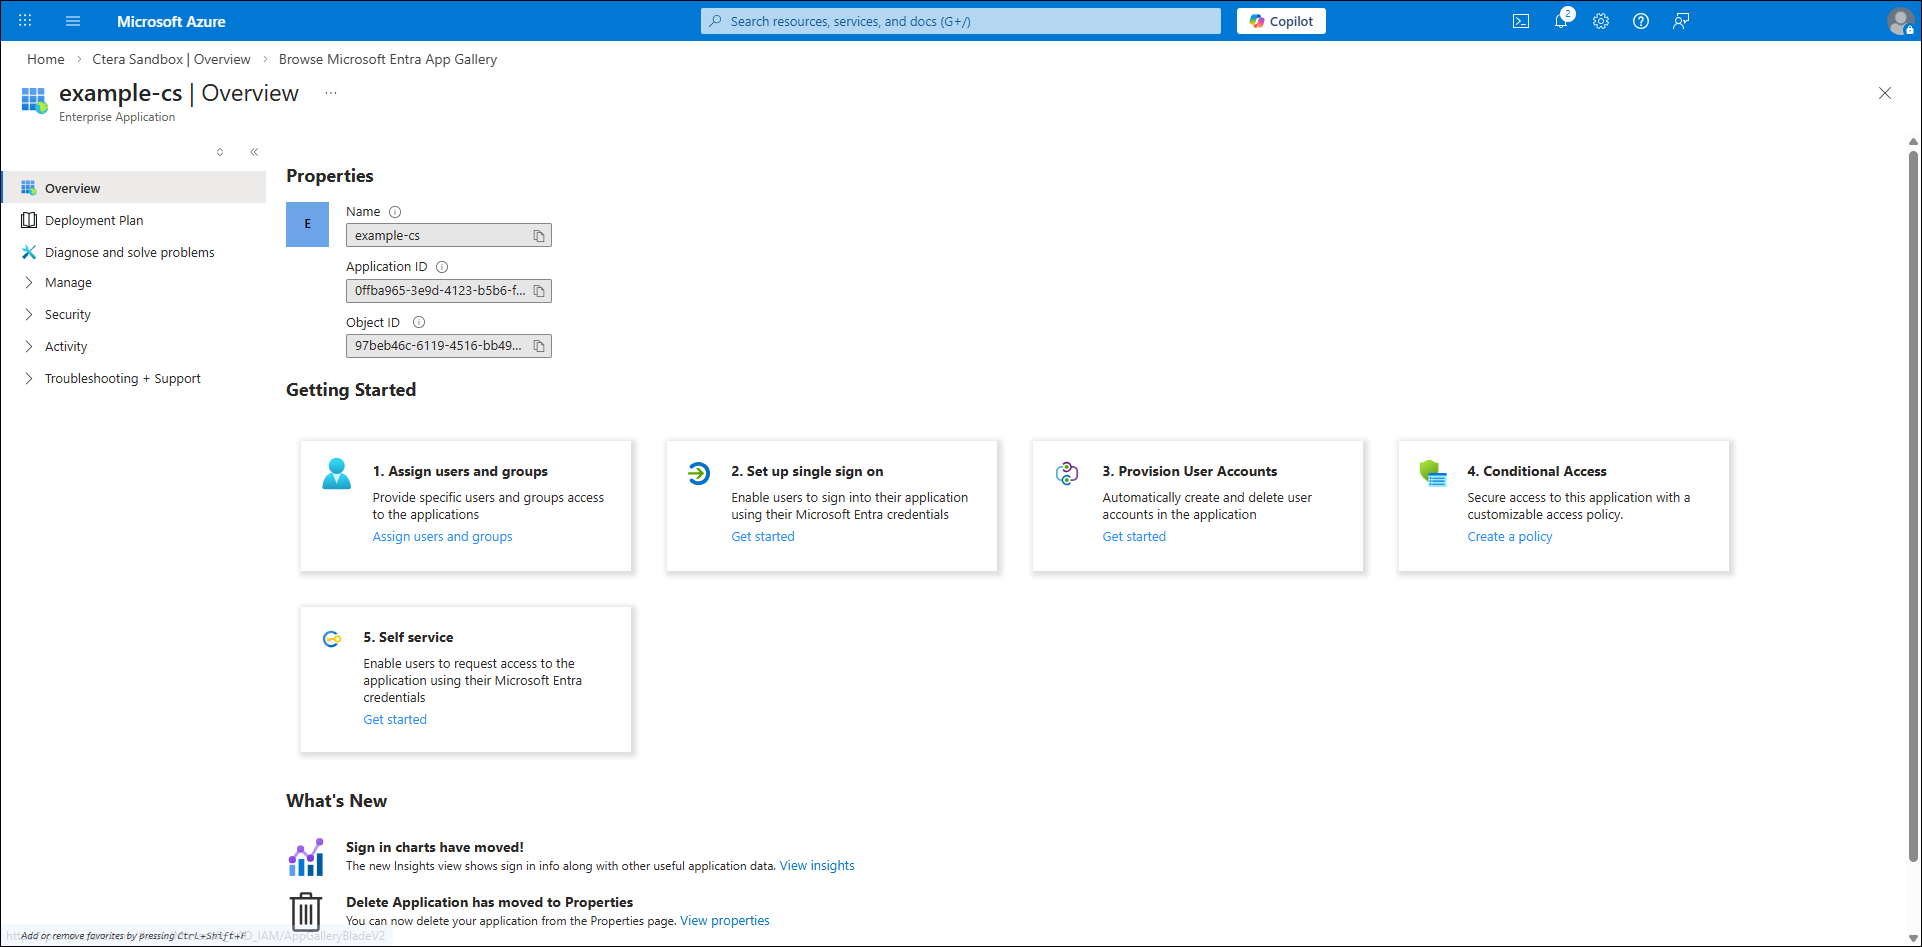
- Note the Application ID value which is used later for the OPENID_CLIENT_ID value.
- Click Properties in the Manage section.
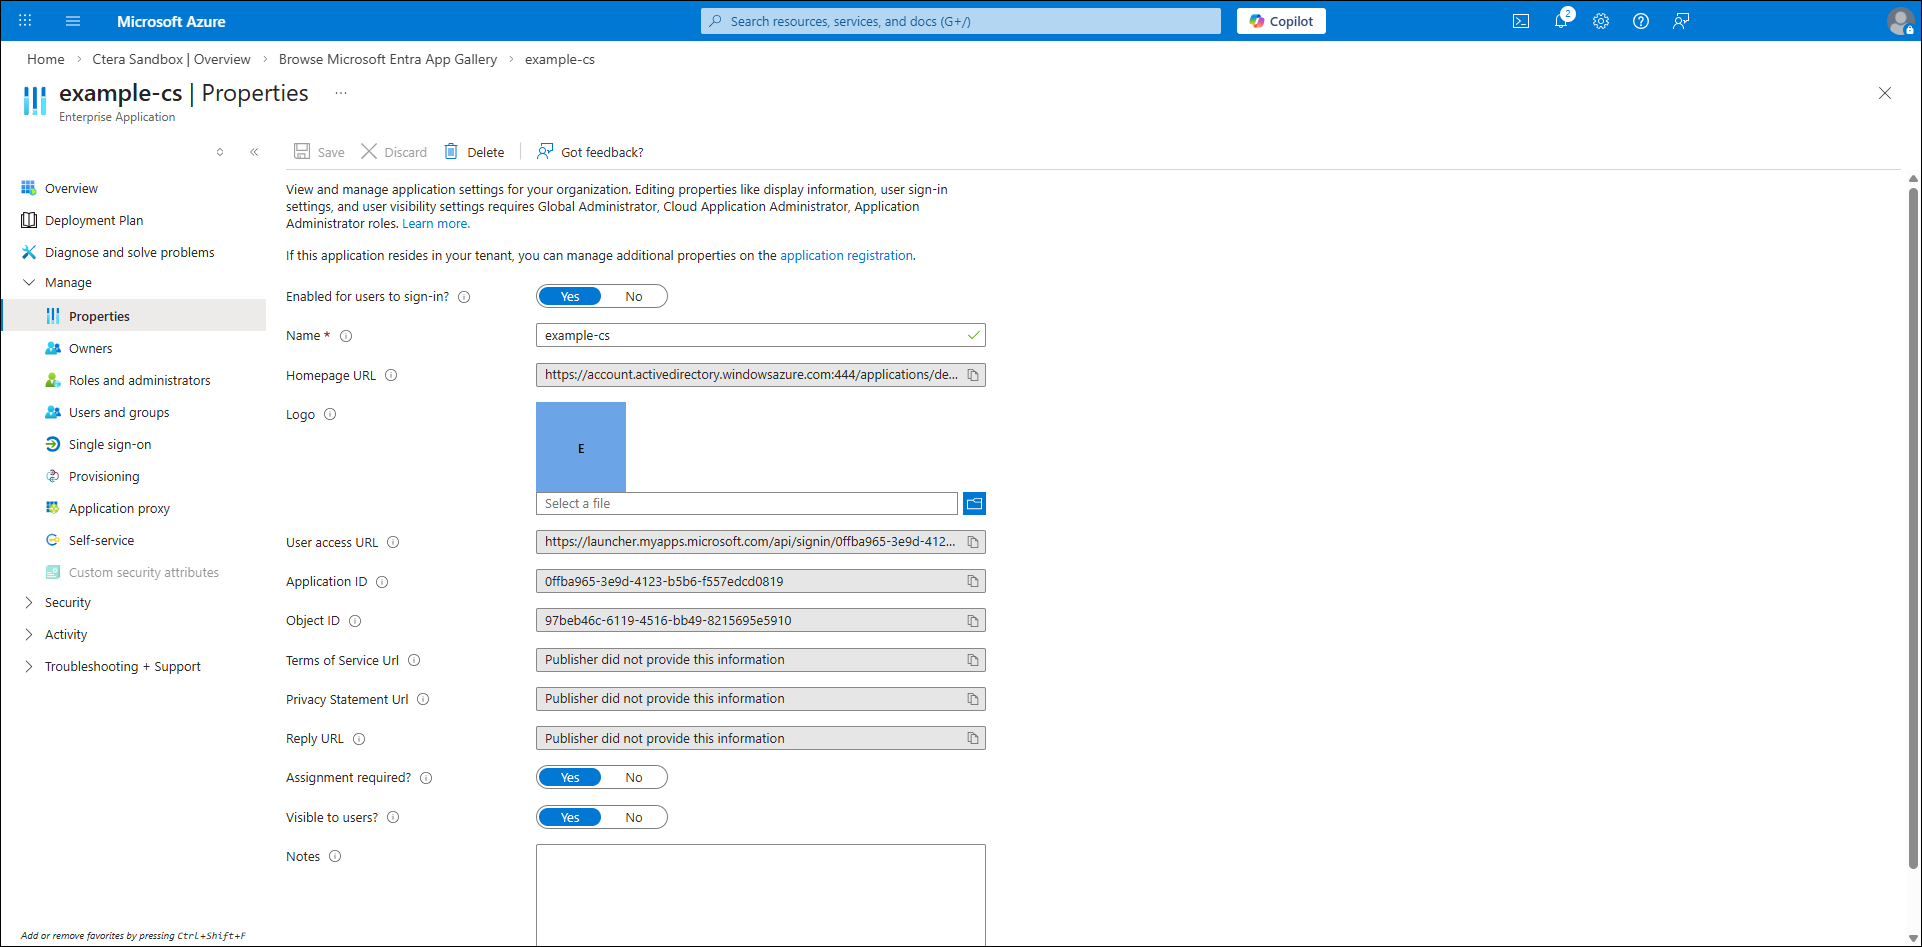
- Verify the application name and then register the application by clicking application registration.
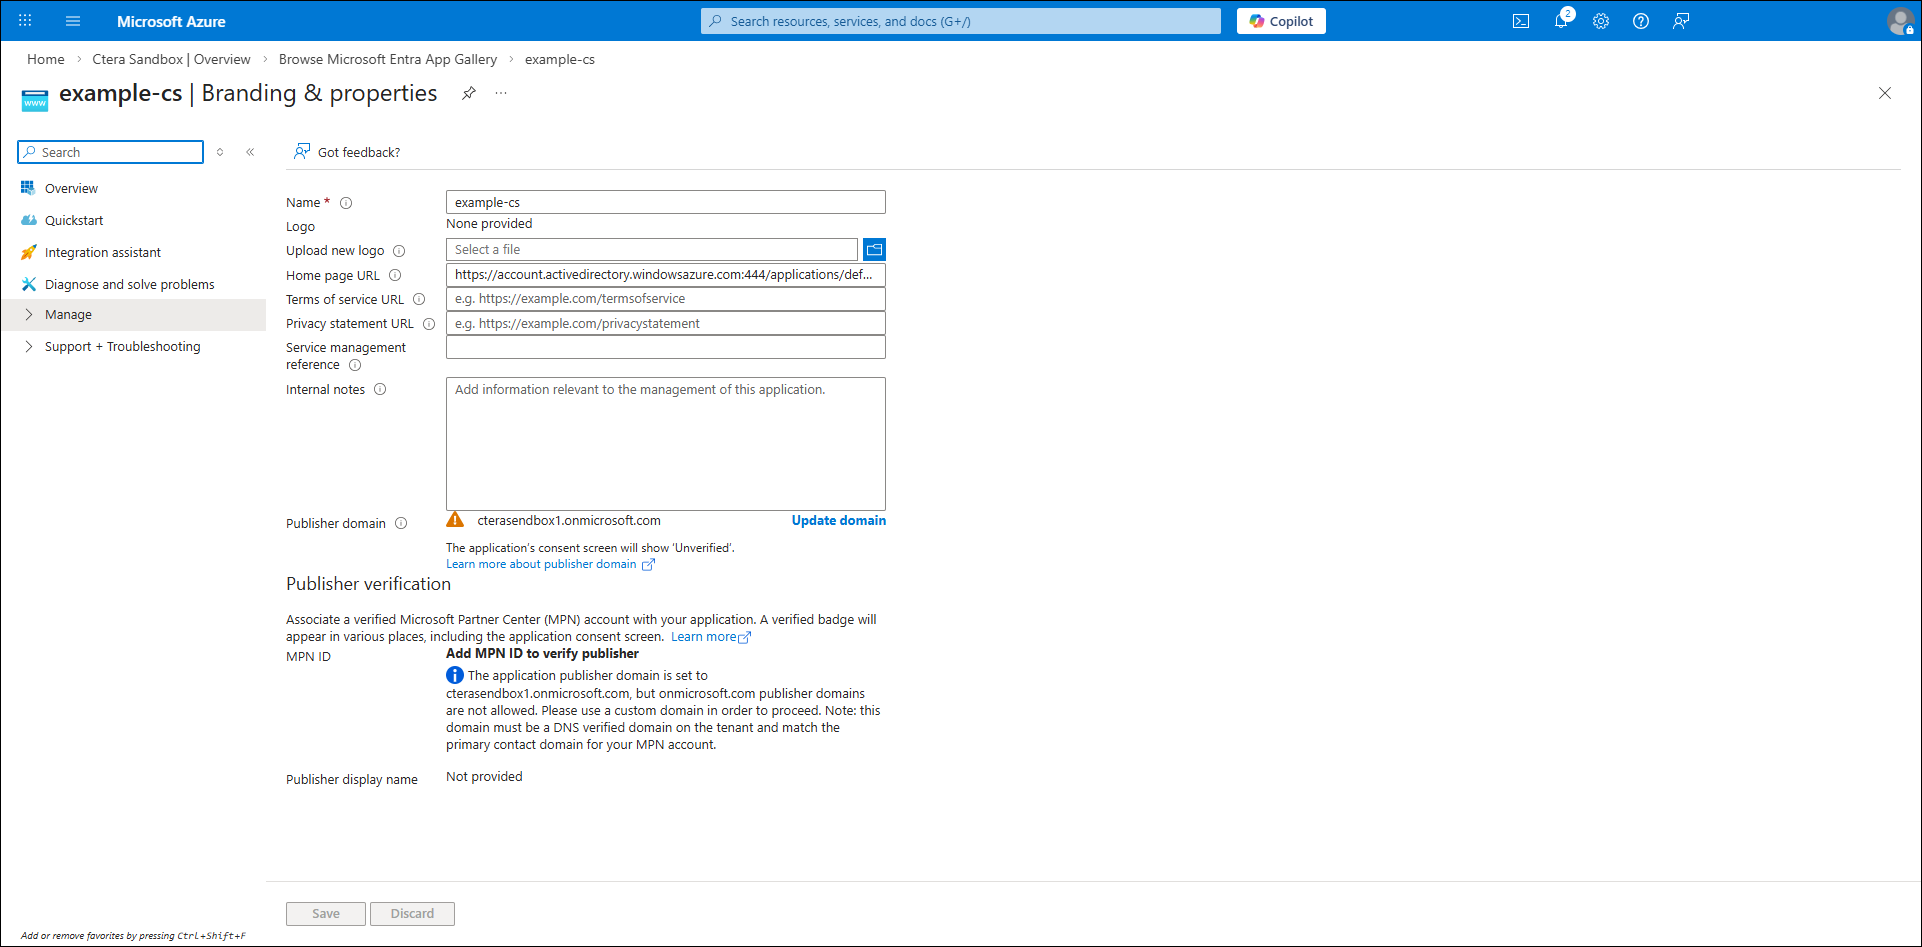
- Add text to Internal notes and click Save.
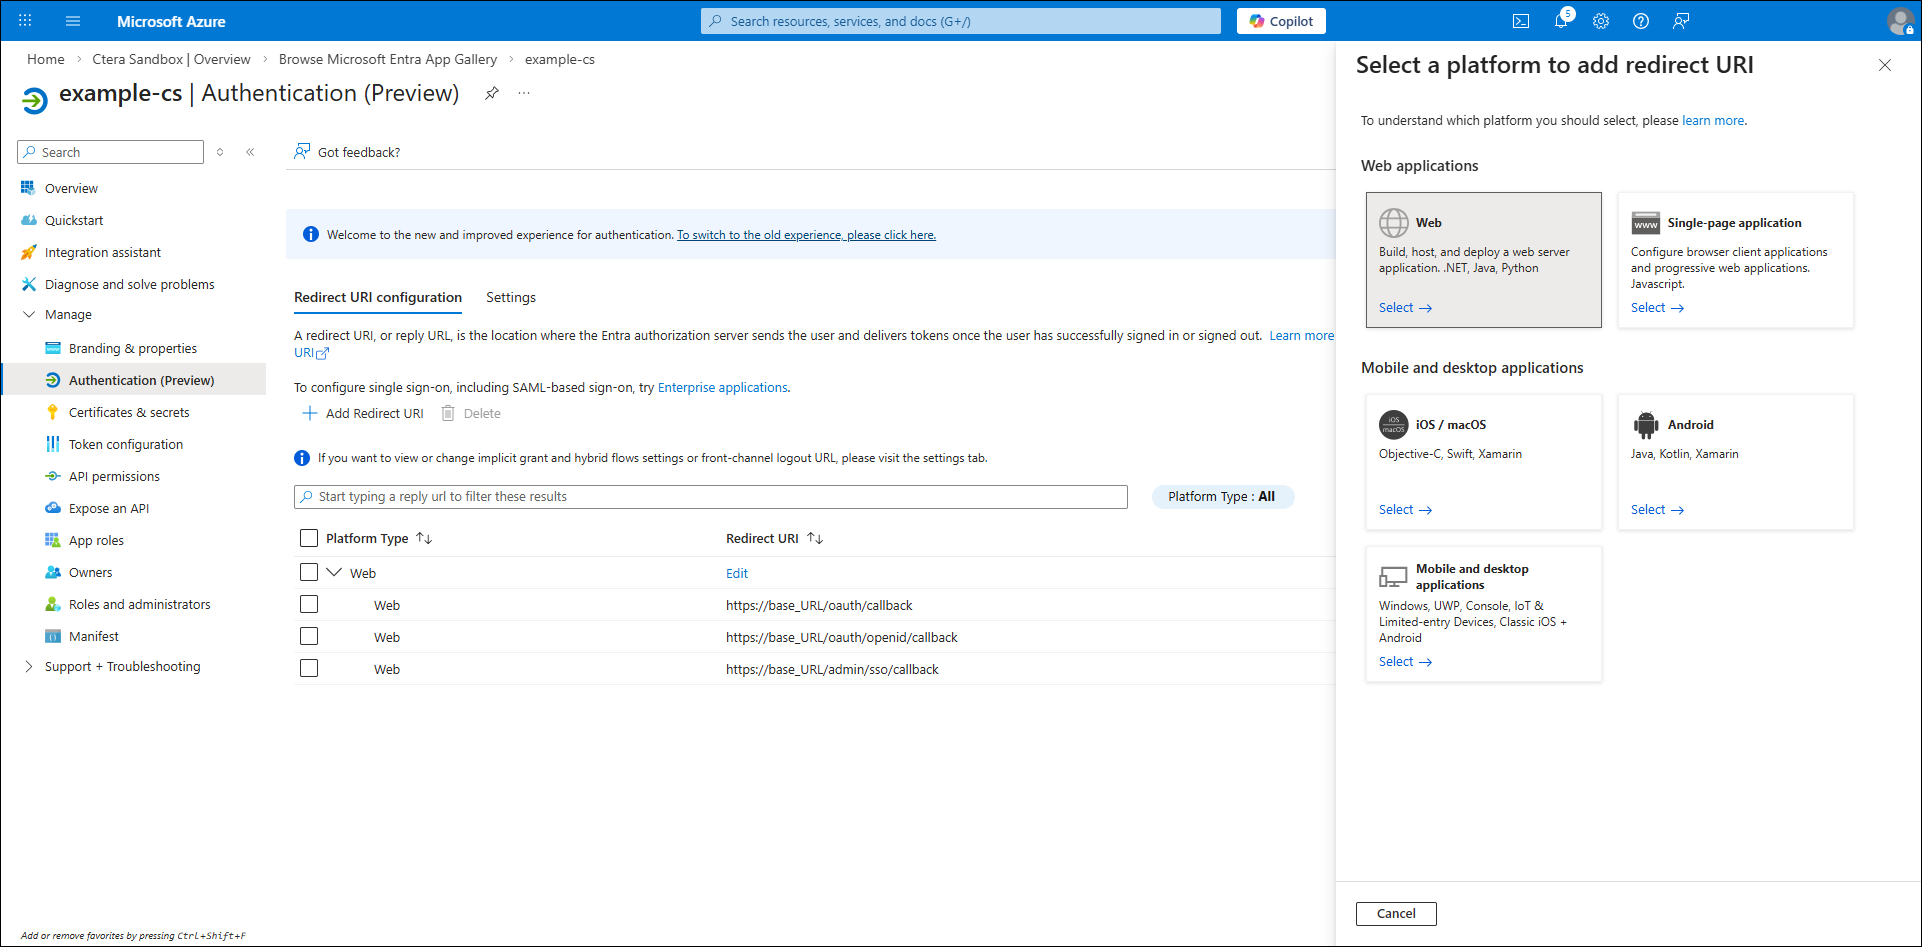
- Click Authentication in the Manage section.
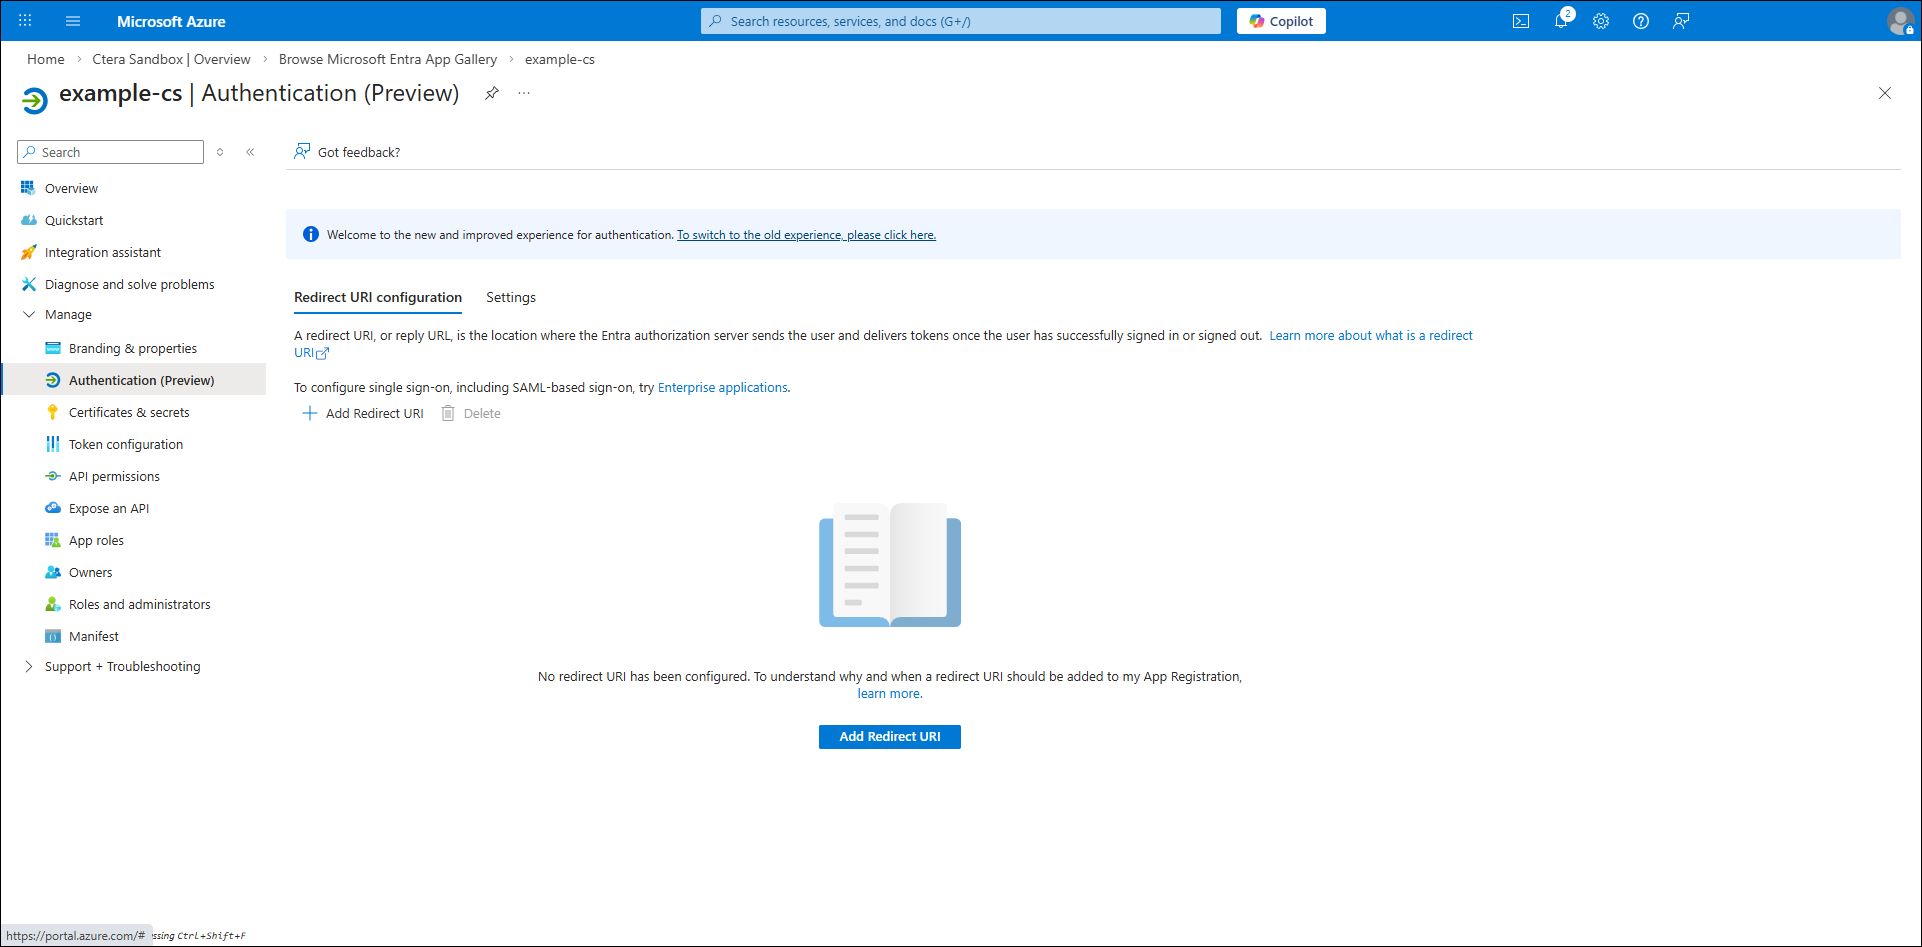
- click Add Redirect URI
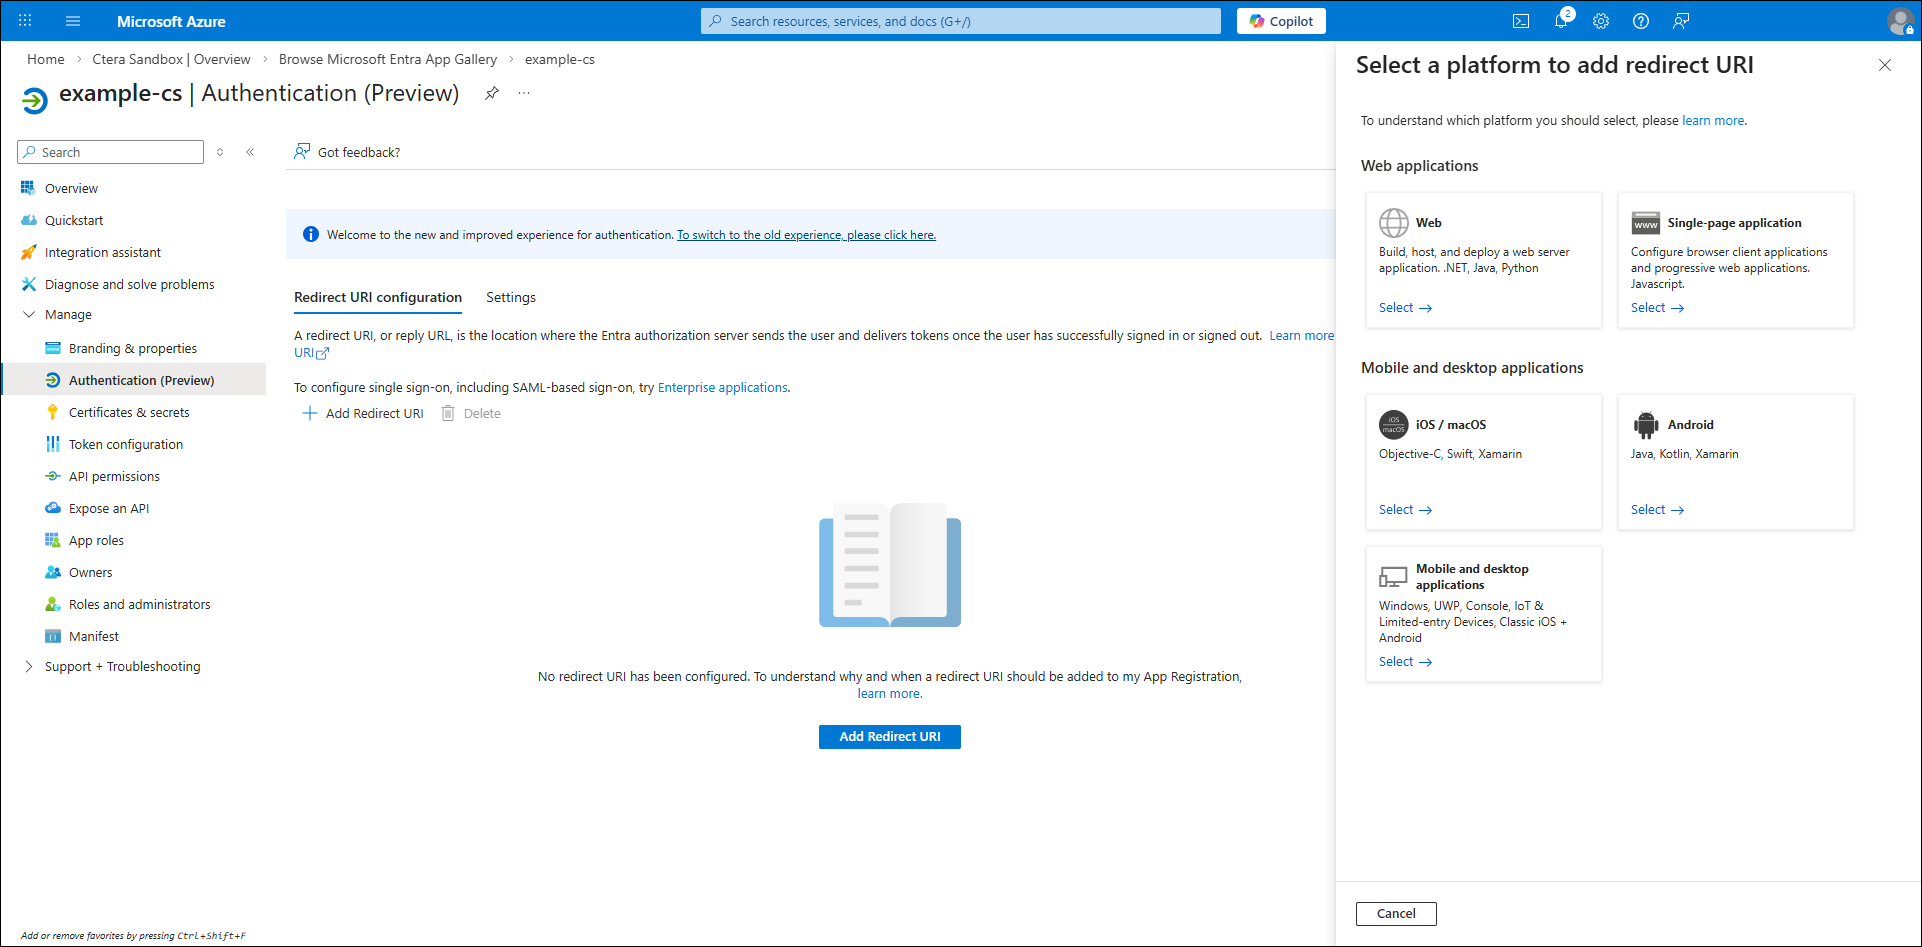
- Click Web.
- Add the following redirect URIs:
https://<base_URL>/oauth/callback
https://<base_URL>/oauth/openid/callback
https://<base_URL>/admin/sso/callback - Click Configure.
 Note
NoteThe URIs must be accessible from the client.
- Click the Settings tab and under Implicit grant and hybris flows make sure that the Access tokens and ID tokens are checked.

- Click Save.
- Click Certificate and secrets in the Manage section.
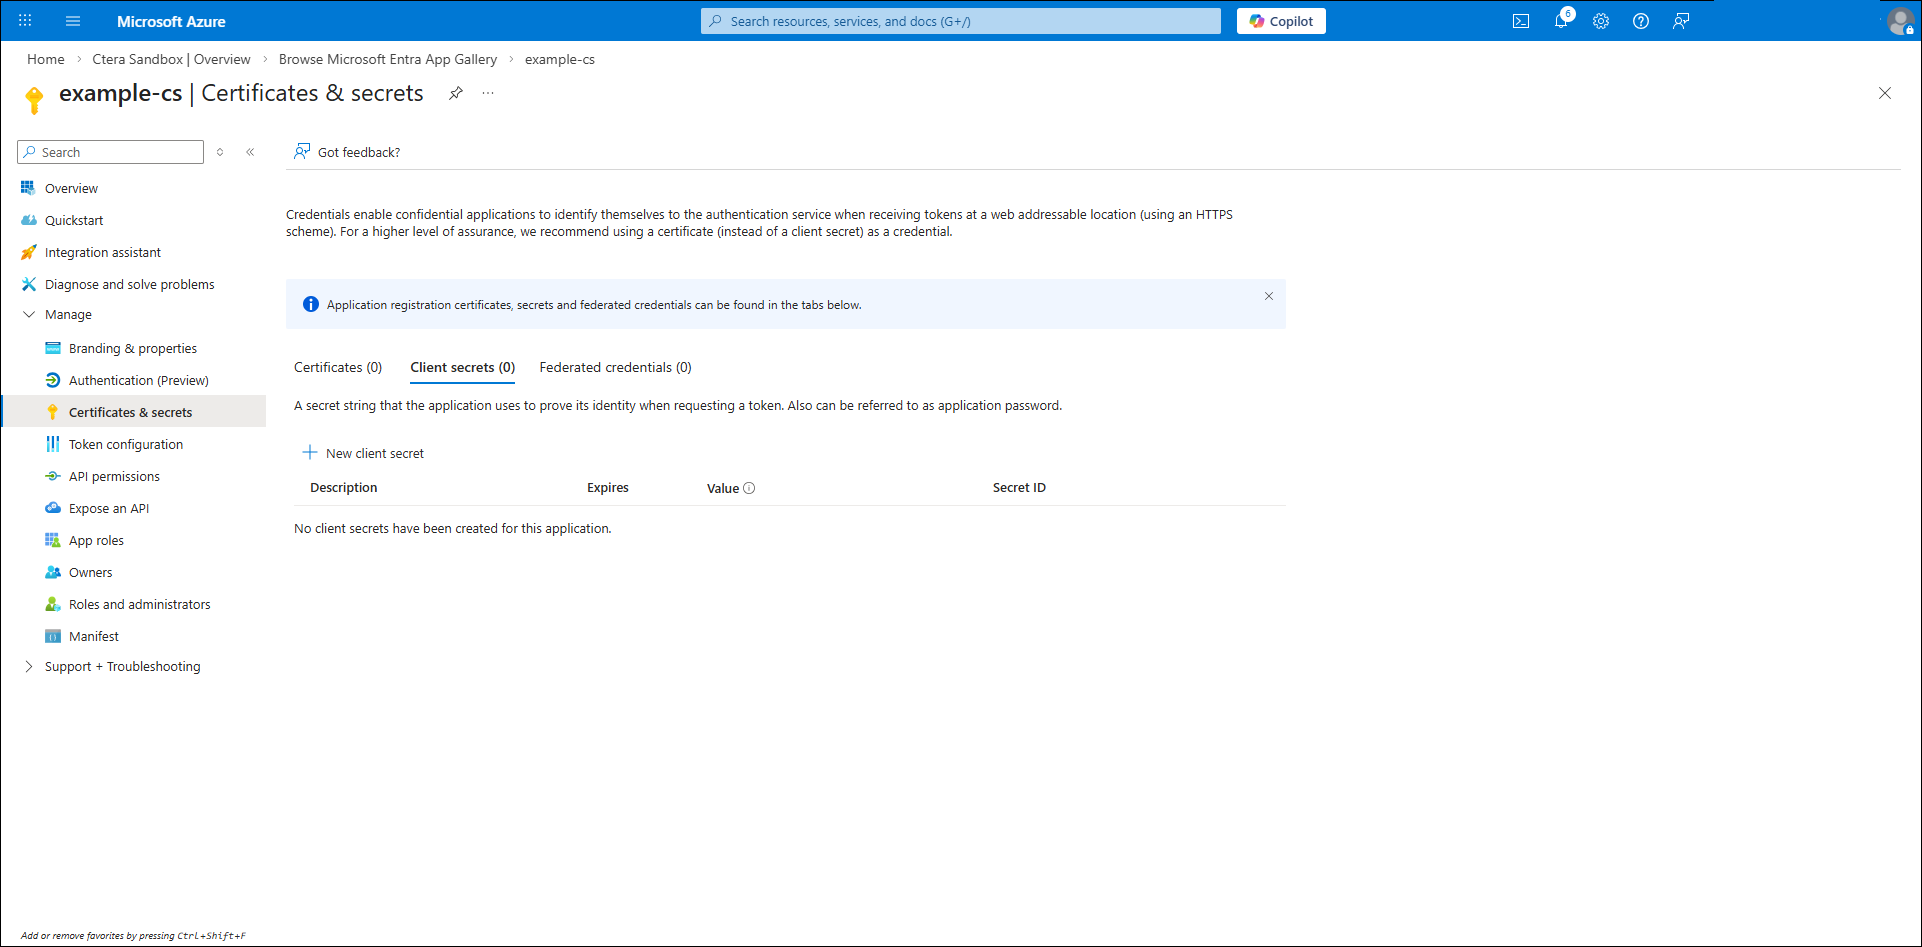
- Click New client secret.
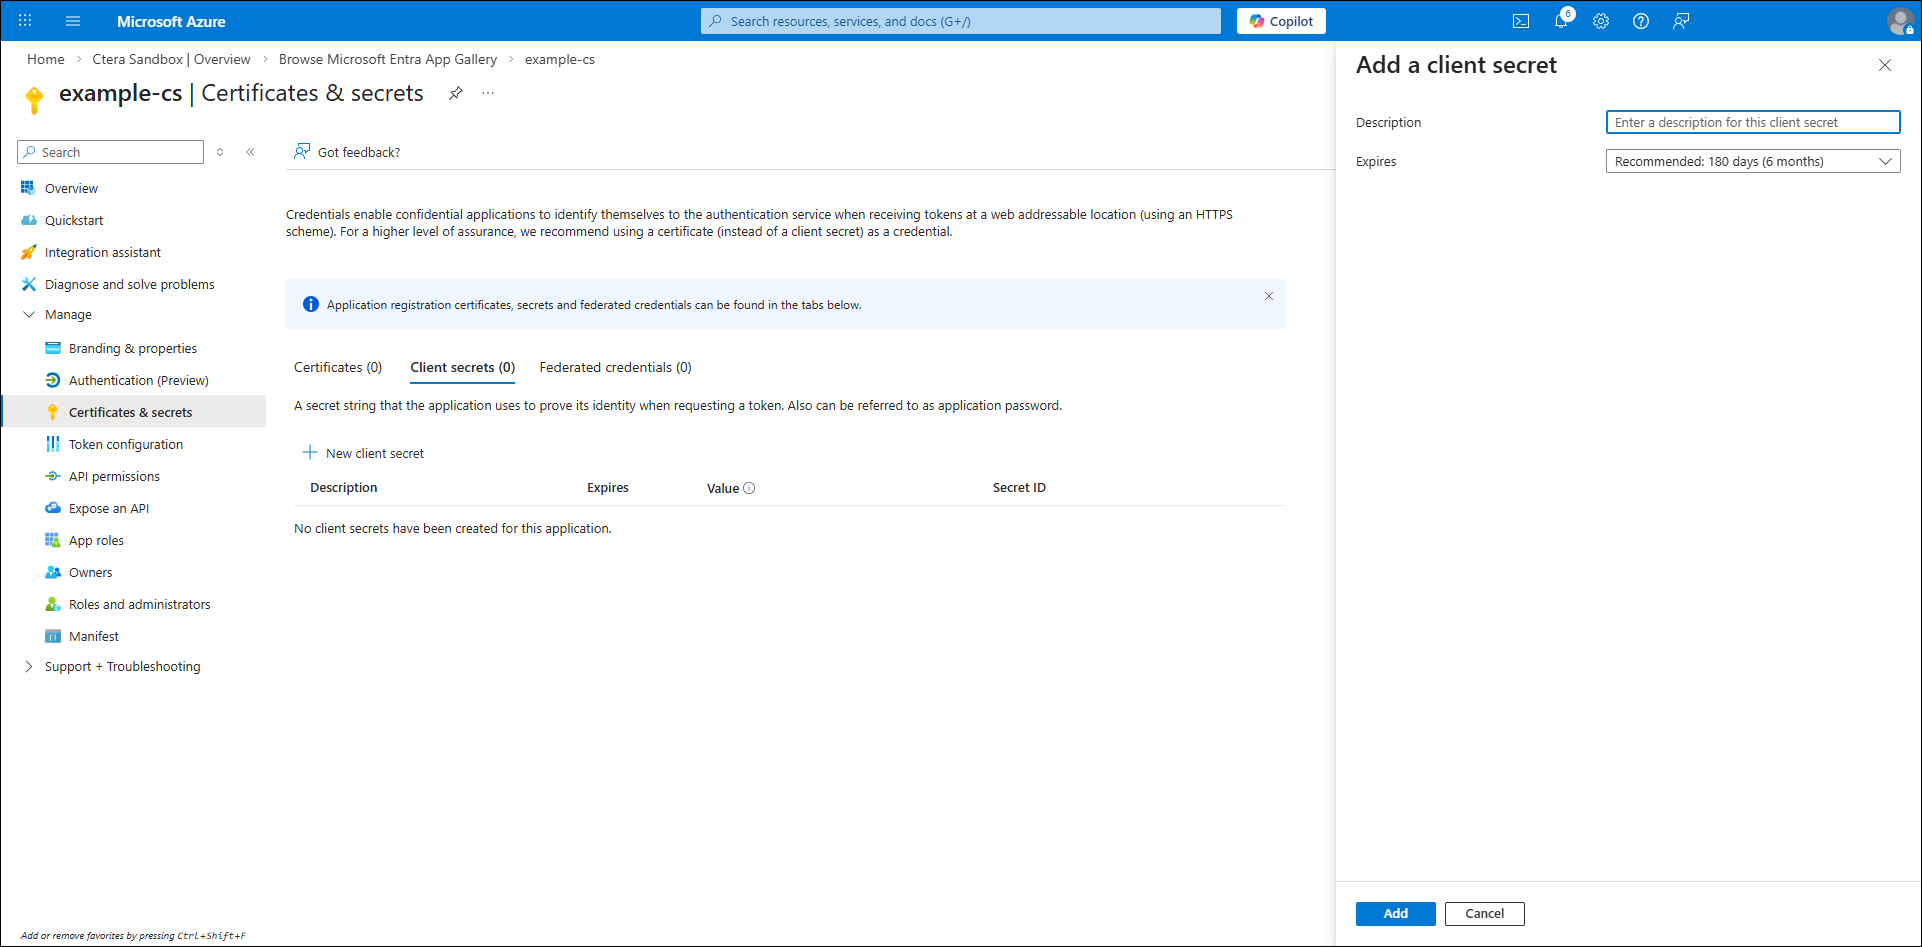
- Enter OPENID_CLIENT_SECRET as the description and an expiration value and click Add.
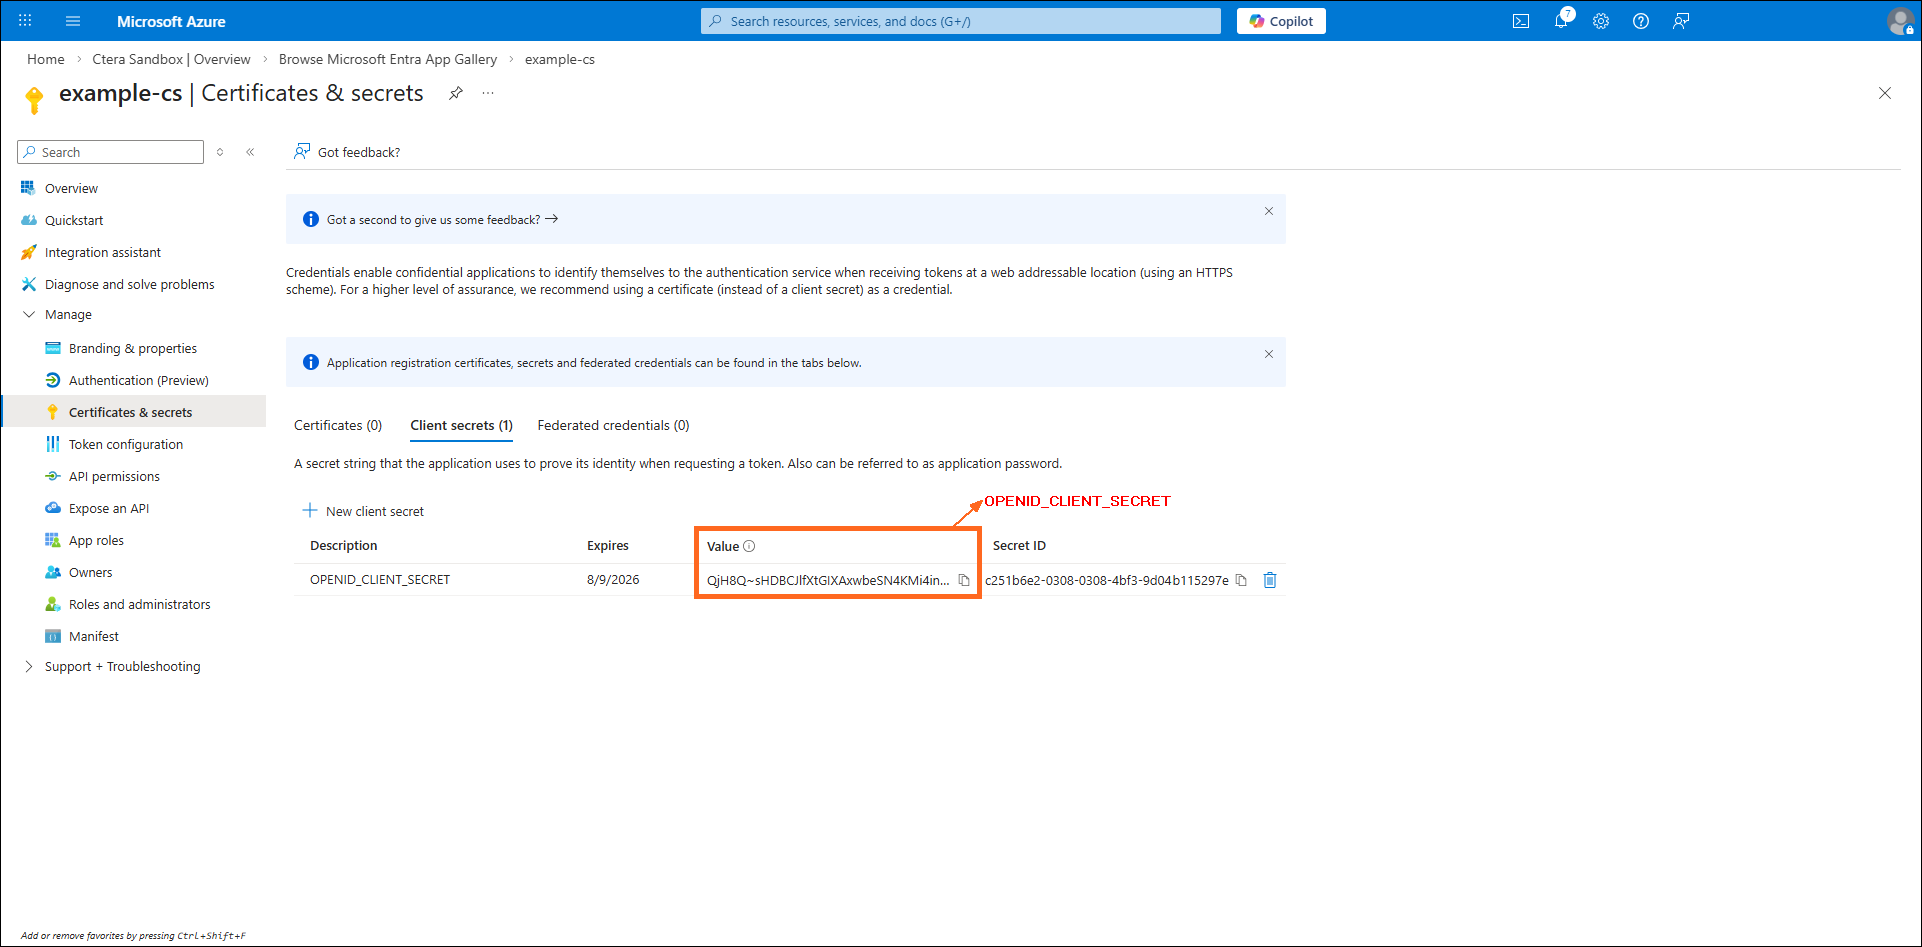
- Note the Value value which is used later for the OPENID_CLIENT_SECRET value and also note the Secret ID value.
- Click Token configuration in the Manage section.
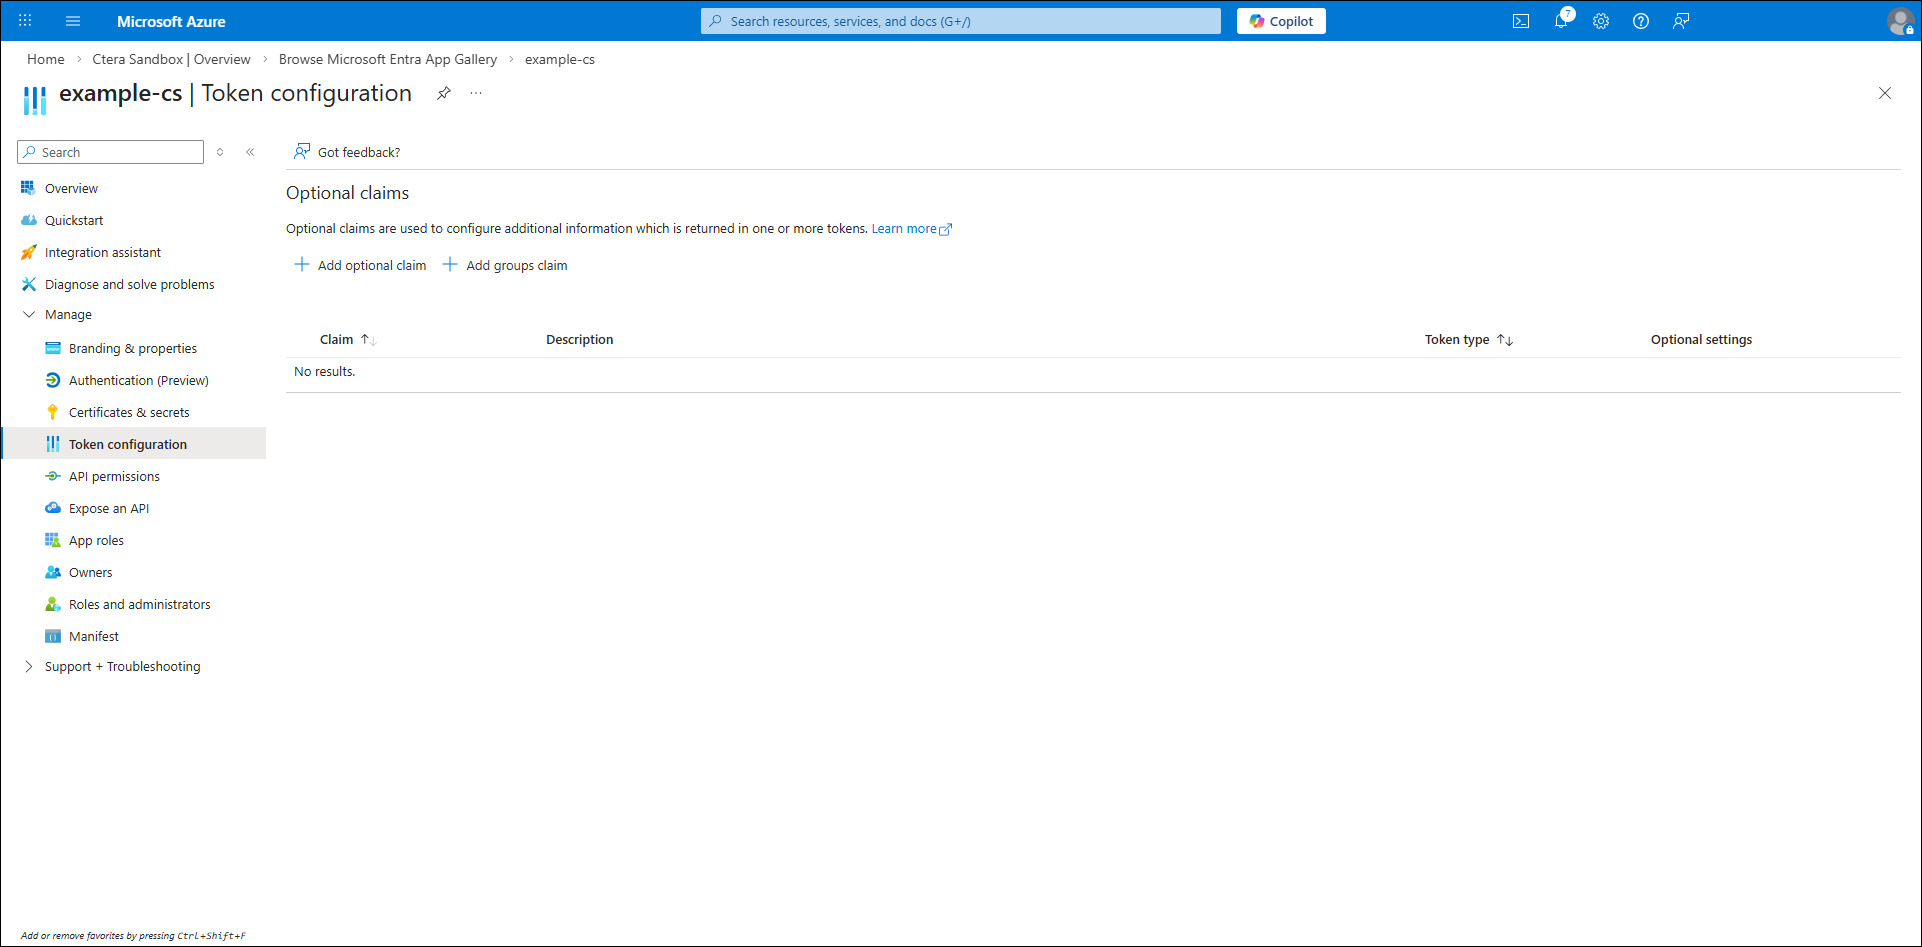
- Click Add groups claim.
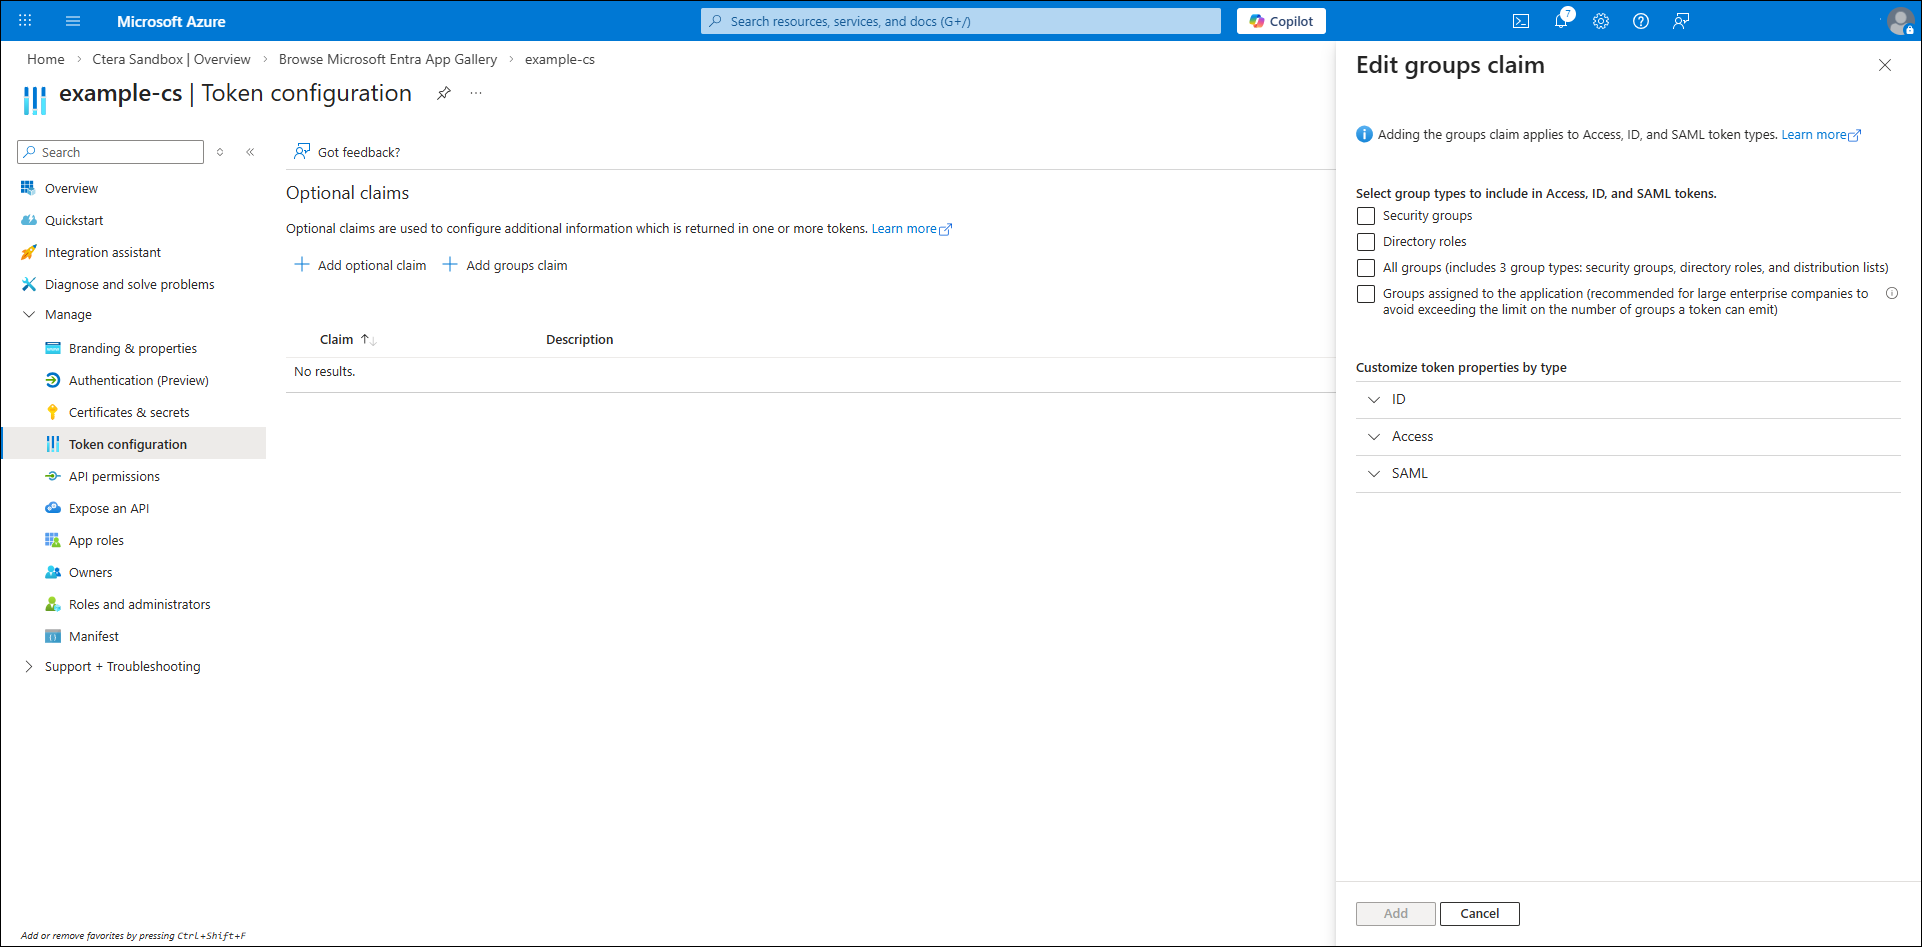
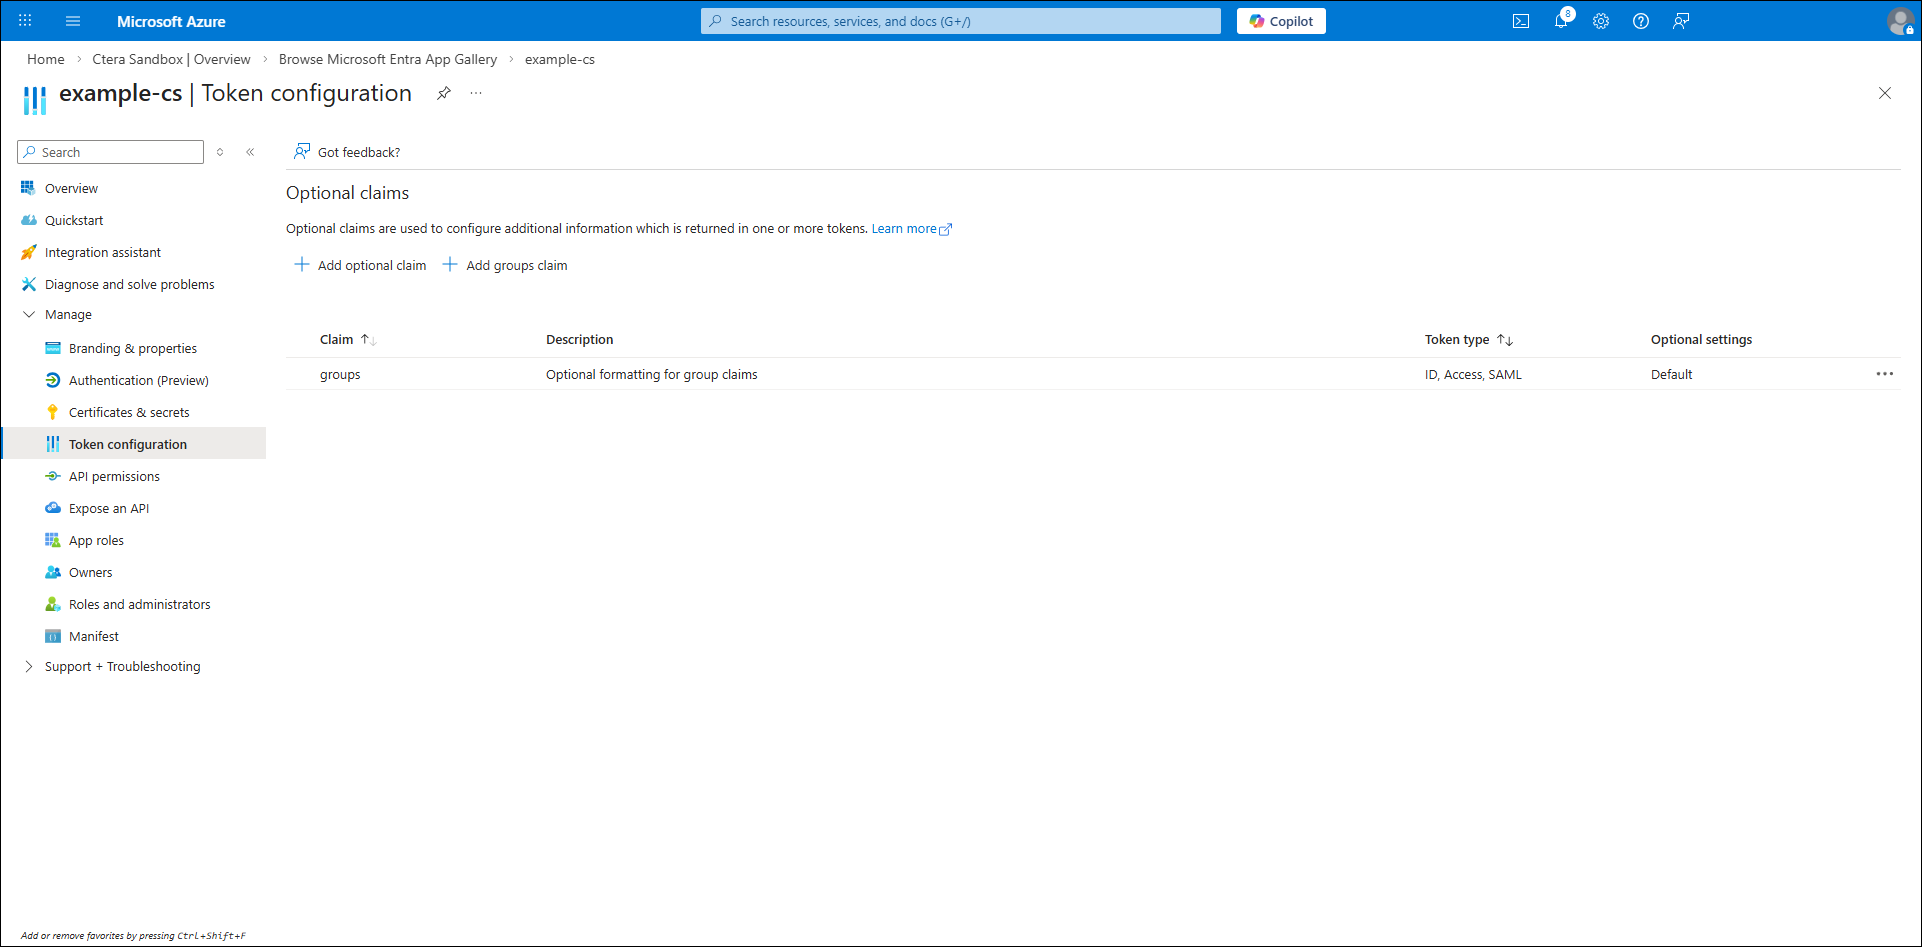
- Check All groups and click Add.
Both Security groups and Directory roles are automatically checked.
- Click API permissions in the Manage section.

- Click Add a permission.
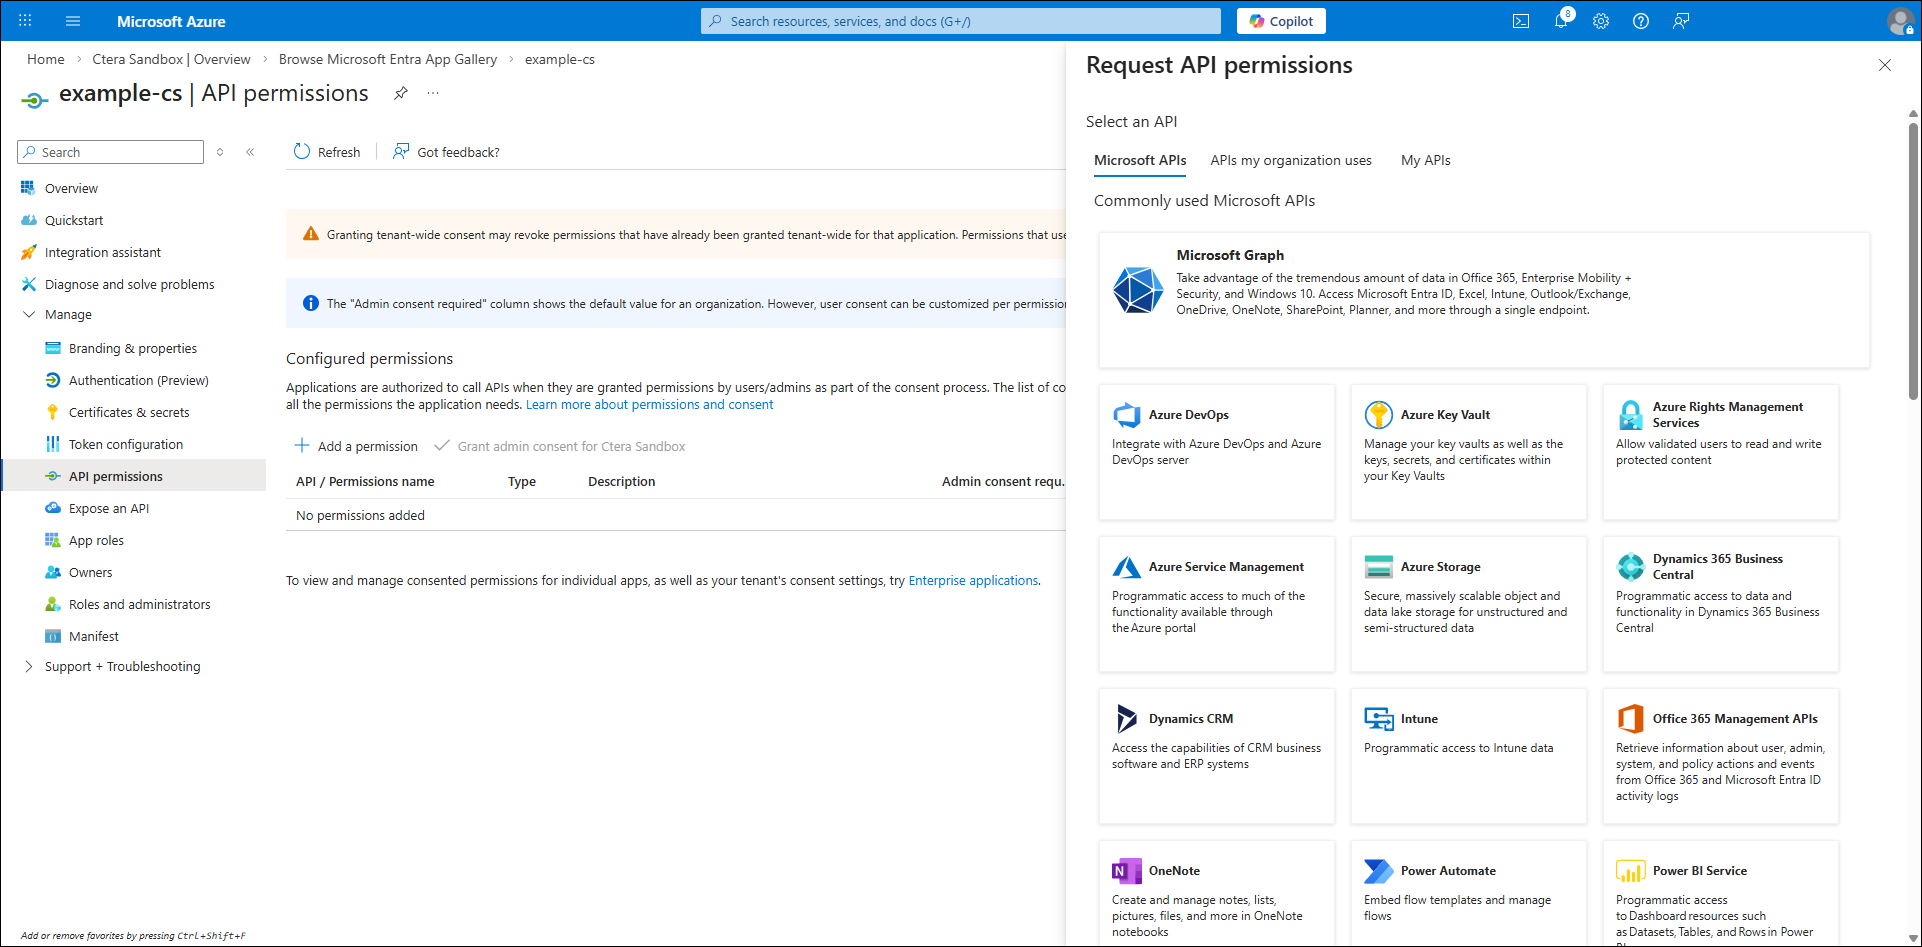
- Click Microsoft Graph.
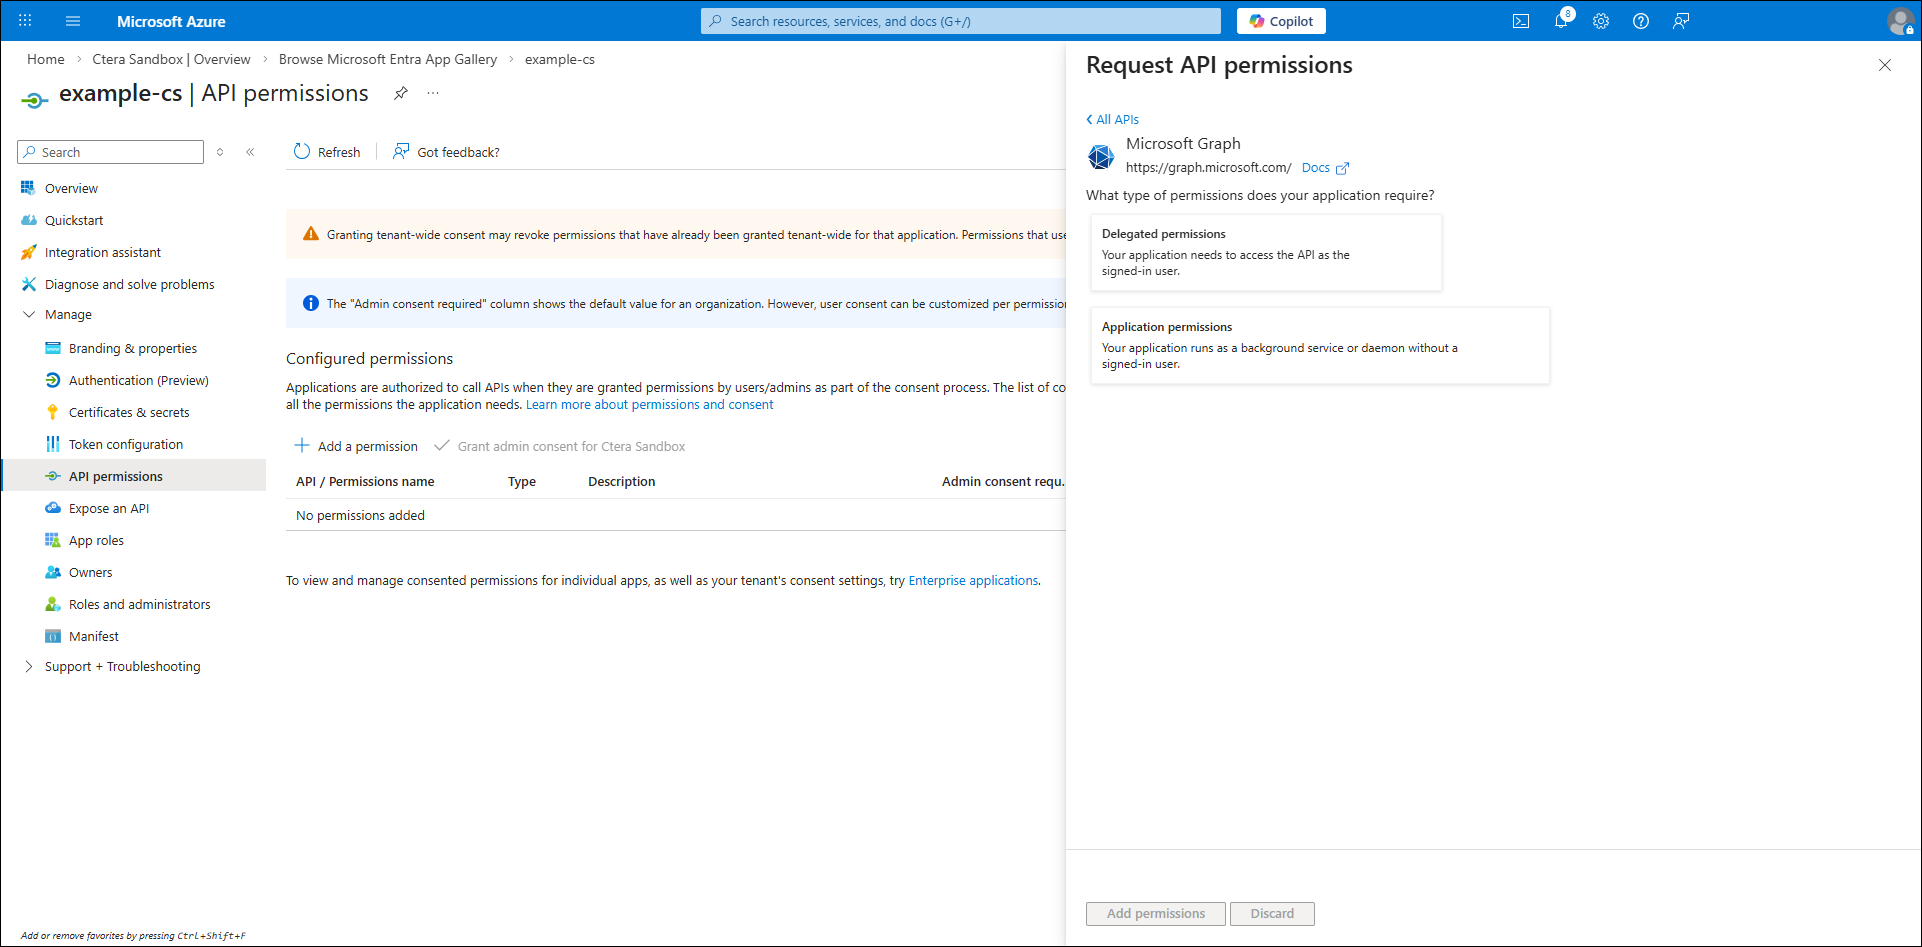
- Click Delegated permissions and scroll down to Directory and check Directory.Read.All.
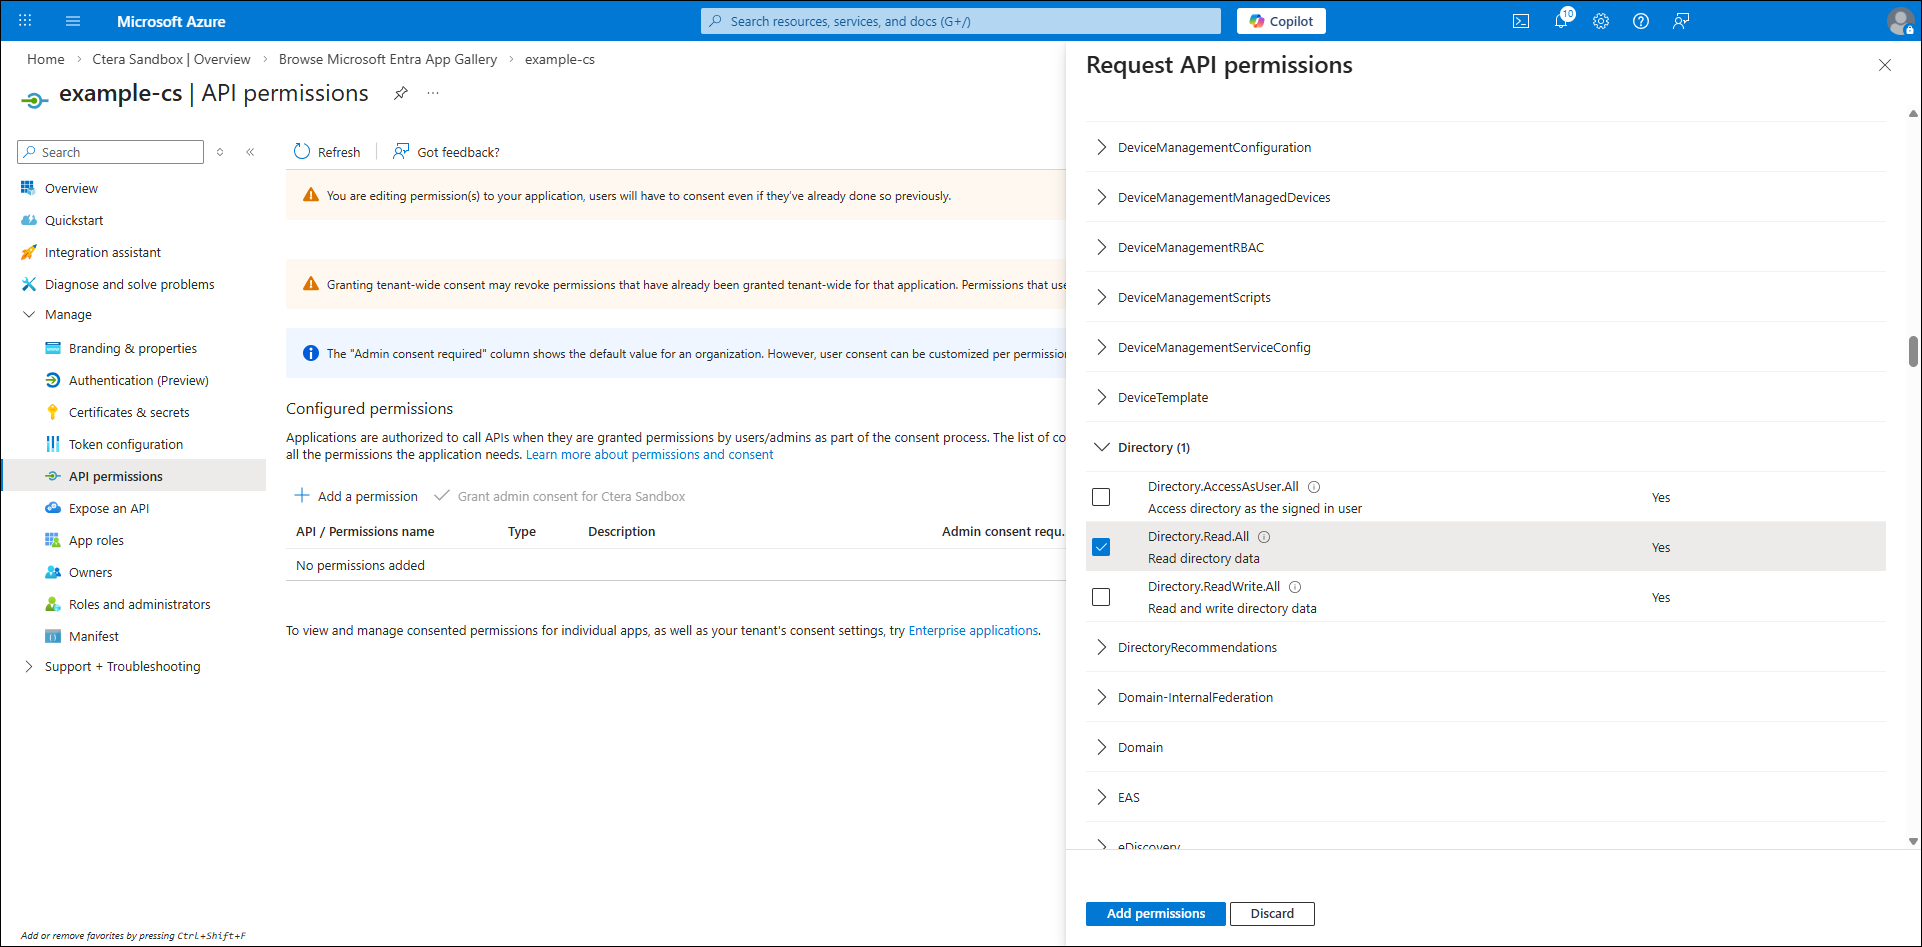
- Scroll down to Group and check Group.Read.All.
- Scroll down to User and check User.Read.All.
- Scroll back up to the top and click Application permissions and scroll down to Directory and check Directory.Read.All.
- Scroll down to Group and check Group.Read.All.
- Scroll down to User and check User.Read.All.
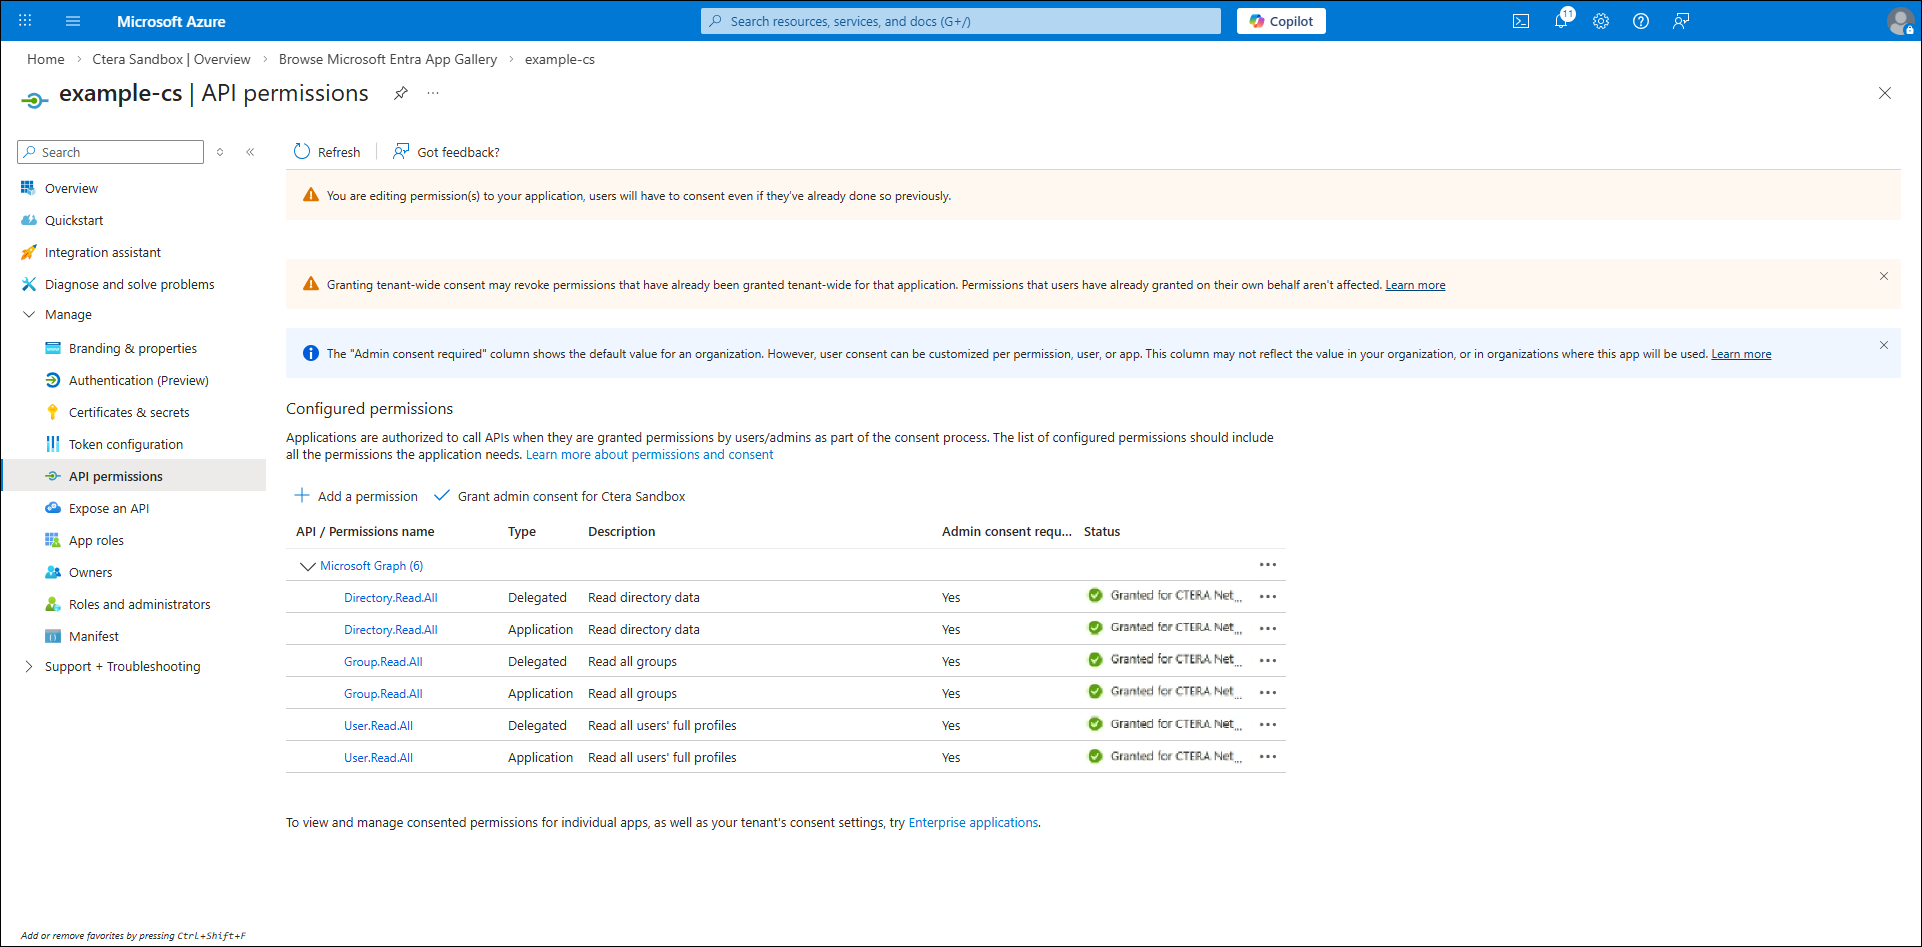
- Click Add permissions.
- Click Expose an API in the Manage section.
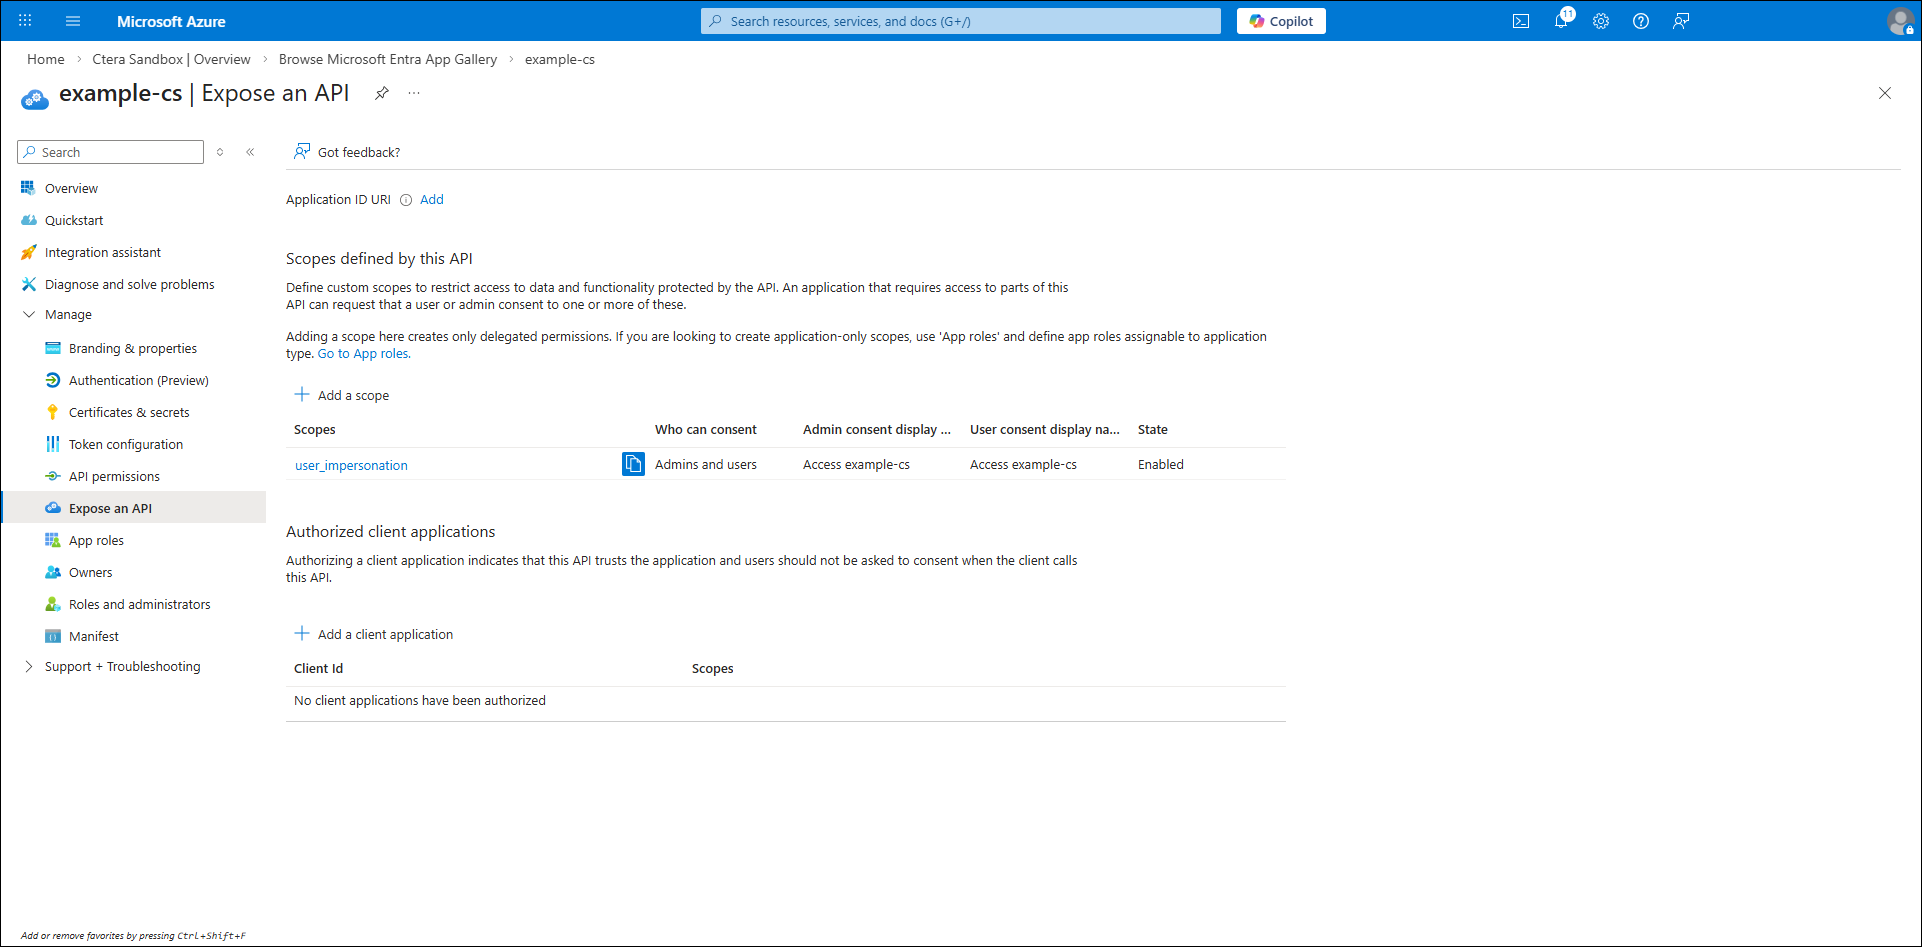
- Click Add.
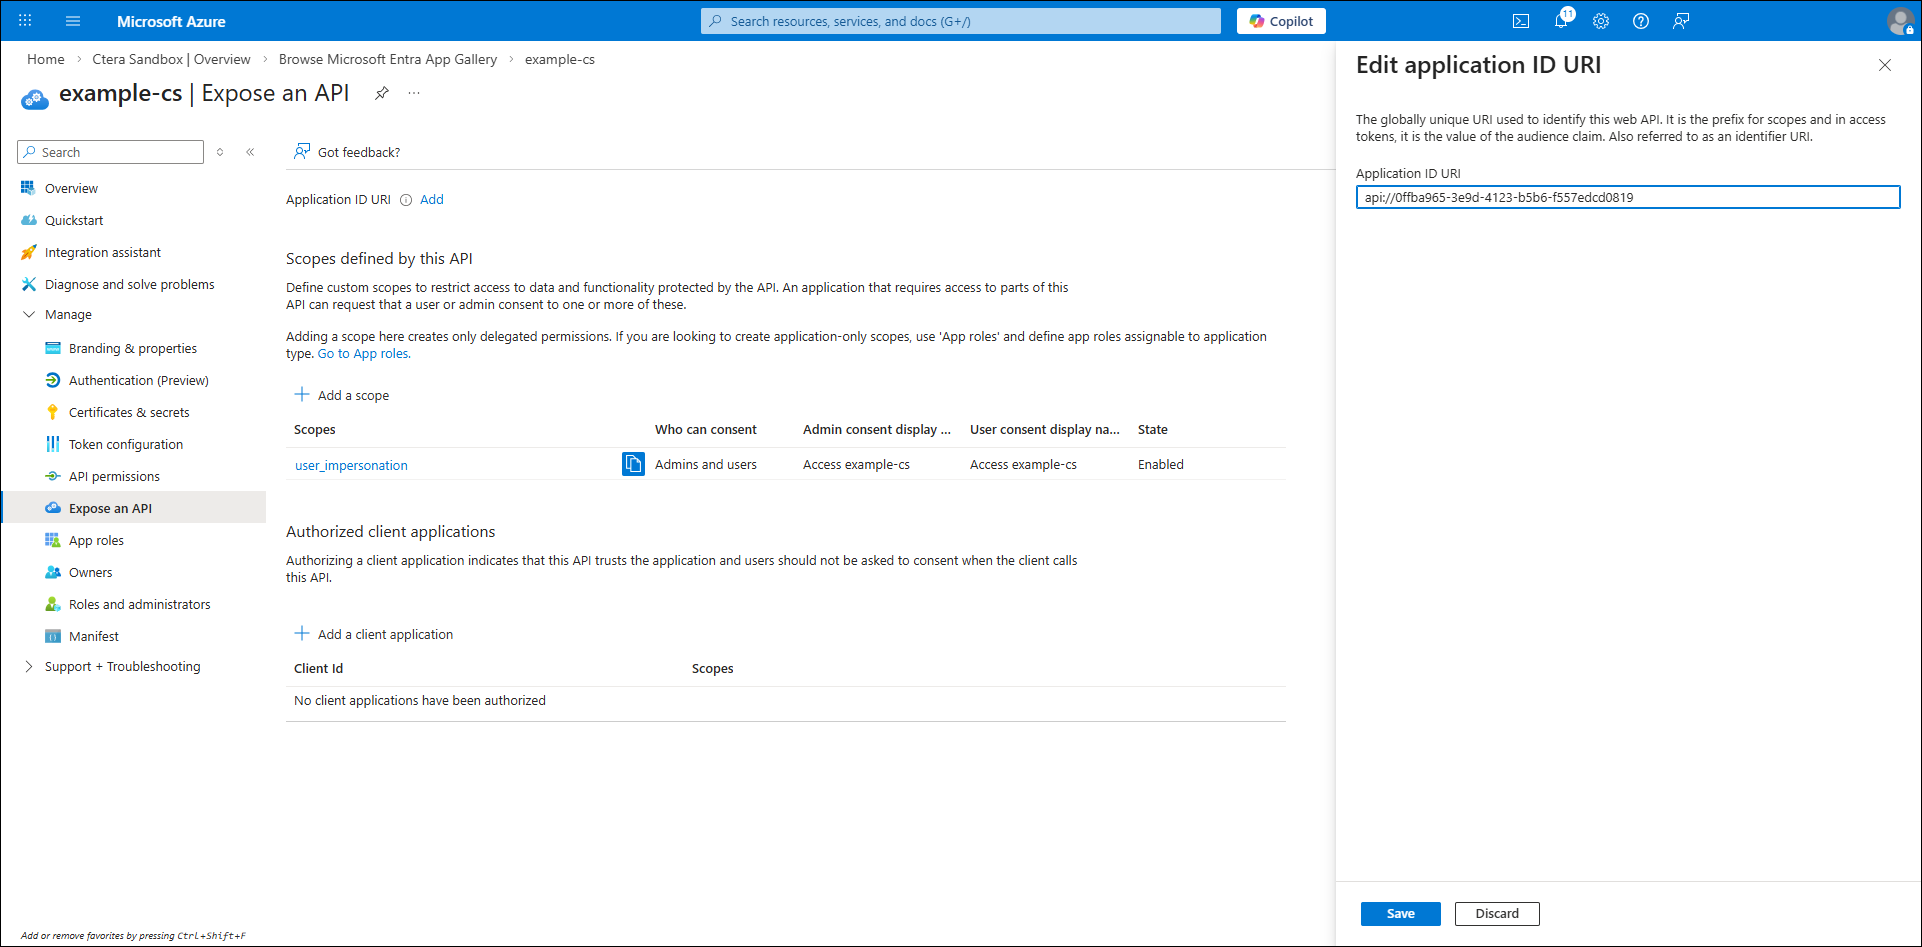 Note
NoteThe Application ID, which is the OPENID_CLIENT_ID, was created when the application was created.
- Click Save.
- Click App roles in the Manage section.
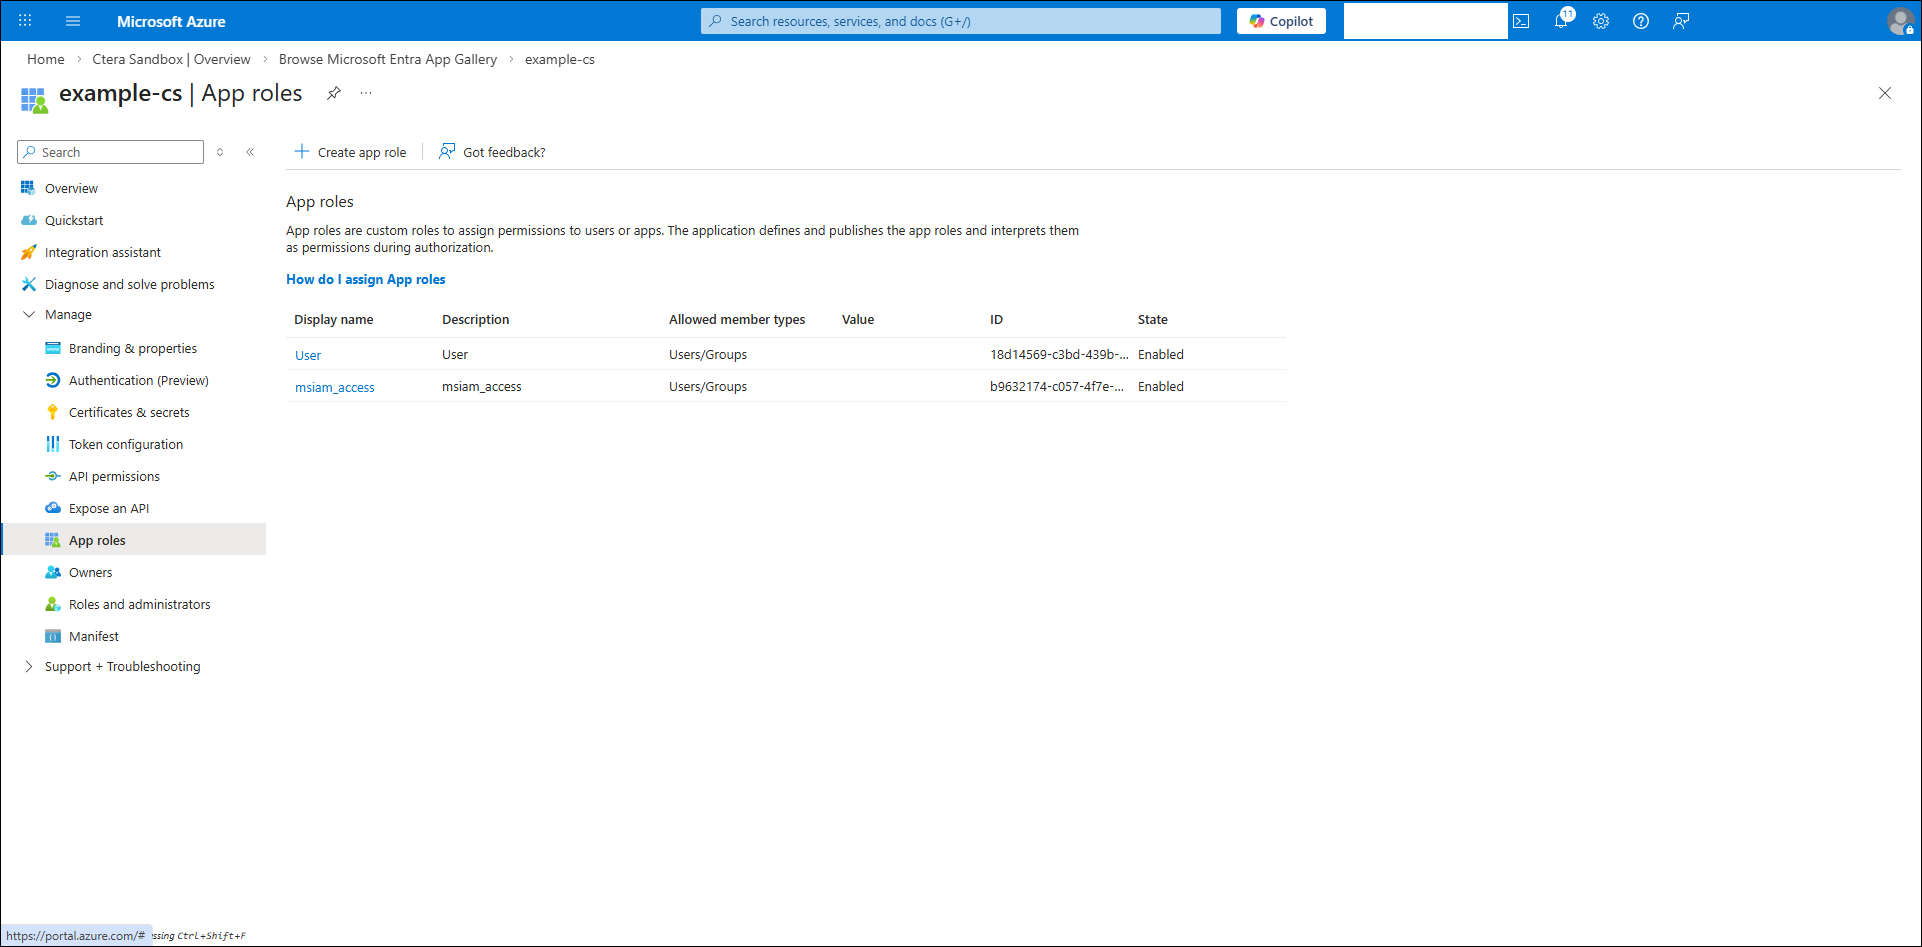
- Click Create app role.
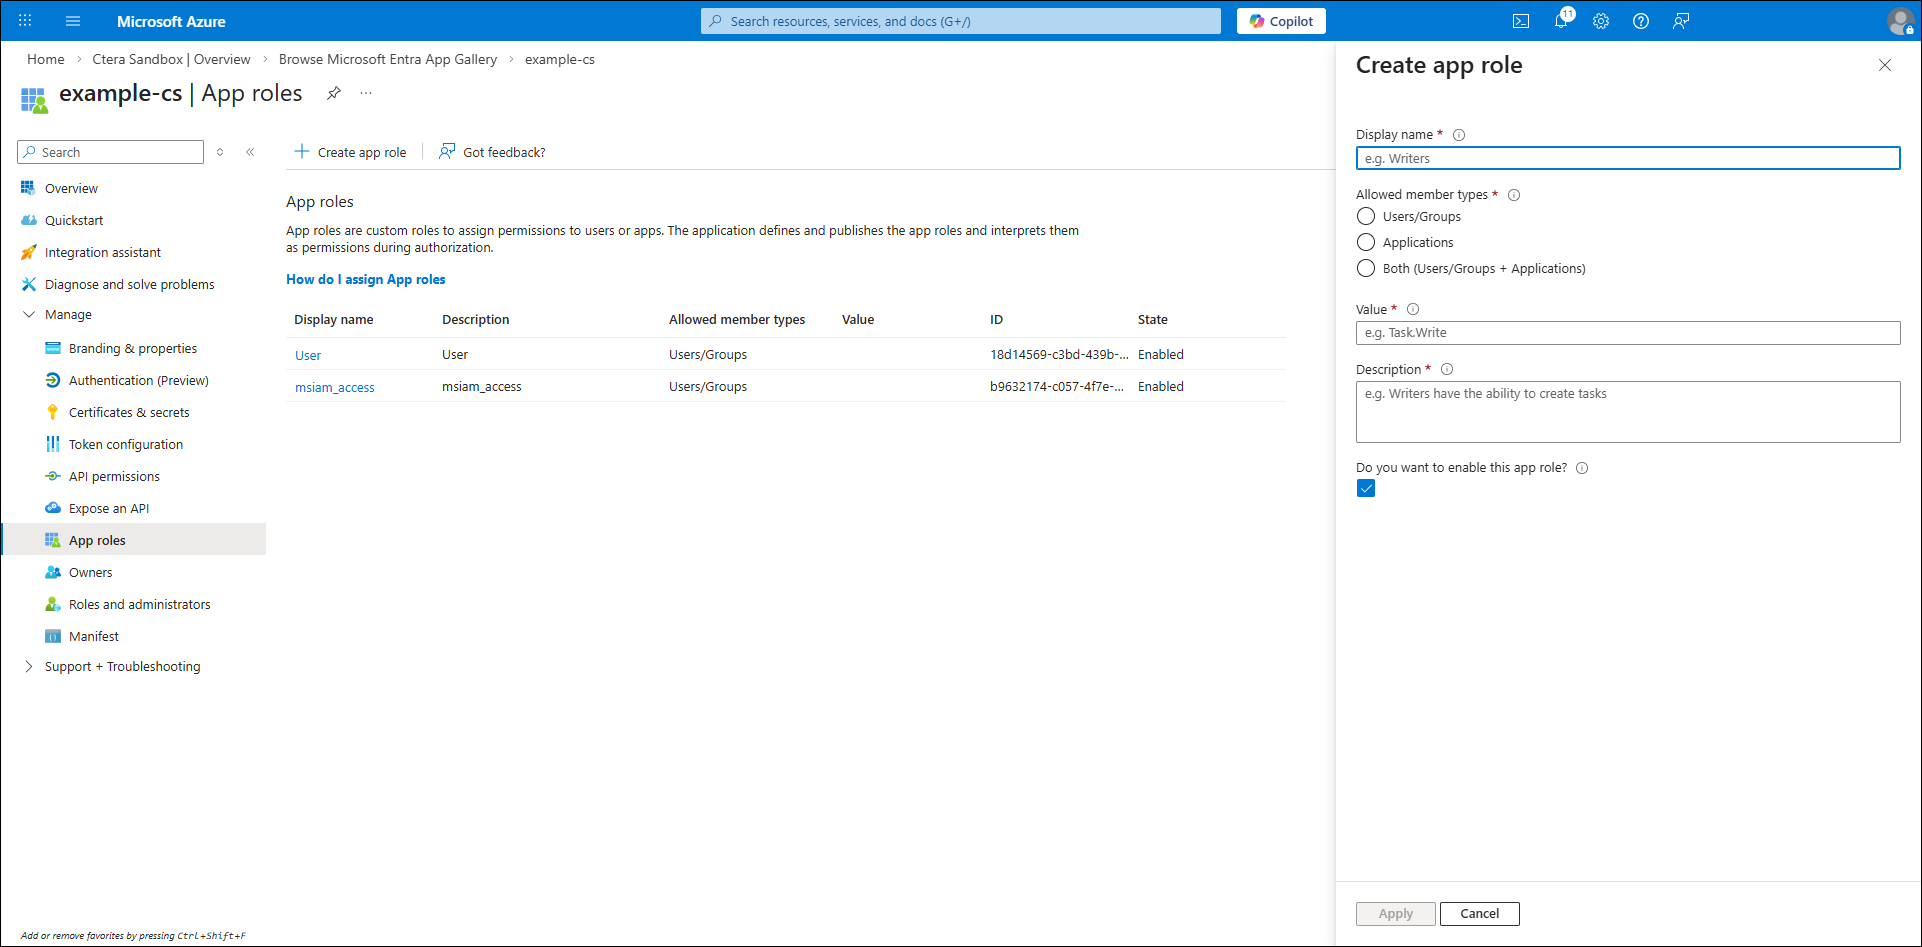
- Create a role:
Display name – Enter a display name, such asctera-di-admin-prod
Allowed member types – SelectUsers/Groups
Value – Enterctera-ai-admin– The value must not be changed.
Description – Enter a description for this role, such asAdmin role
Do you want to enable this app role? – Check this option. - Click Apply.
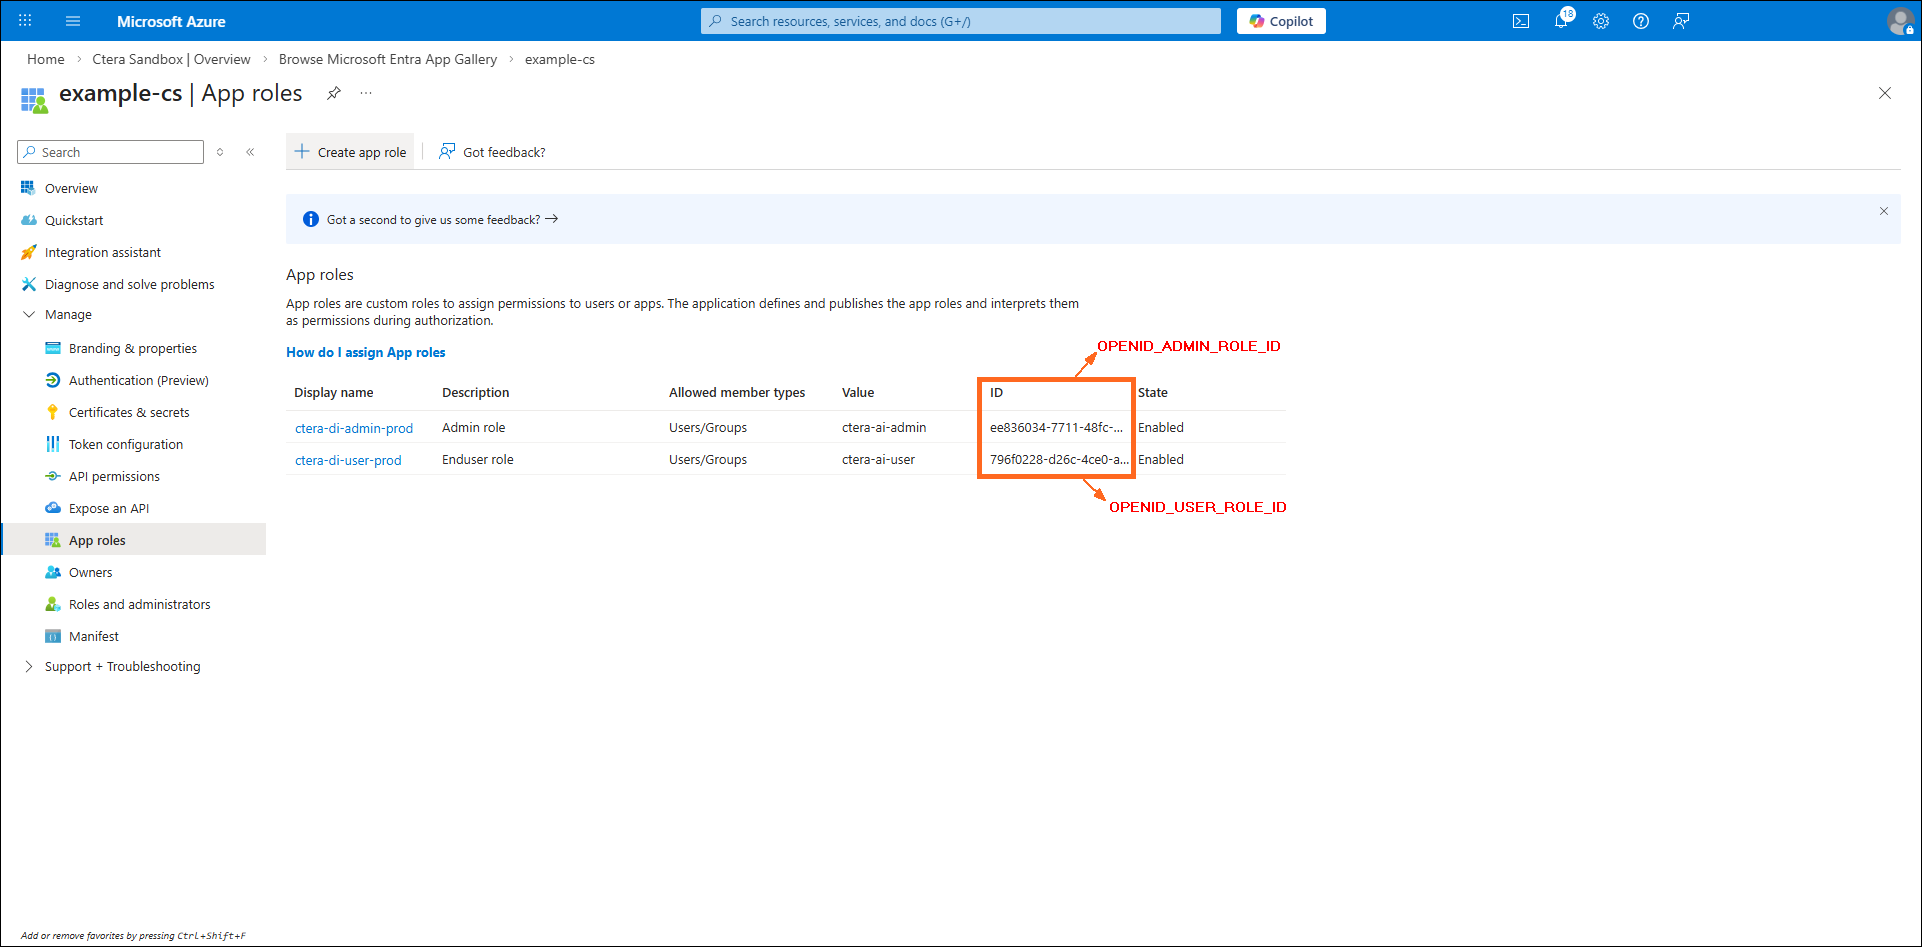
- Note the ID value for the
ctera-di-admin-prodDisplay name, which is used later for the OPENID_ADMIN_ROLE_ID value. - Repeat the previous three steps to create a second role:
- Click Create app role.
- Create a role:
Display name – Enter a display name, such asctera-di-user-prod
Allowed member types – SelectUsers/Groups
Value – Enterctera-ai-user– The value must not be changed.
Description – Enter a description for this role, such asEnduser role
Do you want to enable this app role? – Check this option. - Click Apply.
- Note the ID value for the
ctera-di-user-prodDisplay name, which is used later for the OPENID_USER_ROLE_ID value. - Apart from these two roles, click any other role and, if required, add a Value and then uncheck Do you want to enable this app role? and then click Apply to disable the role.
Note
After disabling a role, you can again click the role and then click Delete and confirm the deletion to remove the role.
- Go to the Enterprise applications from the Microsoft Entra ID home page and select the enterprise application you just defined and then click 1. Assign users and groups.
The Users and groups screen is displayed.
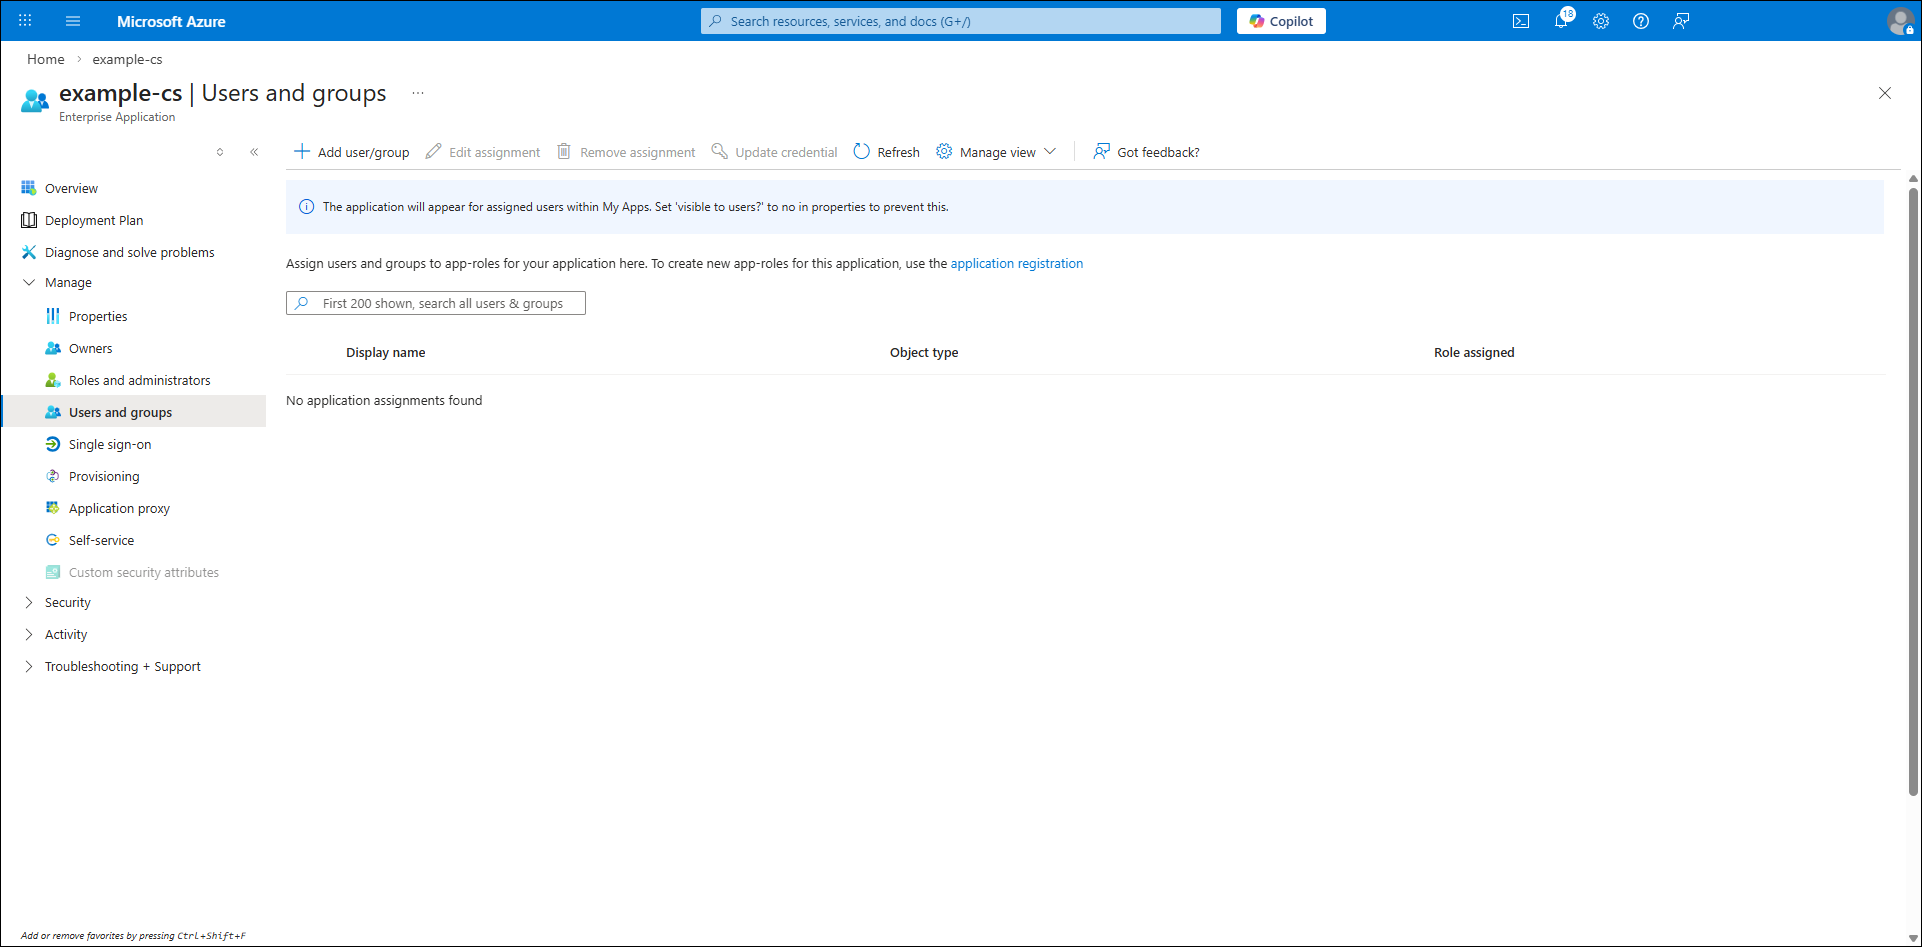
- Click Add user/group.
The Add assignment screen is displayed.

- Add users or groups of users that you want to have access as end users and then add the role
ctera-di-user-prodand then click Assign. - Add users or groups of users that you want to have access as administrators and then add the role
ctera-di-admin-prodand then click Assign.
The following values that were noted throughout the procedure are used during the CTERA Content Services installation:
- OPENID_ISSUER – The identifier for the entity that issues the authentication tokens (typically the tenant ID).
- OPENID_CLIENT_ID – The secret key associated with the main application client.
- OPENID_CLIENT_SECRET – The secret key associated with your main application client.
- OPENID_ADMIN_ROLE_ID – The unique identifier for the administrator role in the identity system.
- OPENID_USER_ROLE_ID – The unique identifier for the standard user role in the identity system.