You can connect to more than one CTERA Portal.
Setting Up a New Connection
To set up a connection to a CTERA Portal from CTERA Drive Connect:
-
Click the CTERA Drive Connect icon
 .
.
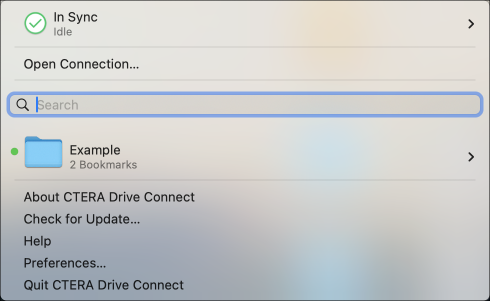
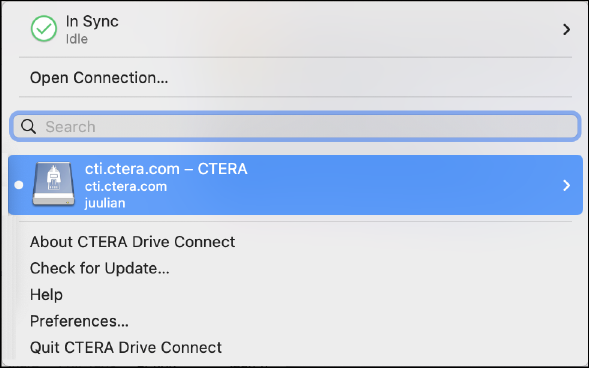
The CTERA Drive Connect menu is displayed.Windows macOS 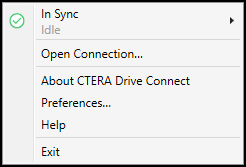
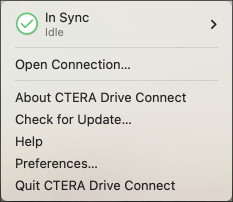
-
Click Open Connection.
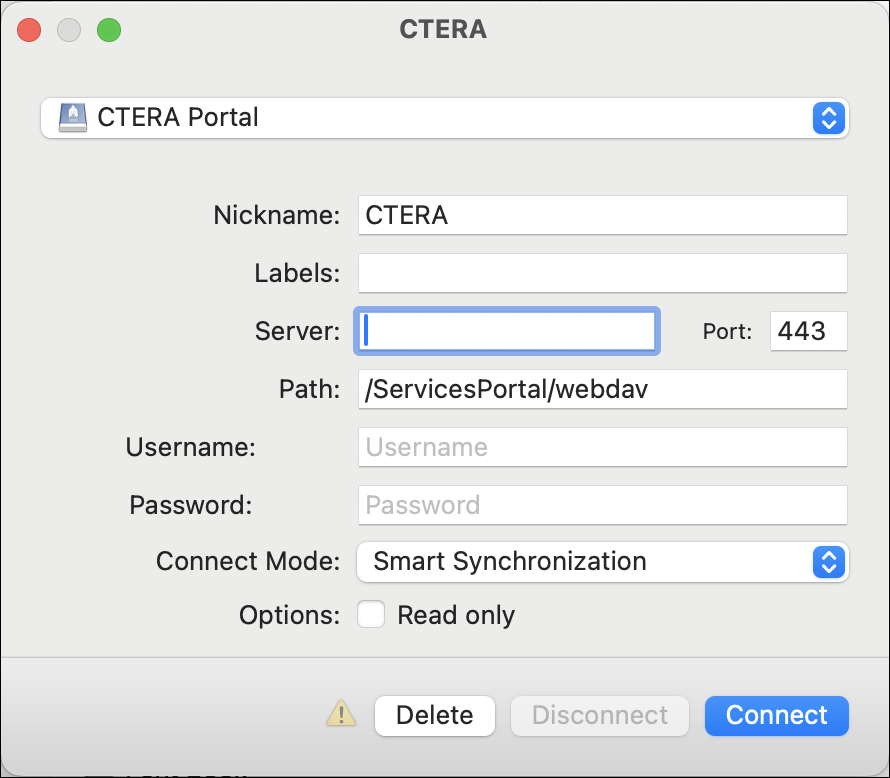
Windows:Integrated Connect Mode Smart Synchronization Connect Mode 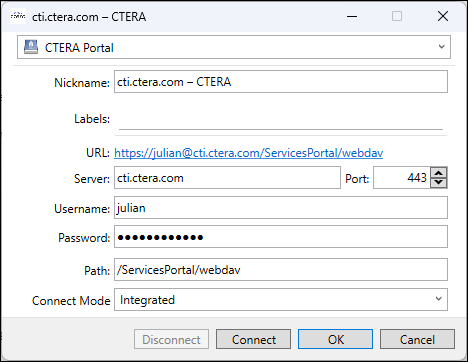
macOS:
Integrated Connect Mode Smart Synchronization Connect Mode 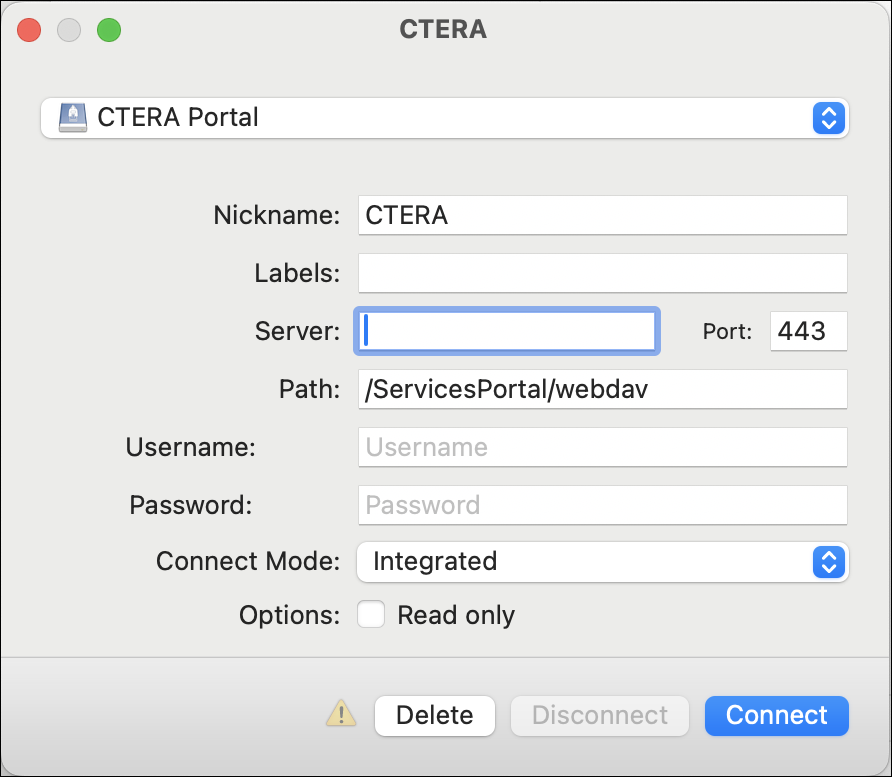
-
Enter the information to connect to the CTERA Portal.
Nickname – A name to identify the portal. you can connect to more than one CTERA Portal, each with its own unique nickname.
Labels – An optional label to identify the connection as a bookmark. You can group more than one connection under the same label.Windows macOS 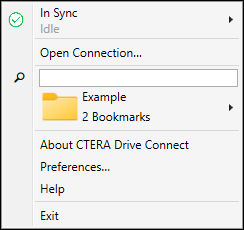
If a label is not specified:
Windows macOS 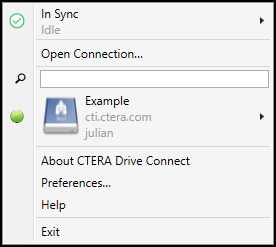
If you use the same label for different connections, all the connections are grouped under the bookmark.
NoteRefer to Using an Existing Connection to see how connecting to a CTERA Portal depends on whether a bookmark is defined.
Server – The full name or IP address of the CTERA Portal.
Port – The port to use to connect to the CTERA Portal.
Username – The username to access the CTERA Portal.
Password – The password for the username to access the CTERA Portal.
Path – The path to access the CTERA Portal:/ServicesPortal/webdav– access as an end user or team portal administrator.
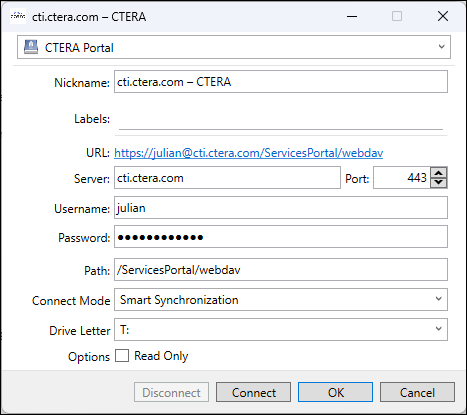
Connect Mode – Integrated, Smart Synchronization, or Default. The default connection mode is the connection mode set in Preferences > Sync Settings. For details about these connect modes, see Sync Settings or Working With CTERA Drive Connect.
When Connect Mode is Smart Synchronization for Windows setting only:- Drive Letter – The drive letter to use to map the CTERA Portal cloud drive in Windows File Explorer.
Options – Whether the connection is read only or read/write access. The default is read/write. Check Options to set the connection as read only.
-
Click Connect to both save the connection settings and connect to the CTERA Portal.
Connected portals and bookmarked portals in the menu are displayed with a green icon, or if sync is paused or another CTERA Drive Connect process is running, with an orange icon,  .
.
If the portal is configured so that it is only accessed using single sign-on, a web page opens in your browser to allow access.
Windows: File Explorer opens displaying the CTERA Portal cloud drive. If you close the connection window or click OK or Cancel, a connection is created, even if you did not specify any connection details.
macOS: Finder opens displaying the CTERA Portal cloud drive. If you close the connection window, a connection is created, even if you did not specify any connection details. If you click Delete, you are prompted to delete the connection.
If Save Workspace is checked in Preferences > General, connections to CTERA Portal are reopened even if you close CTERA Drive Connect.
Using an Existing Connection
To connect to a CTERA Portal Using an Existing Connection:
-
Click the CTERA Drive Connect icon
.
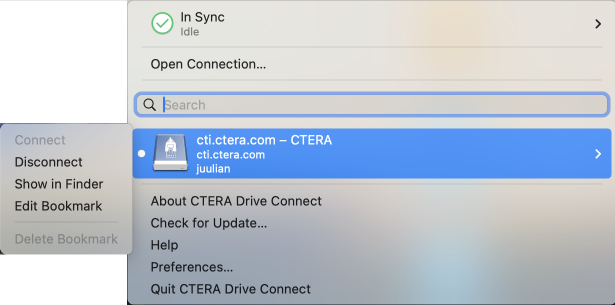
The CTERA Drive Connect menu is displayed. -
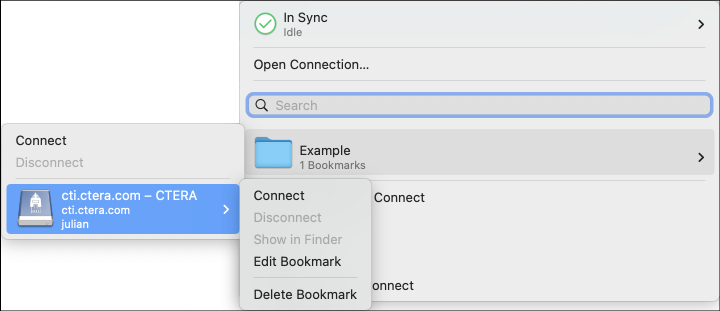
Hover over the bookmark in the list, that does not have a connection icon,
 or , at the side, and click Connect from the popup menu.
With a label defined for the connection:
Windows macOS 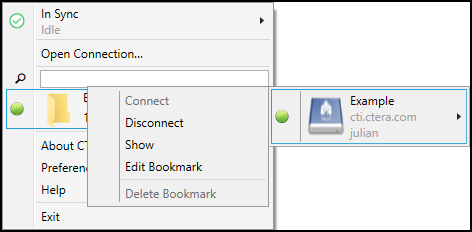
 Note
NoteIf you have more than one connection under the bookmark, clicking the bookmark lists all the connections. In the above screenshots there is only one option in the bookmark.
Without a label defined for the connection:
Windows macOS 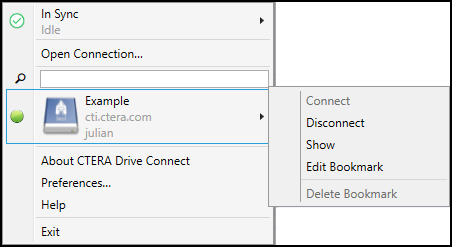
Windows: File Explorer opens displaying the CTERA Portal cloud drive.
macOS: Finder opens displaying the CTERA Portal cloud drive.